Happy New YEAAAARRRR!!!! It seems like the older I get the faster the years go by, leaving less and less time to reflect and prepare for the next one, but so be it. I’m unusually optimistic this time of year, dreaming of opportunities to come, wishing, hoping, praying (dear God, please!) that this new year is somehow better than the one before, in one aspect or another. One thing I always look forward to is the Hog Feast my mom’s family holds every single January 1st since I can remember. They’re from the South…Rocky Mount, North Carolina to be exact. And there is no such thing as bringing in the new year without hog and black eyed peas. It’s a Southern tradition dating back to who-knows-when that I will never get tired of.
I think it’s safe to say that I’ve been a “foodie” my whole life, but with a special affinity for pork fat (there might even be an unspoken rule somewhere about this being a prerequisite to foodie-dom, but I’m not sure…). My mom used to reprimand me for just chewing then eventually devouring the fat layer around my pork chops instead of cutting them off and discarding them like she did. And I was one of the few kids out of all my cousins who would indulge in all the porky goodness every New Year. I just couldn’t help myself! The main event, though, is this hog head that my Uncle Ebon makes. It’s crispy, spicy, salty, velvety yumminess. This year, Uncle Ebon passed on the hog-making tradition to me so I very humbly and graciously took on the responsibility of preparing everyone’s New Year’s good luck charm with calculated precision.
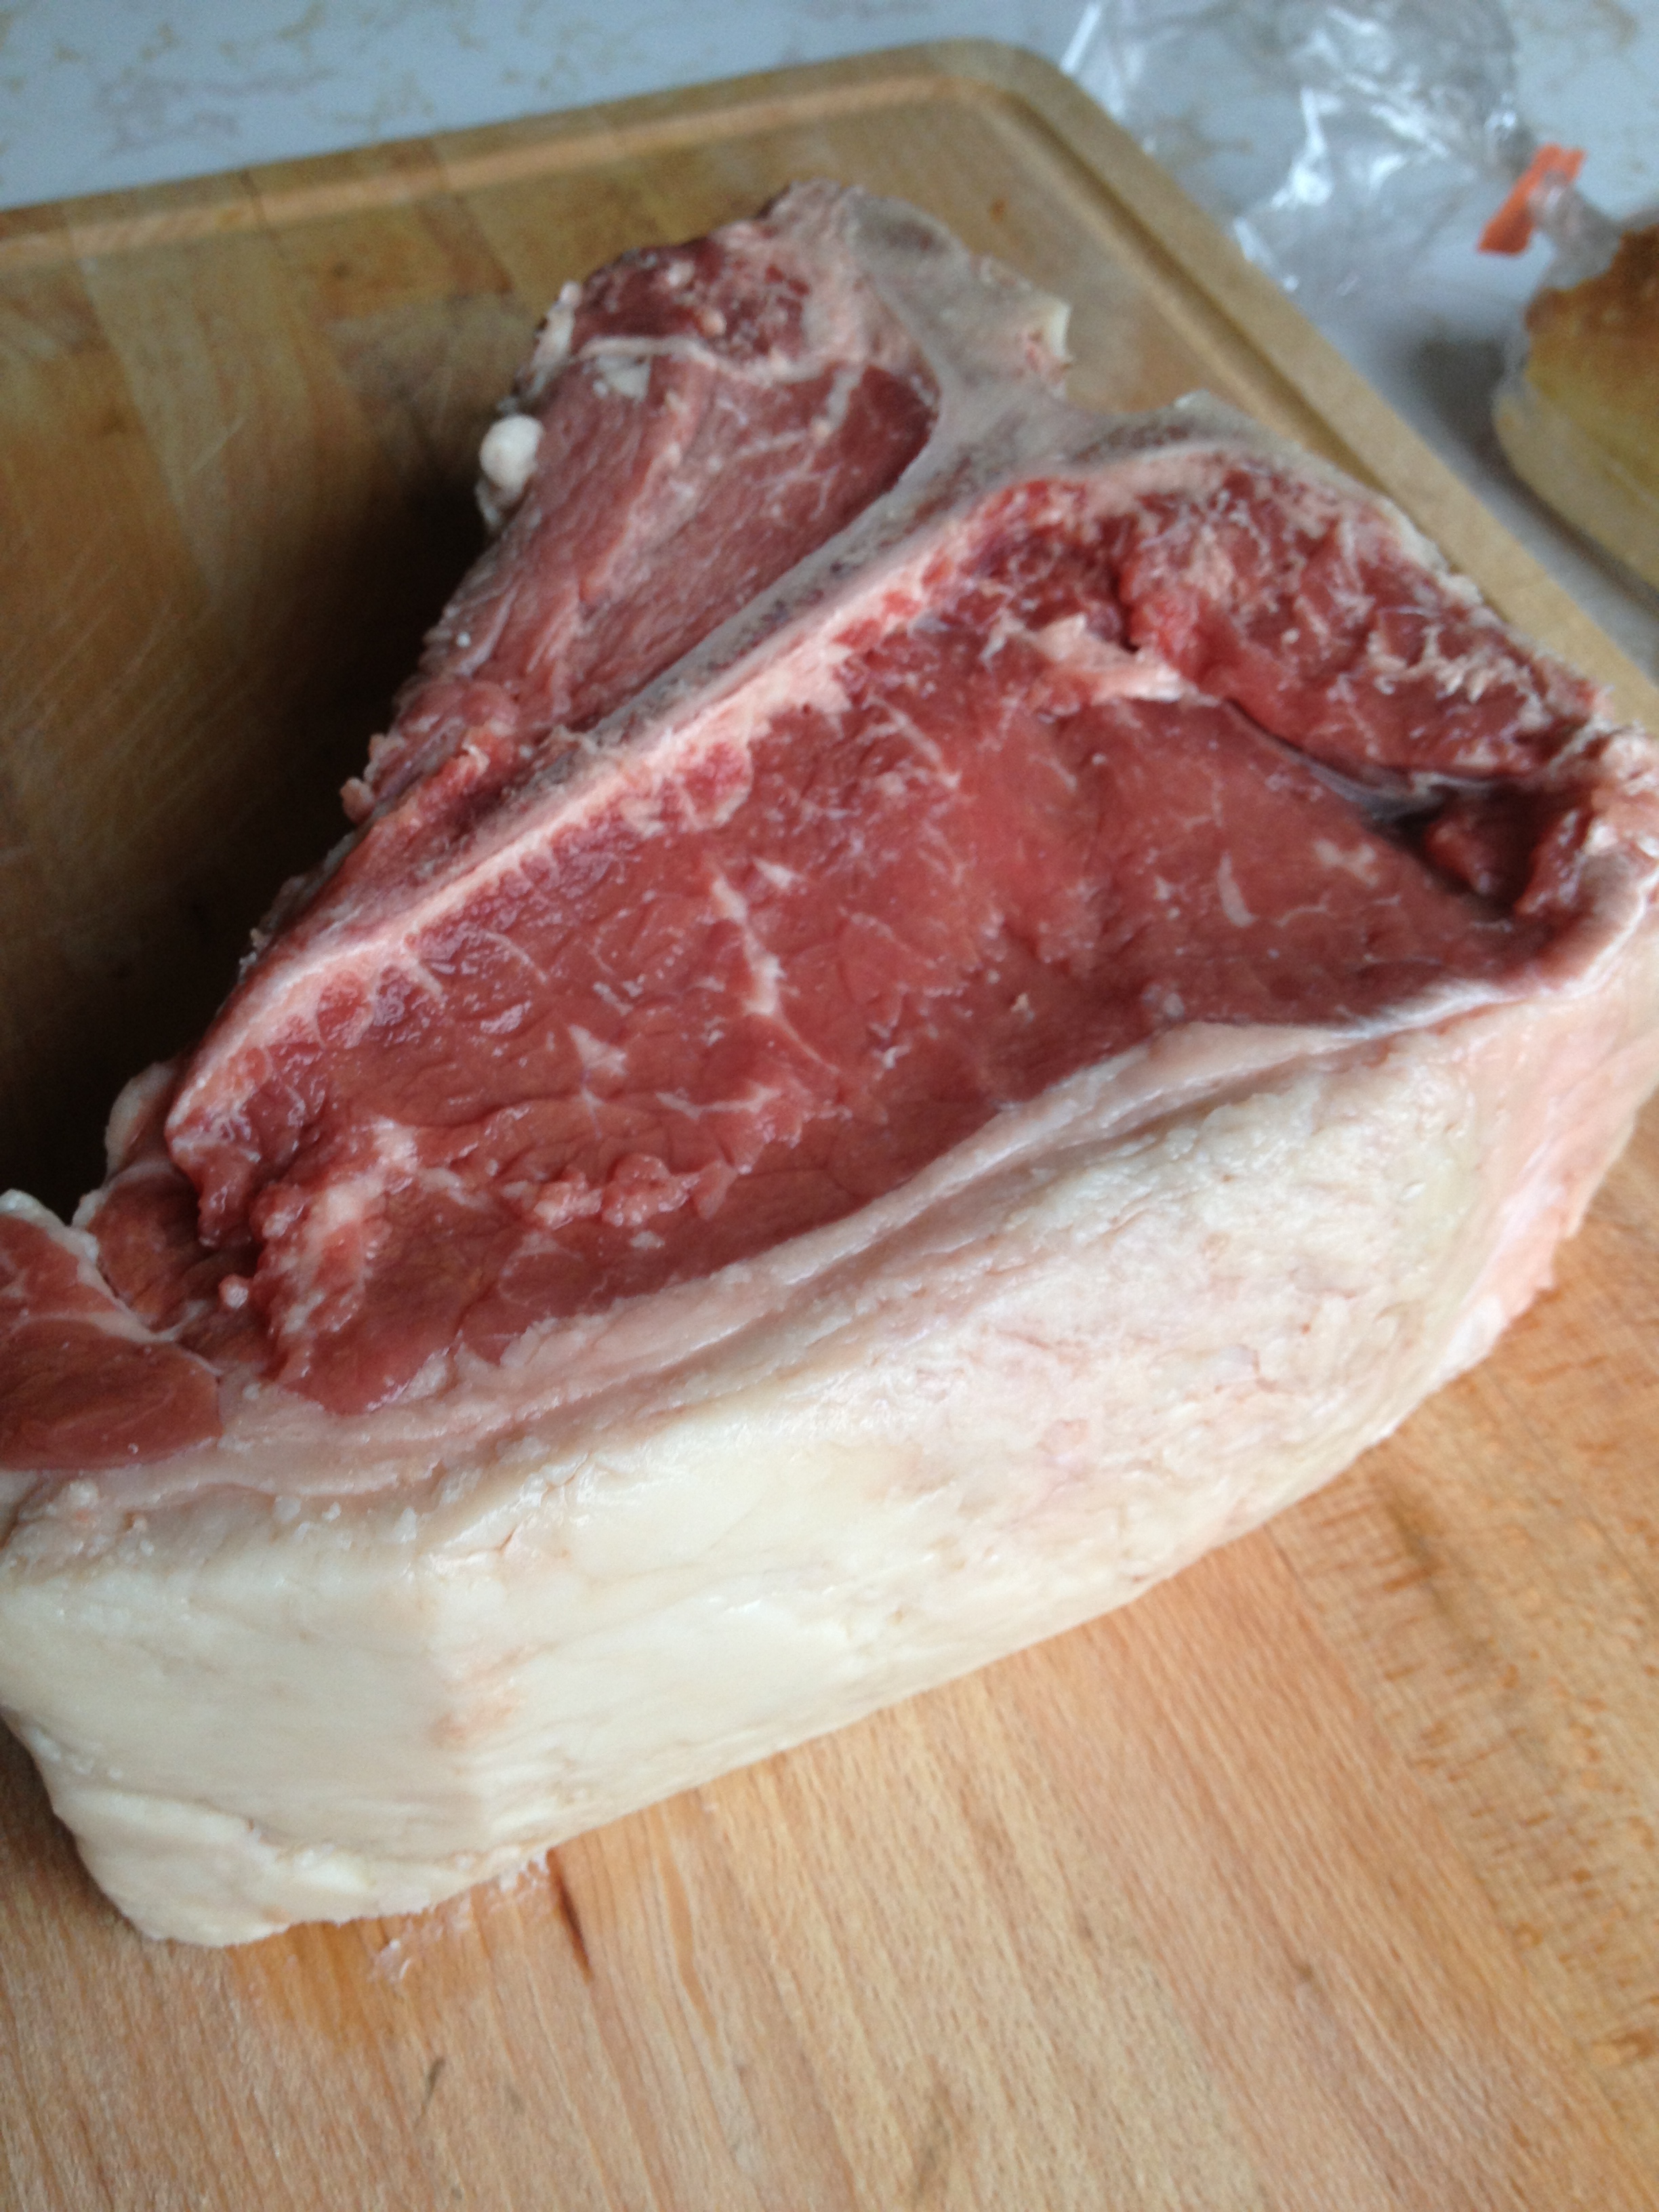
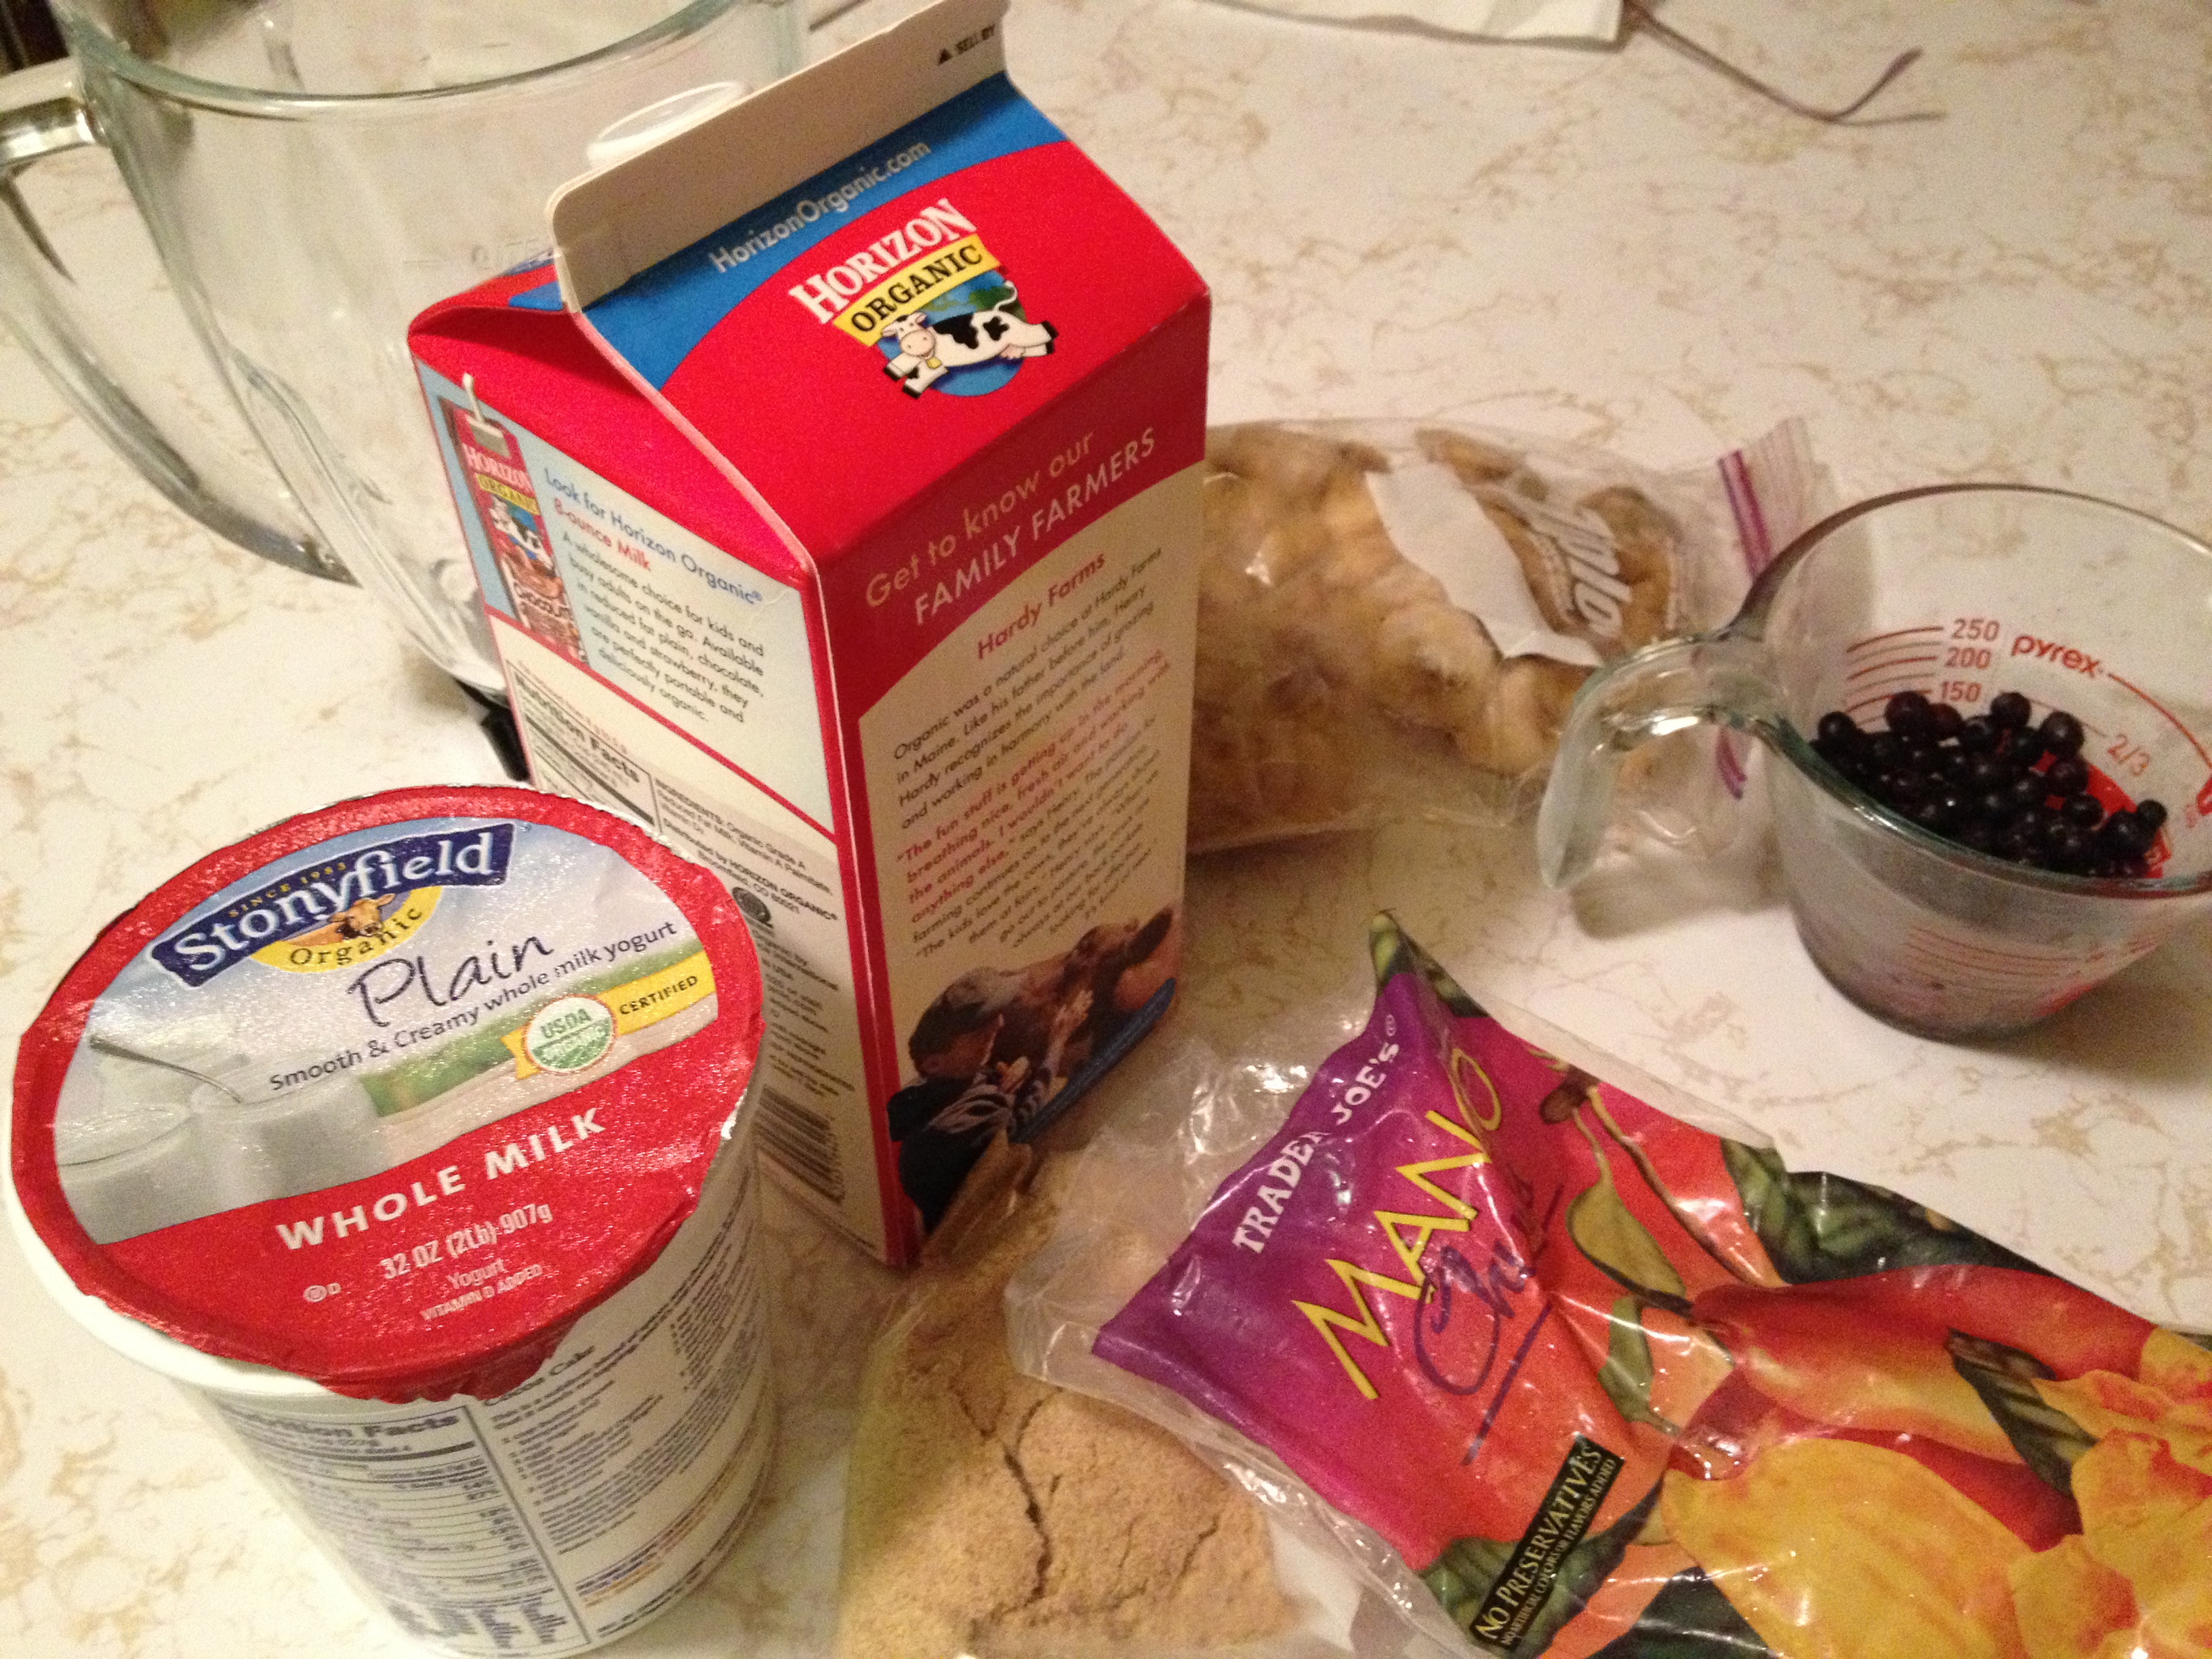
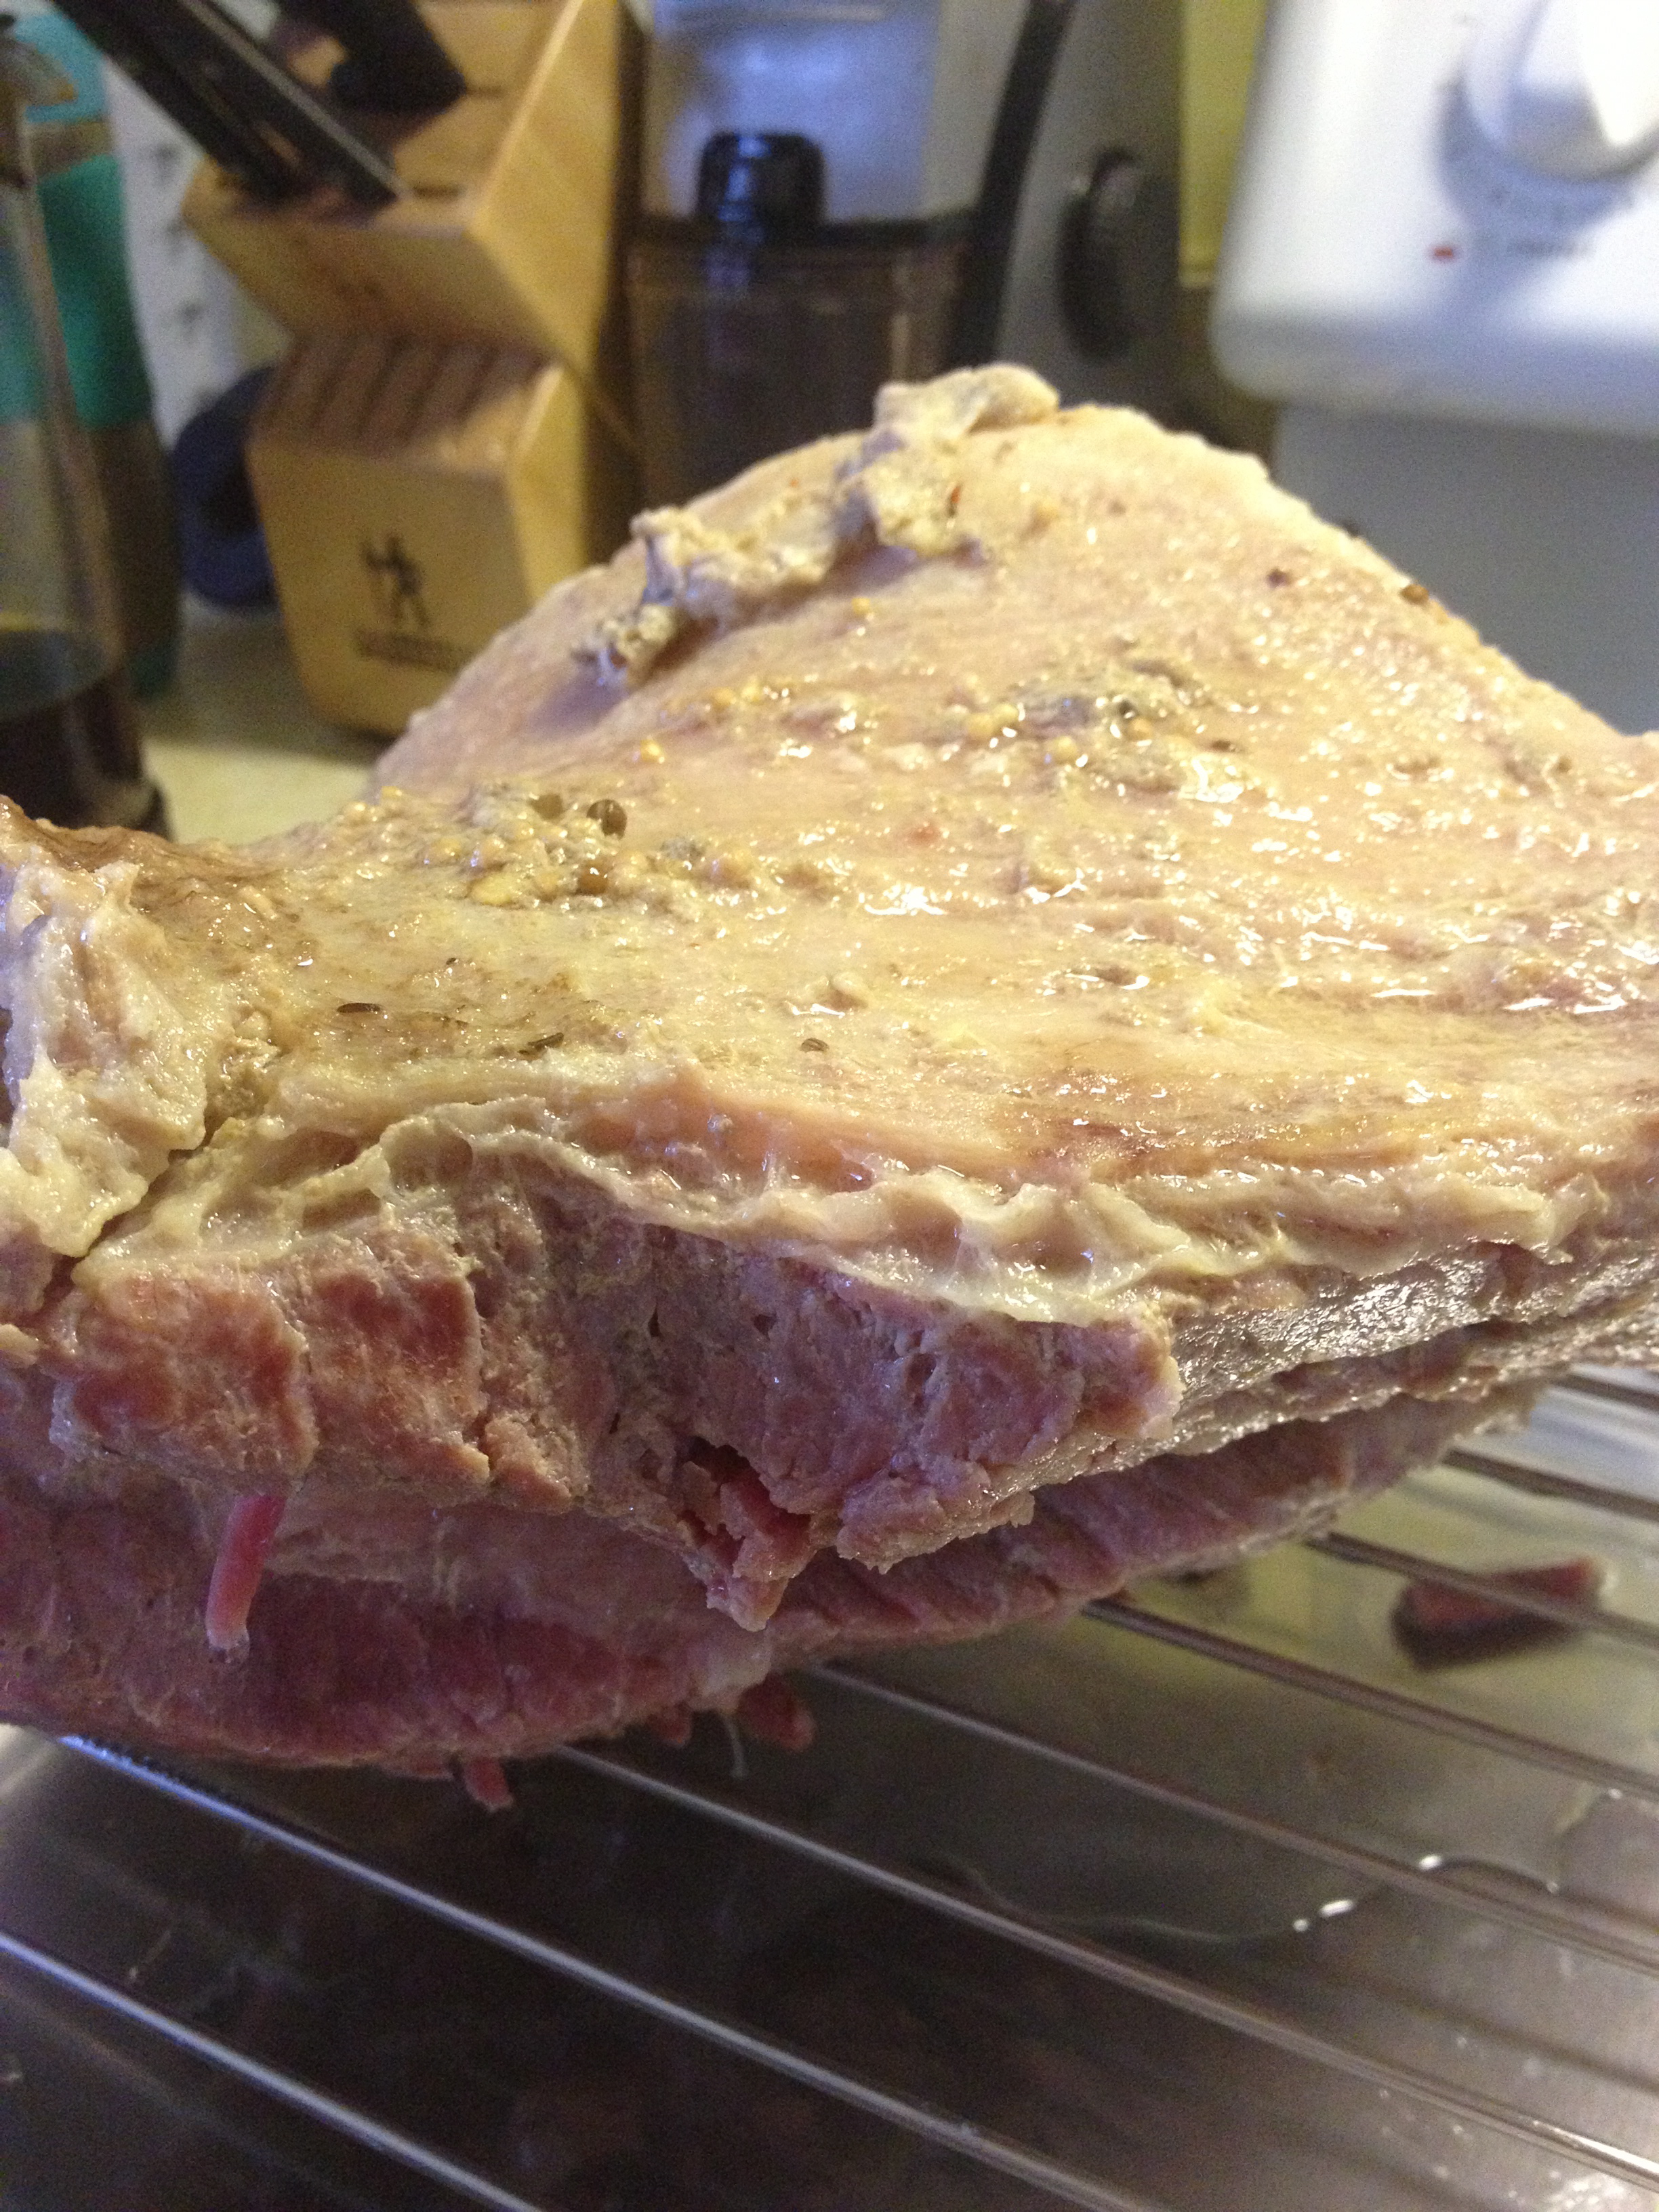
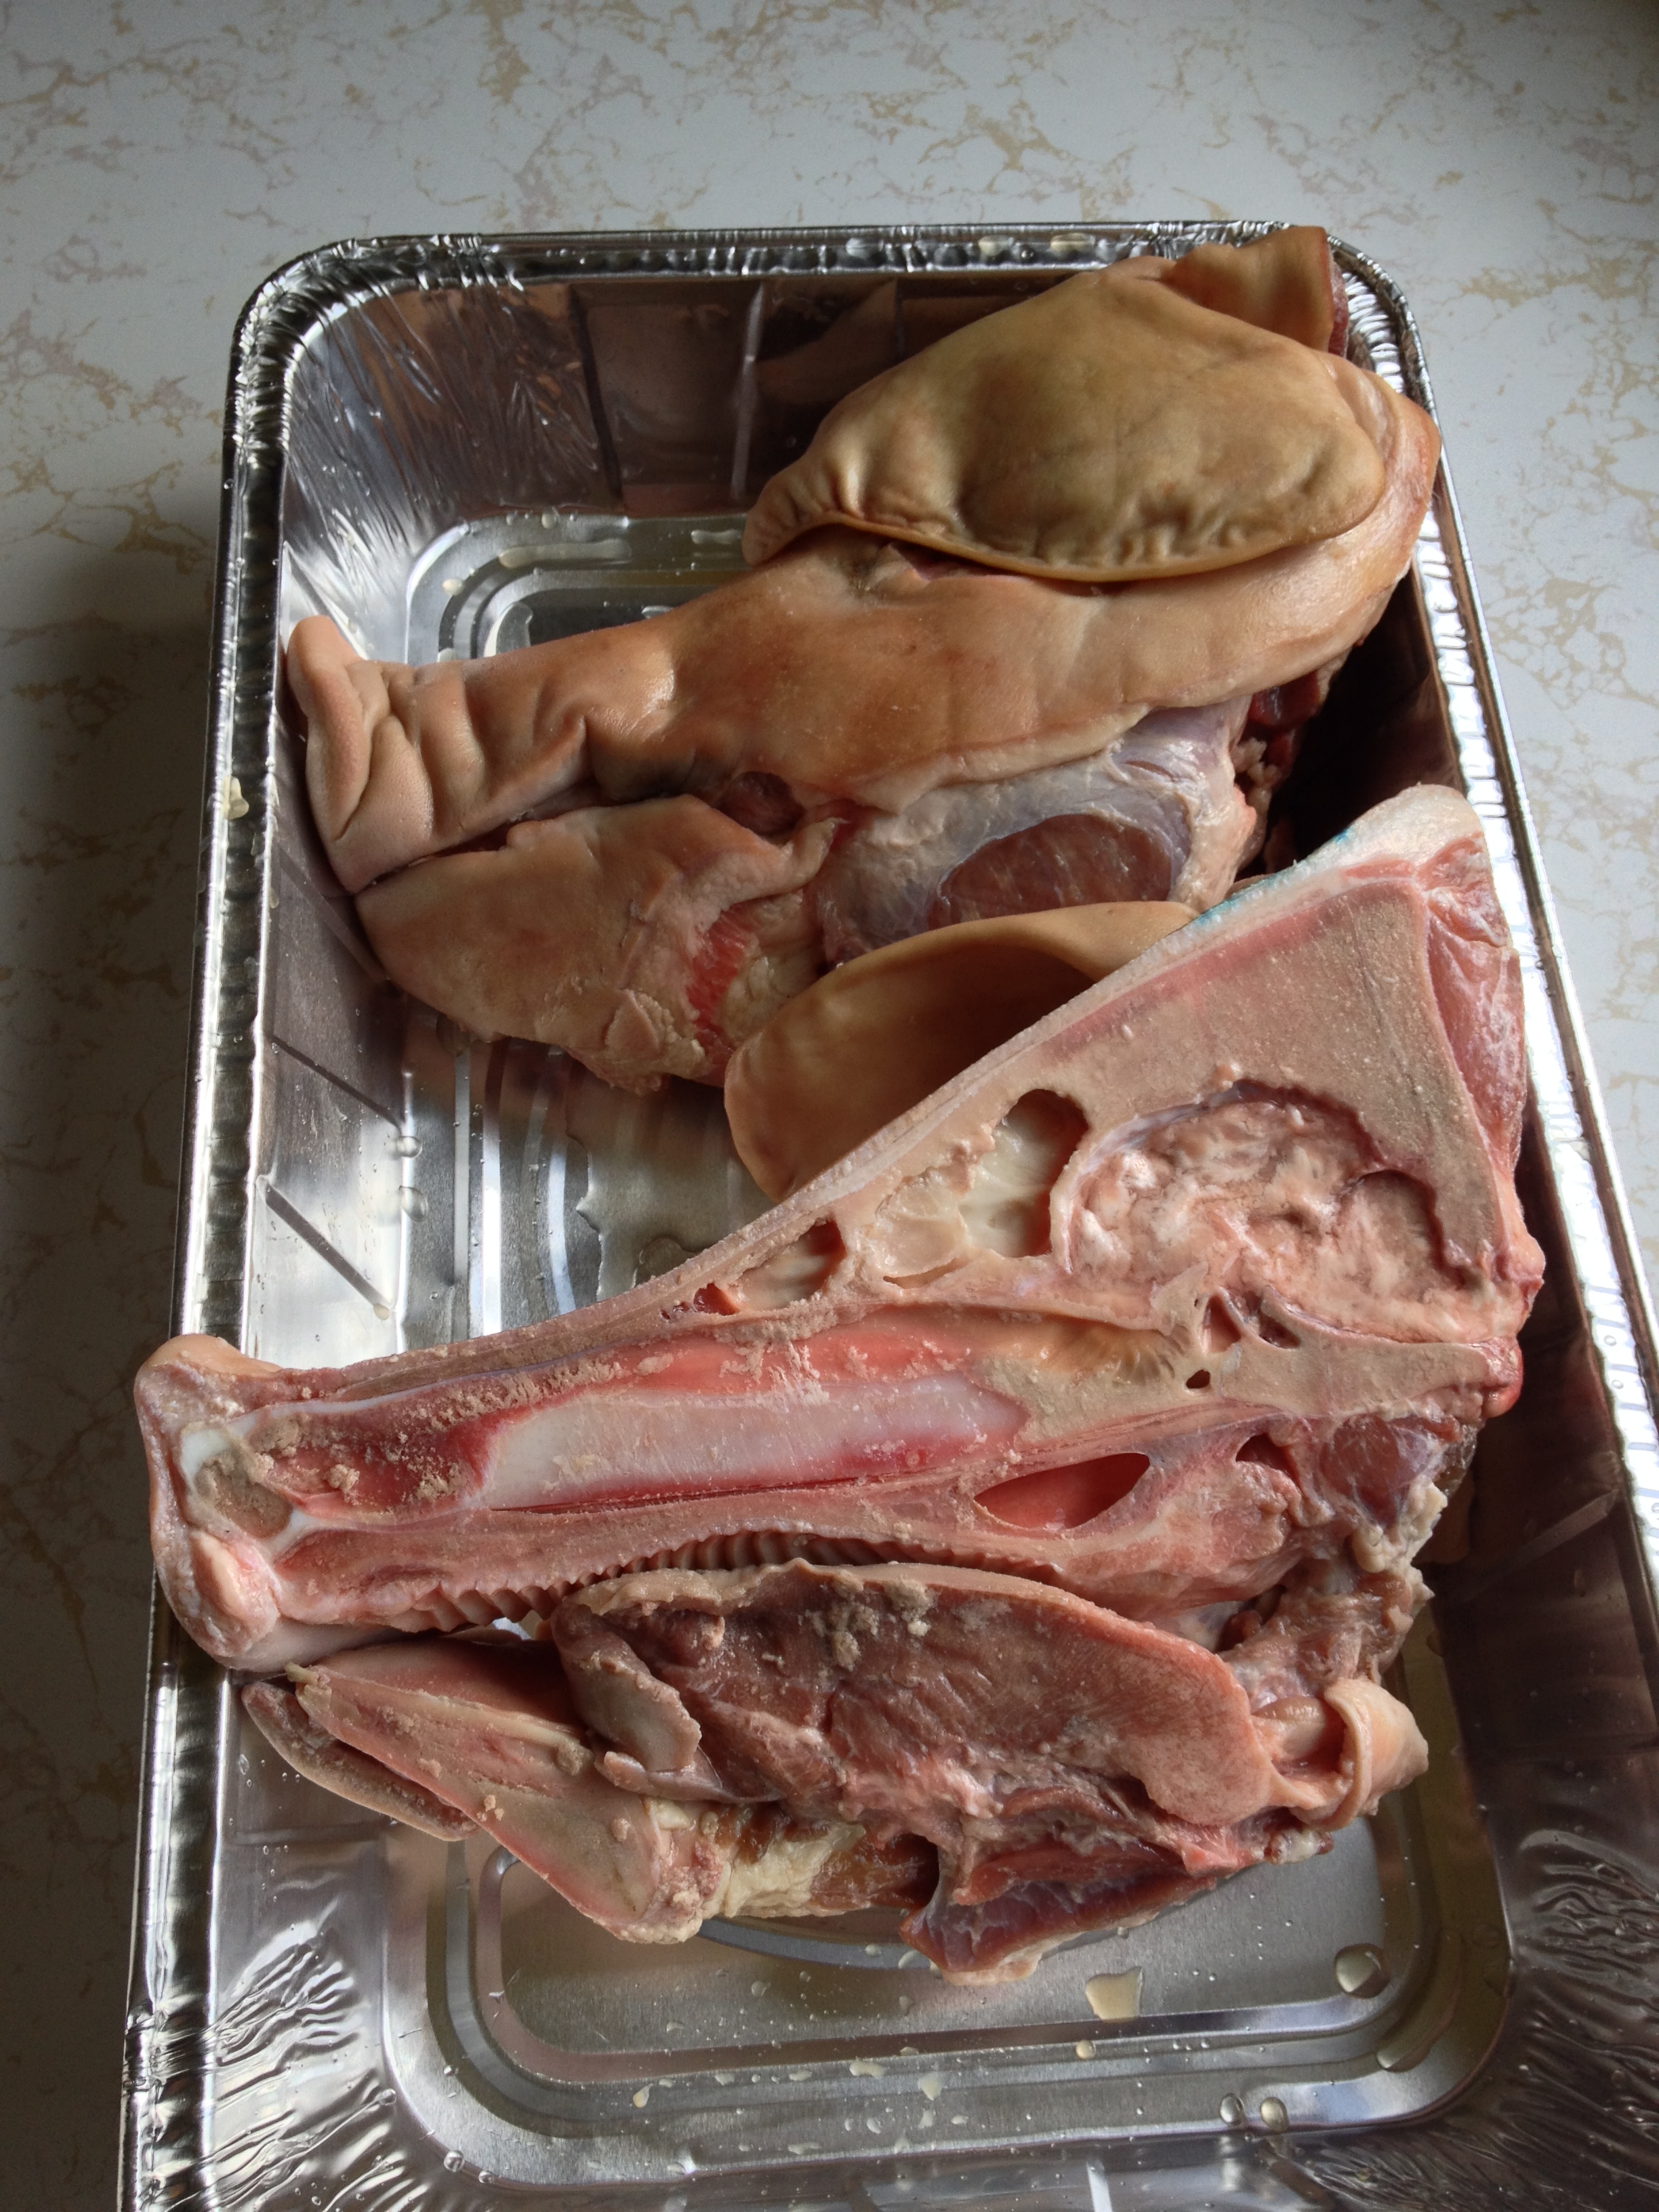
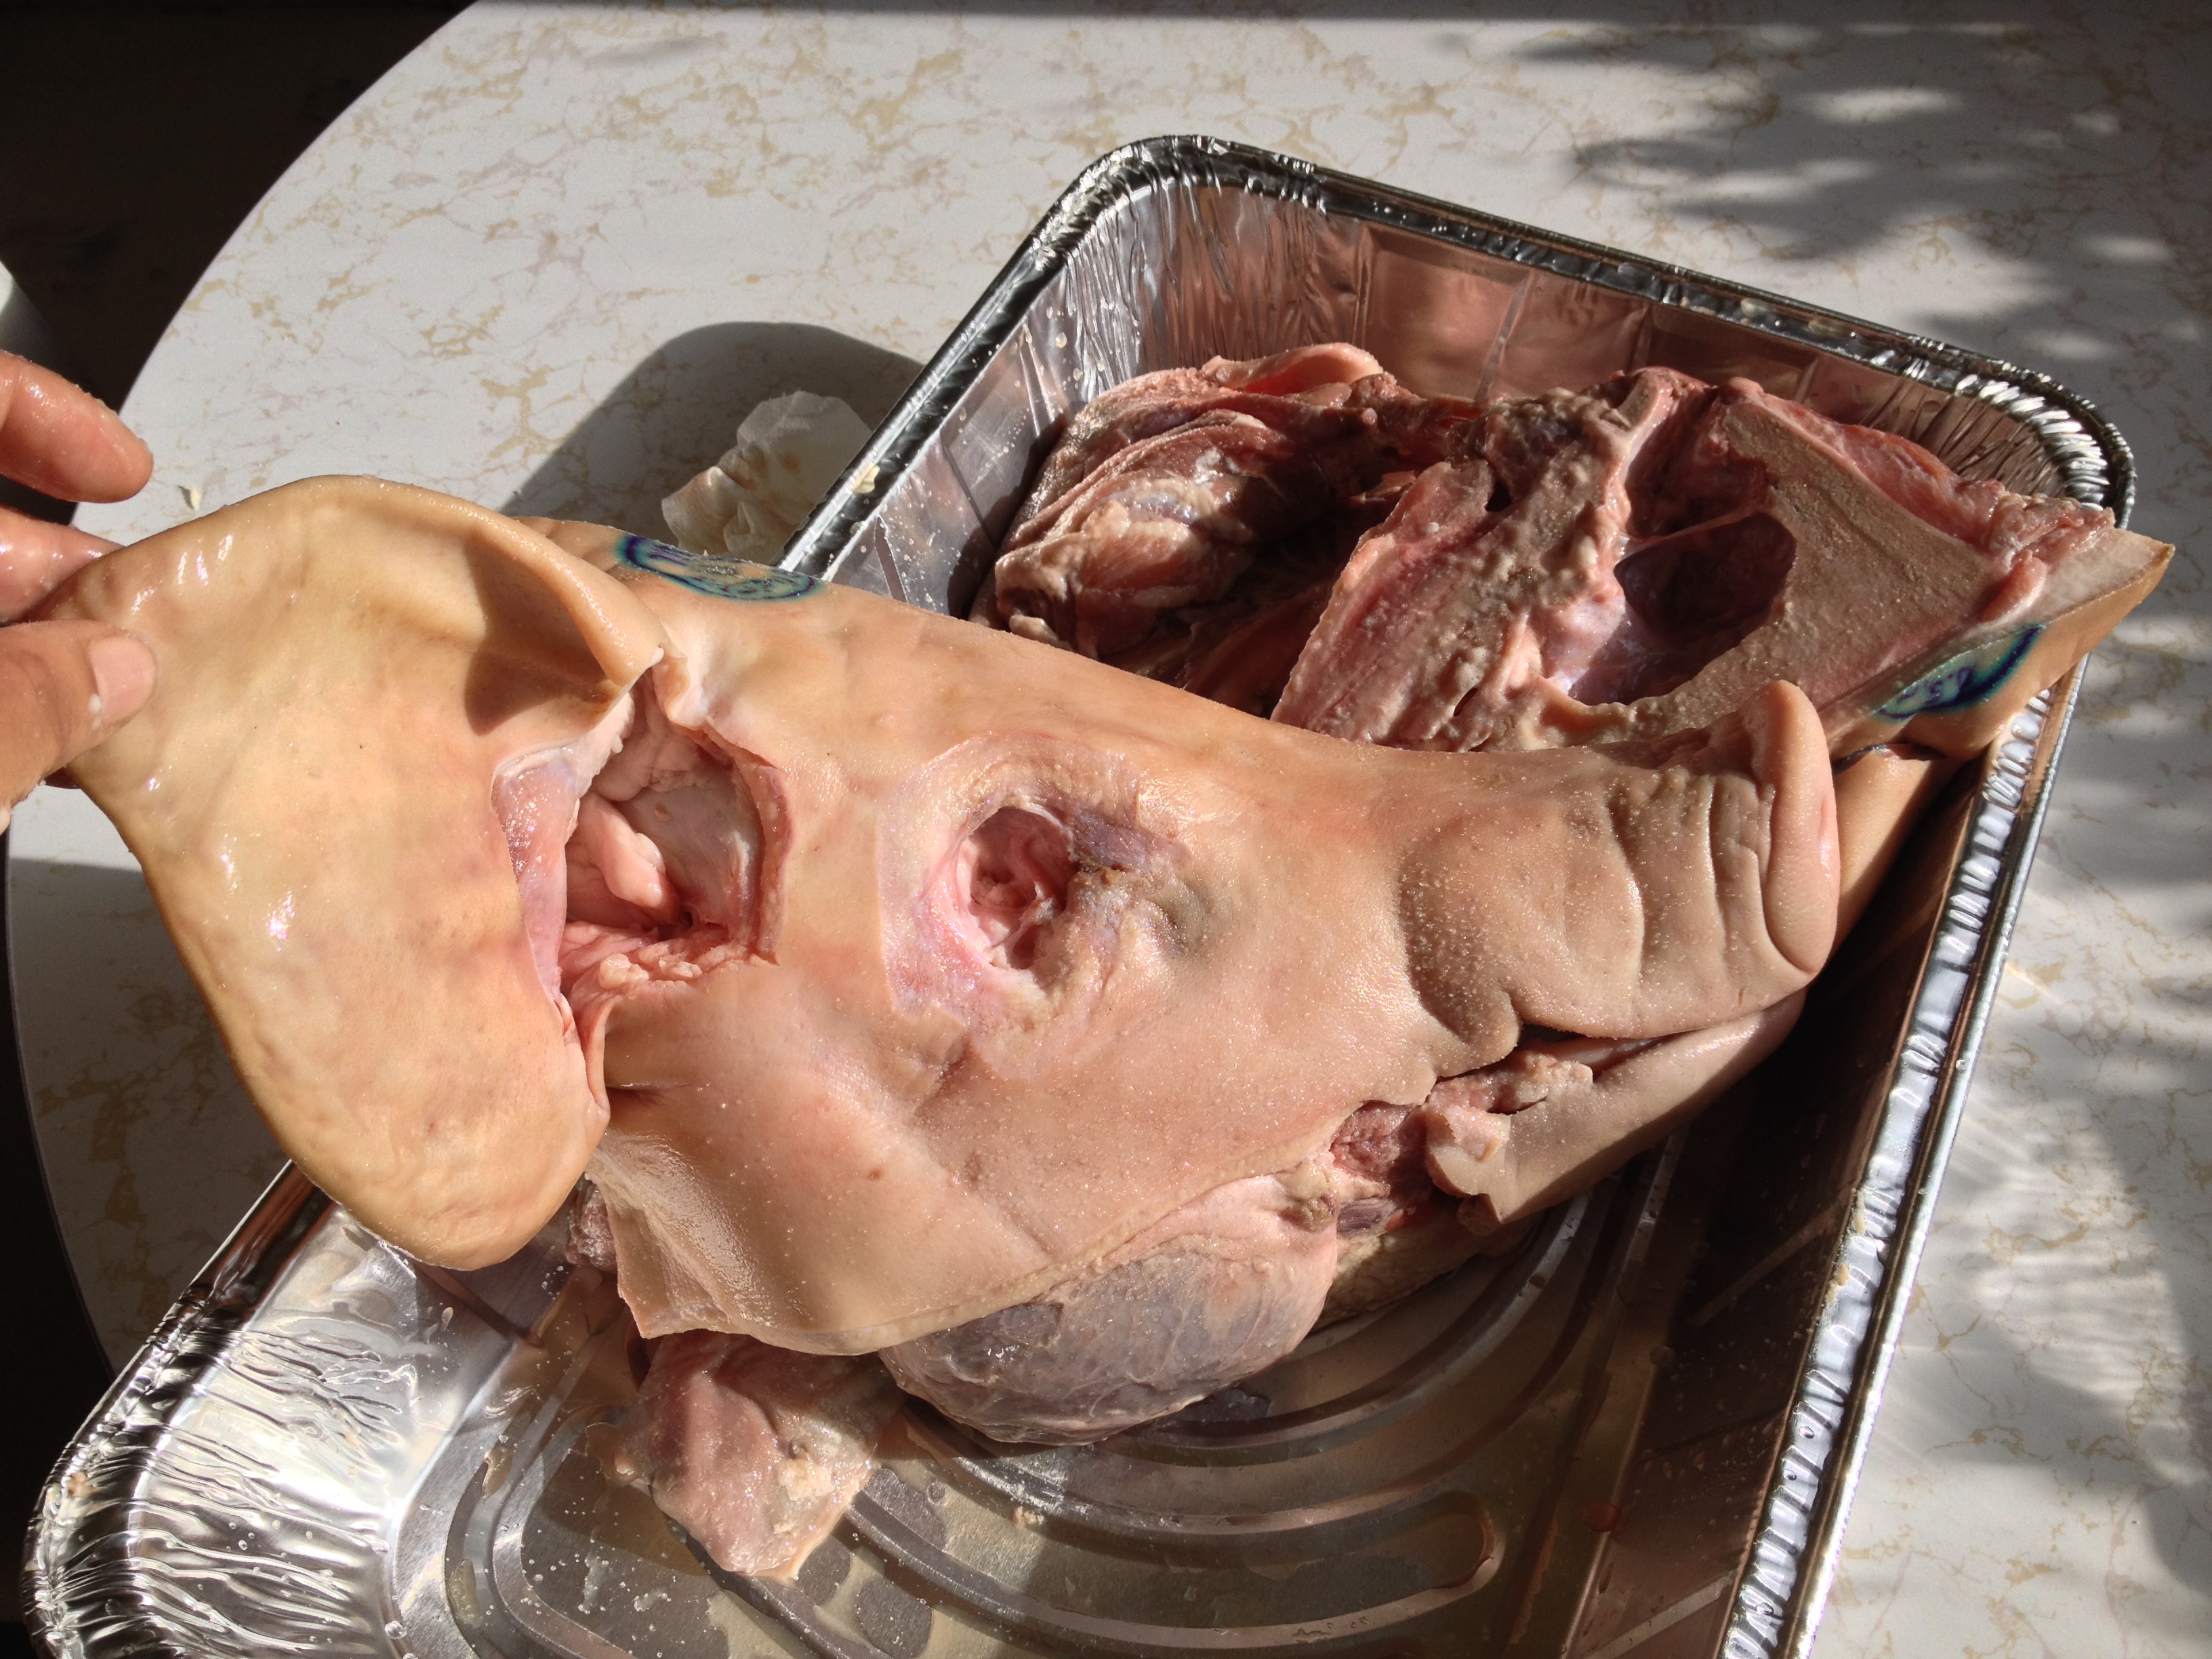
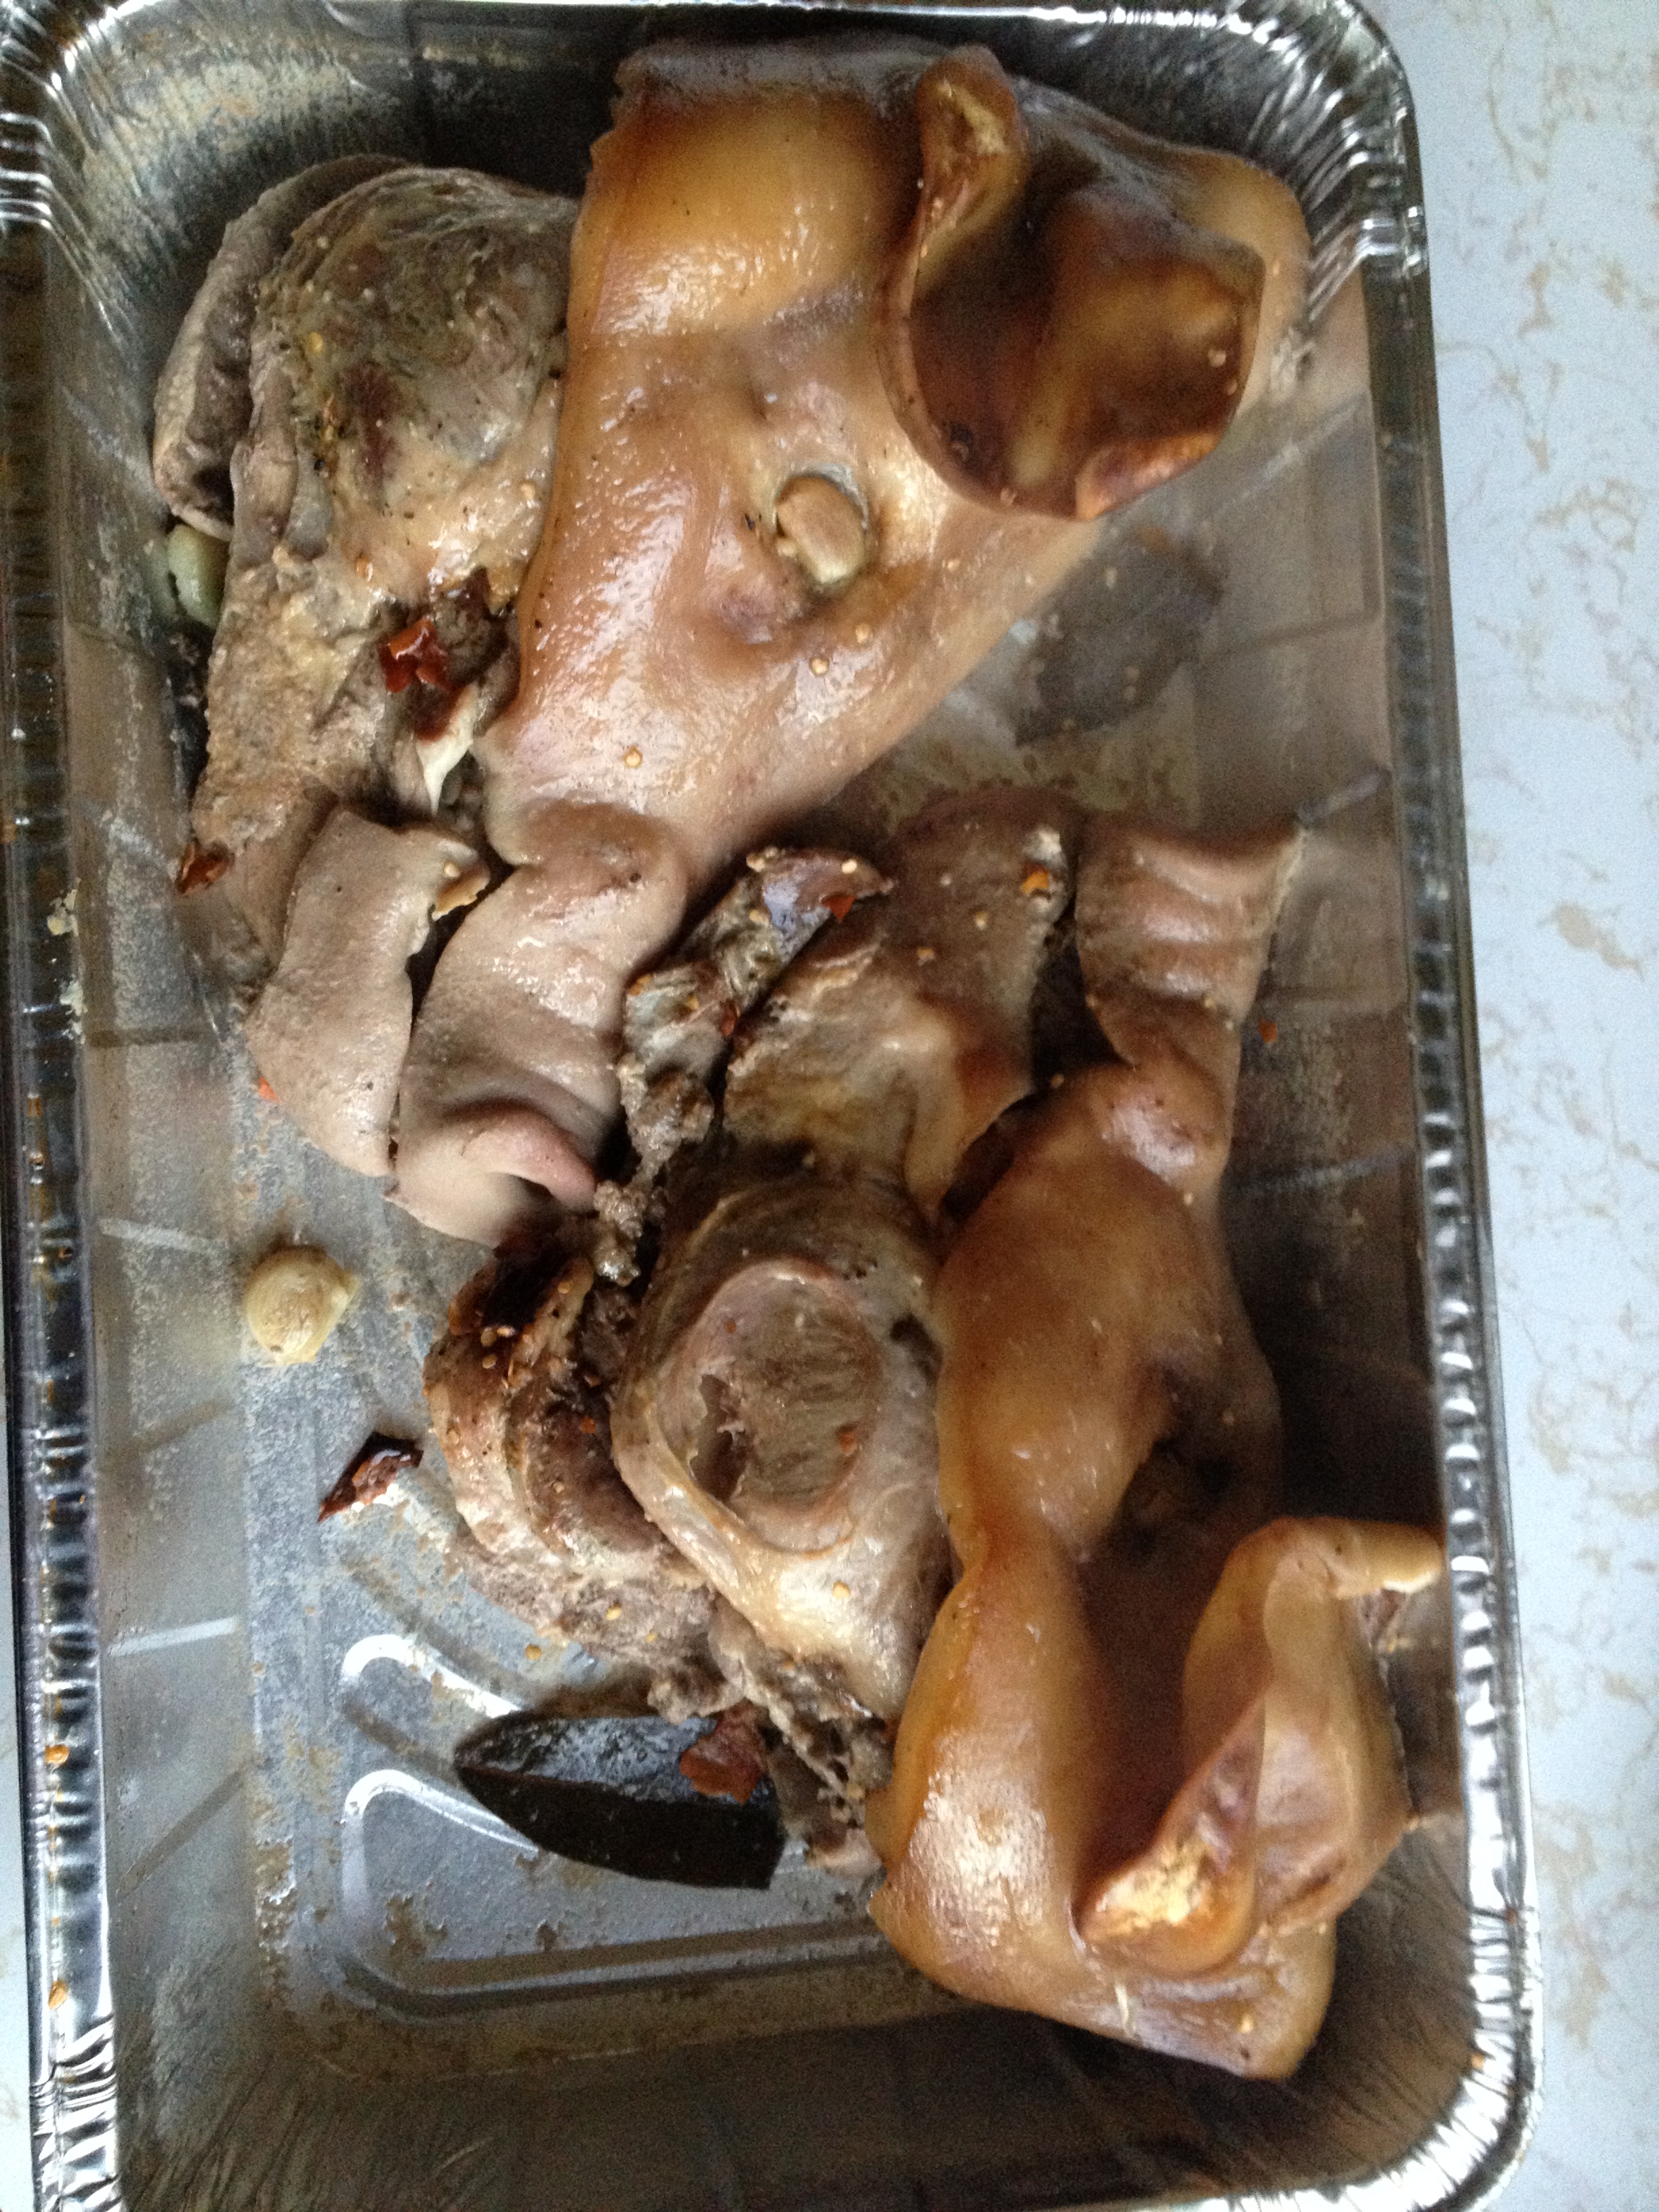
Just like with any other amazing dish, you must start with the best and freshest ingredients. This is a freshly slaughtered Berkshire pig head from Union Market in DC. It comes whole but I asked the butcher to slice it in half for me, reducing cooking time and optimizing skin crispiness.
Can you hear me now?
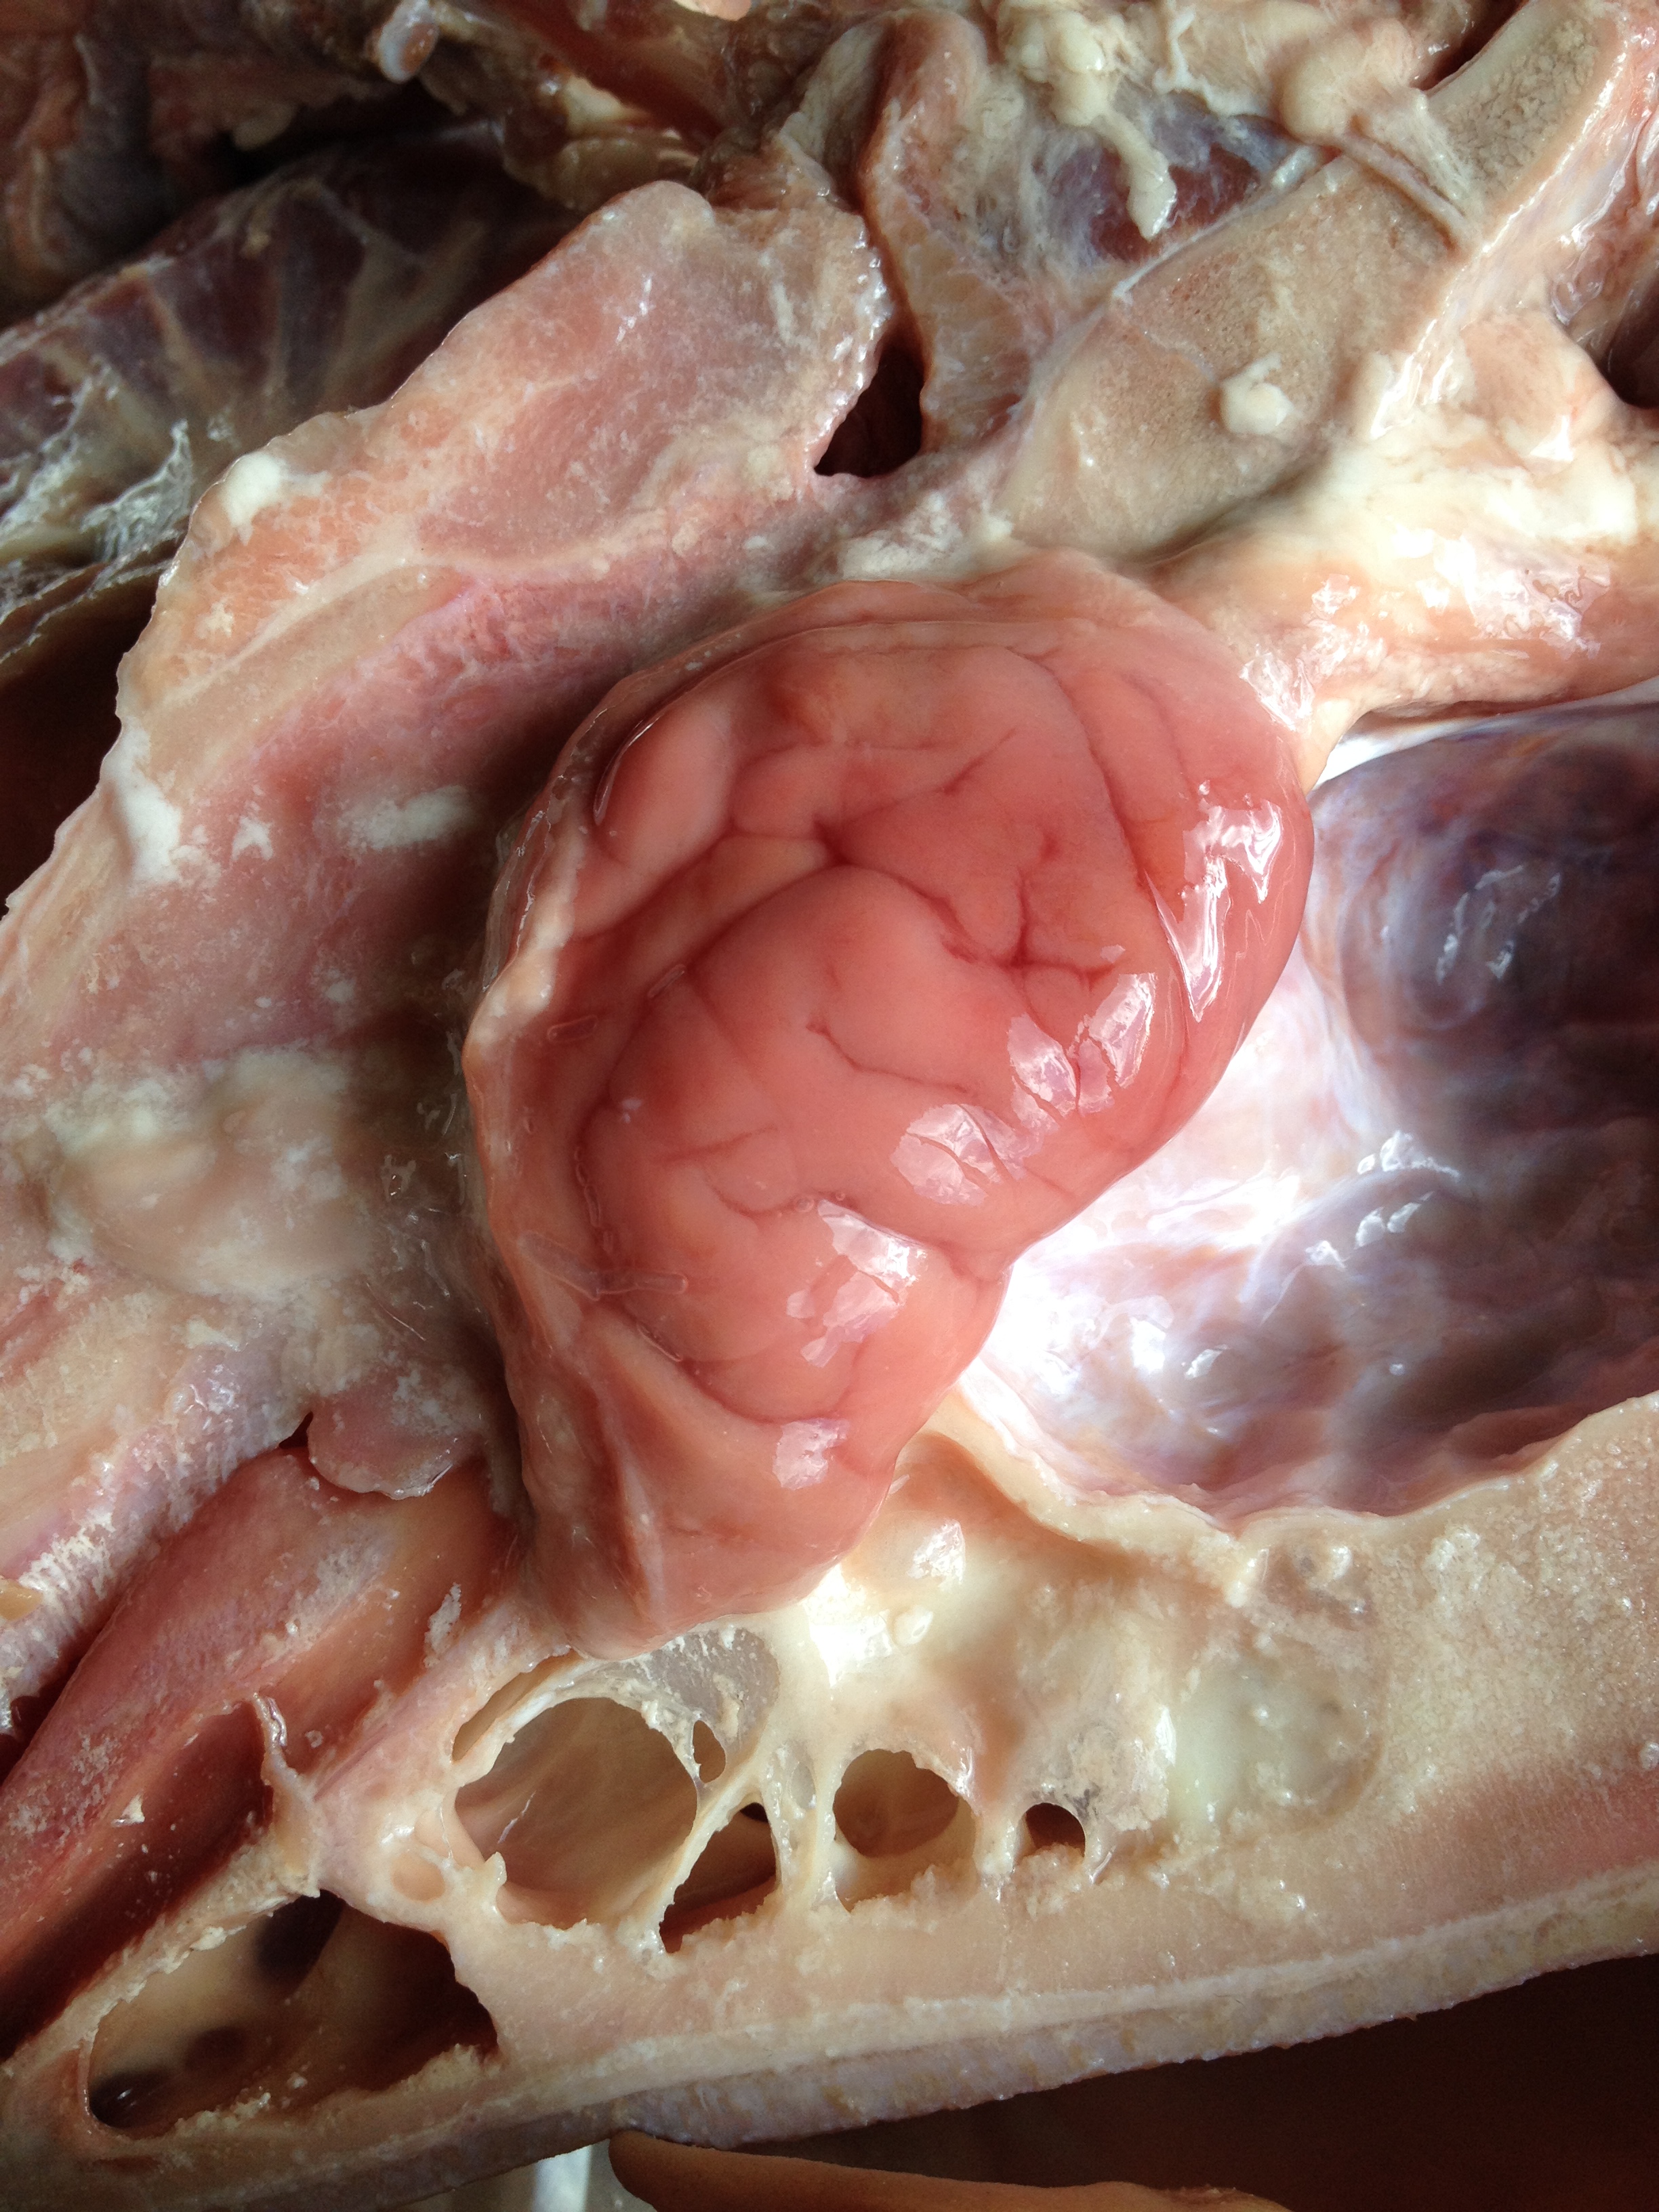
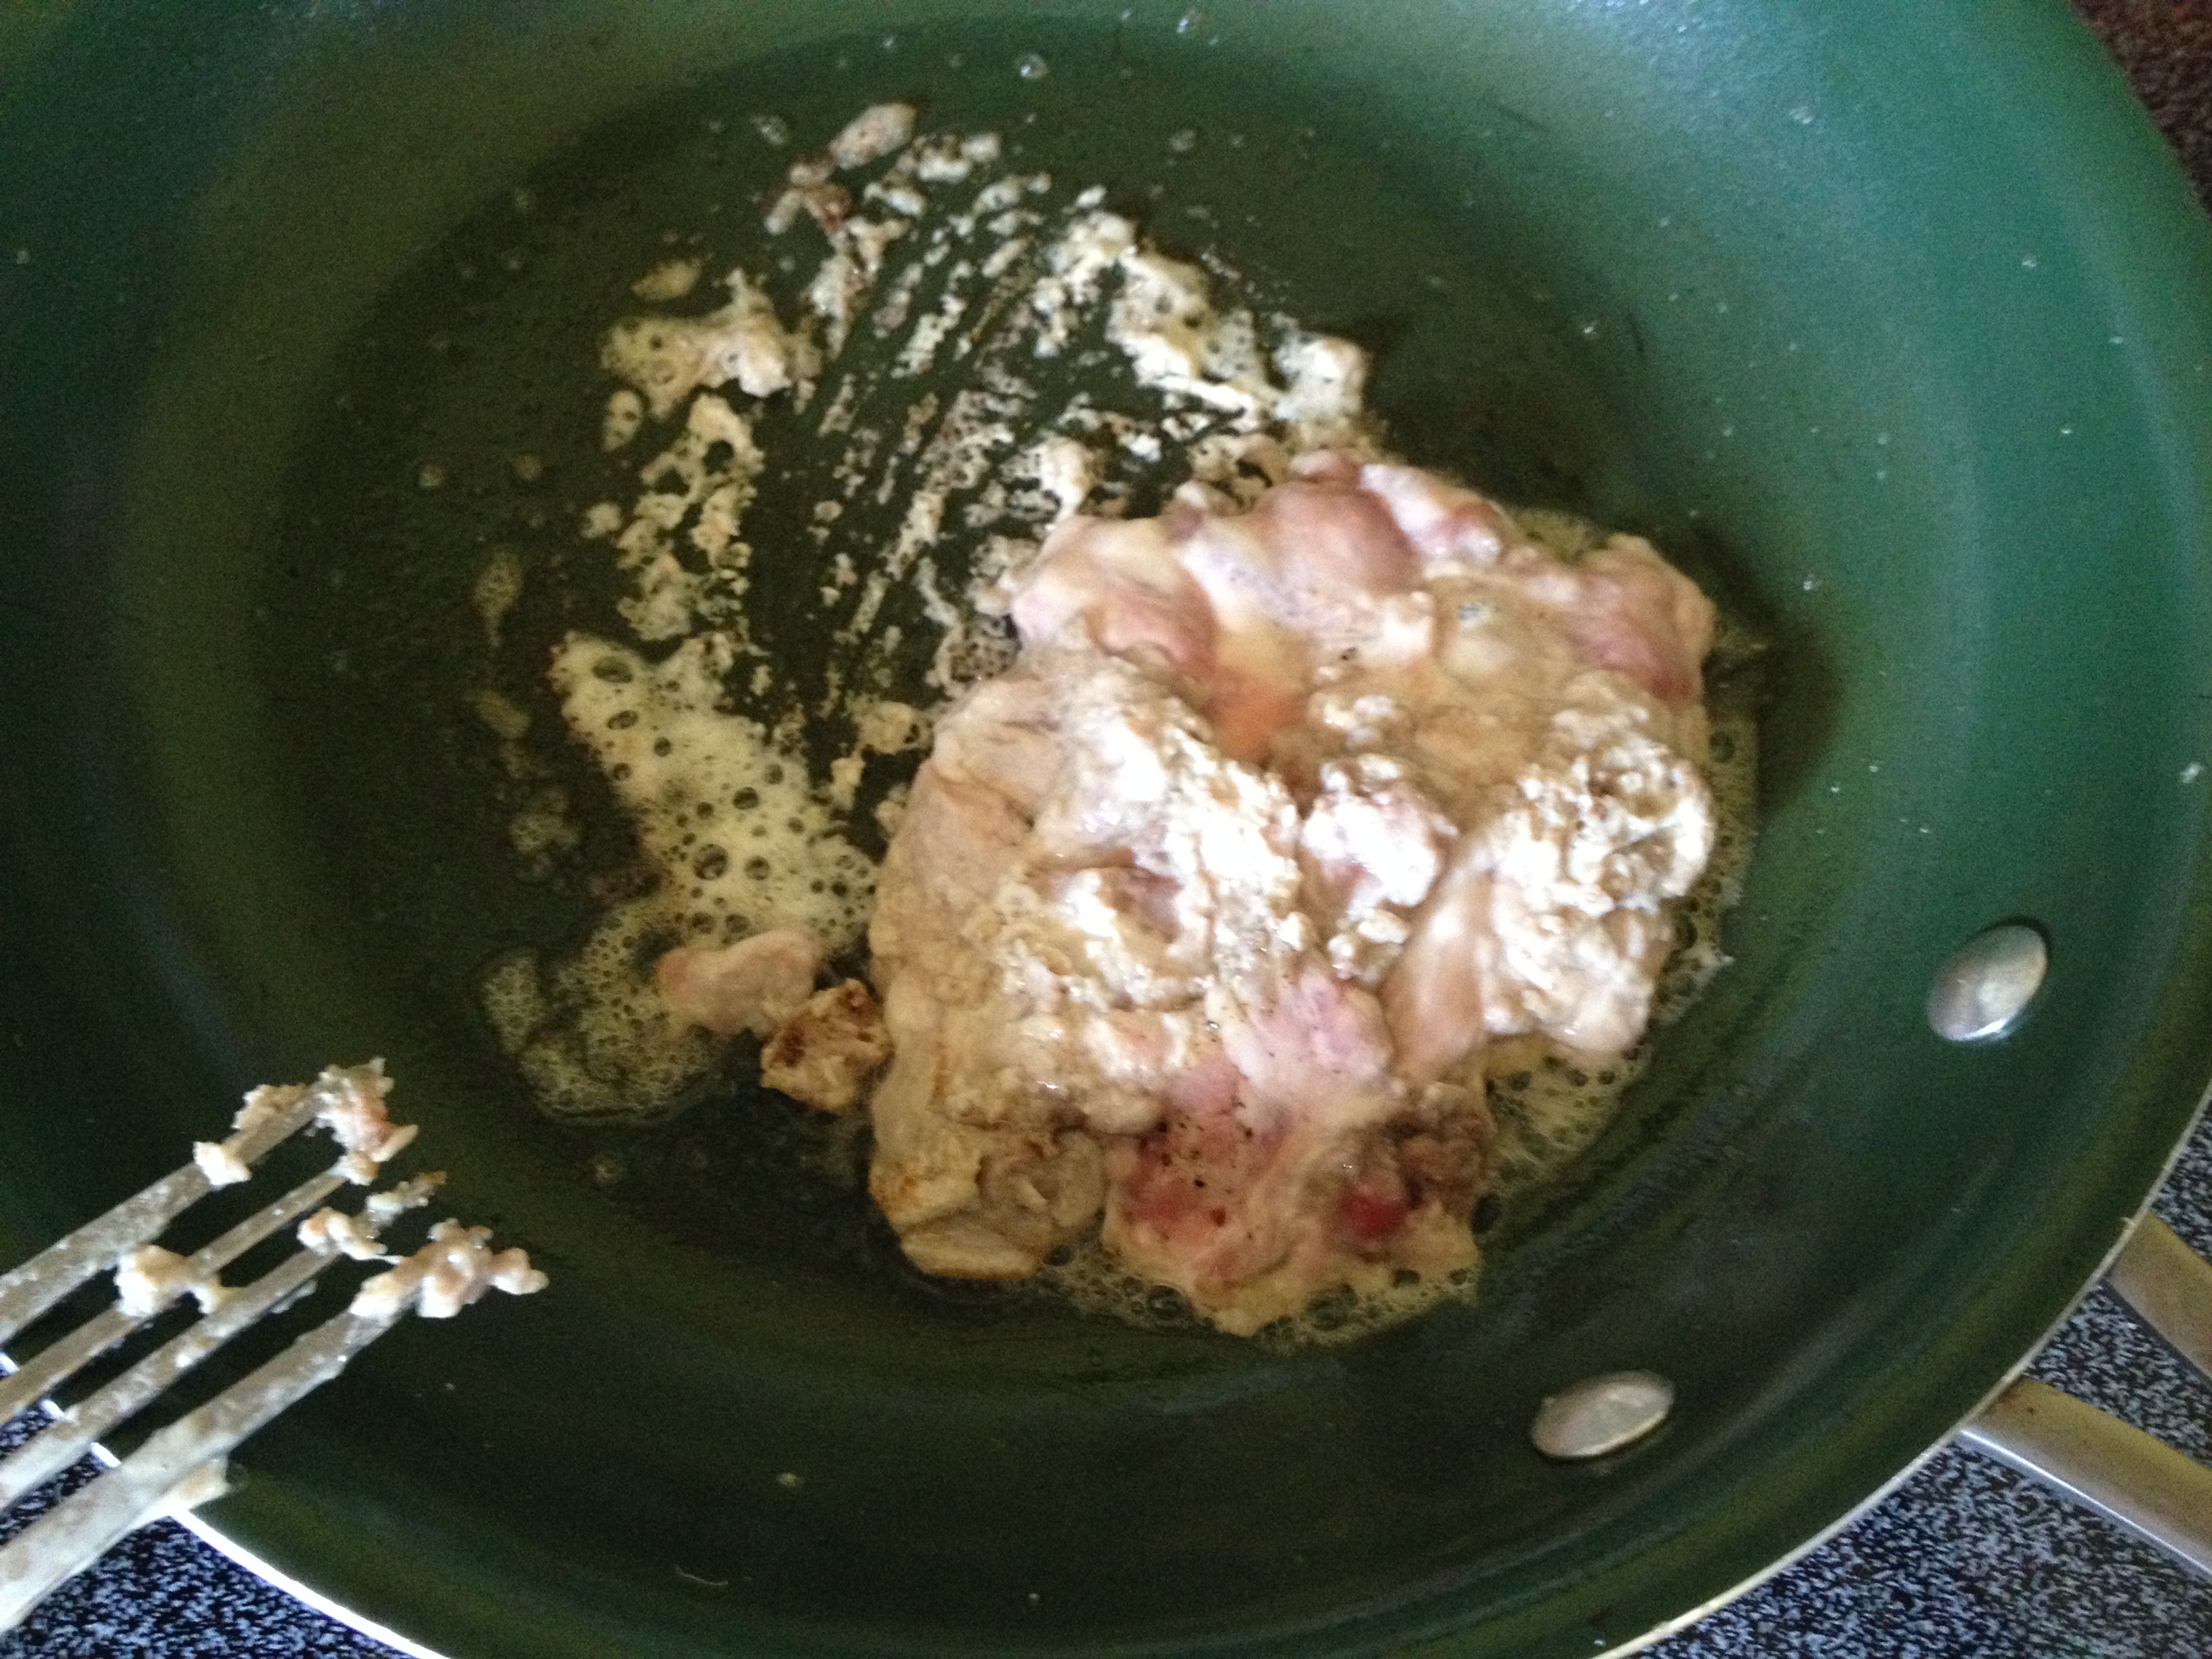
Believe it or not, I’ve never eaten hog brain before so I decided to make a breakfast out of it. Reminds me of chicken liver, only with a porky flavor.
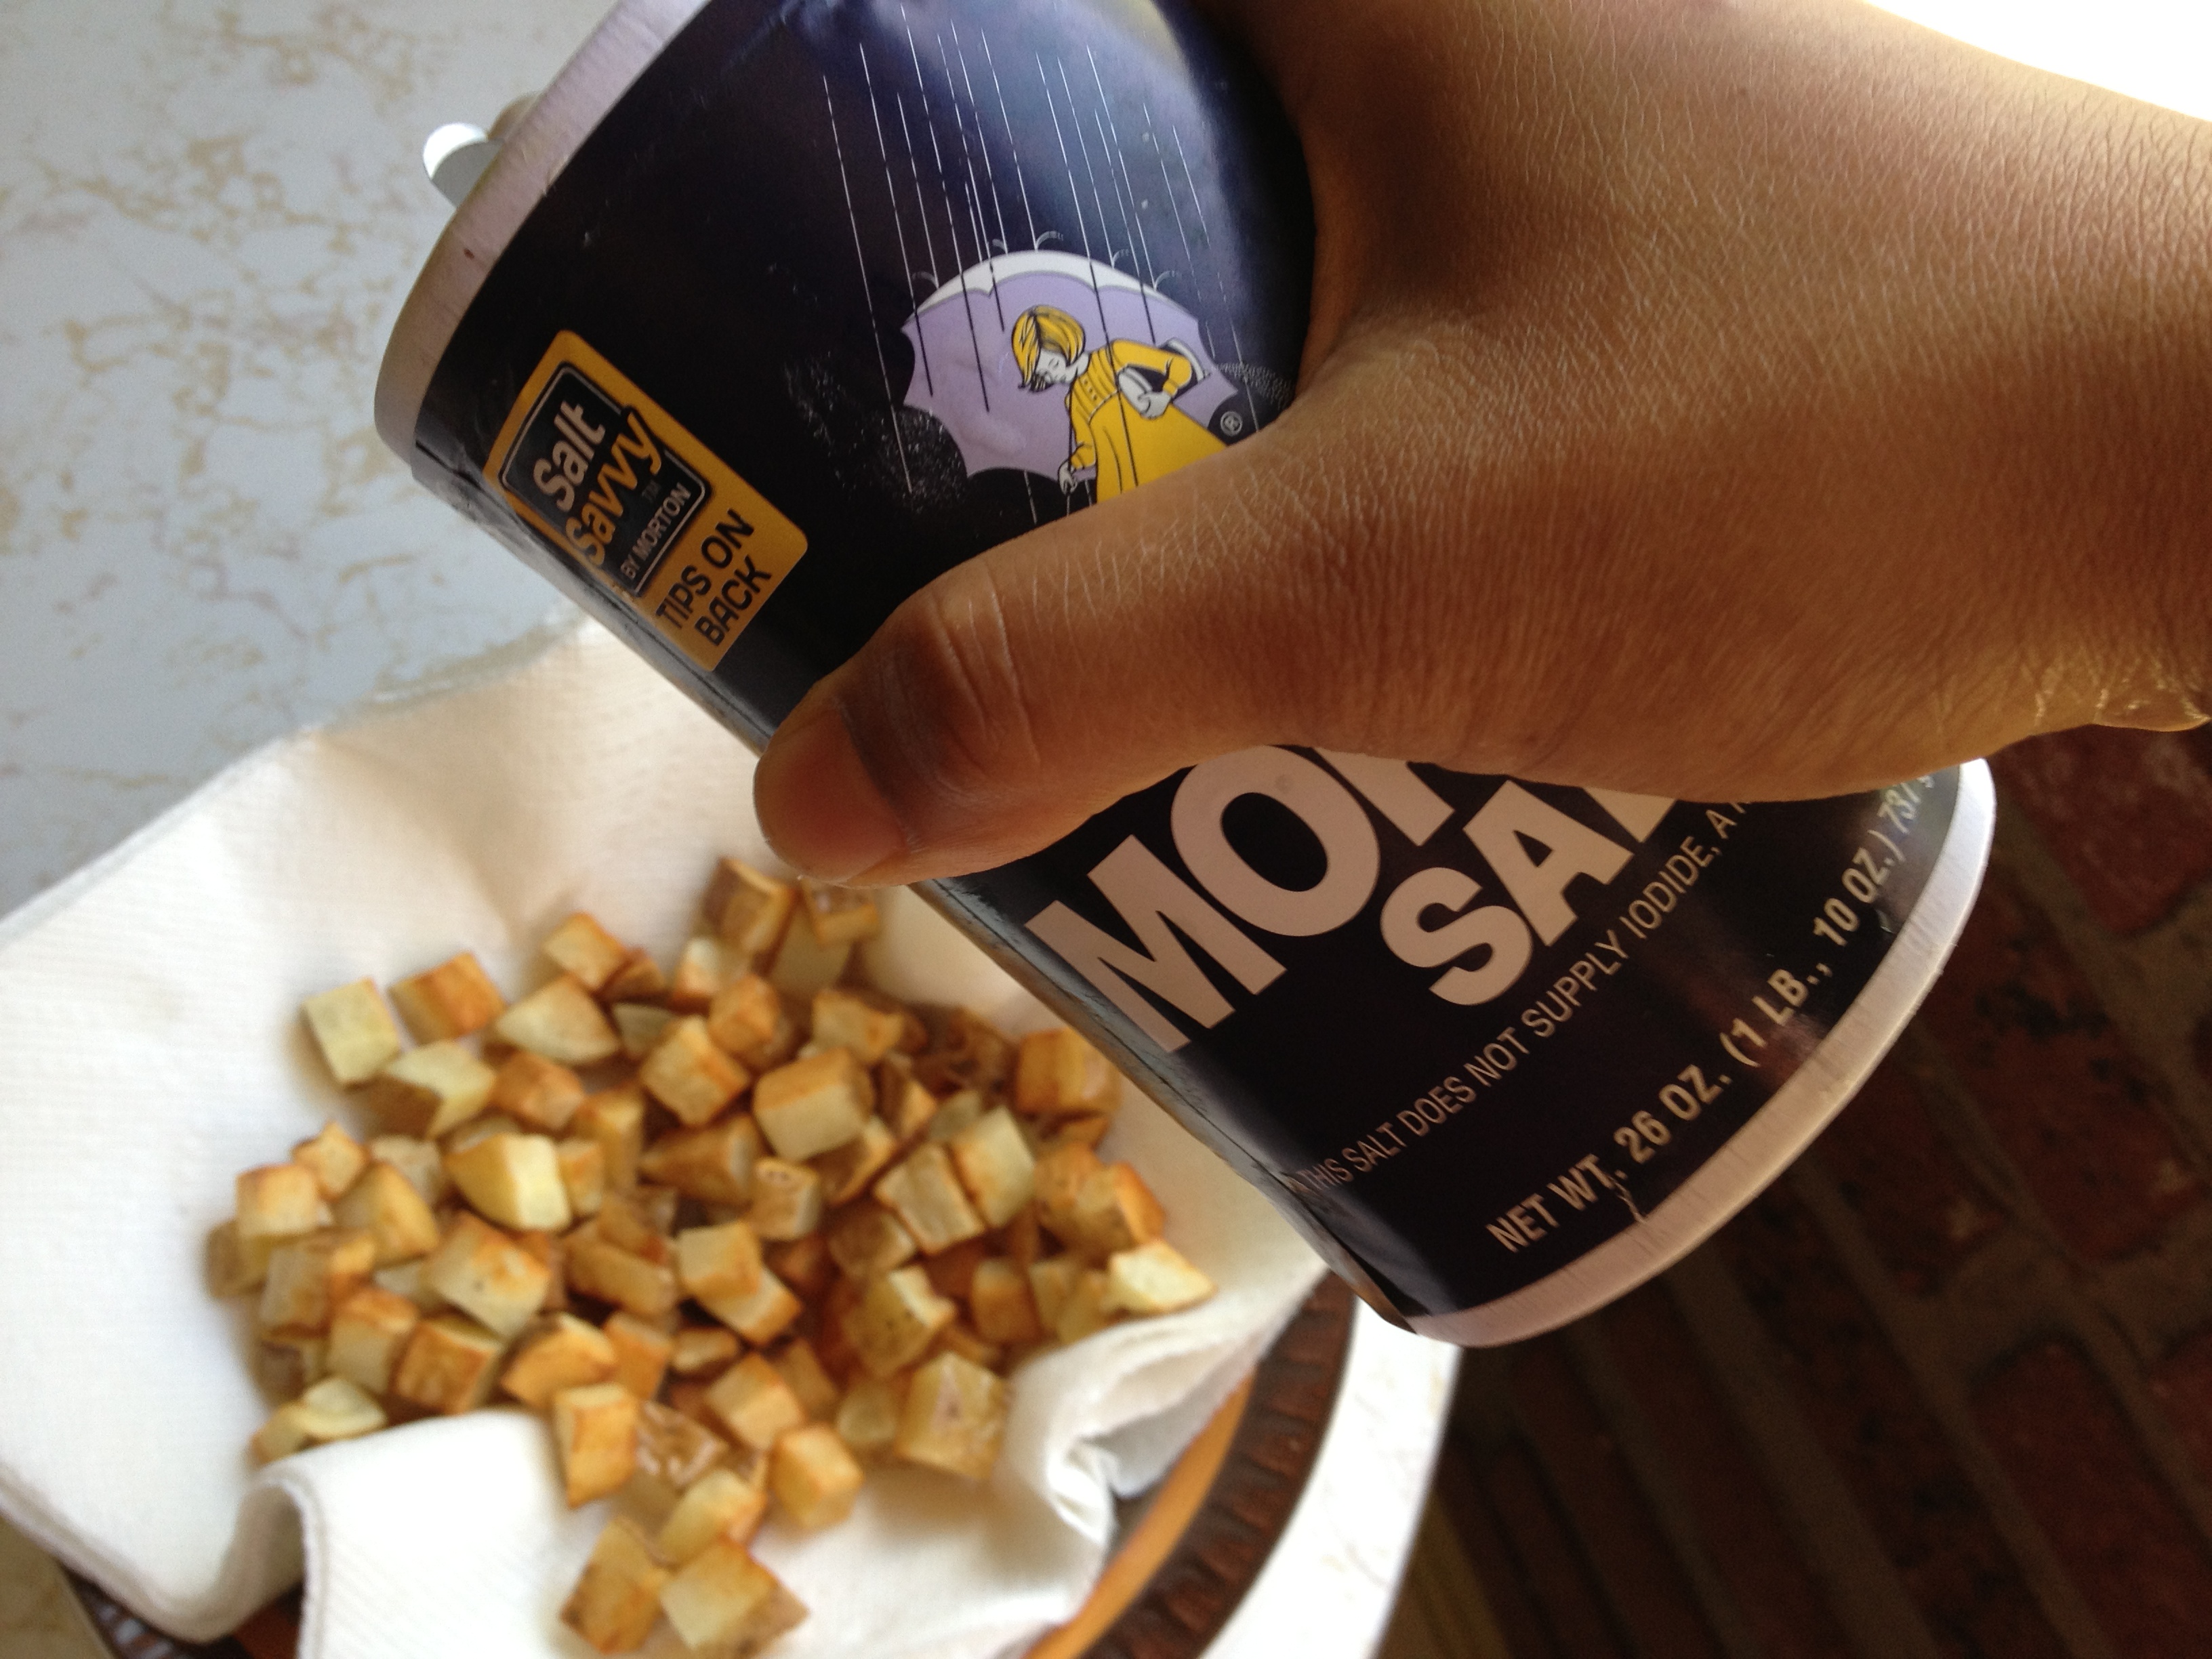
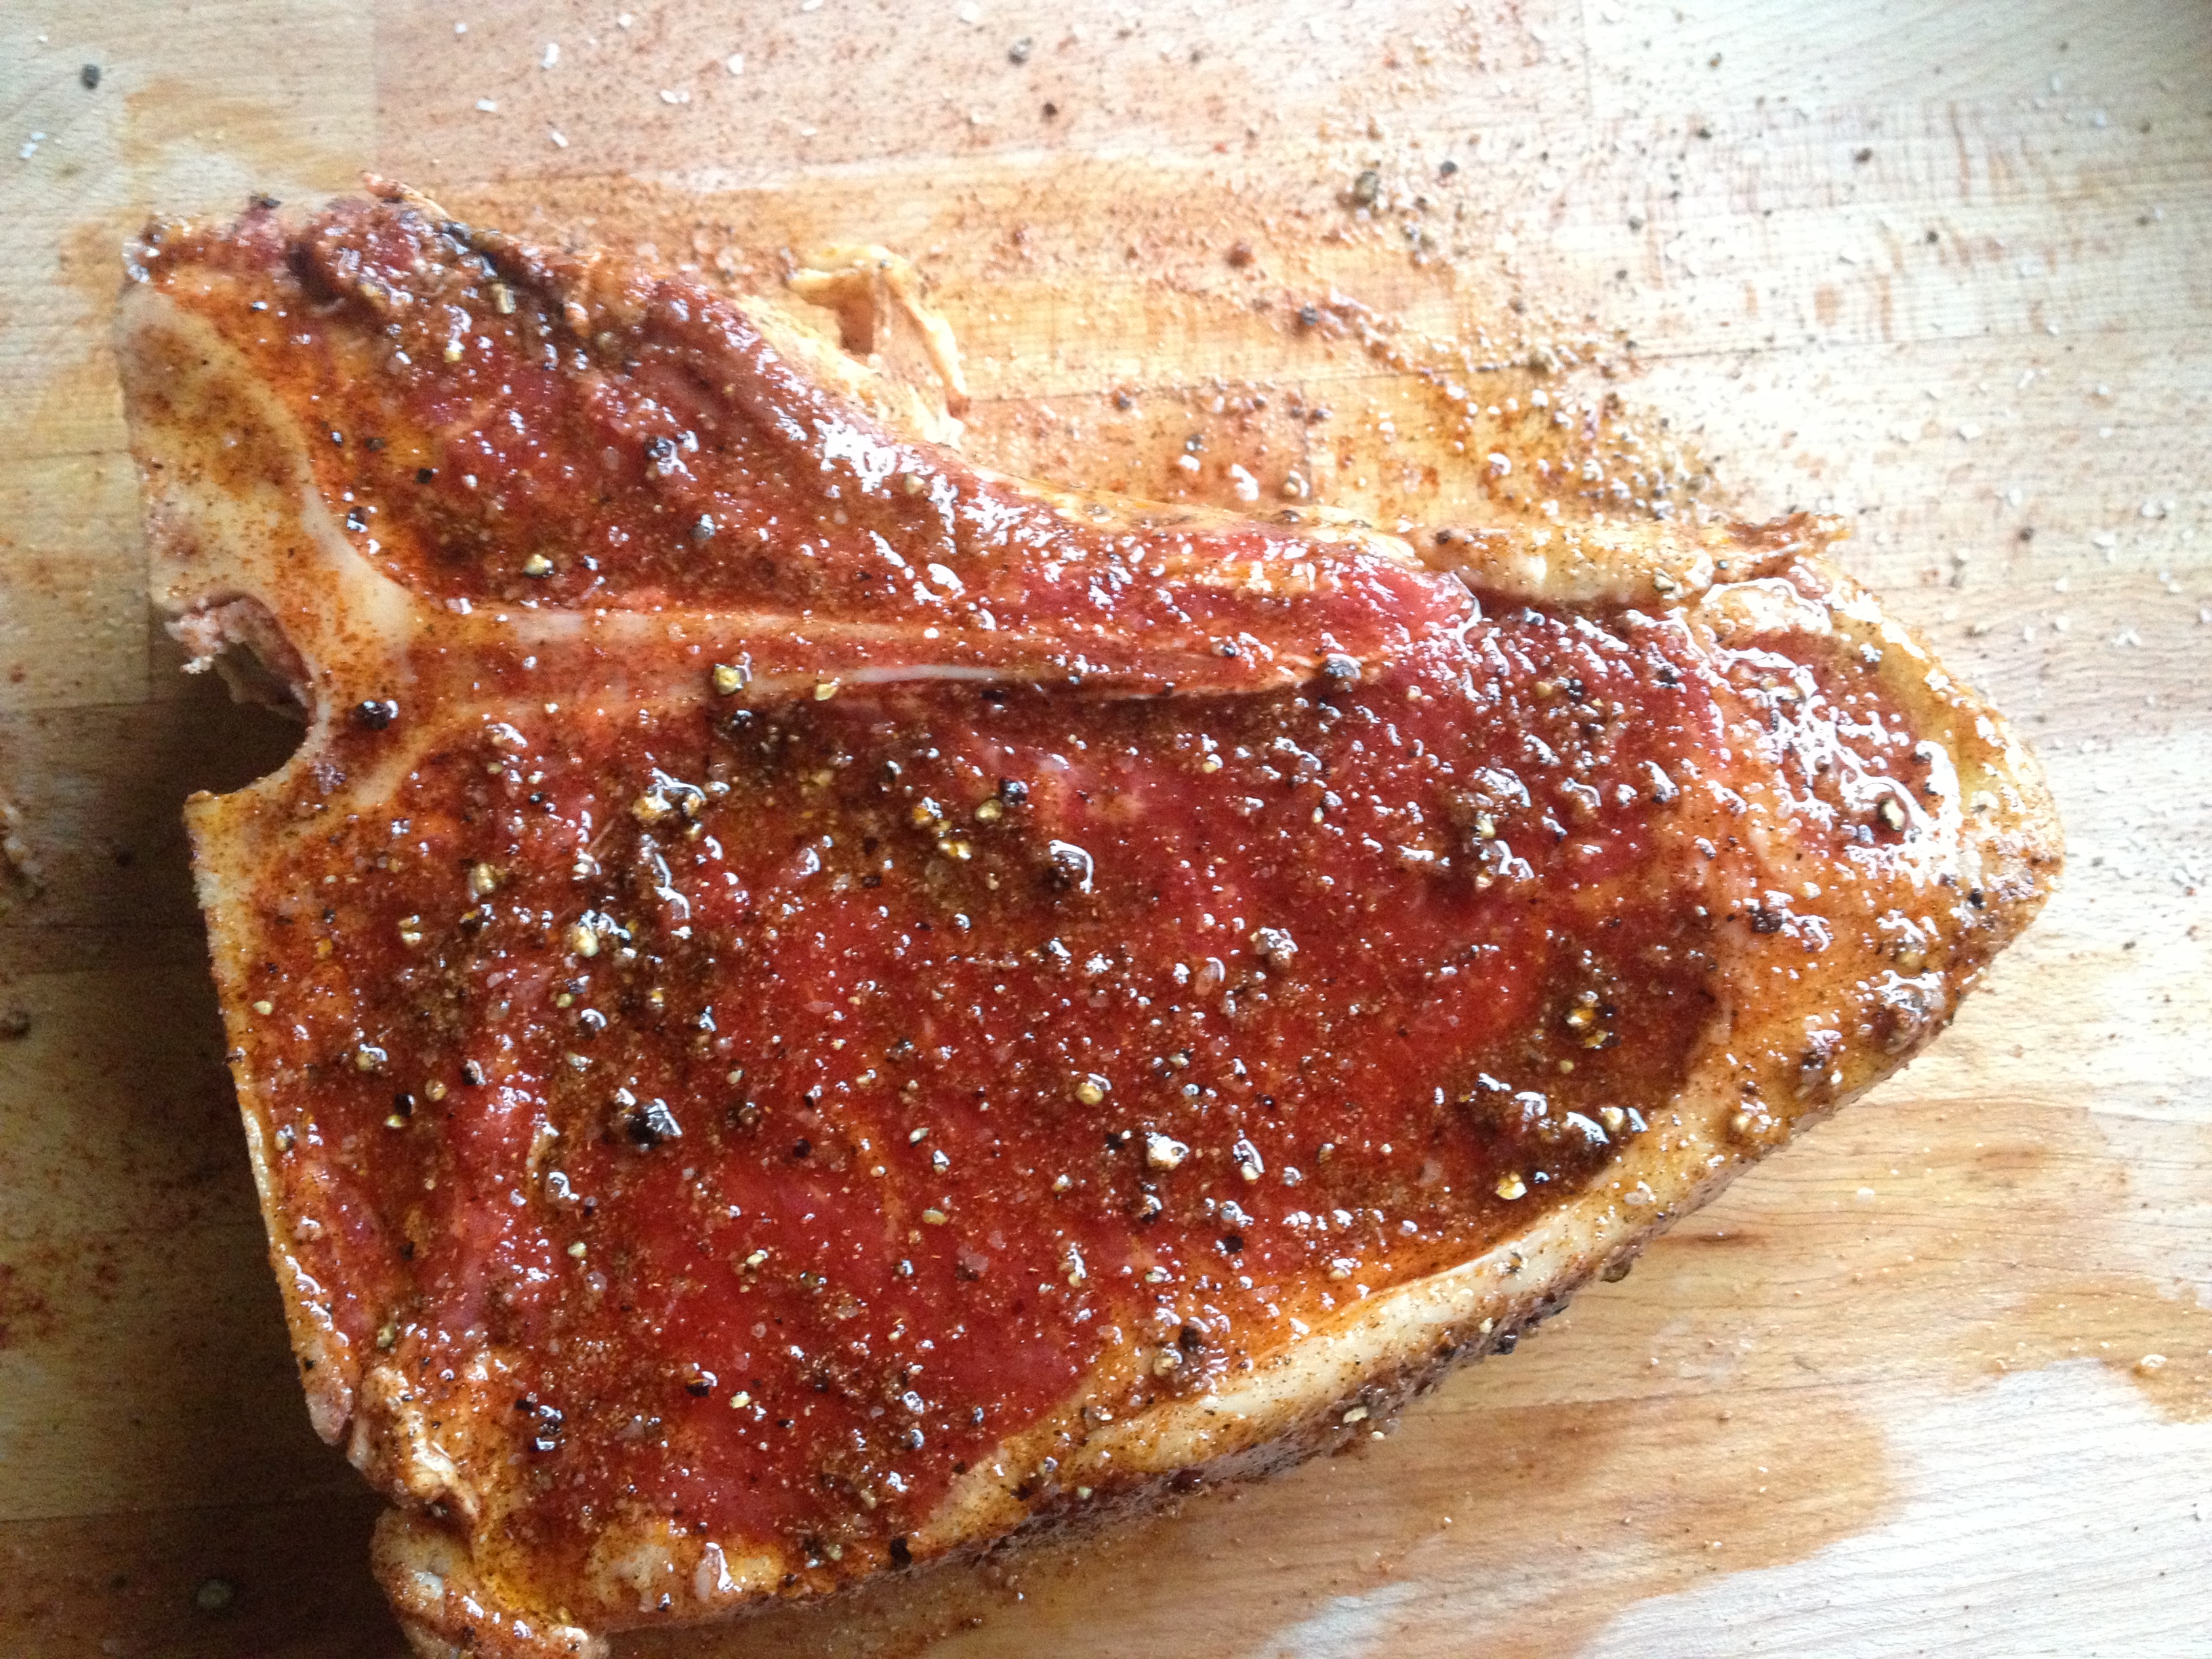
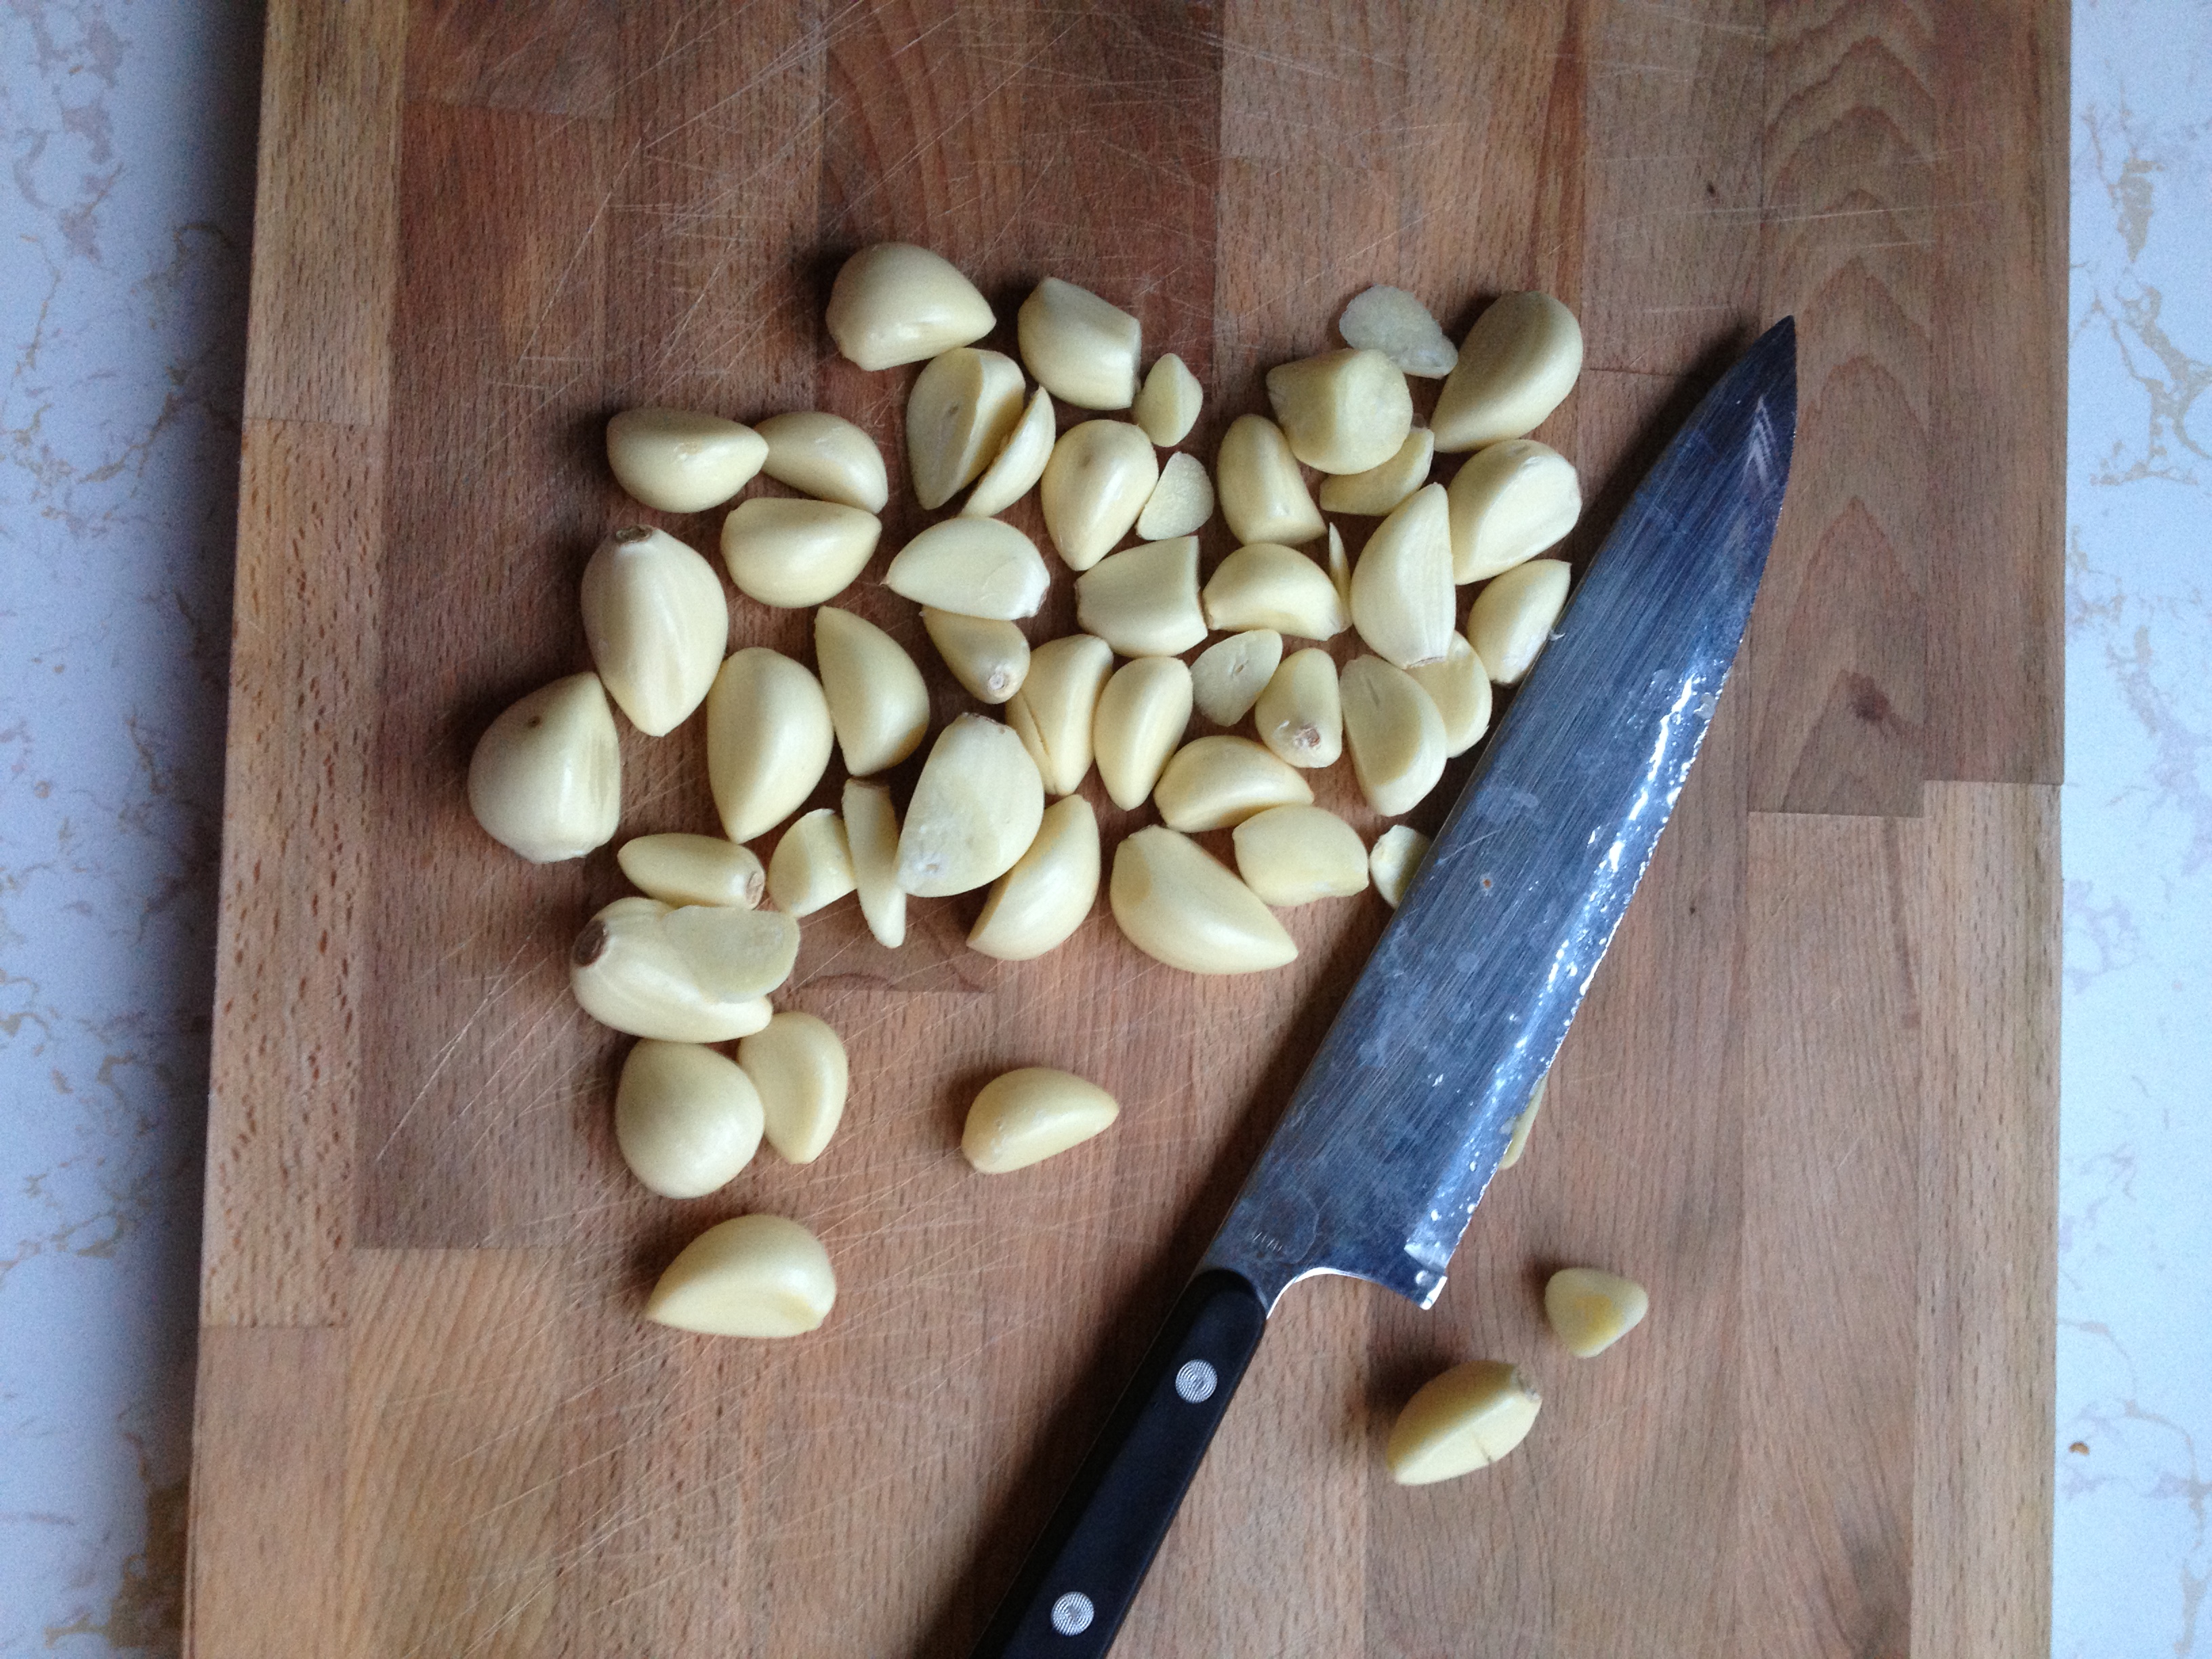
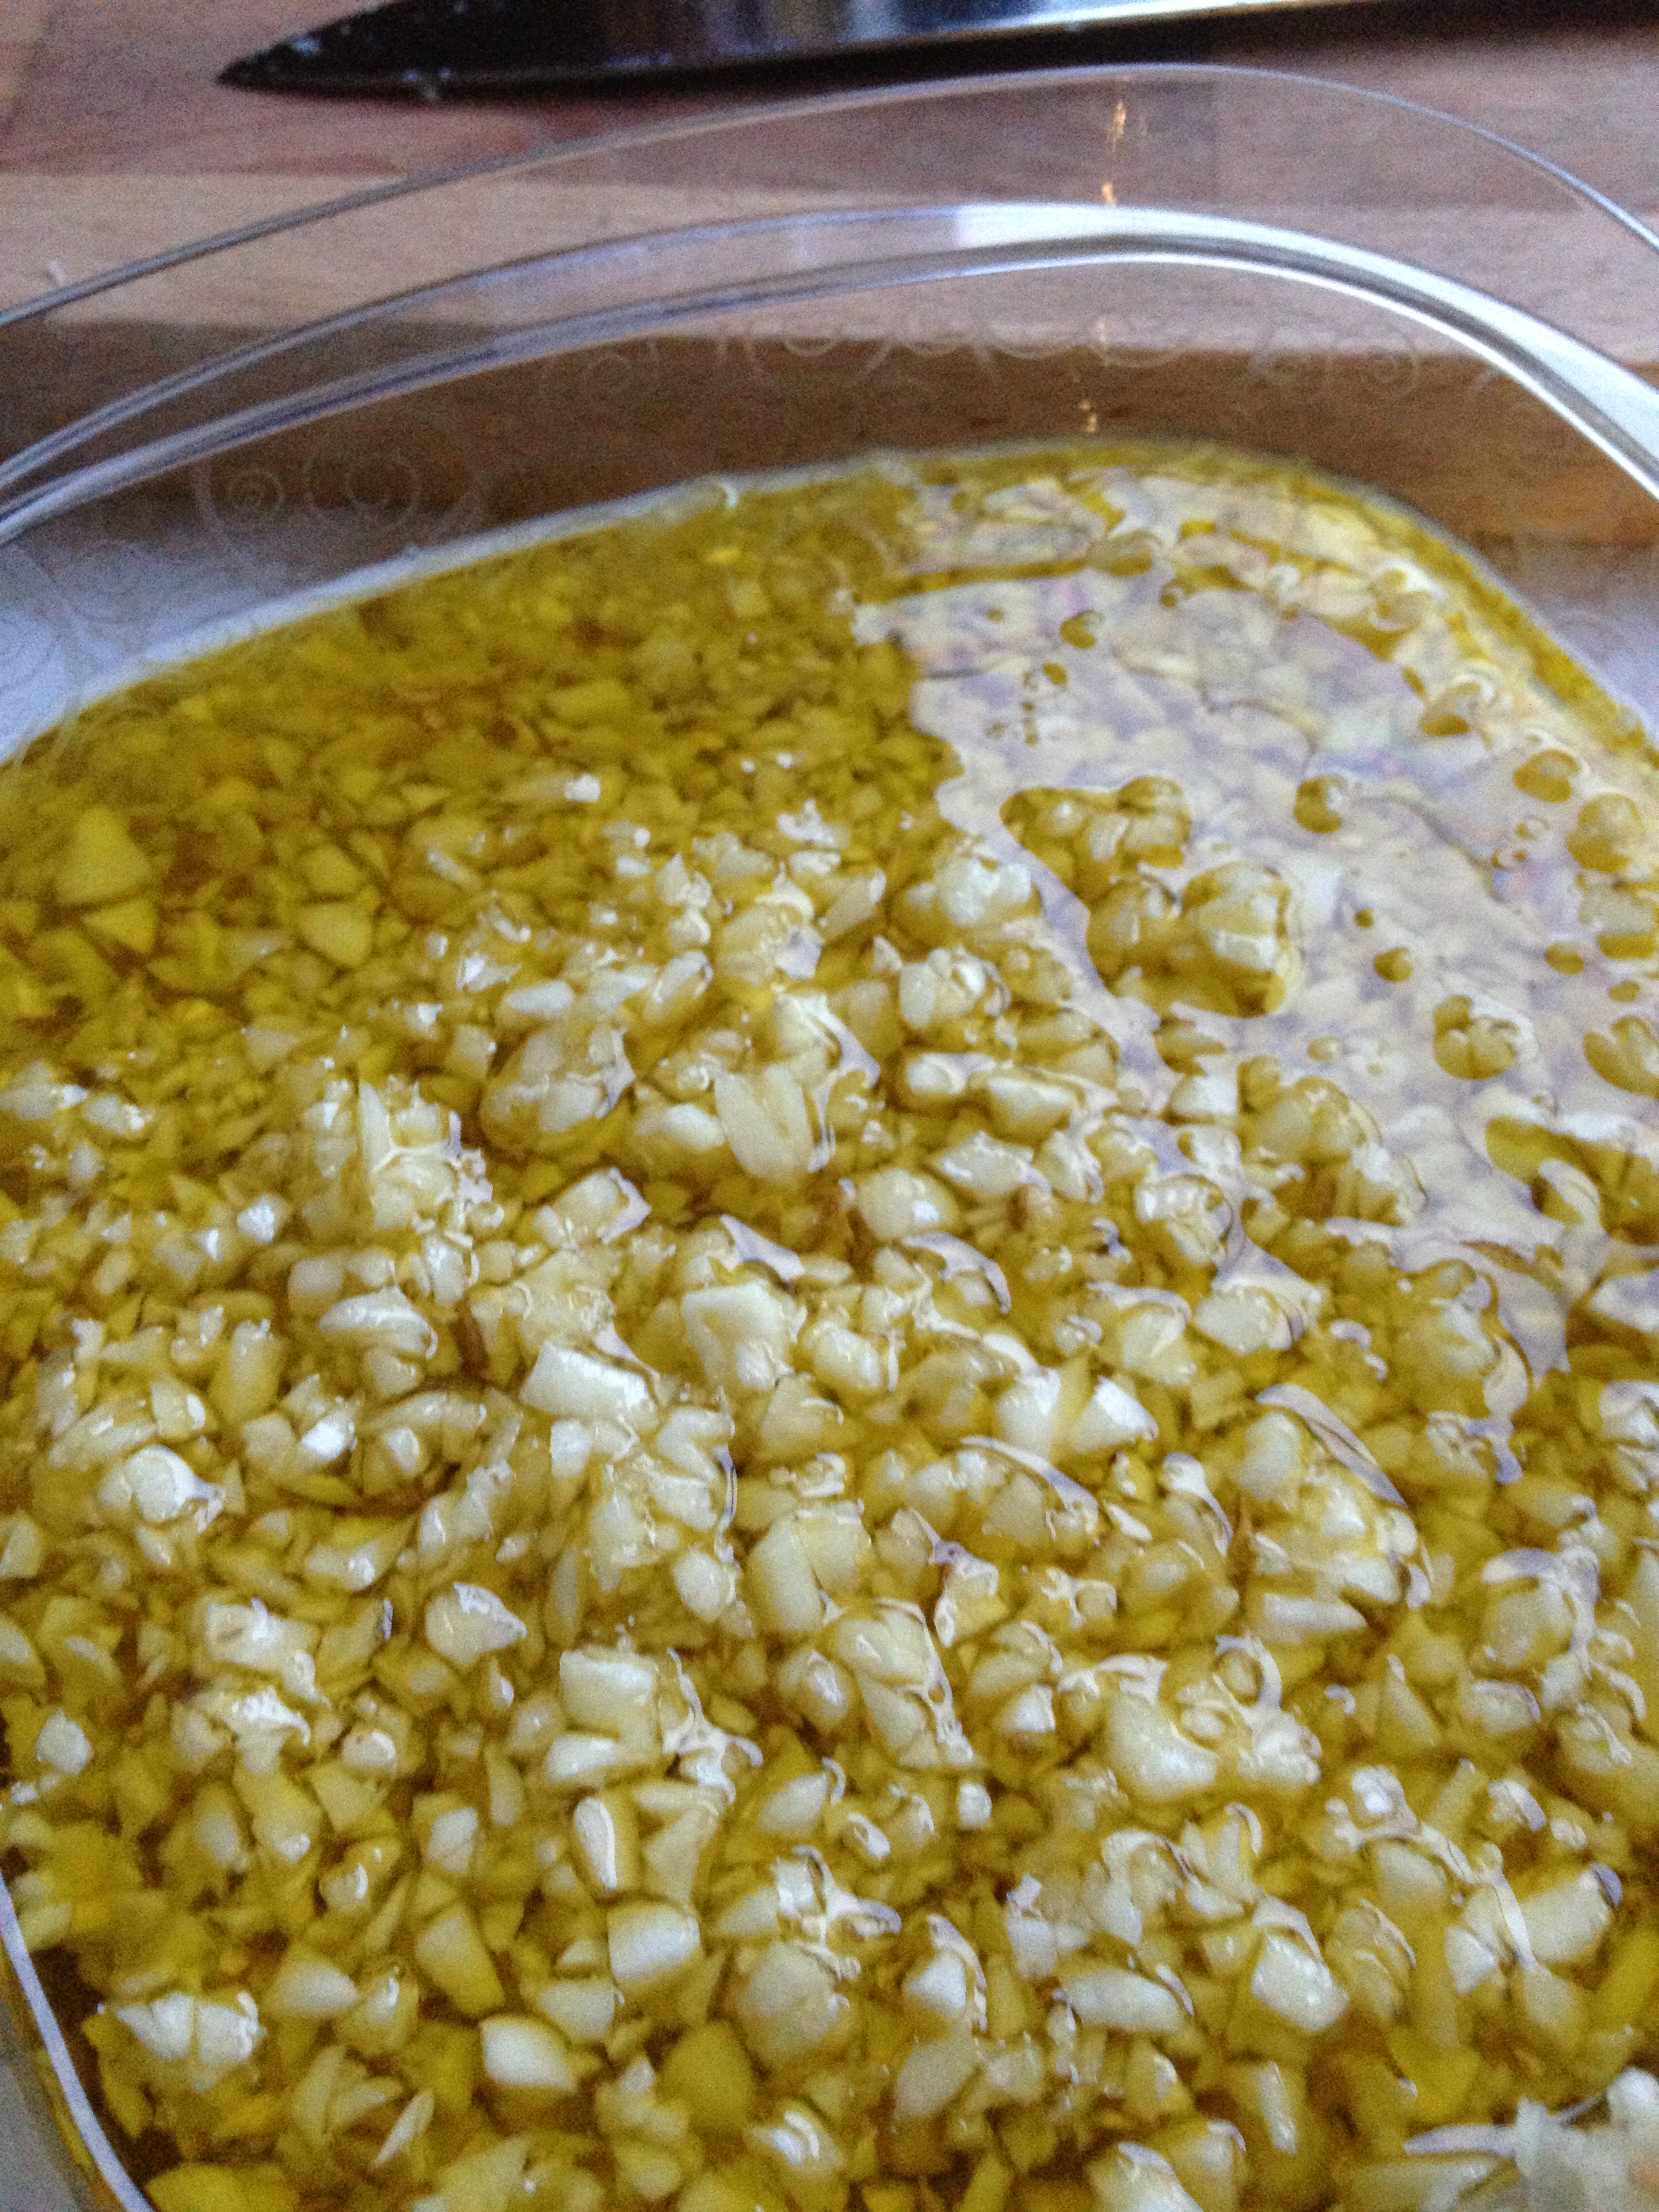
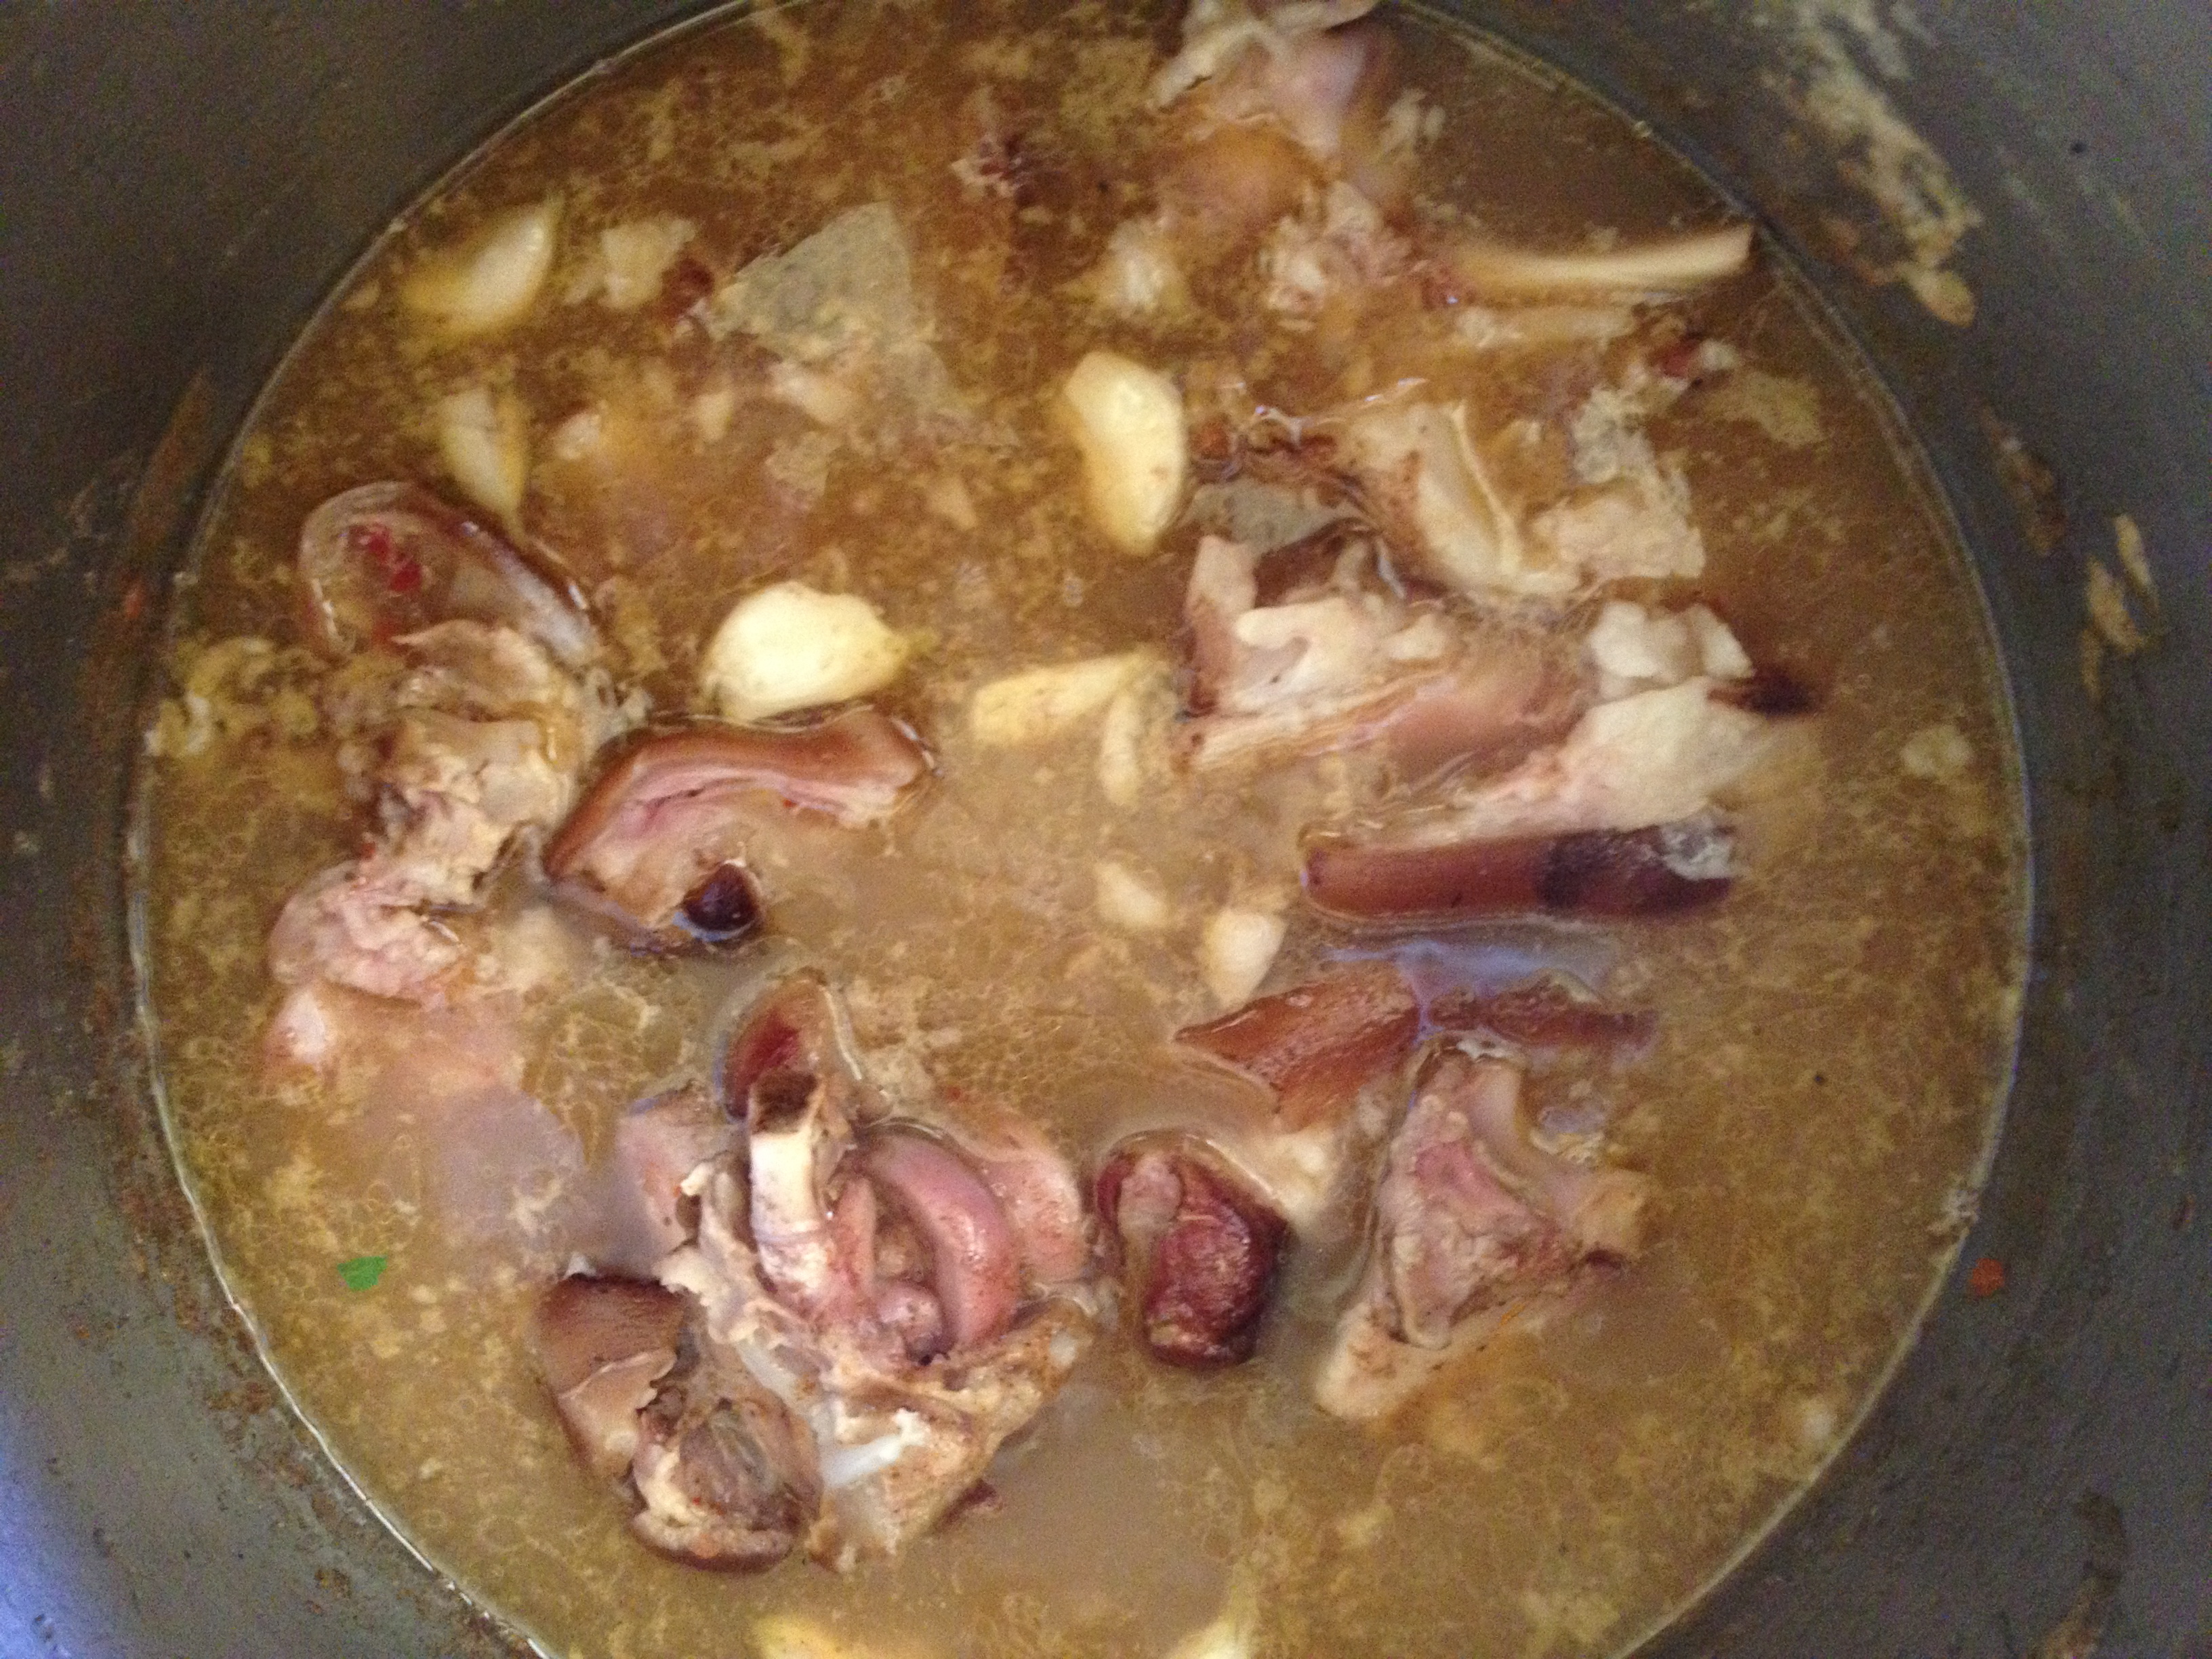
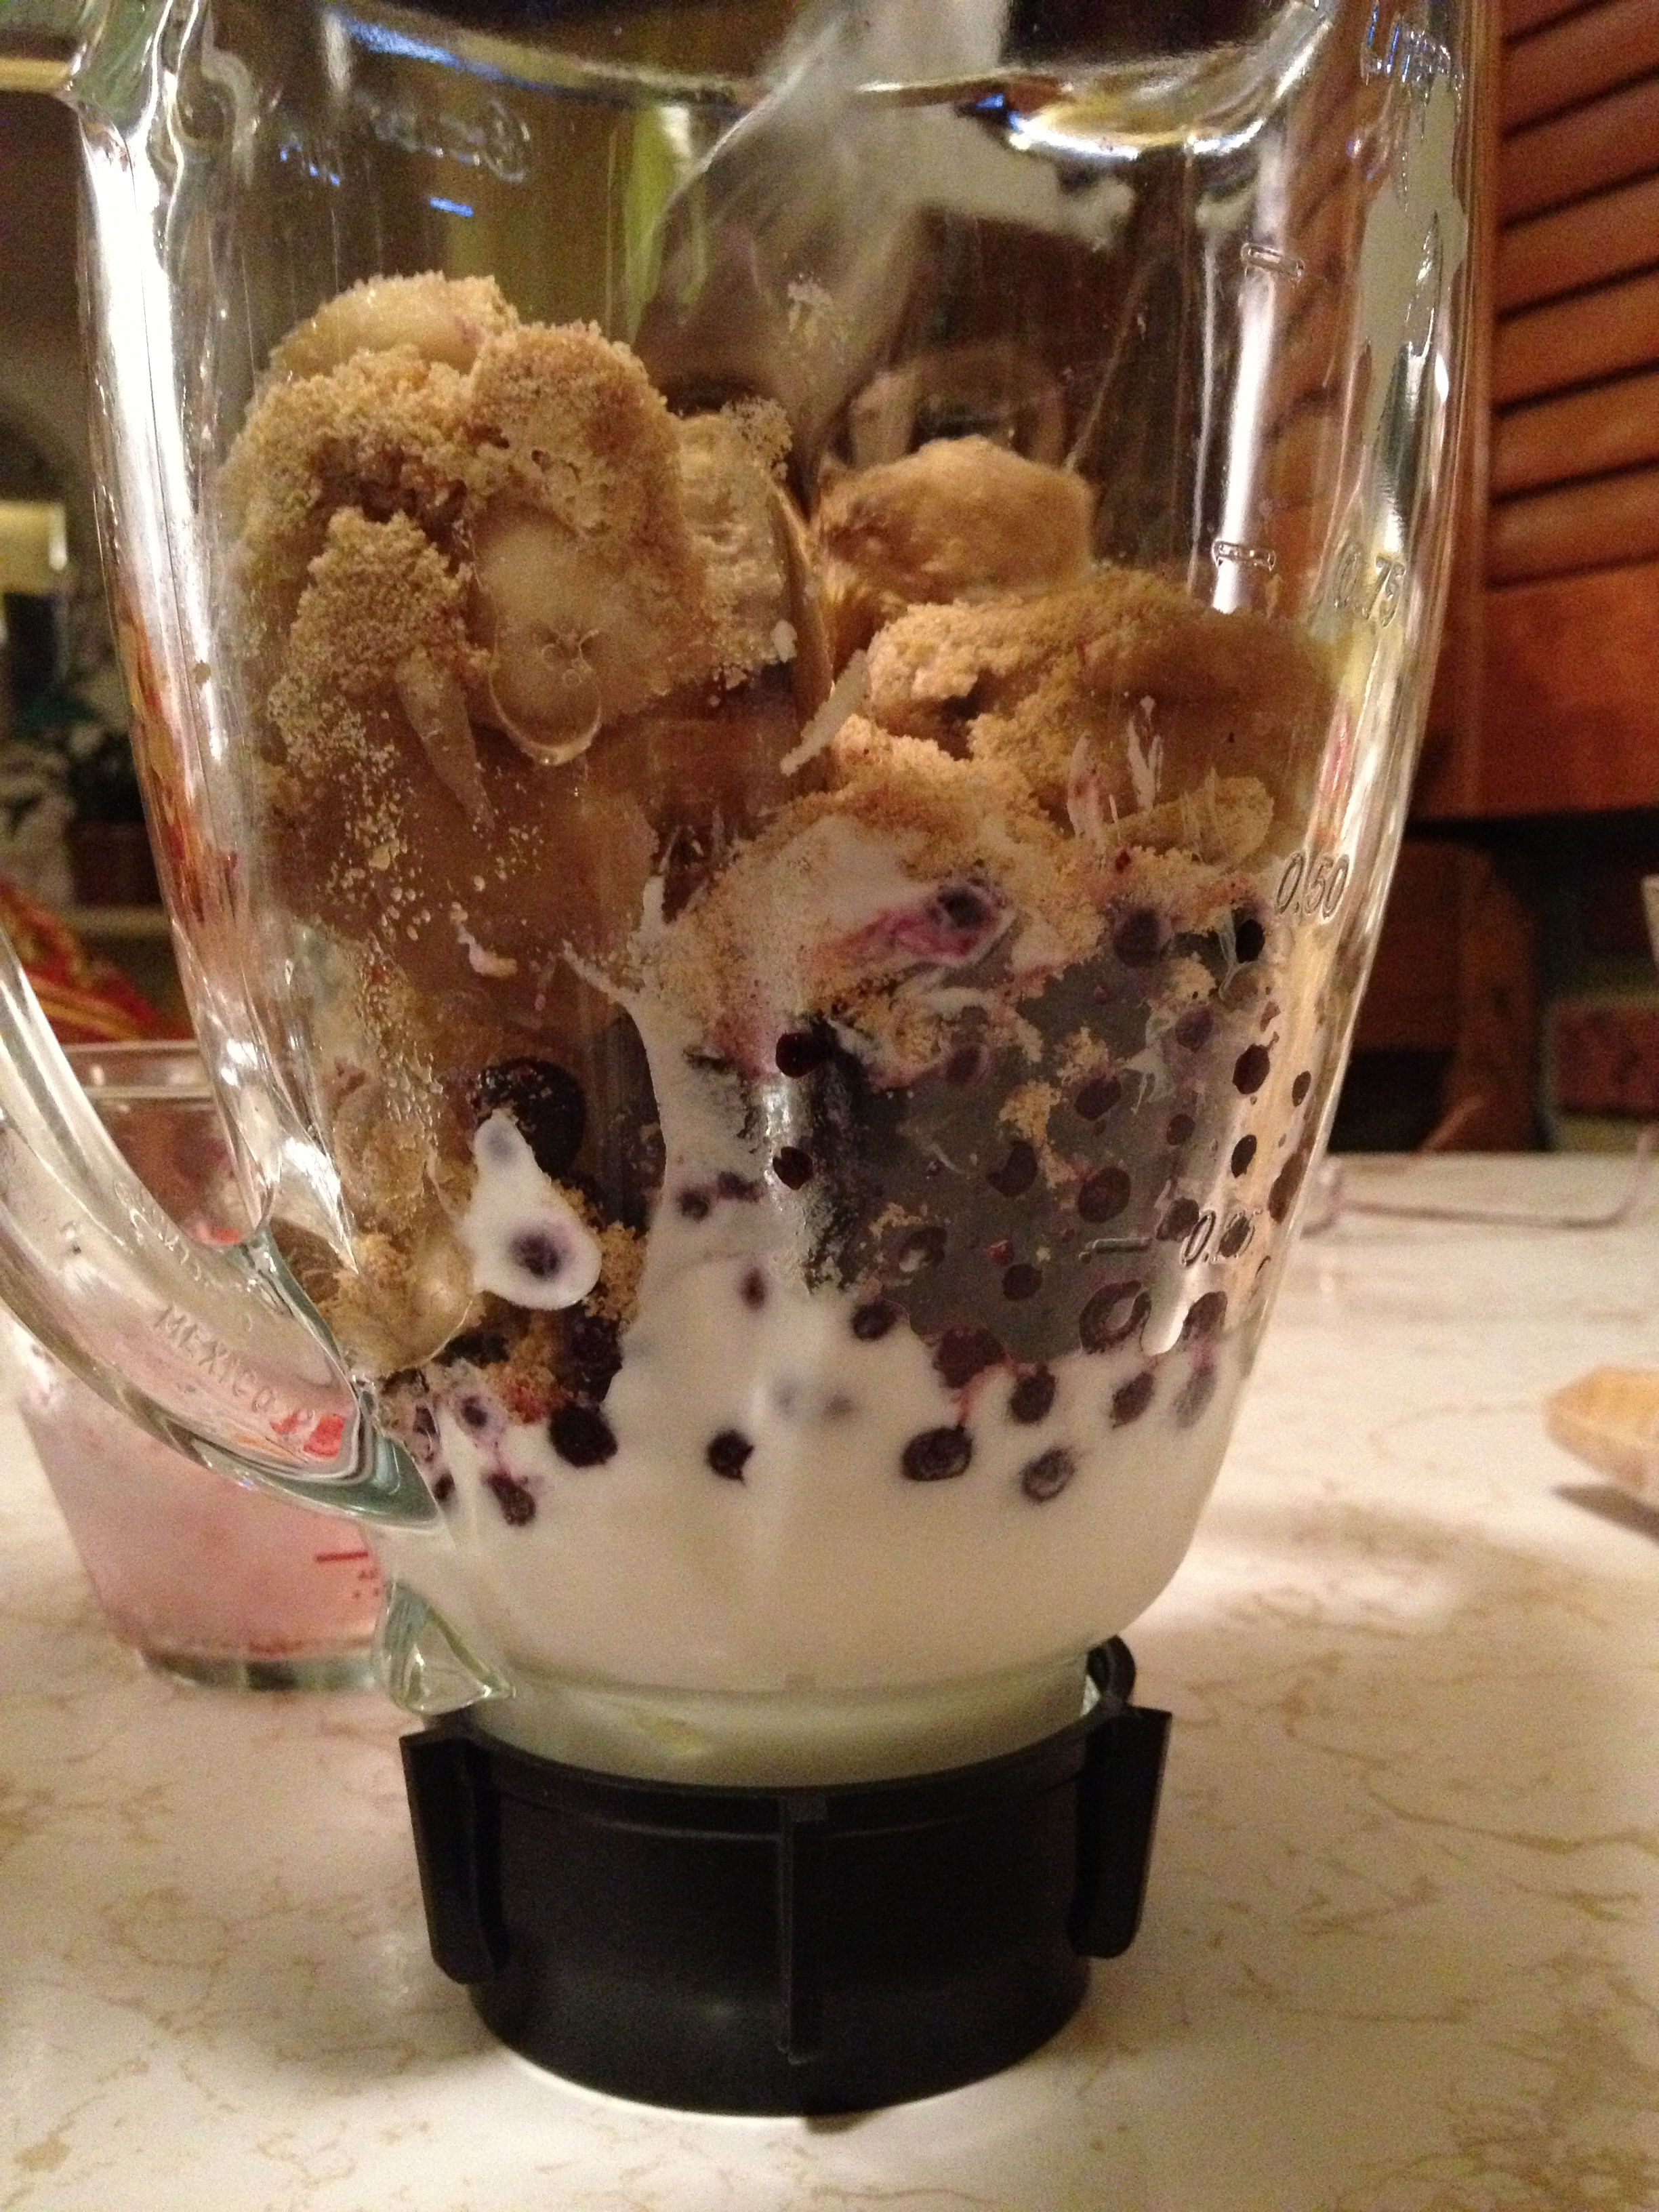
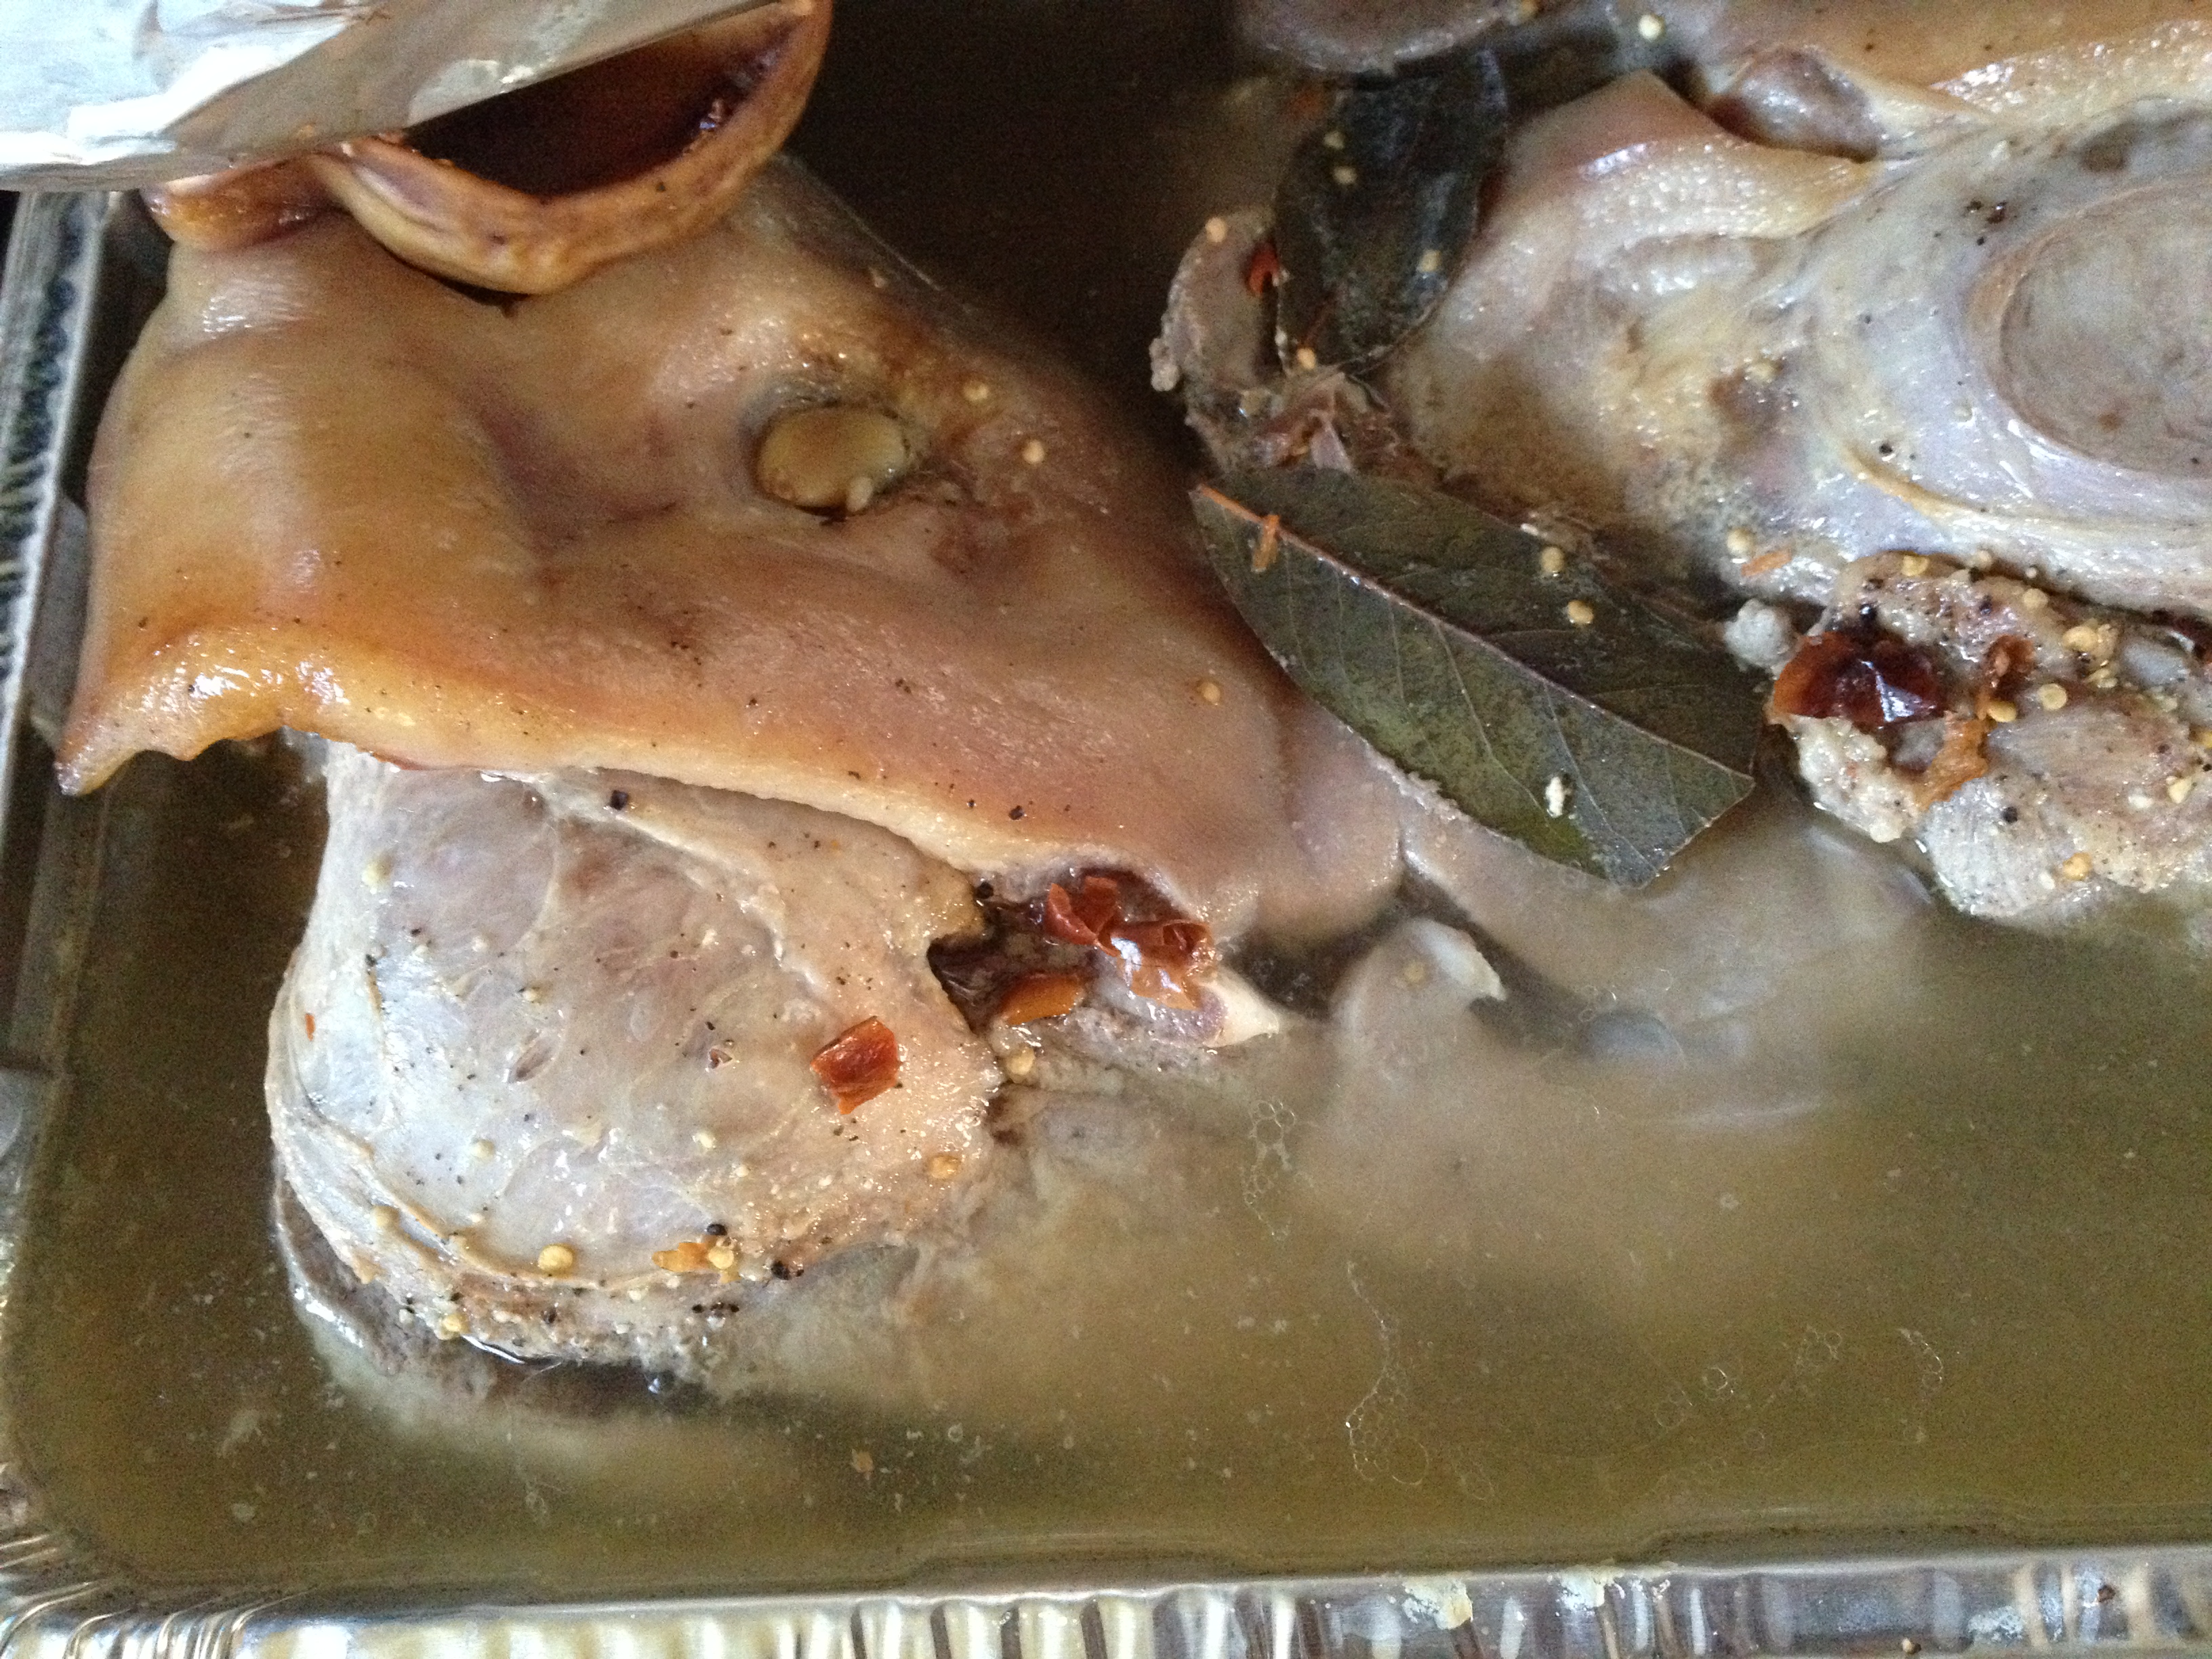
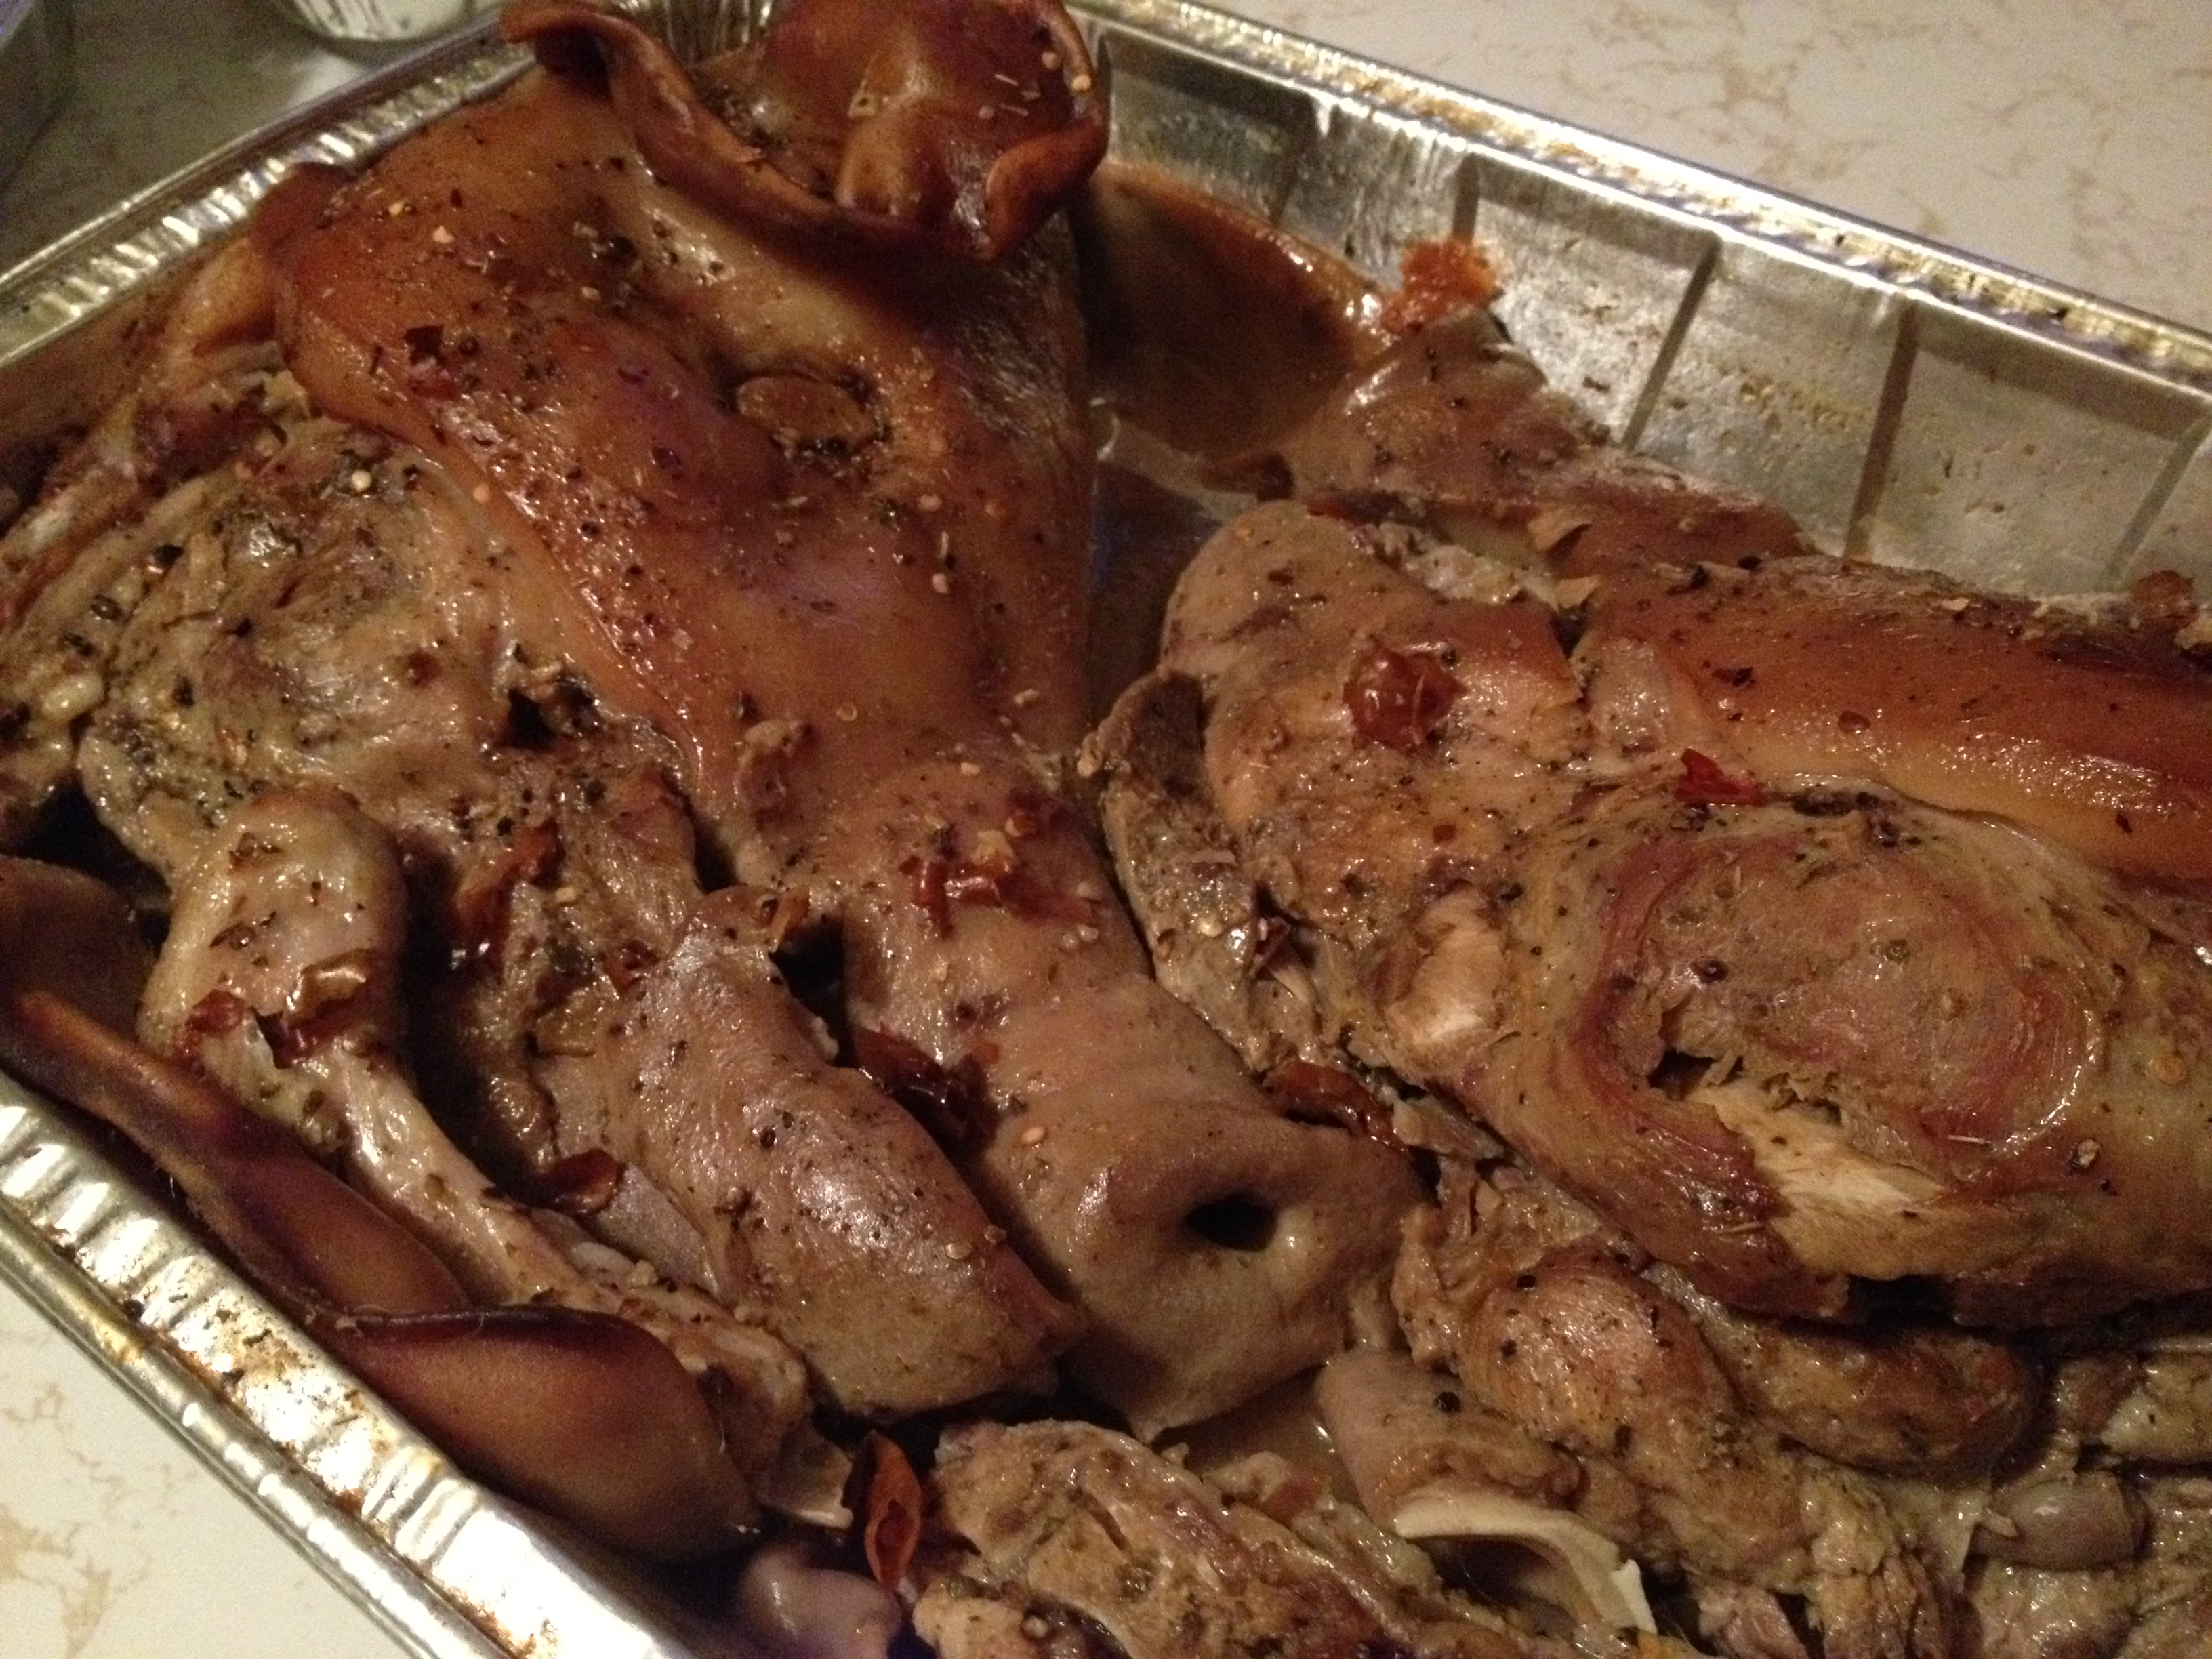
First step is to season with salt, pepper, bay leaves and a few cloves of garlic, almost cover with water, wrap in aluminum foil and cook at about 350 for a few hours.

Next, pour off water (which should also have a considerable amount of fat with it). Pour more water into pan, about mid-way, and continue to cook for another hour or two.
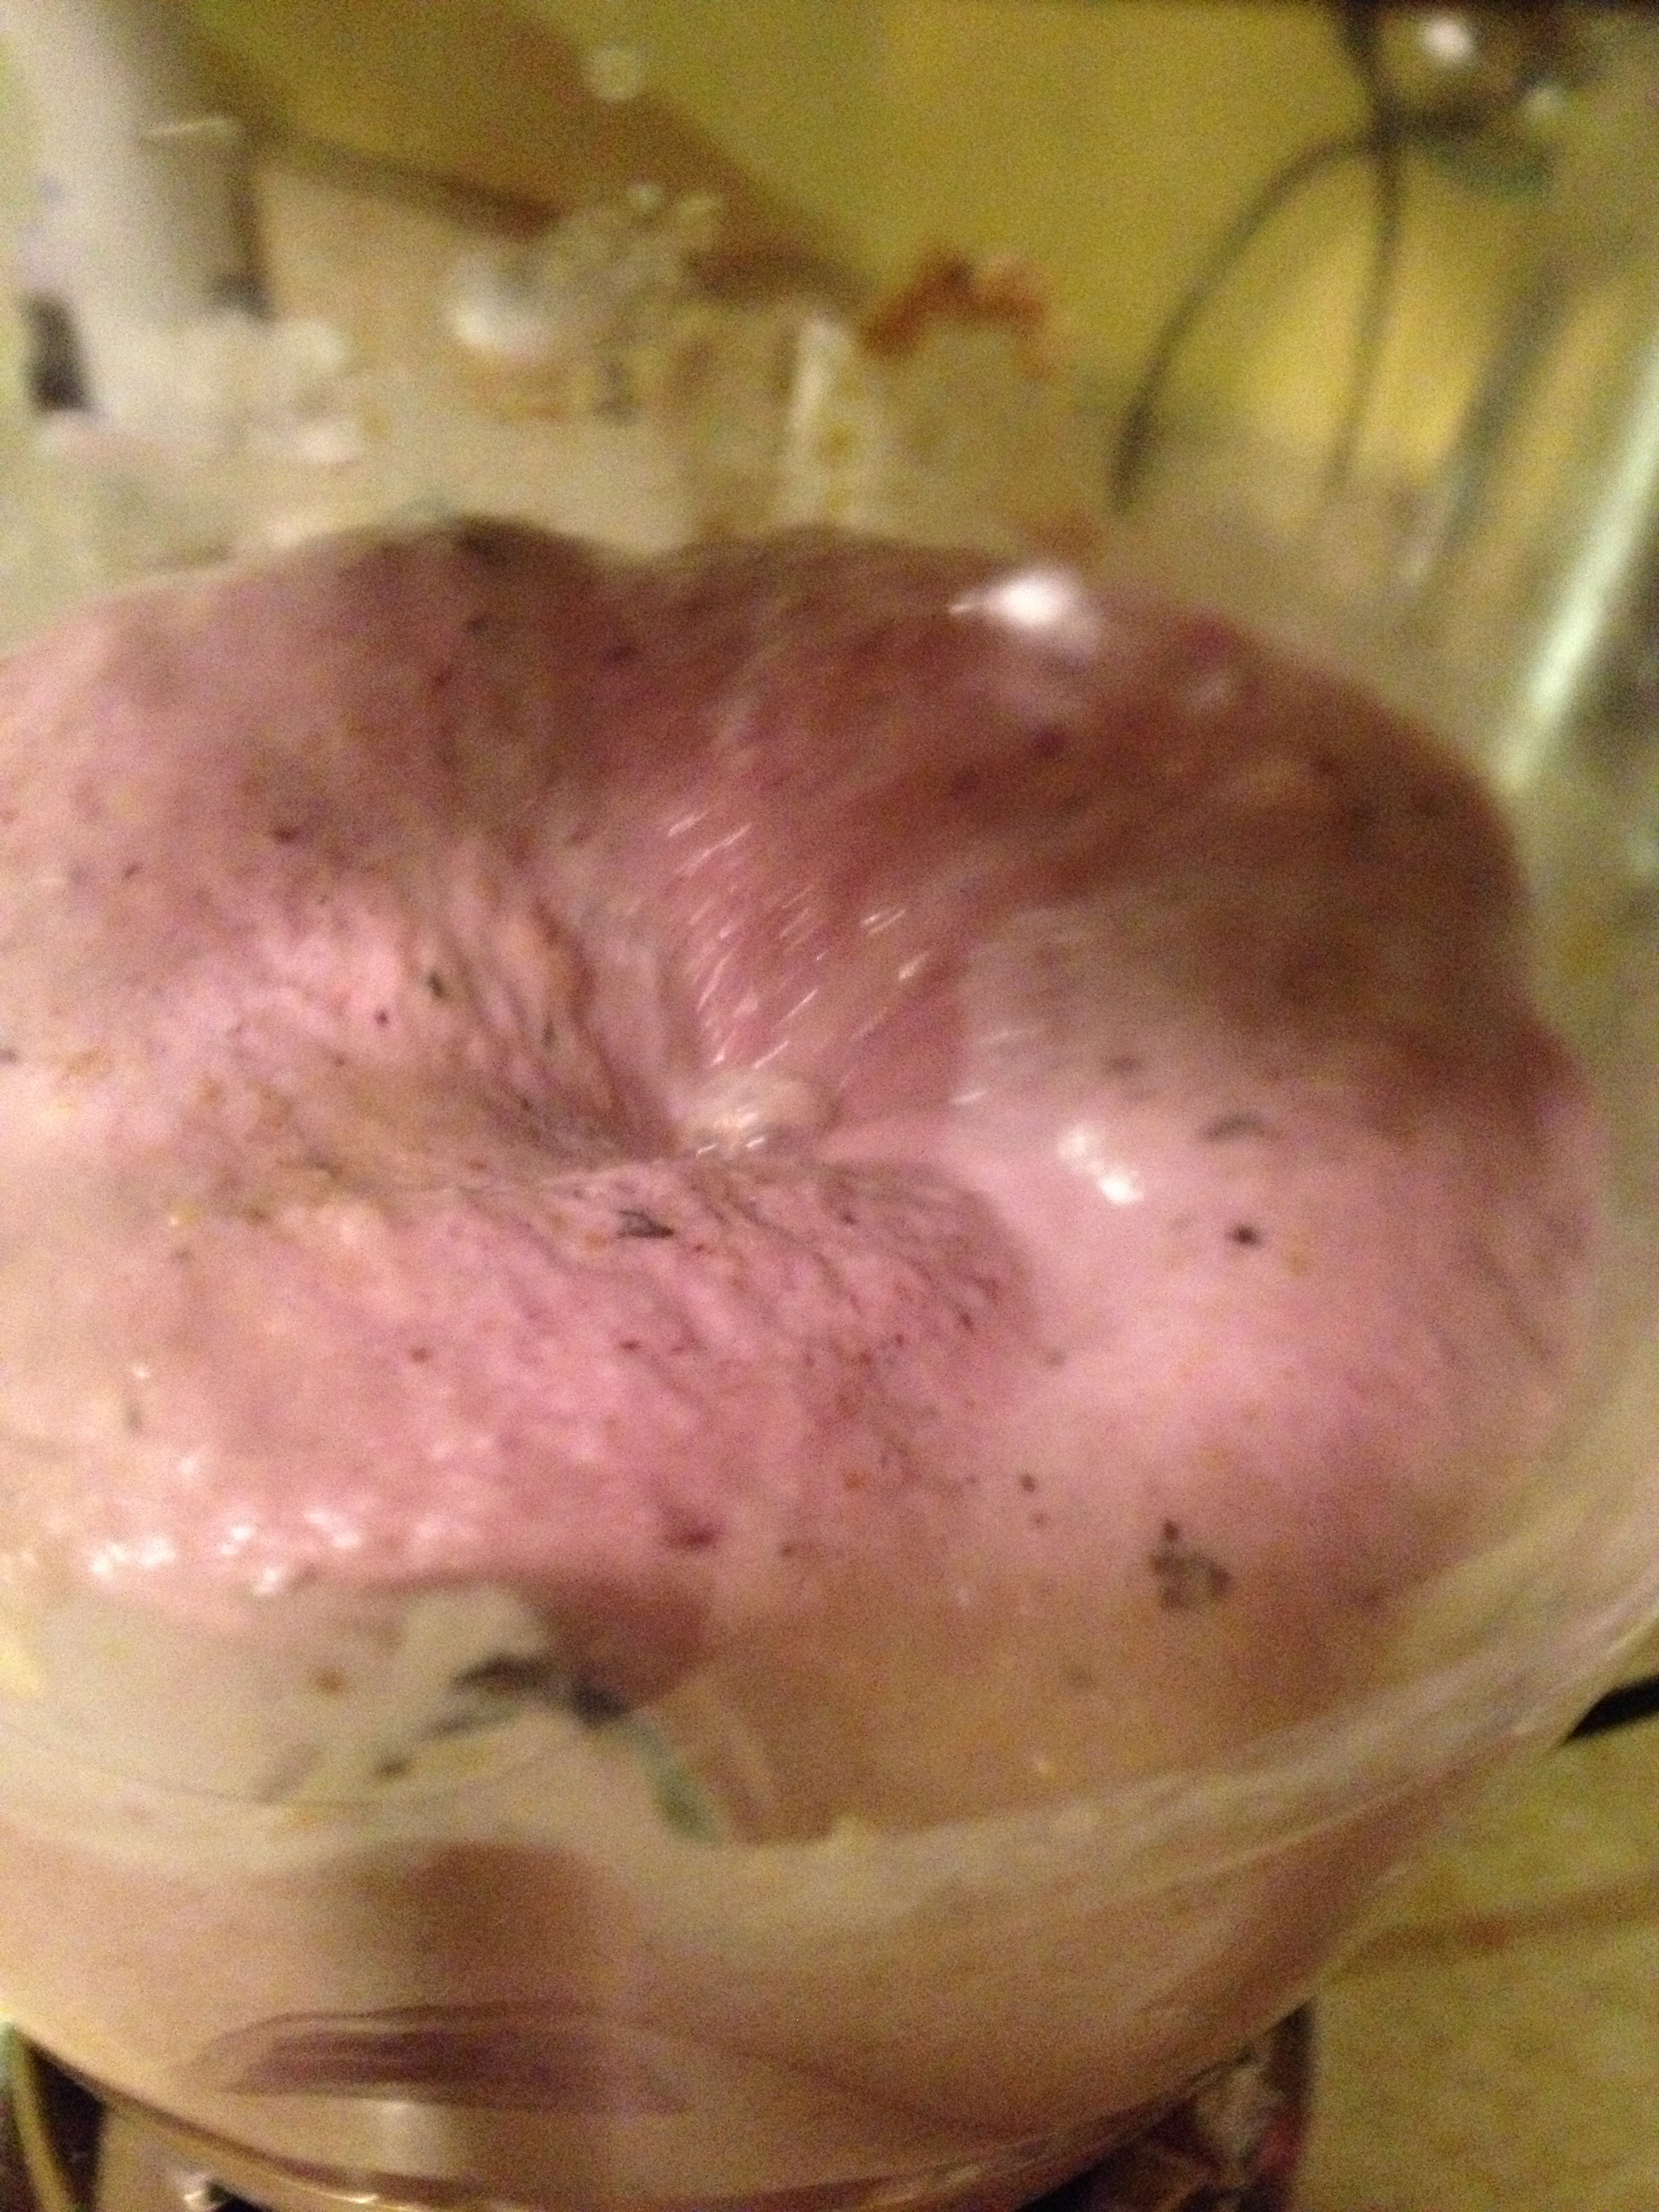
Getting there…
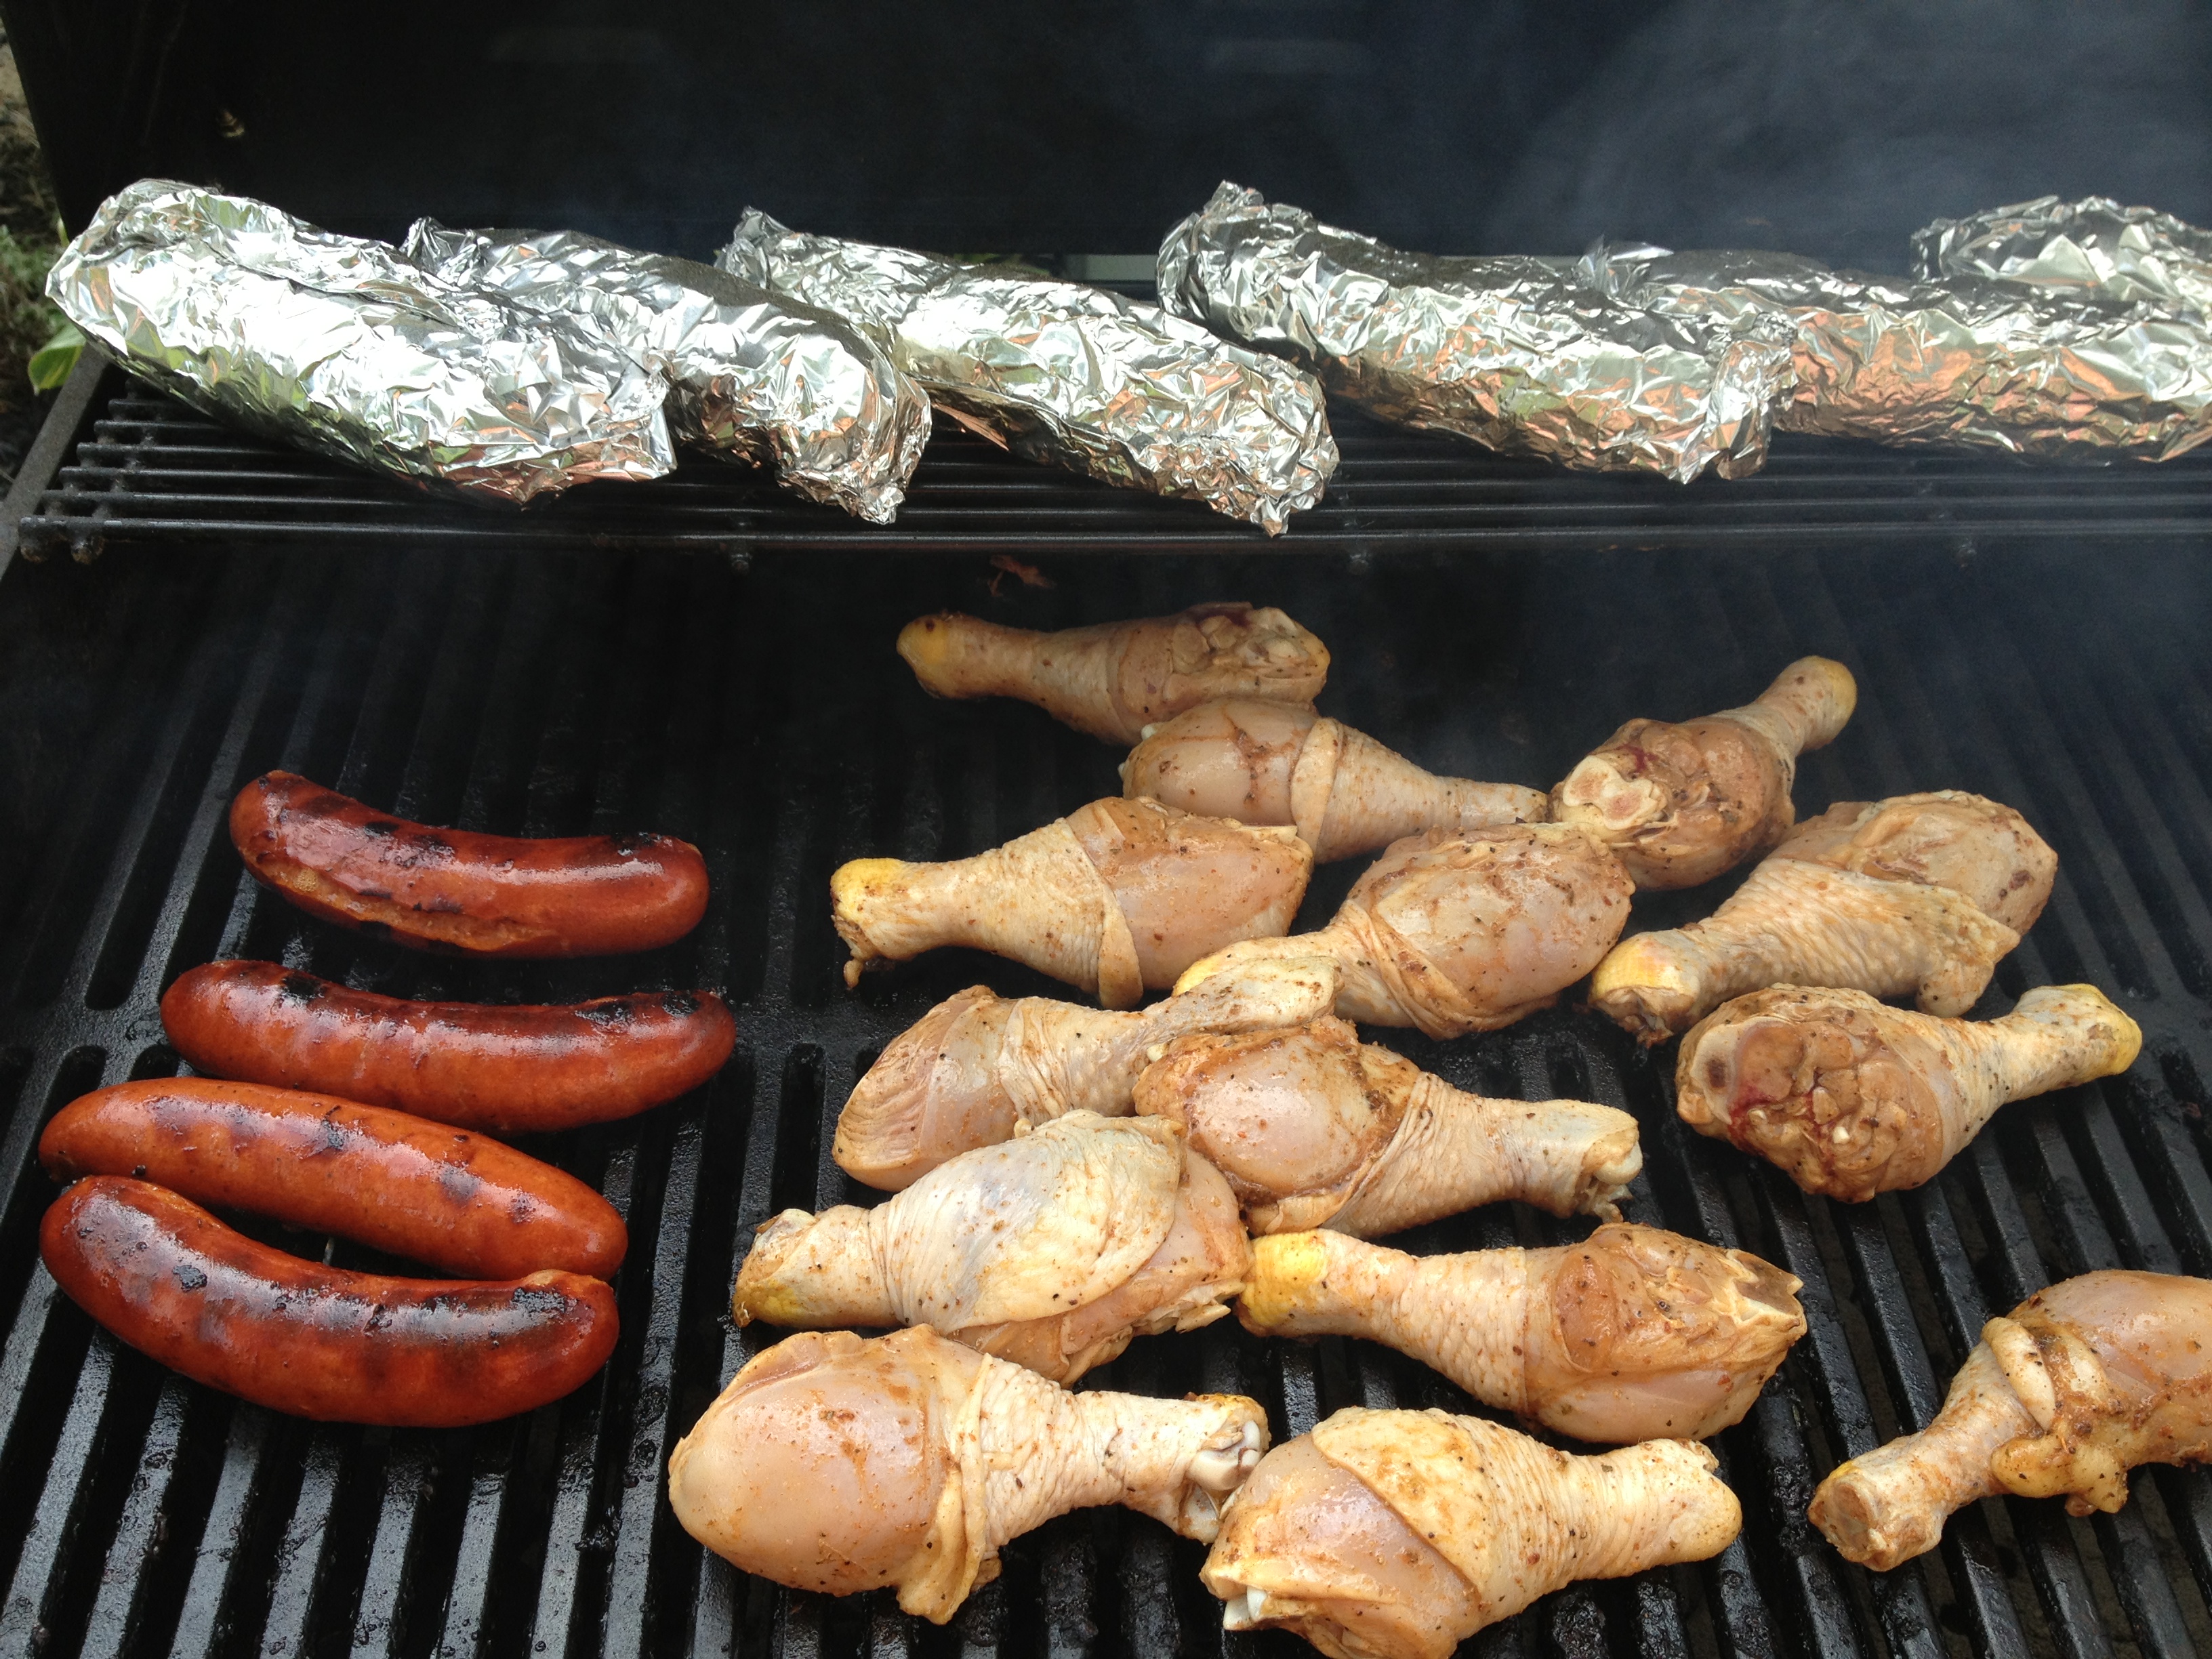
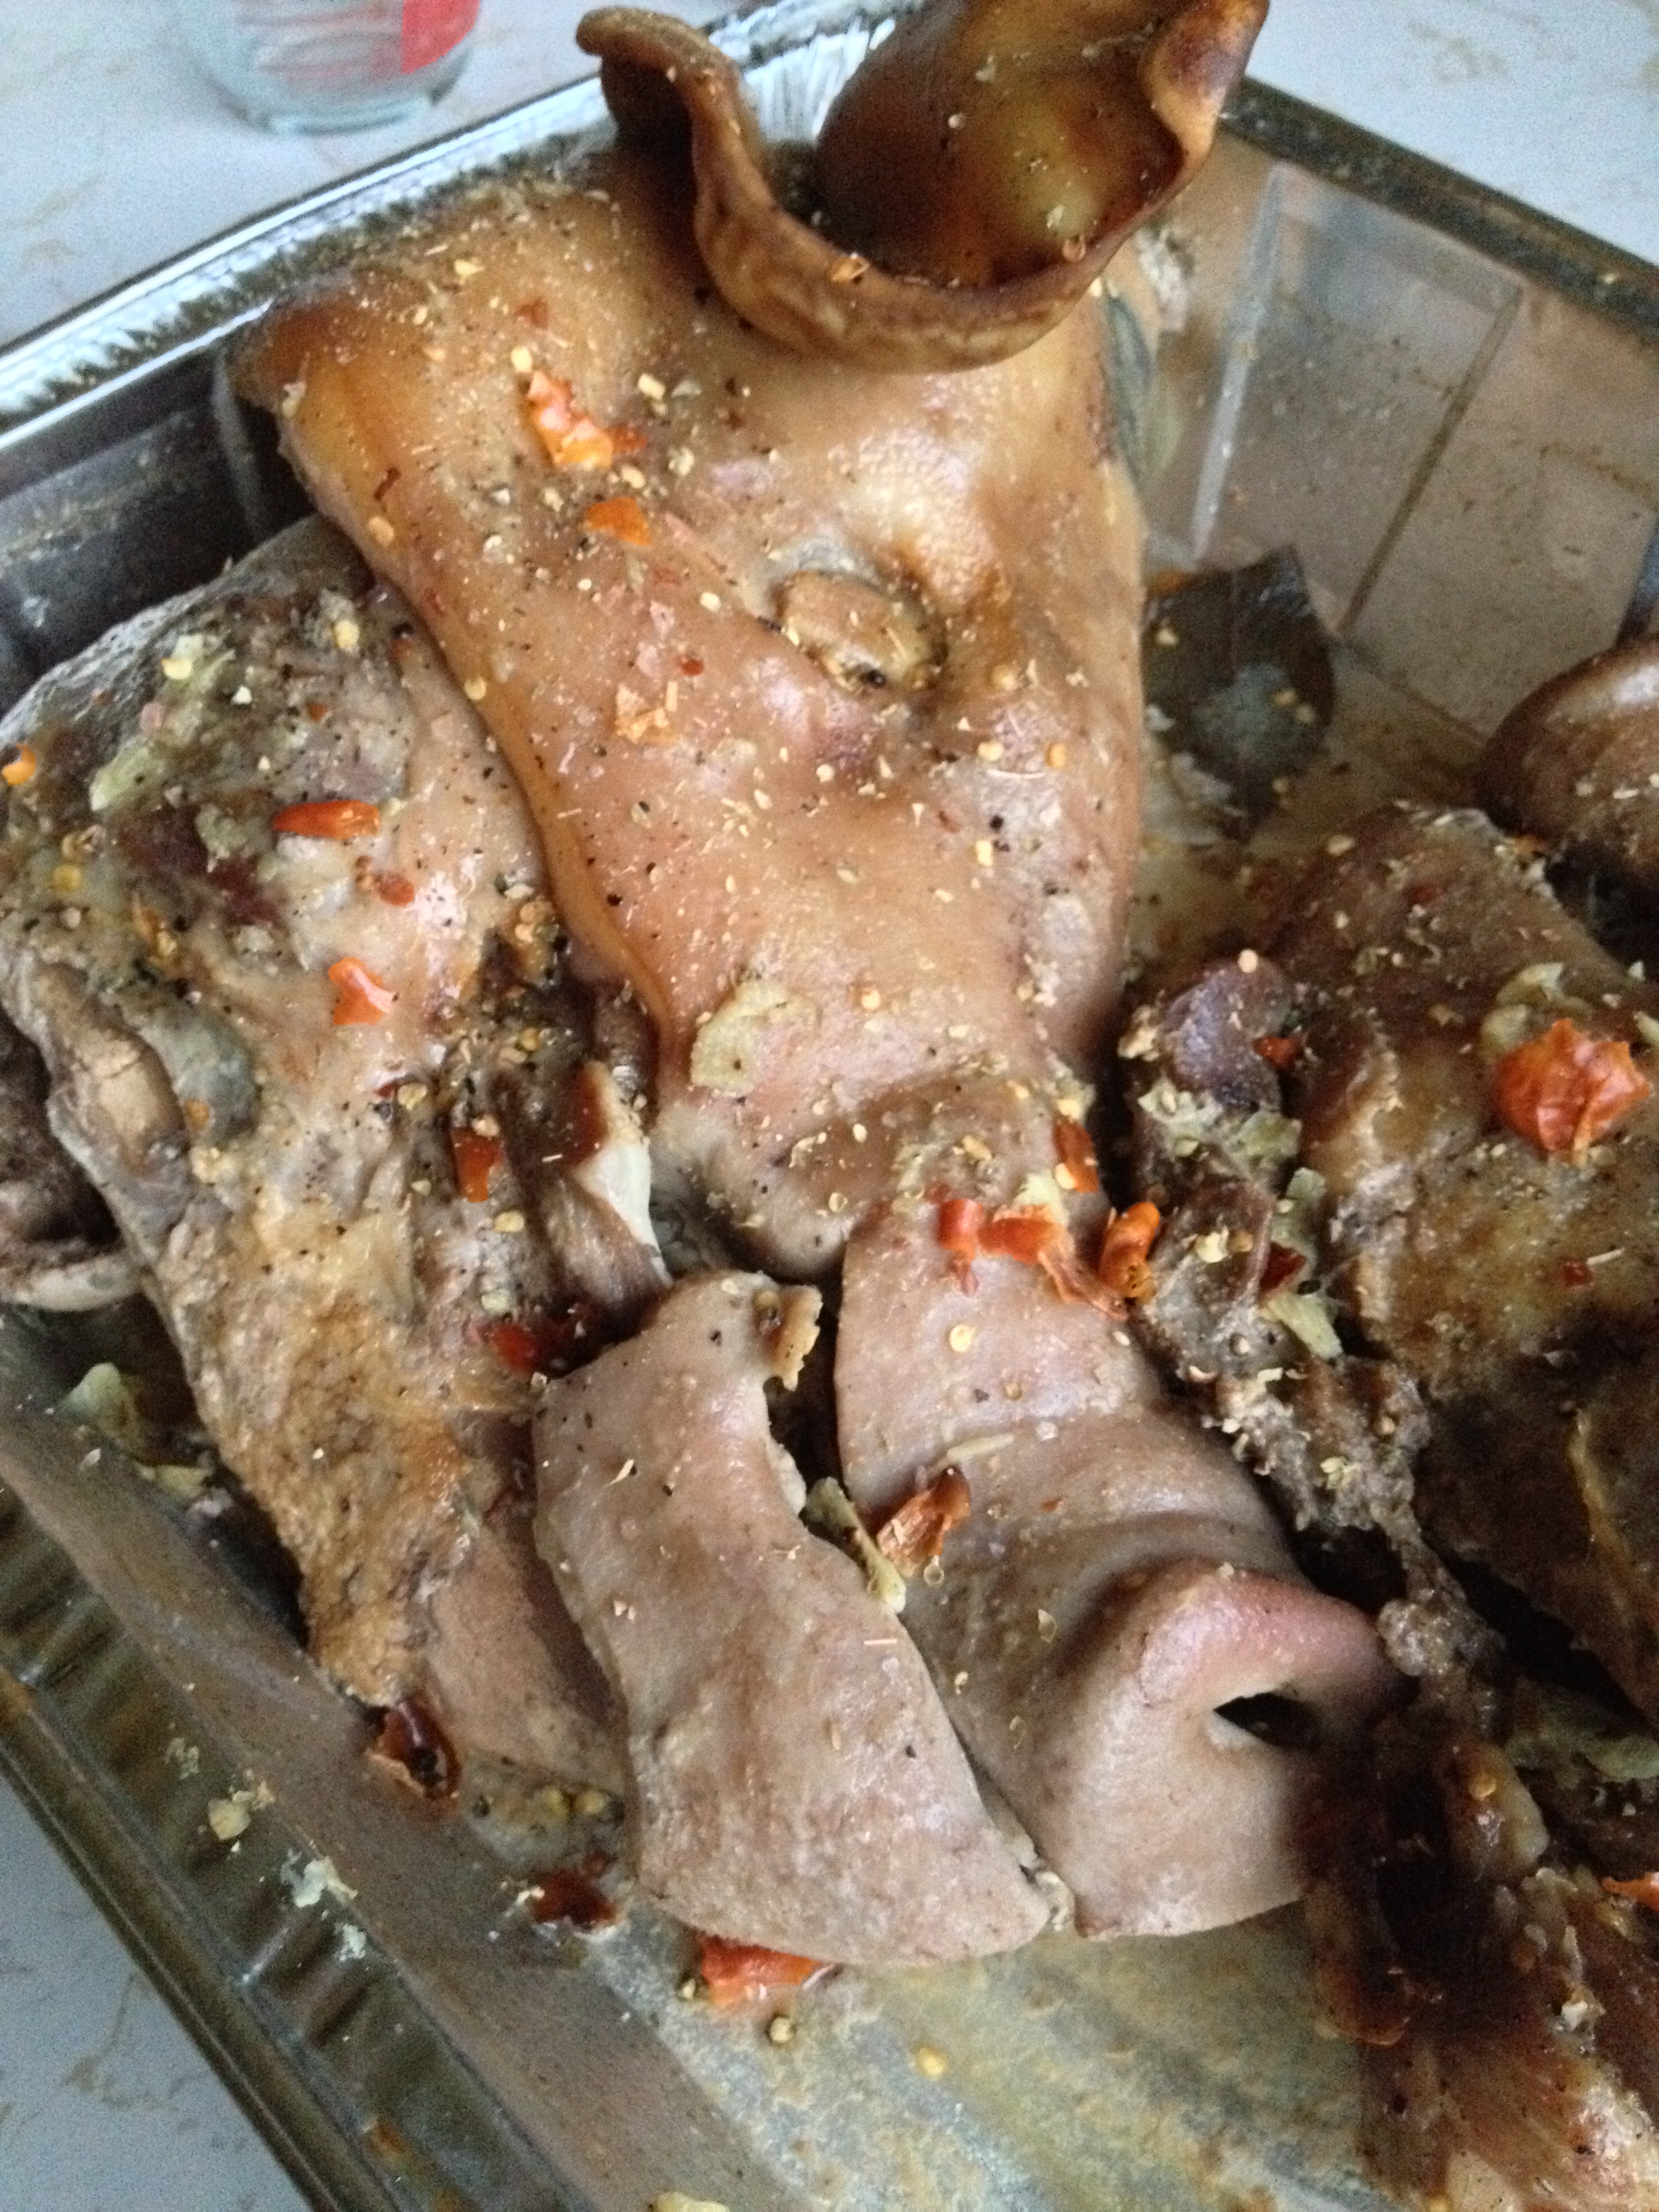
Pour off water. Pork should be “cooked”, meaning it is no longer raw, but still nowhere near done! Here is where the flavoring comes into play. I may have mentioned that our famous Uncle Fred used to cook a single solitary chicken on the grill for hours, basting it with his secret vinegar concoction. Well, every member of my family has his or her own “vinegar concoction”. This would be a jar consisting of apple cider vinegar and “spices”, whatever spices said family member deems delicious and tasty enough to rival Uncle Fred’s. The longer it seeps, the better. The more aged the spices, the better. The only rule is that you must NEVER EVER run out! We just add more vinegar and spices as the supply gets low, knowing that there is some remaining flavor of spices and vinegar from years past to continuously flavor the concoction. This vinegar is used to pour over the hog head. Next, salt, crushed red pepper flakes (the more the merrier), Italian seasoning and whatever garlic cloves that are left in the pan are smeared over the hog head. Also, if you like extra ears and tails (like we do!) this is the time to add them to the pan. The foil is placed back over the pan and placed back in the oven, this time at a low 225-250 degrees.
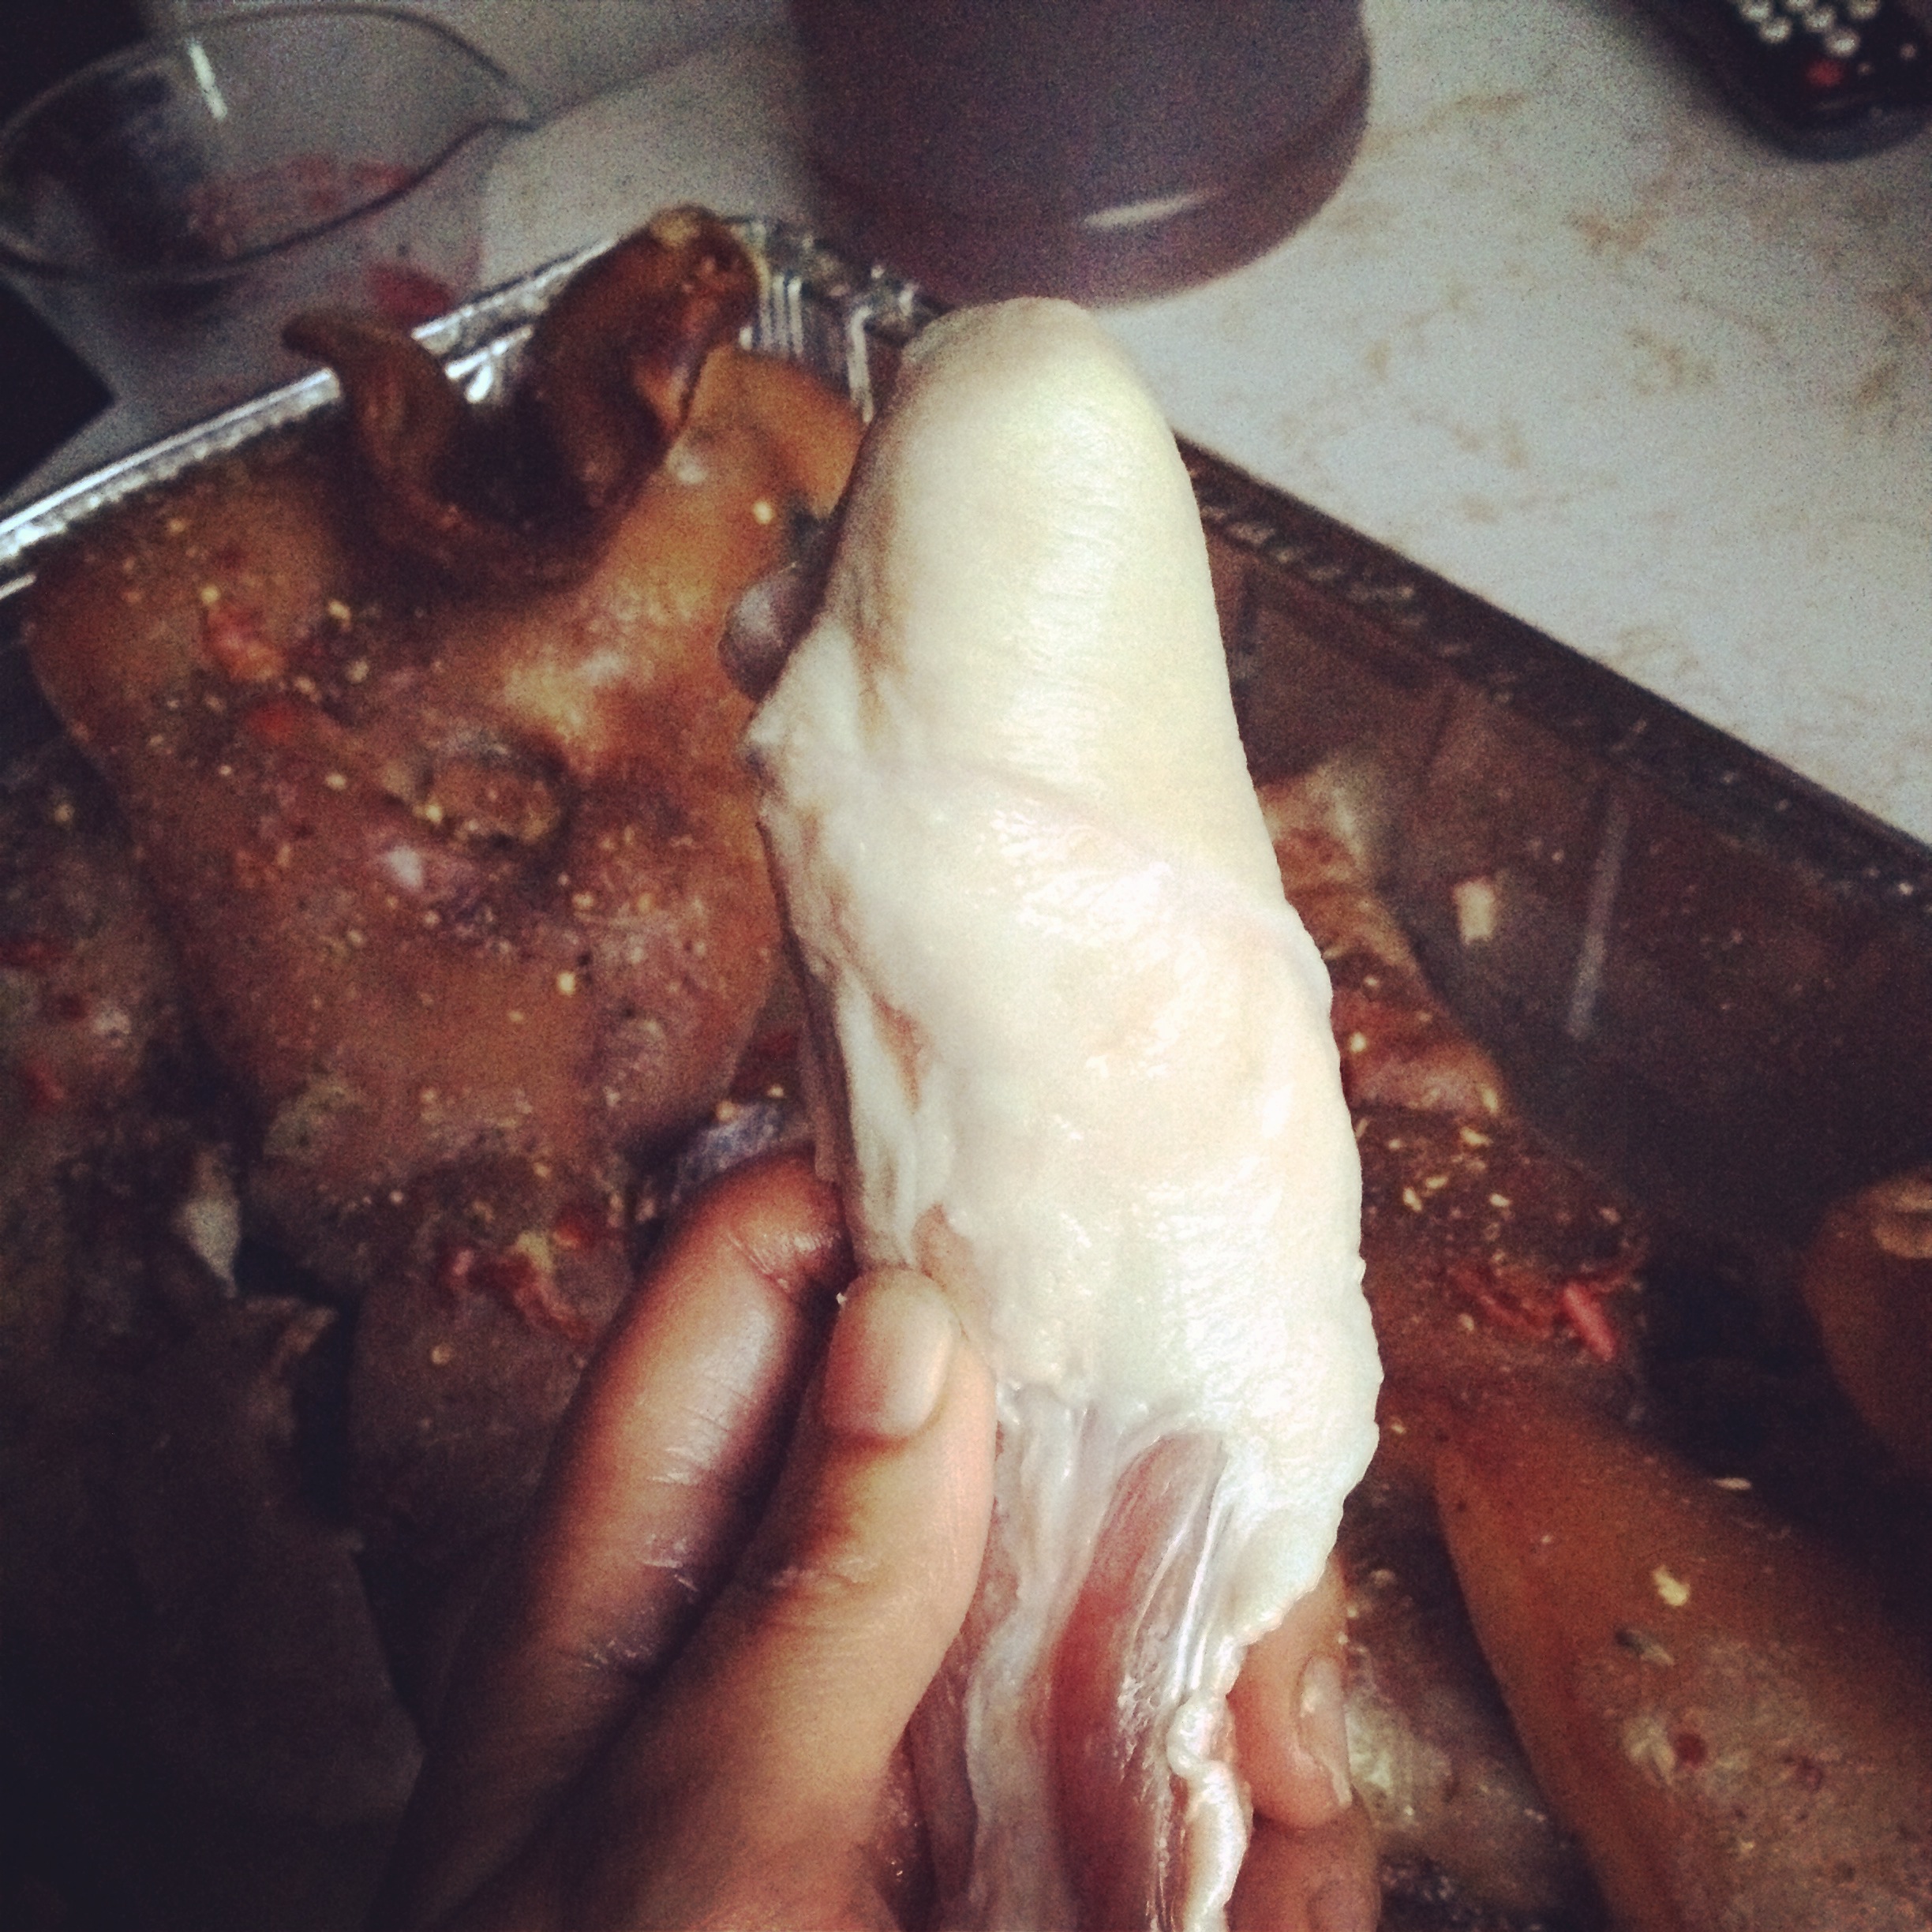
Some good ole tail!

Whole cayenne peppers, ready to be crushed.
Every hour or so, the hog is checked, based with more vinegar and spices and put back into the oven.
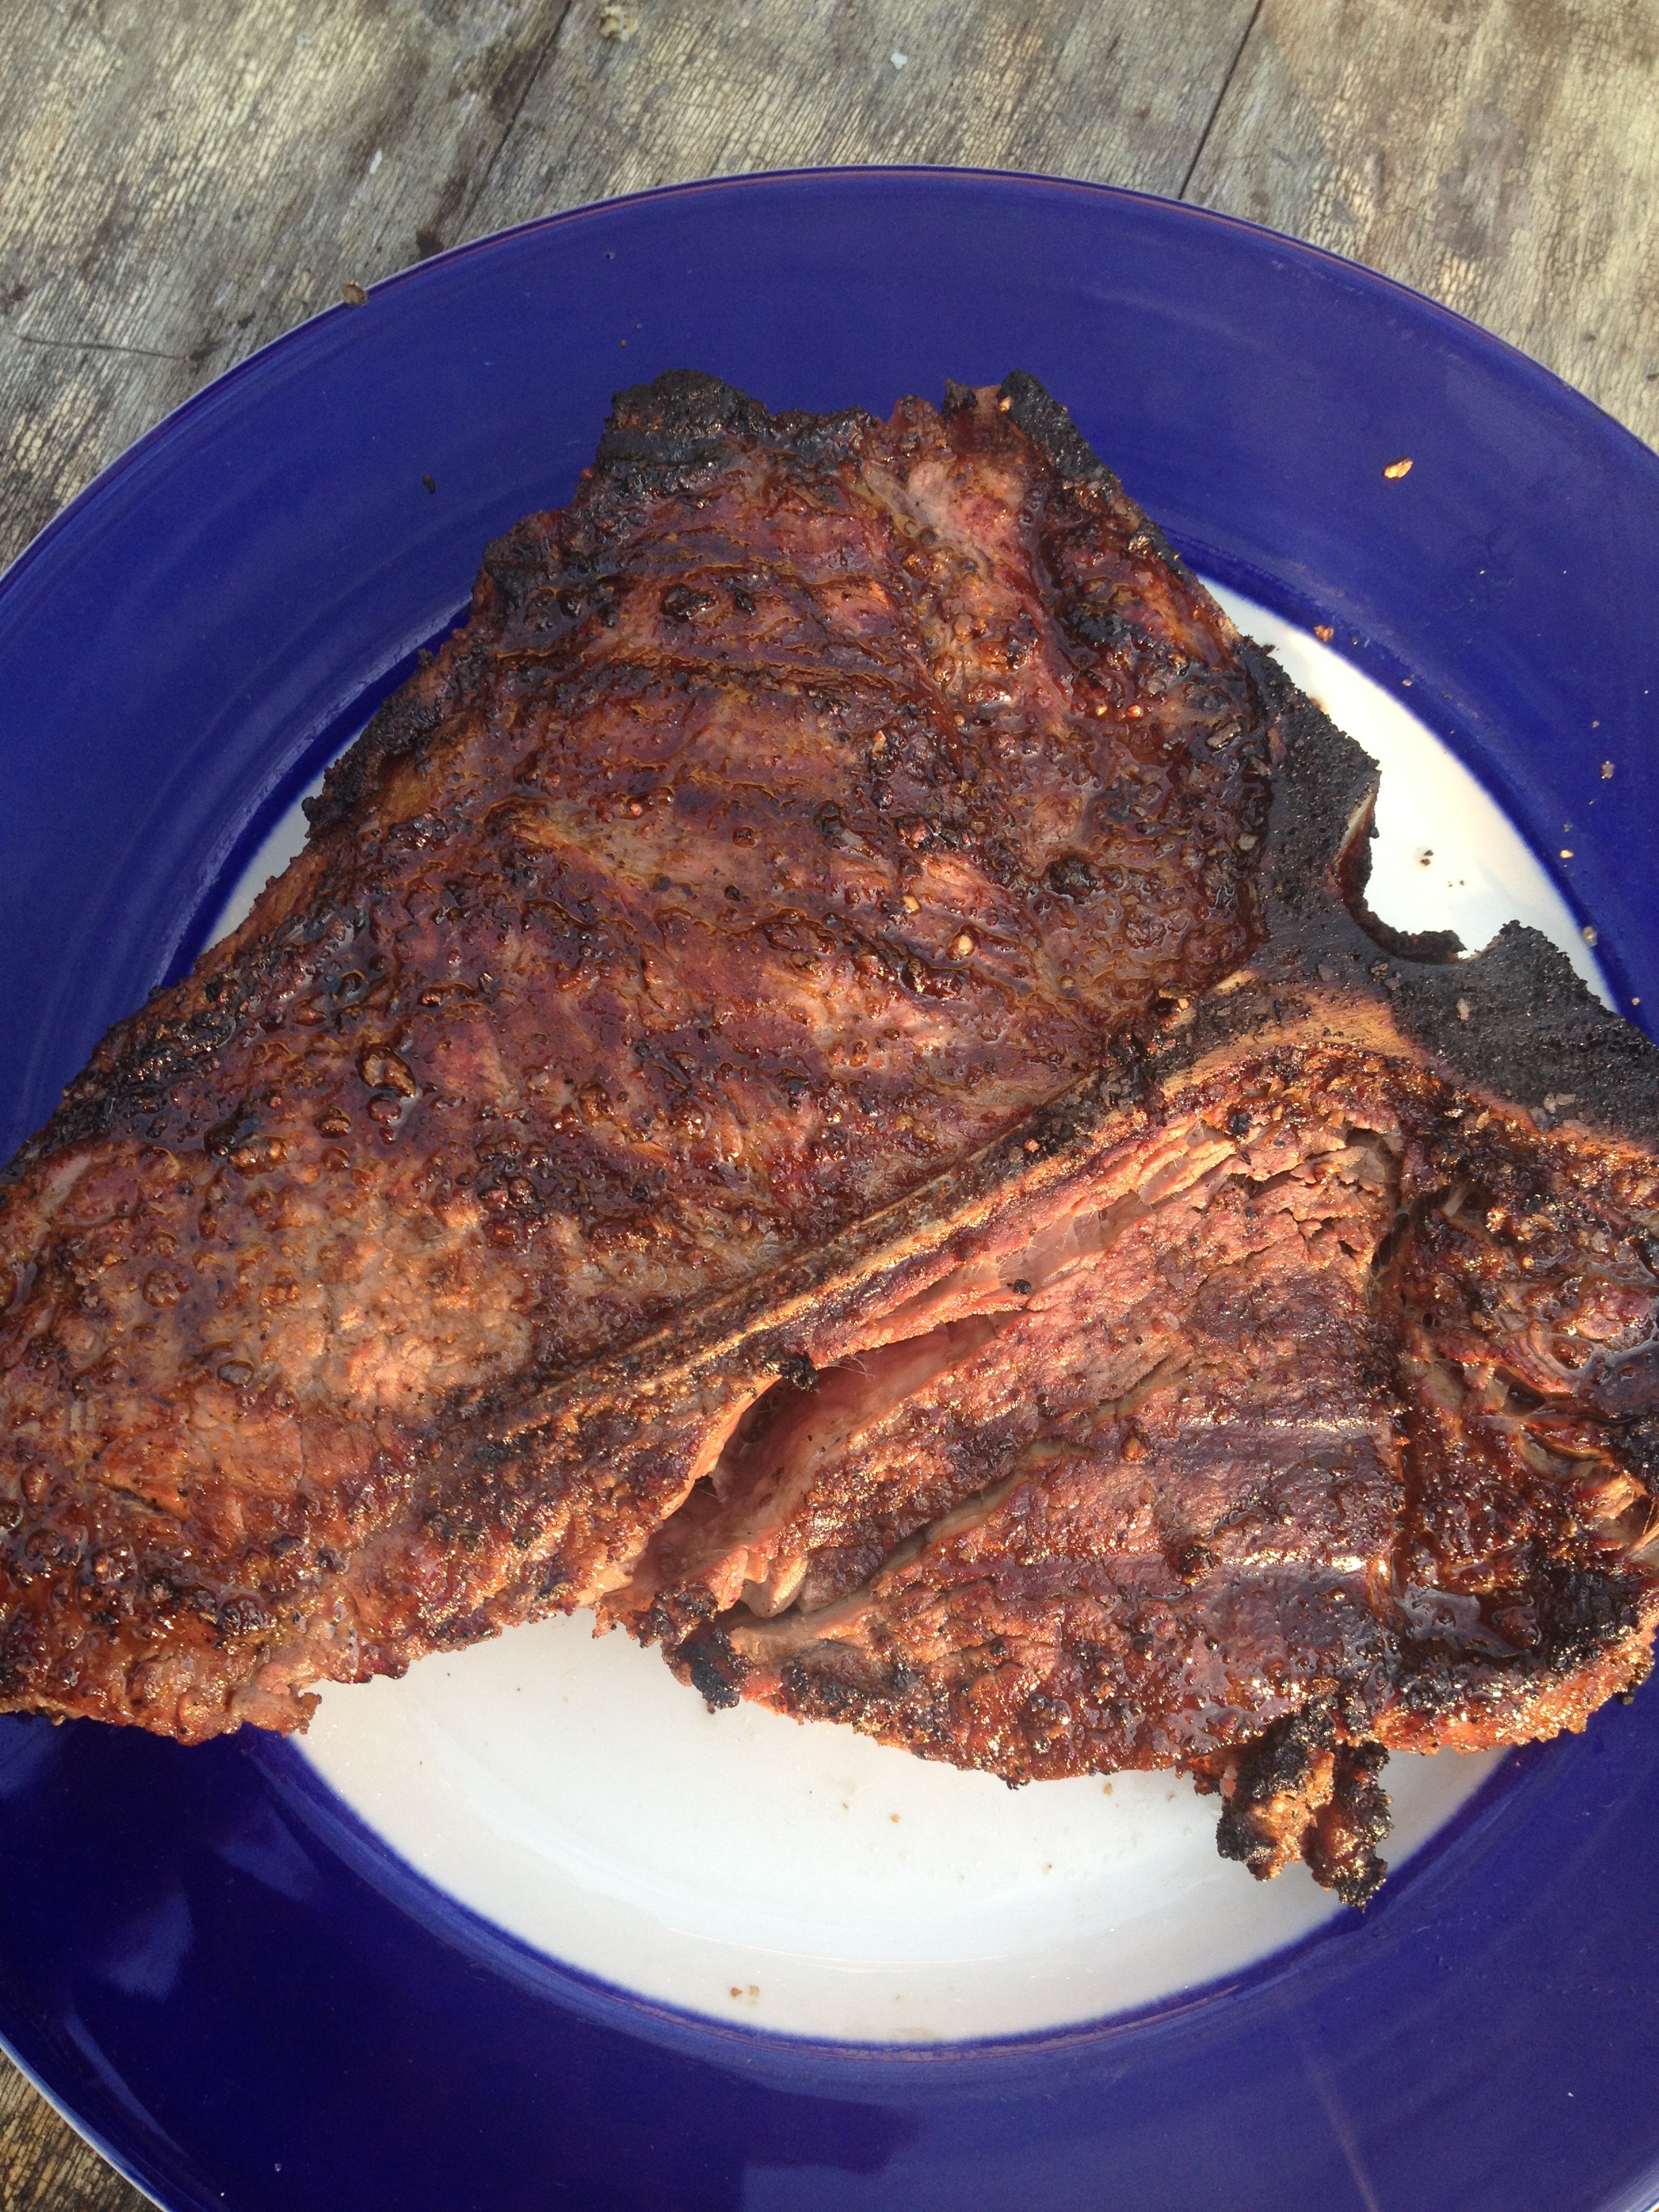
When Uncle Ebon says it is done (about 8 or 9 hours from starting time), it is done…for now! The hog must rest in the refrigerator over night.
Until we meet again tomorrow…
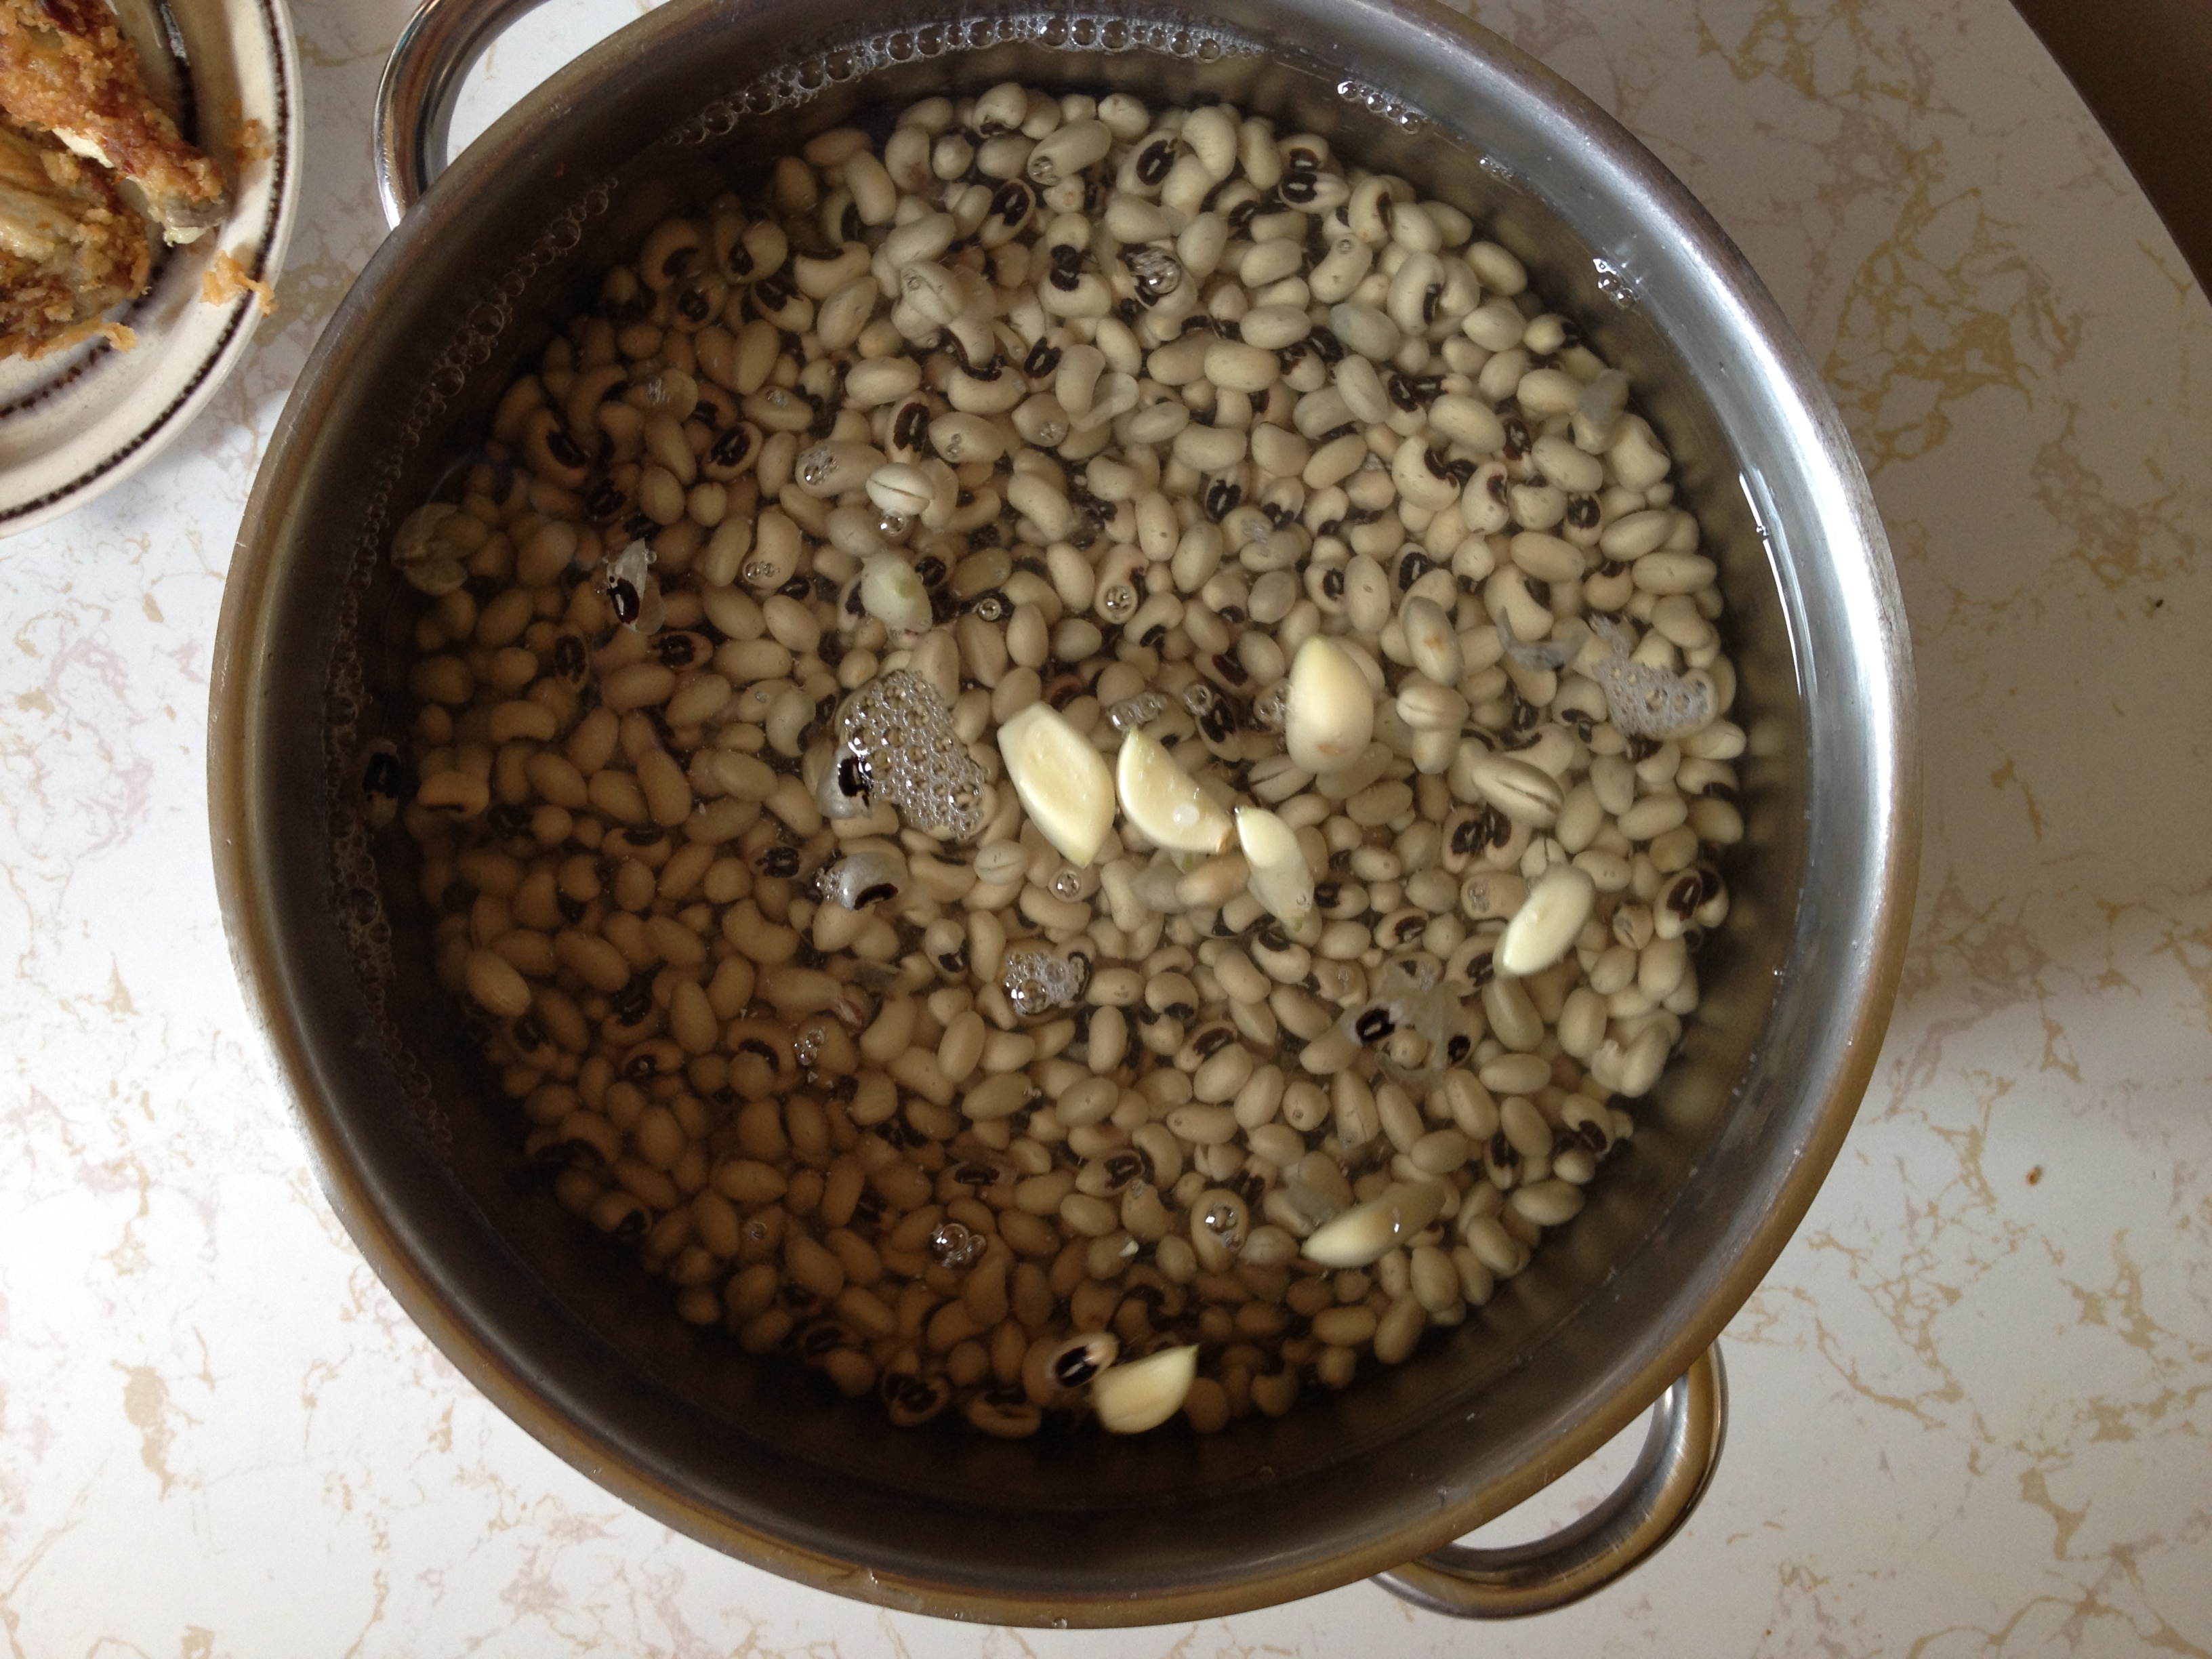
I soaked my black eye peas in cold water and about a teaspoon of baking soda (does wonders to dispel the myth of beans as “the magical fruit…the more you eat the more you…”, if you know what I mean!) over night. The next morning I put them in a pot of boiling water with salt, pepper, garlic cloves and a few bay leaves. Bring to a boil then turn down to a low simmer until beans are tender. Remove from heat and set aside until ready to serve.
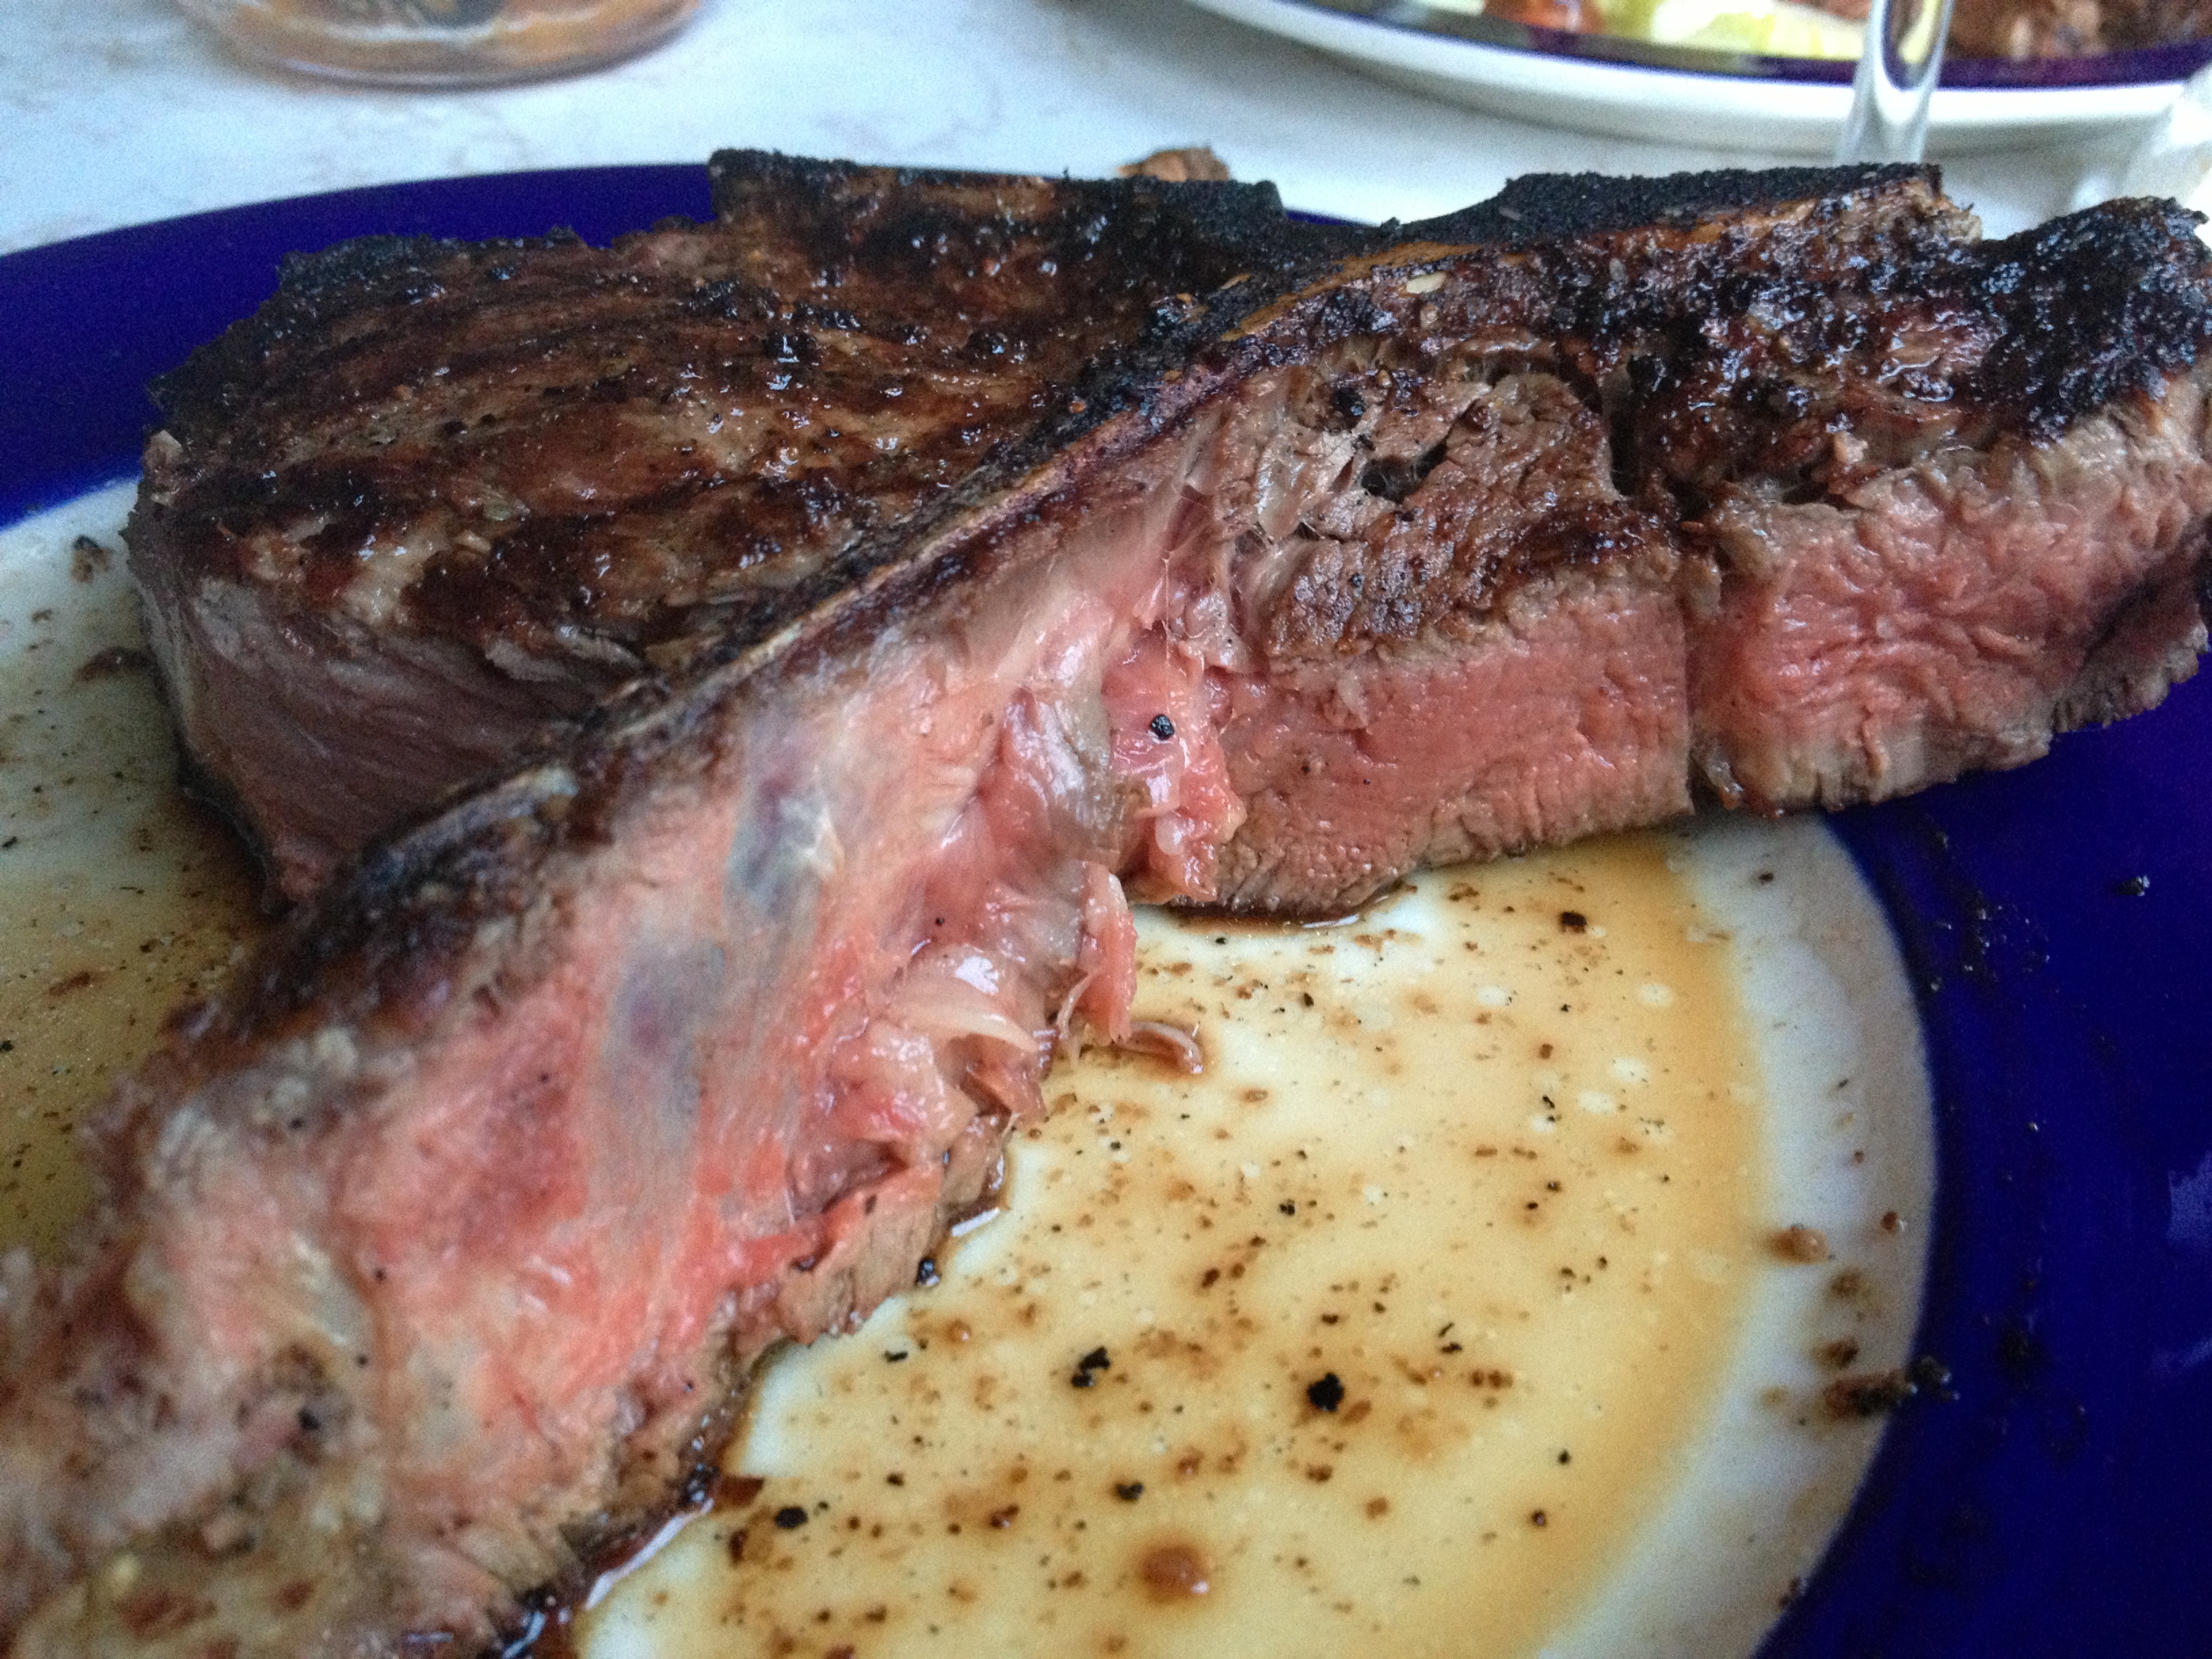
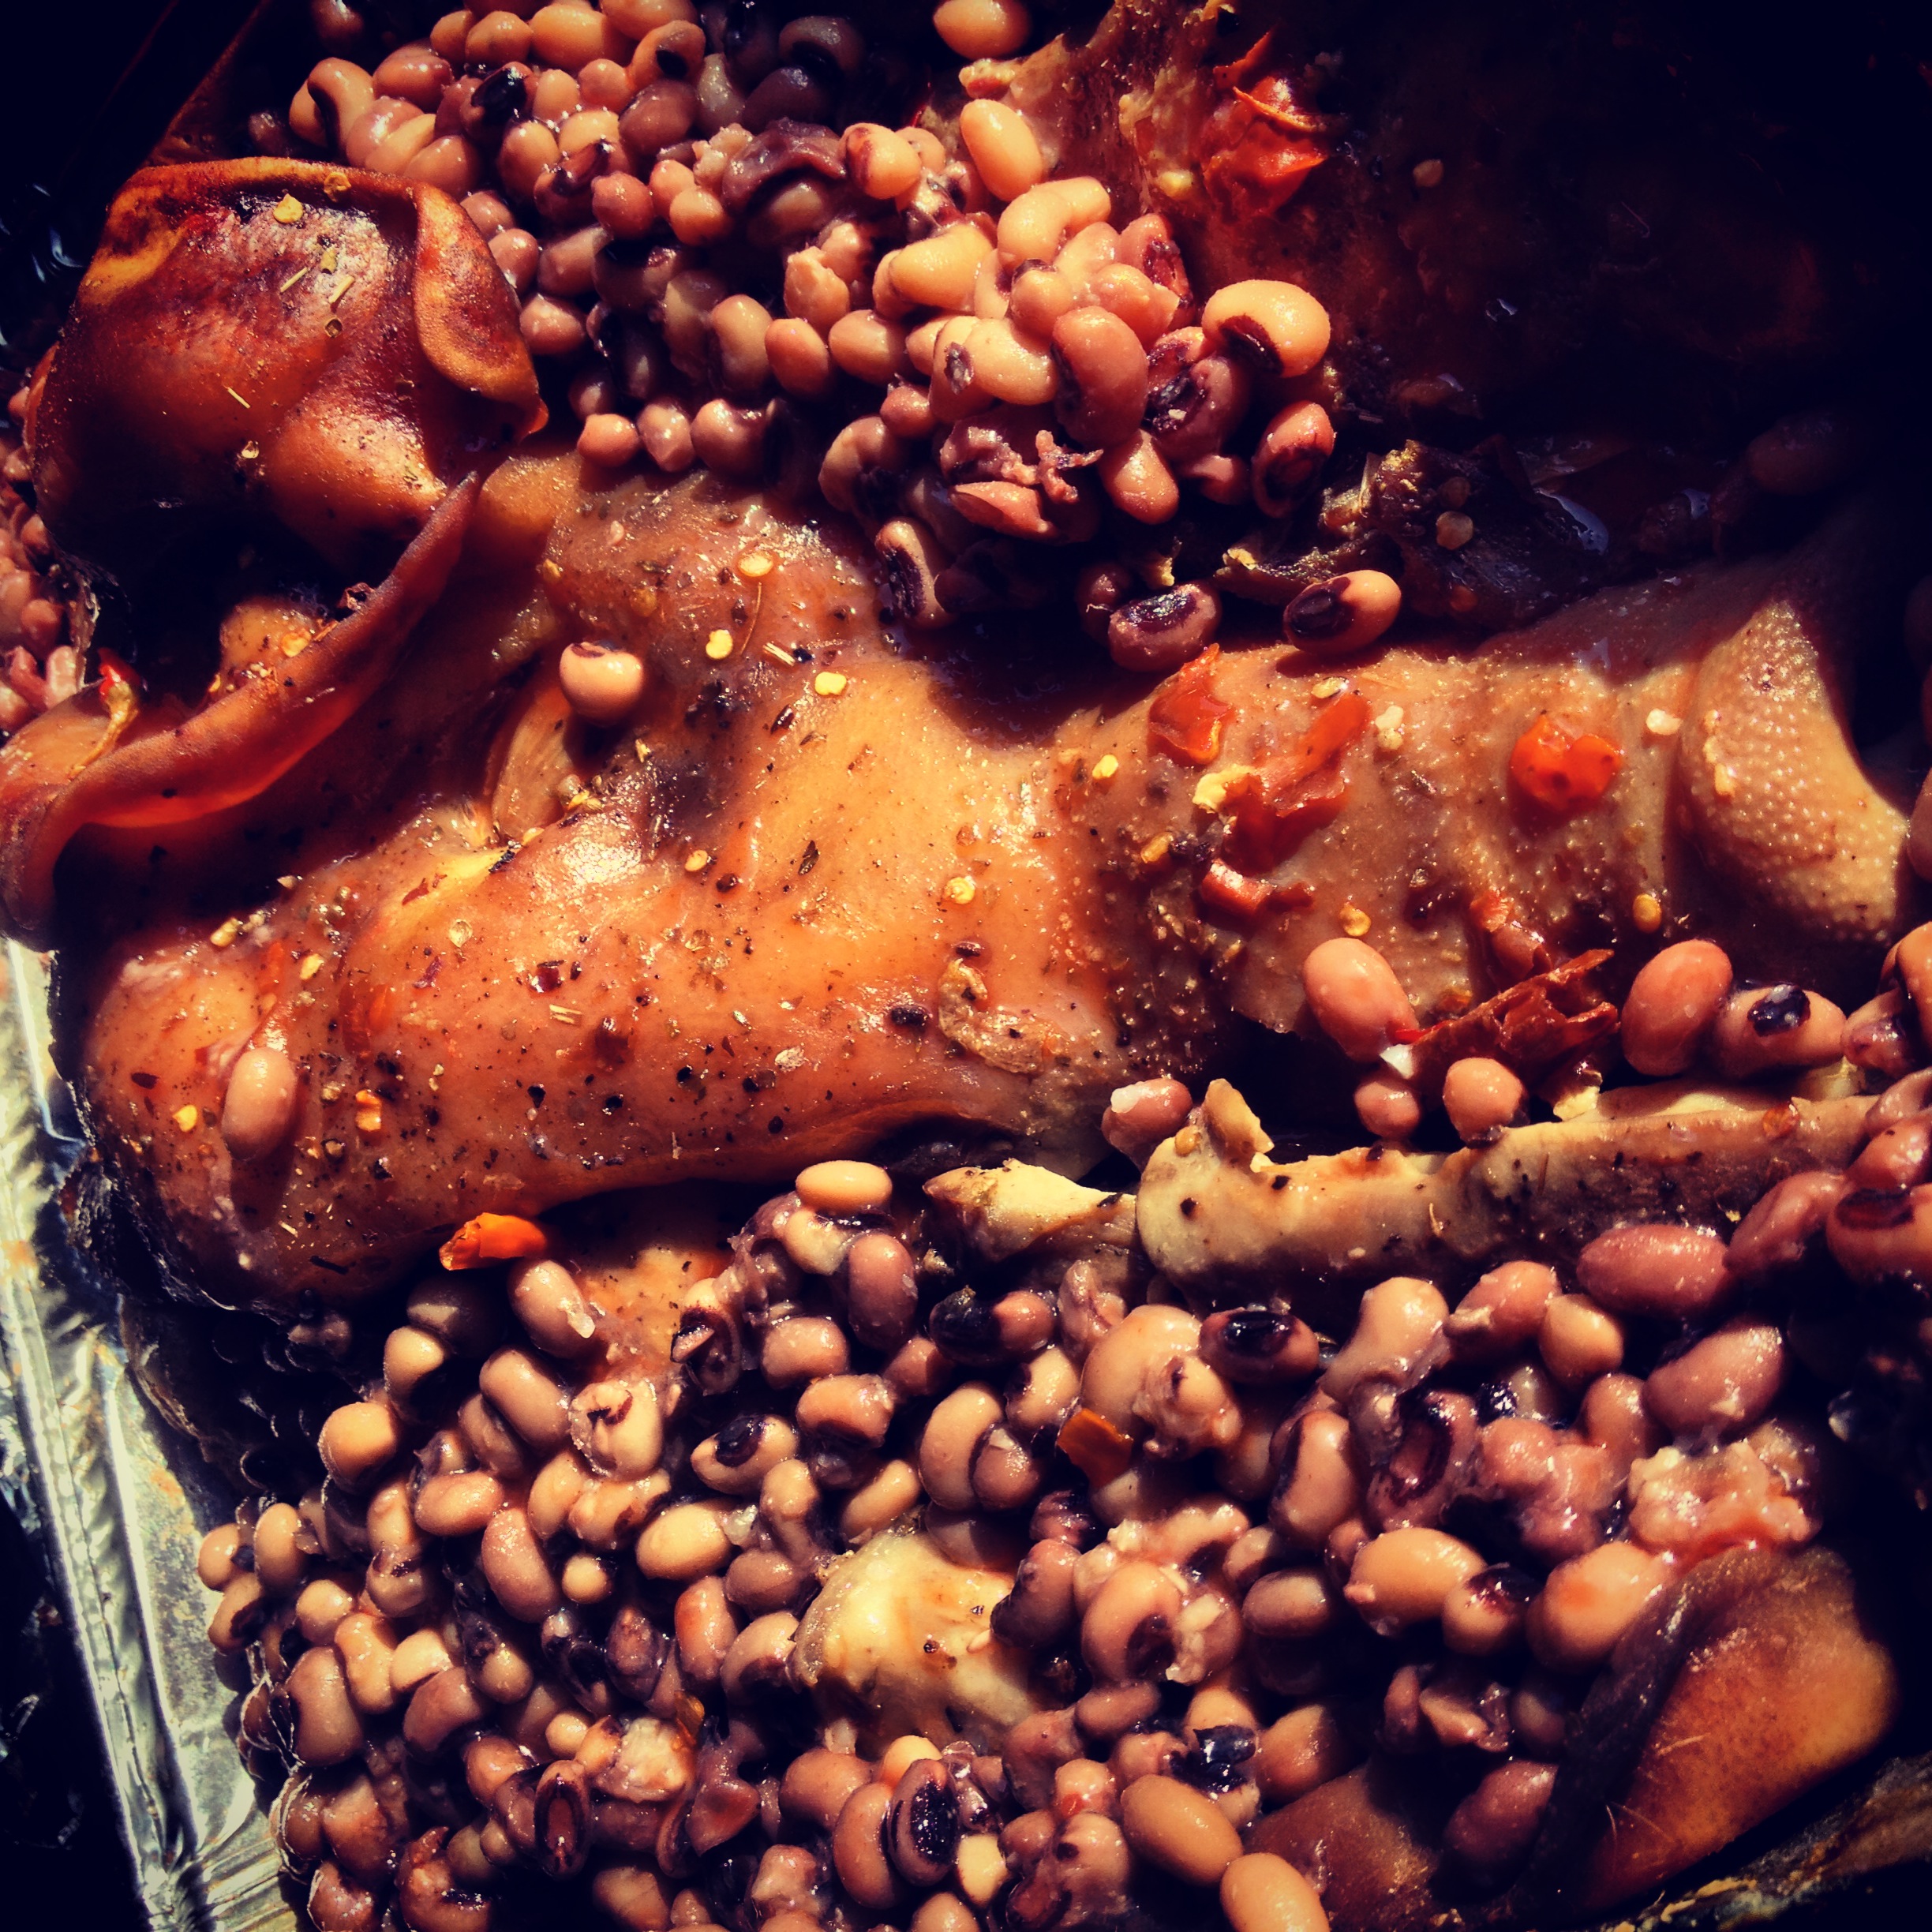
The next day, about an hour or so before you are ready to serve, pour some black eyed peas into the pan with the hog head, just enough to cover ears and tails. Drizzle with either hot sauce, vinegar concoction, or both over everything in pan and place uncovered in the oven at 400 degrees for about an hour, or until skin has reached crispy perfection! Mmmmm…my mouth is watering all over again. I wish you a very Happy New Year and always HAPPY EATING!
They approve…
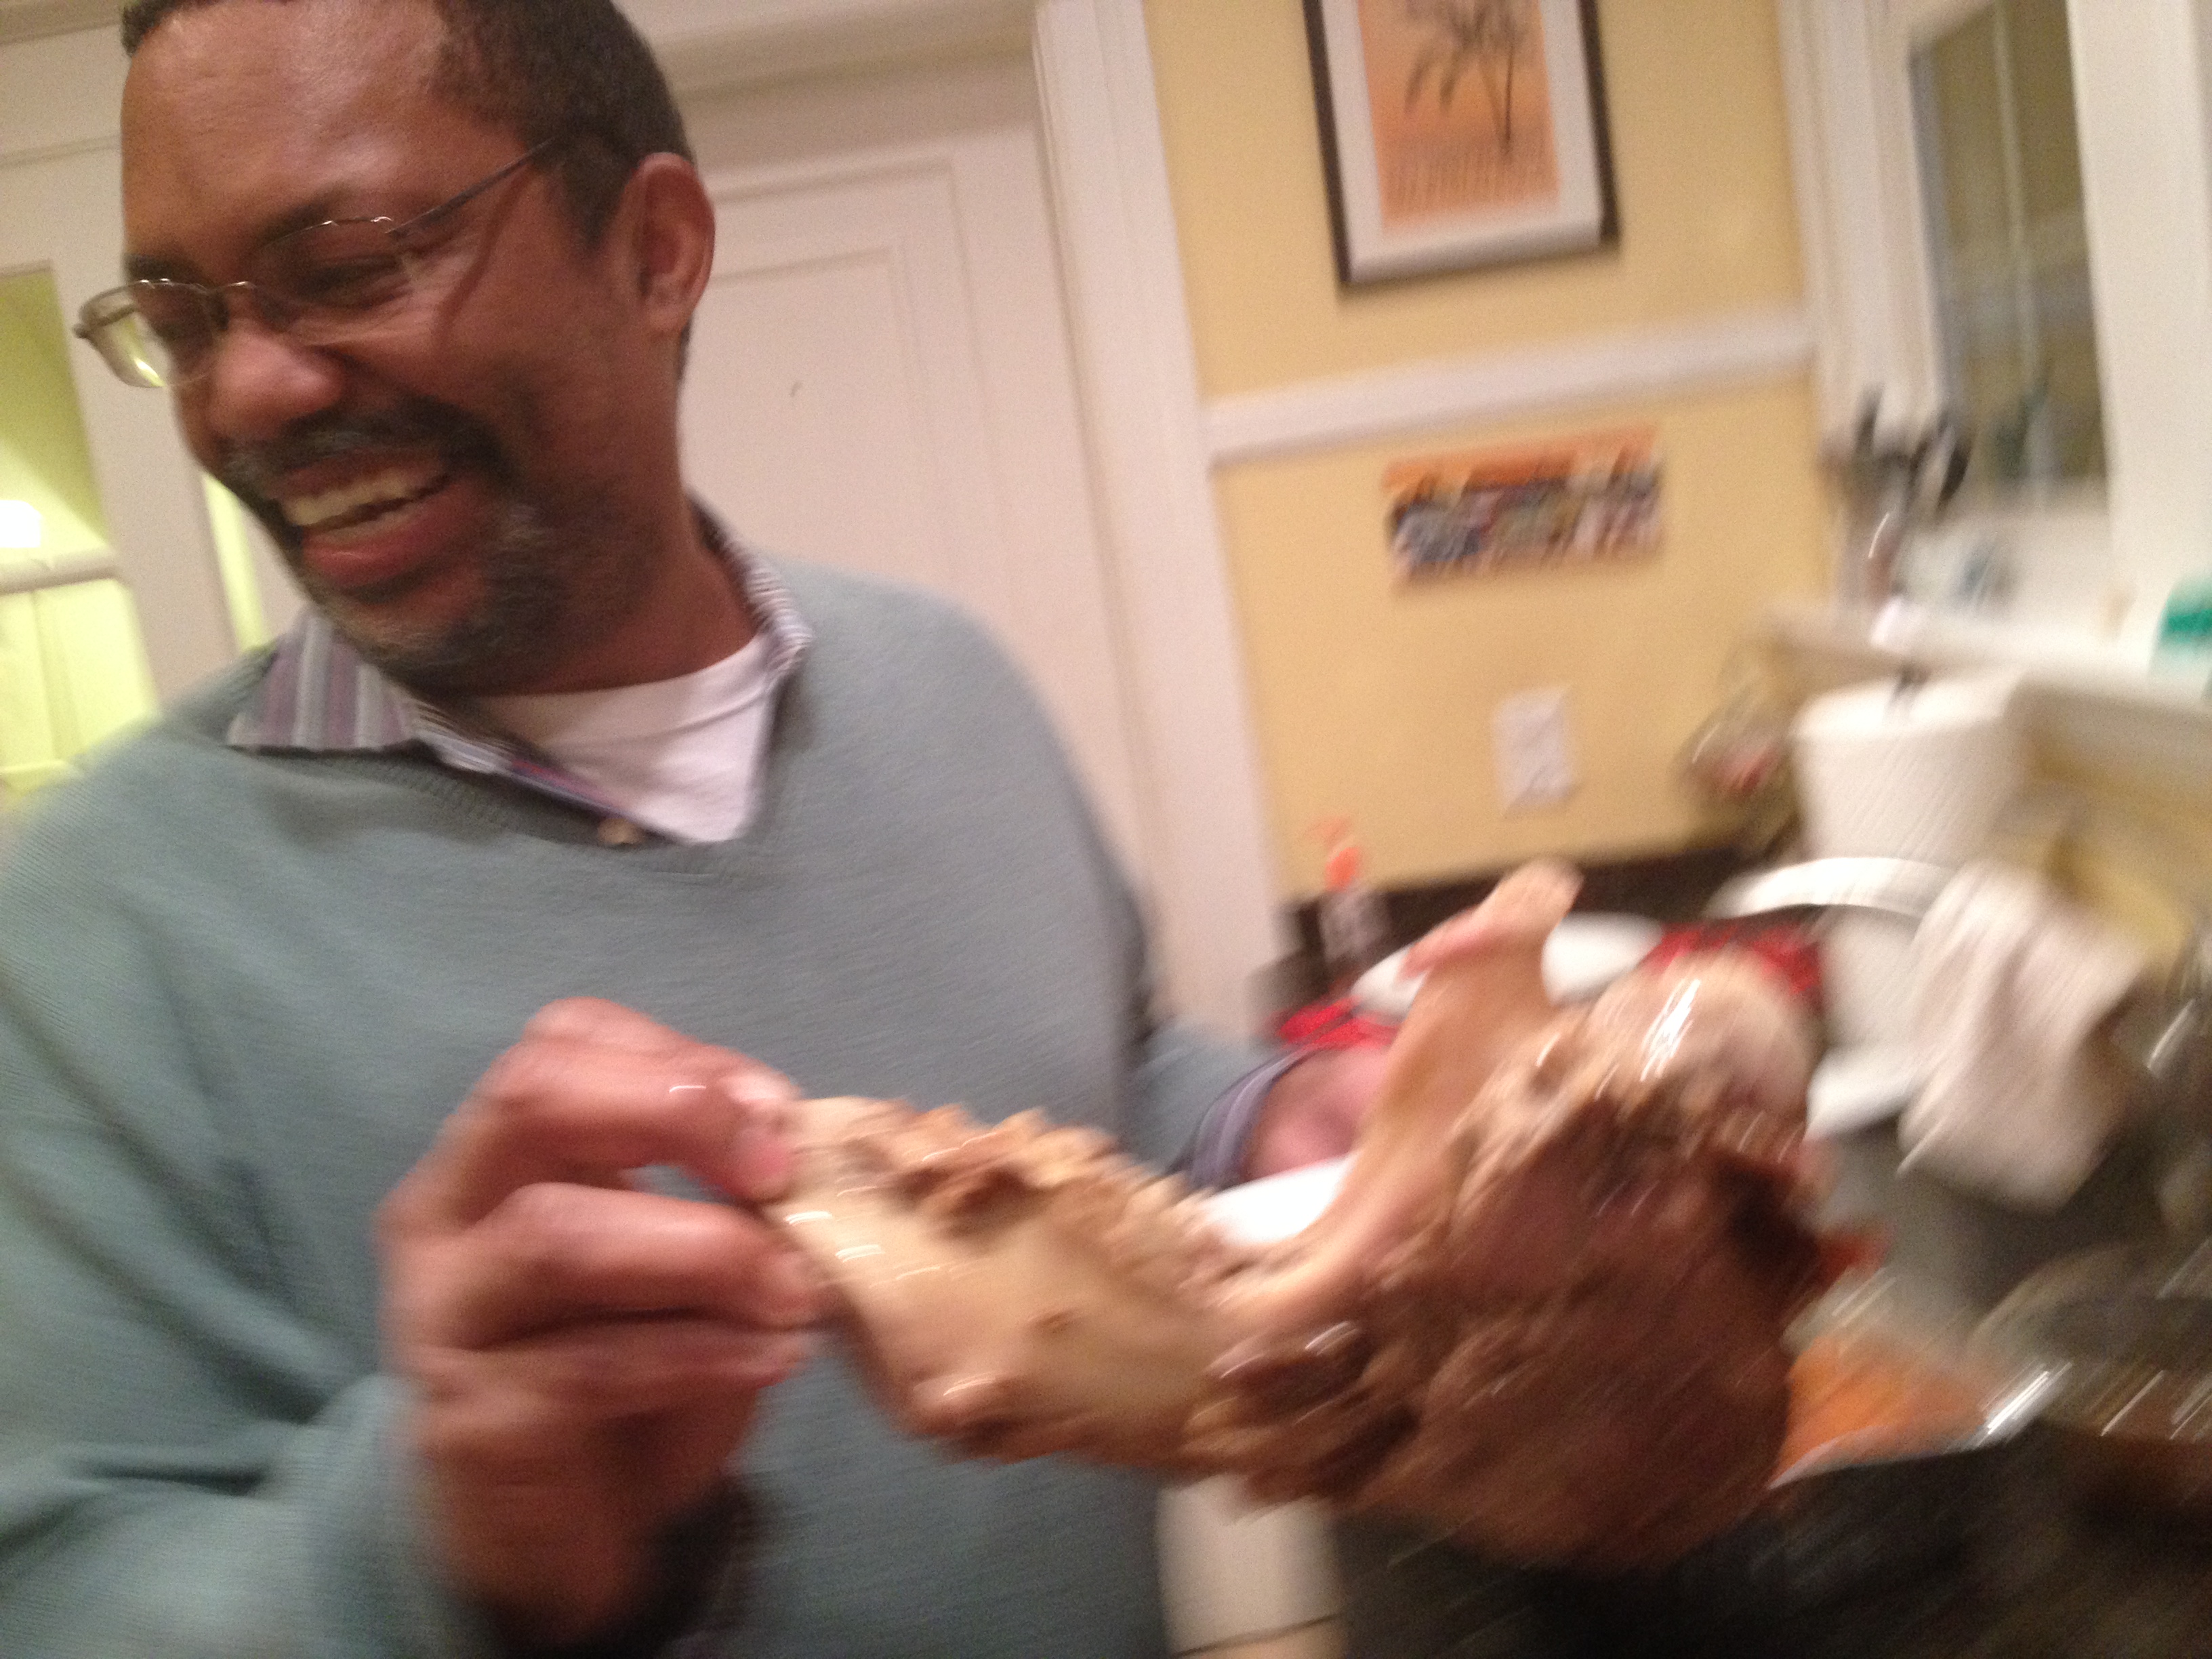
…Uncle Ebon approves!
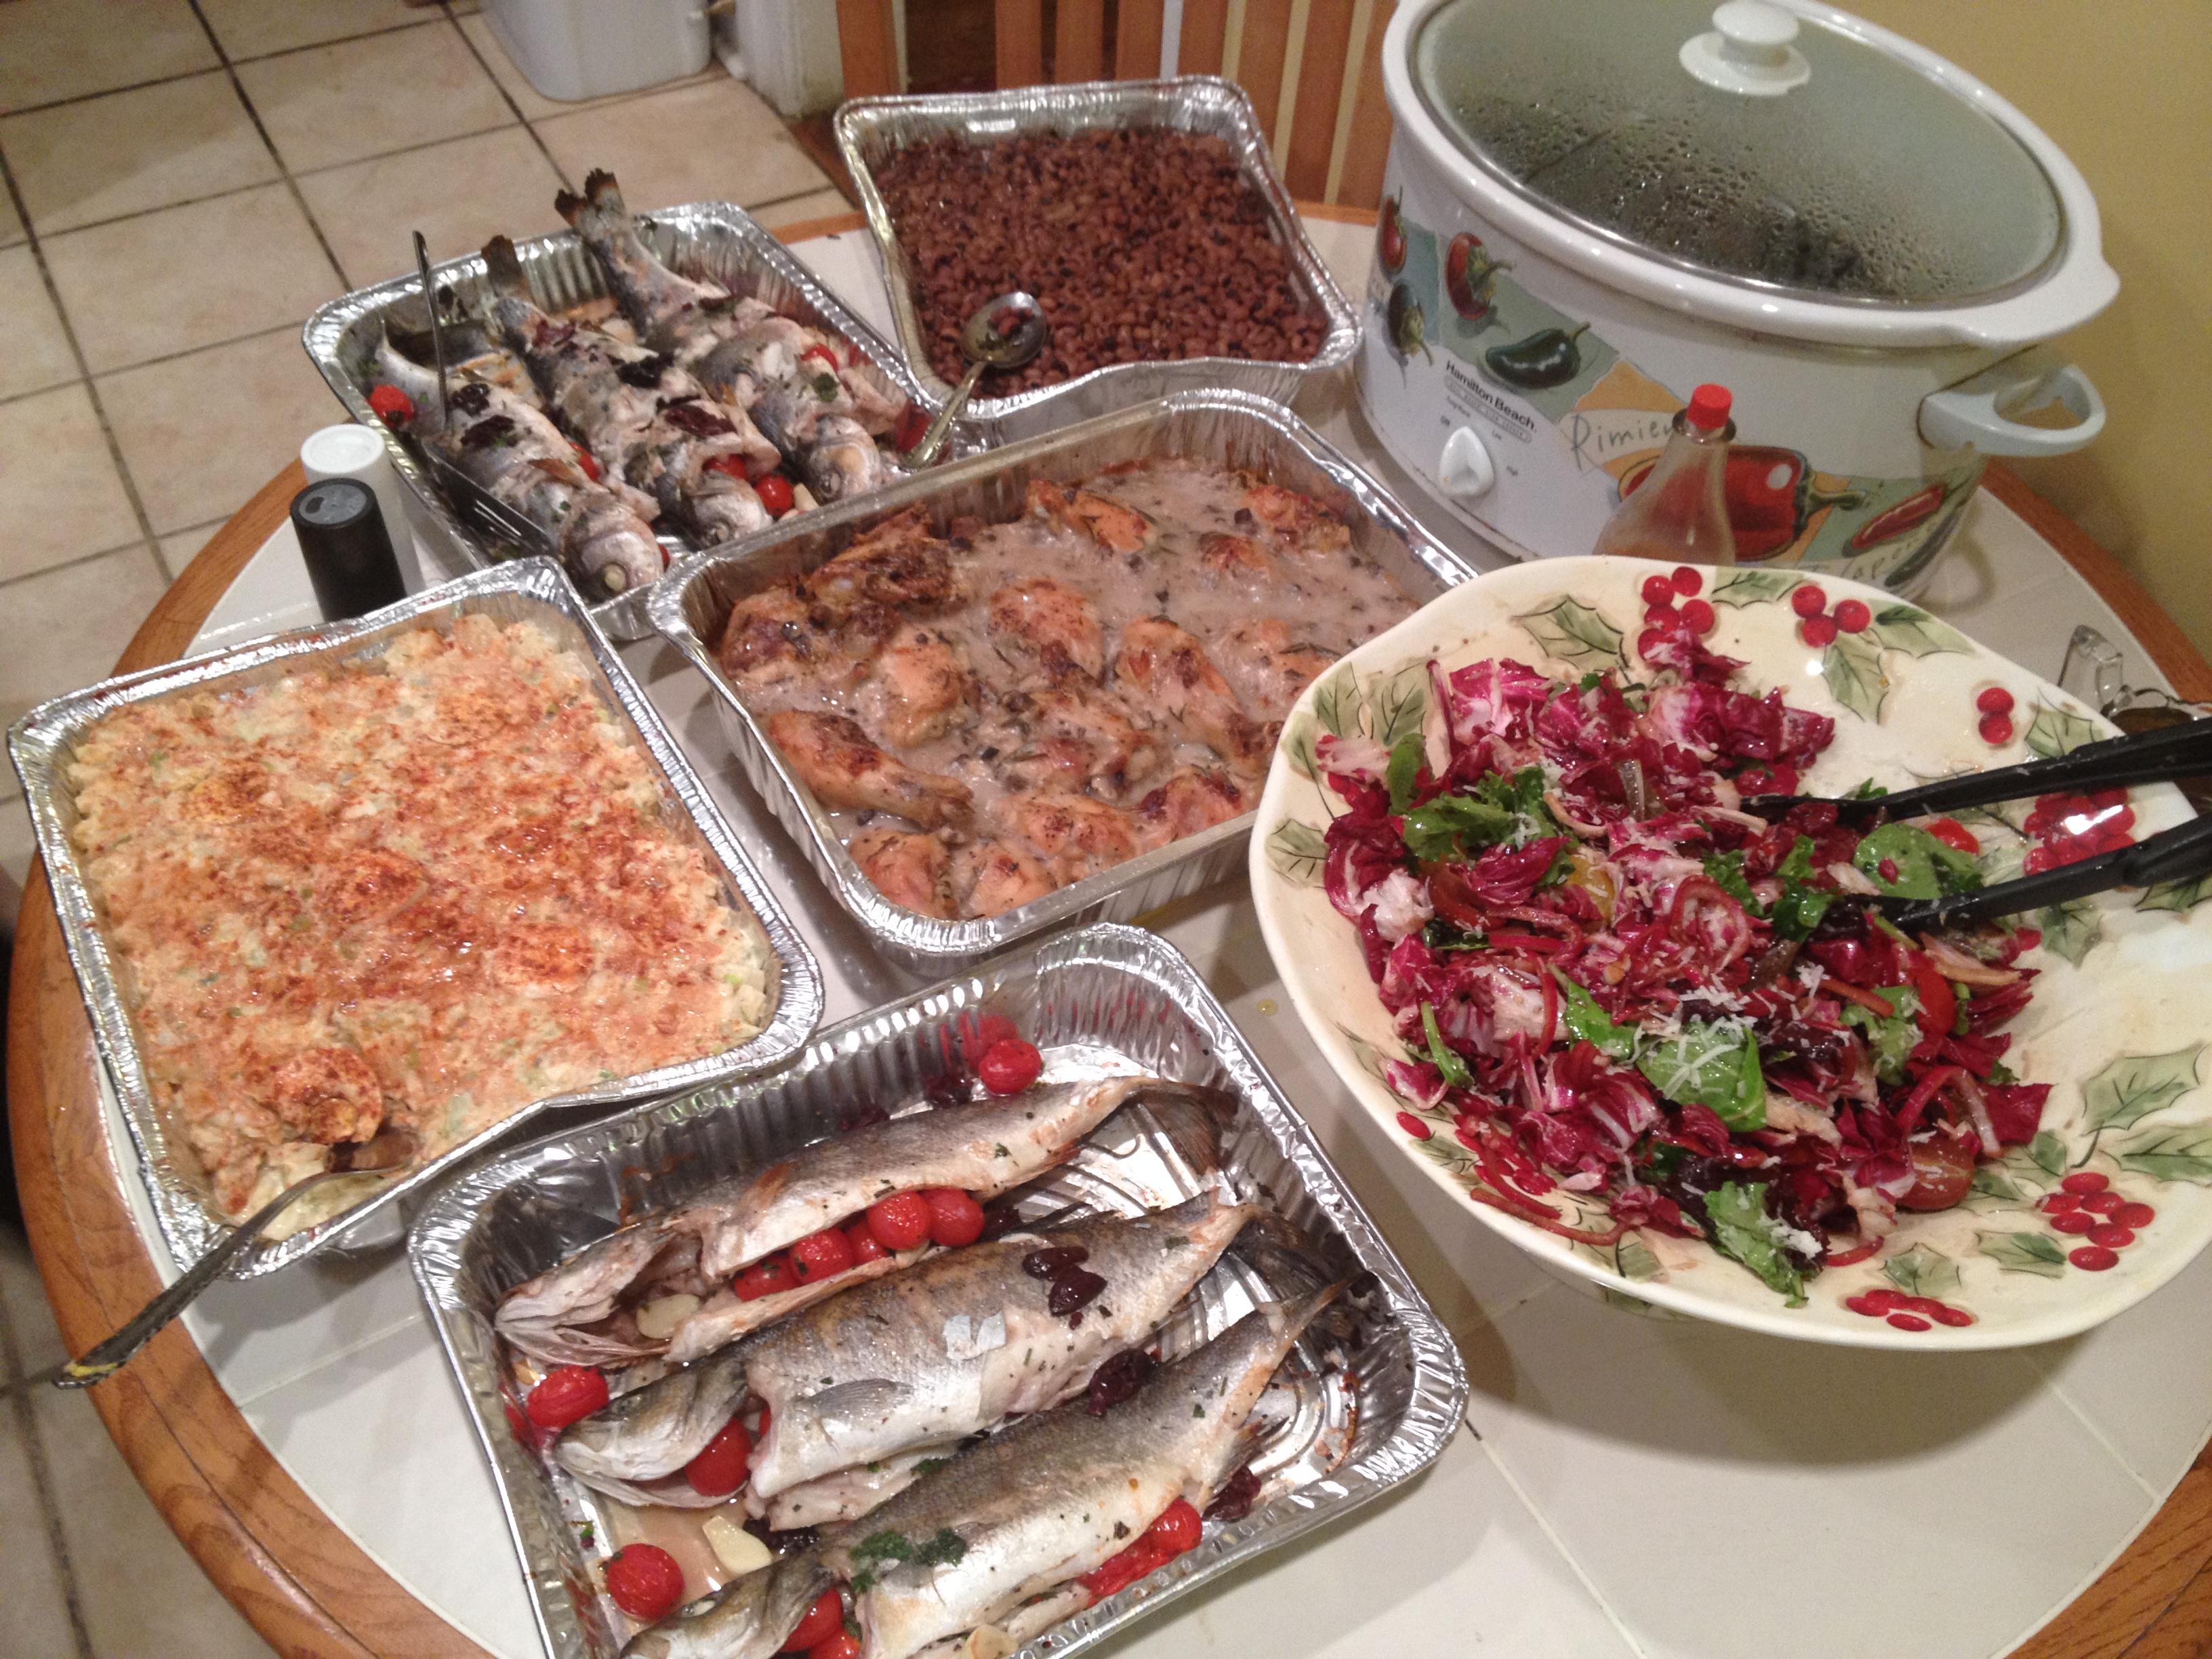
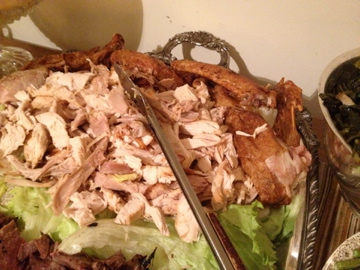
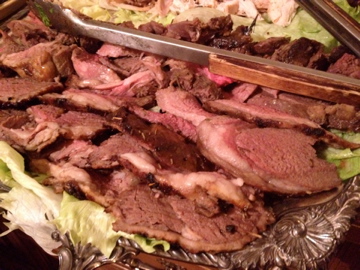
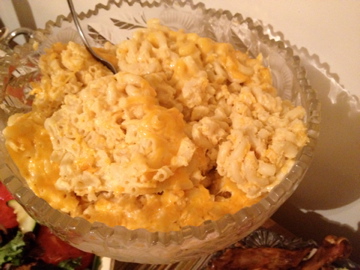
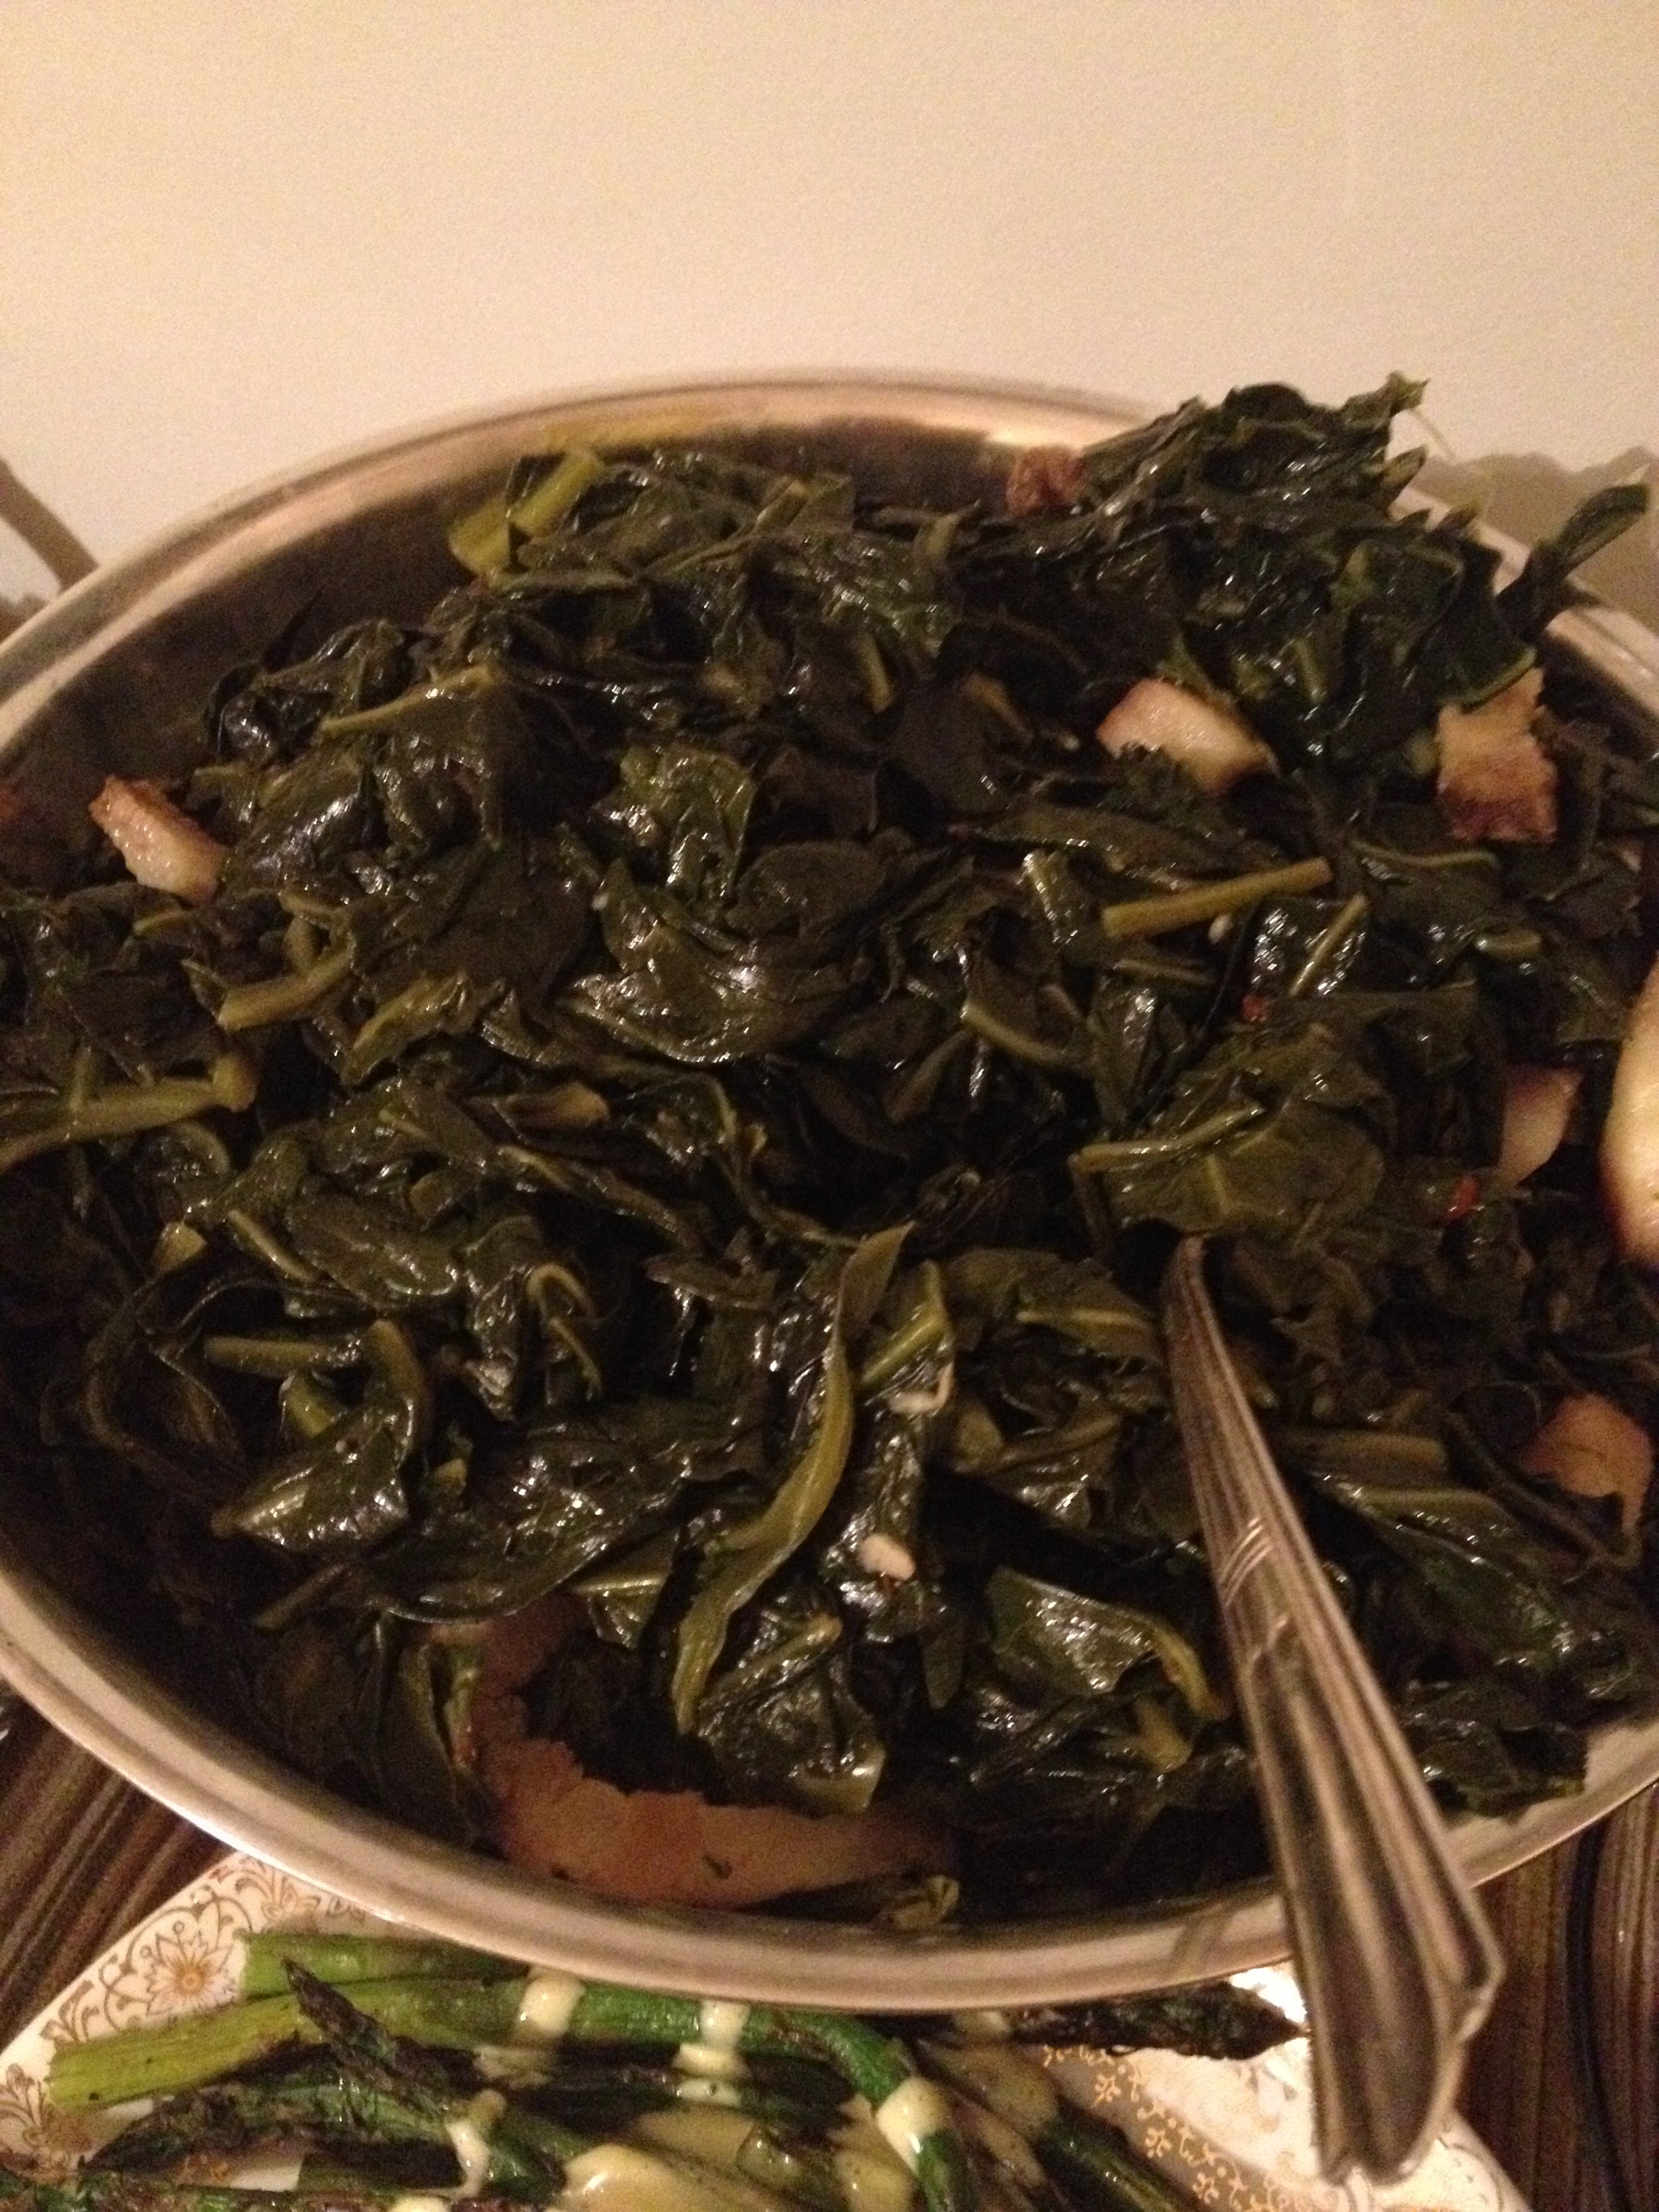
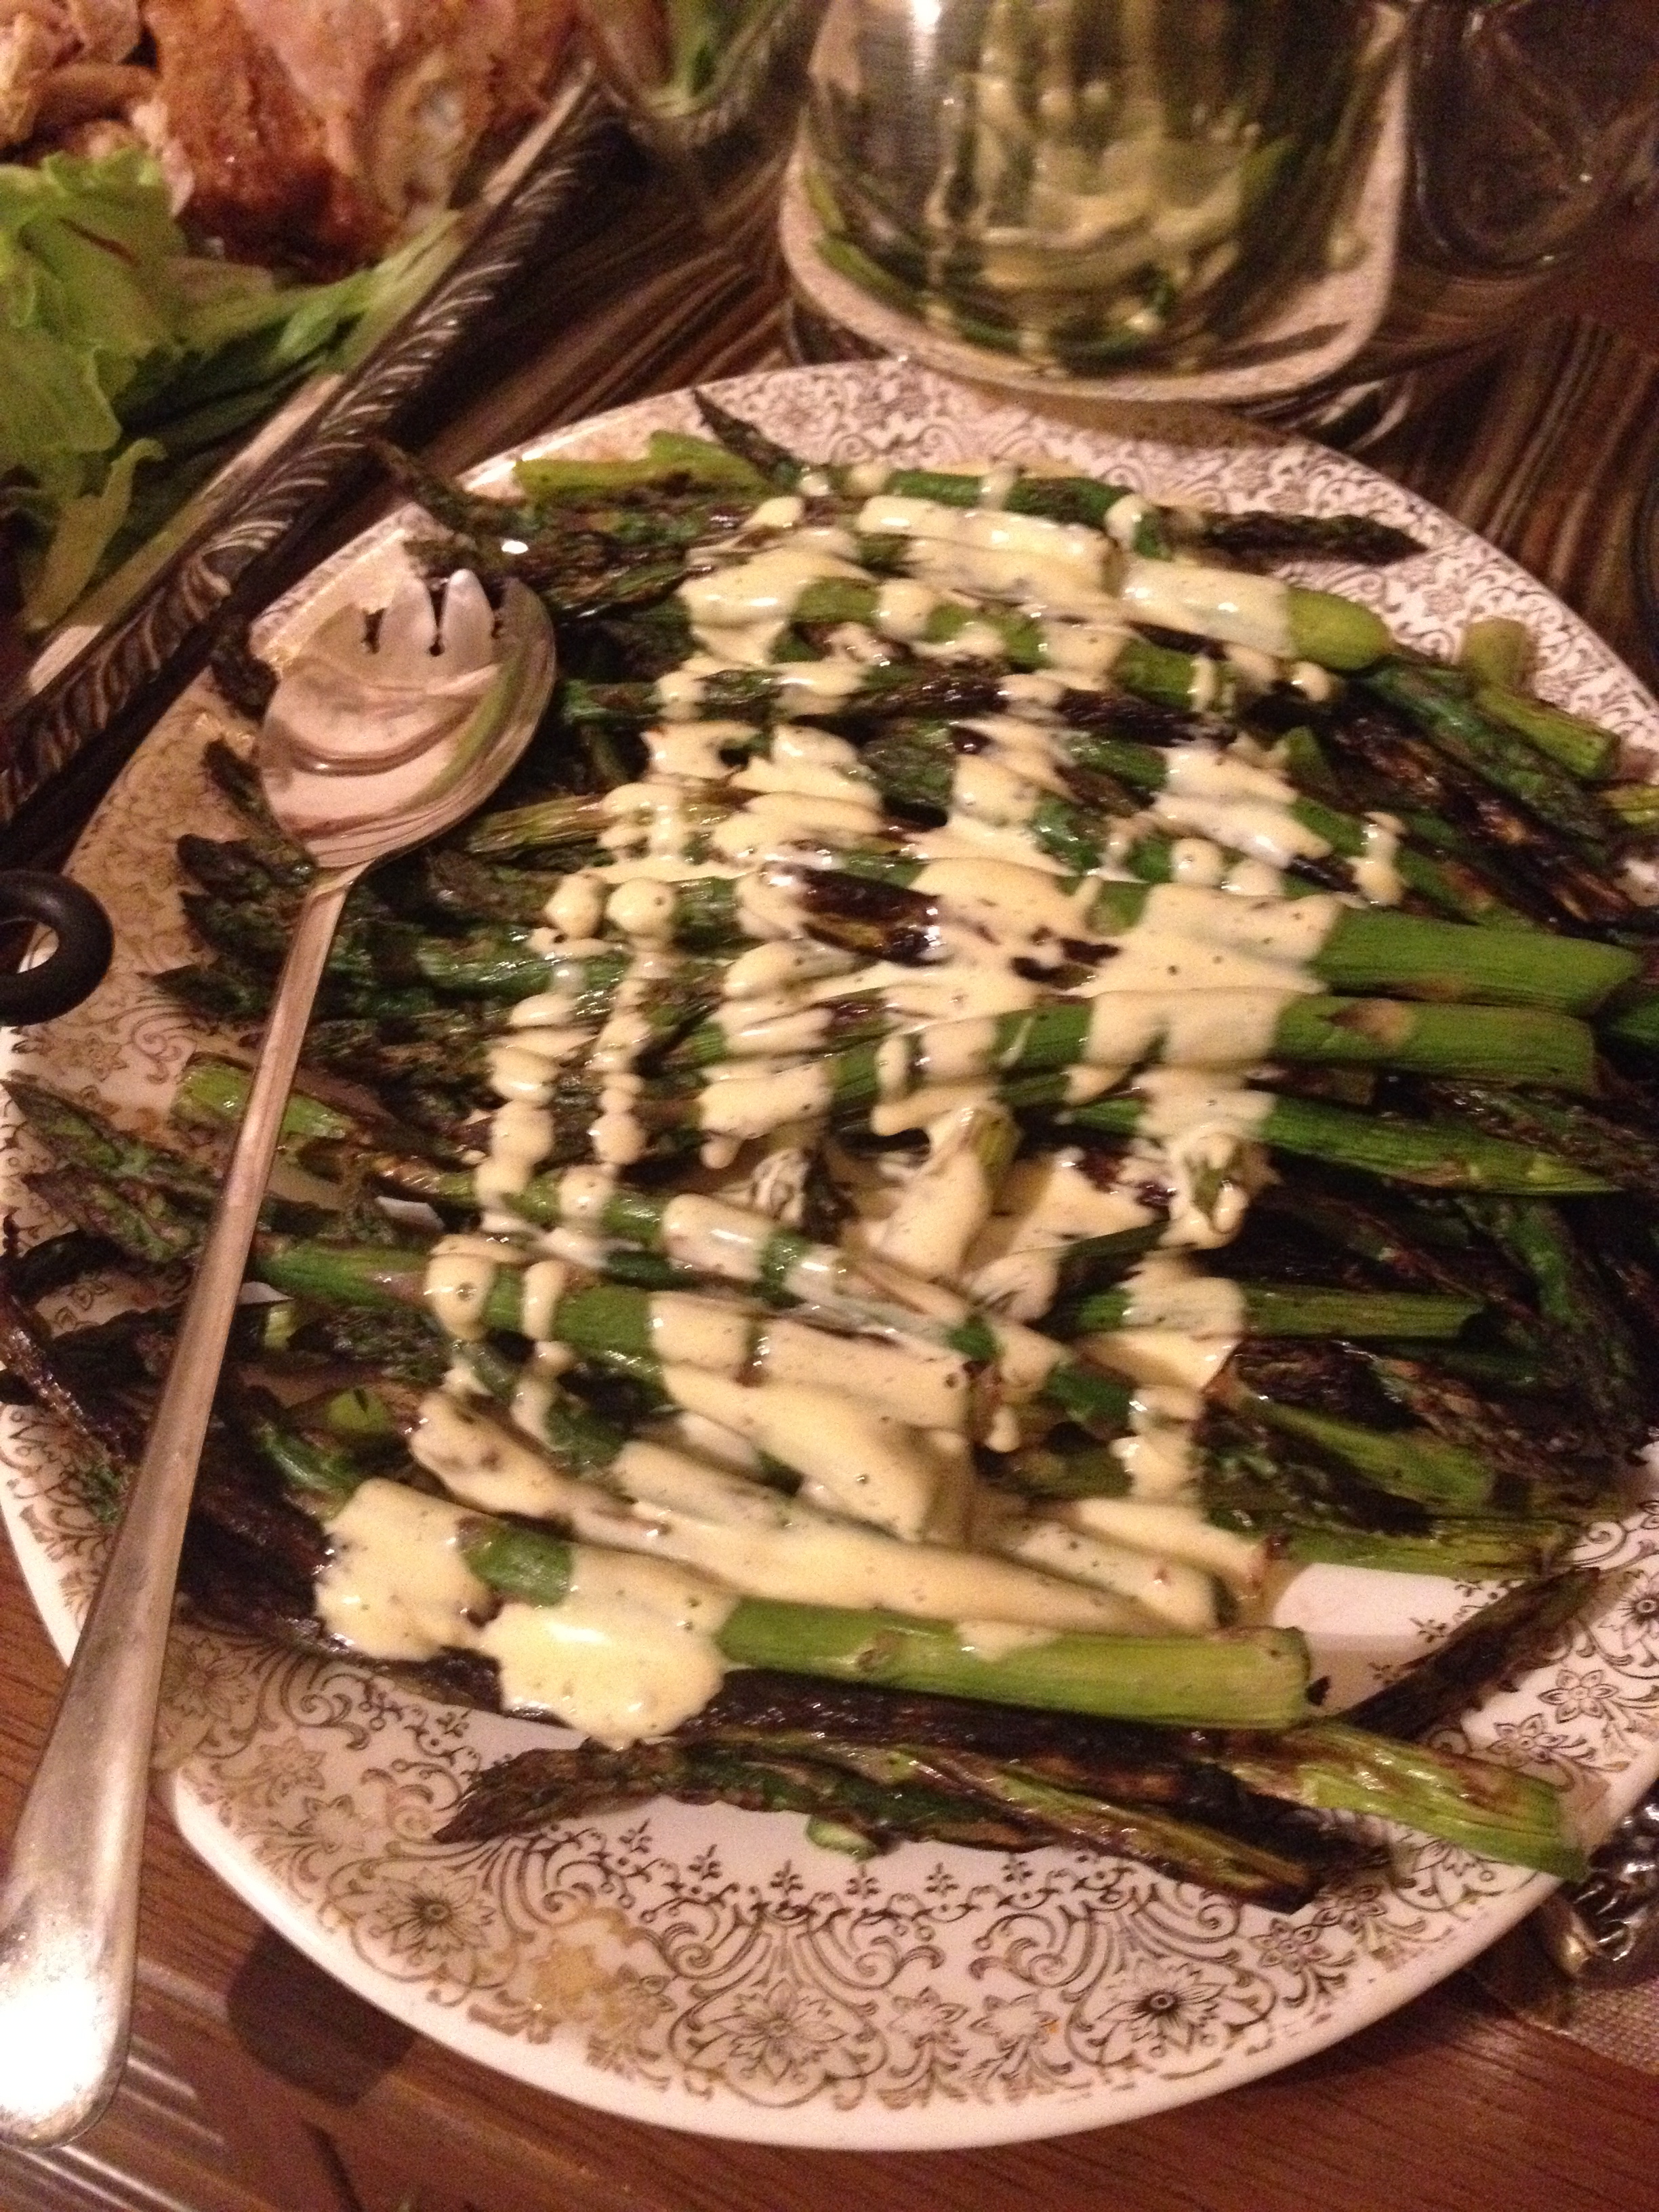
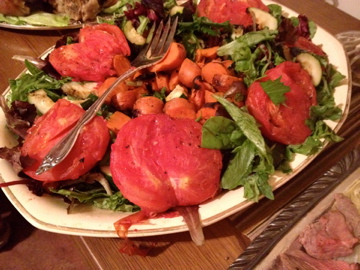
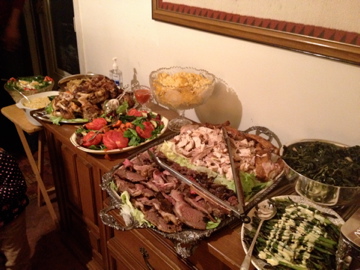
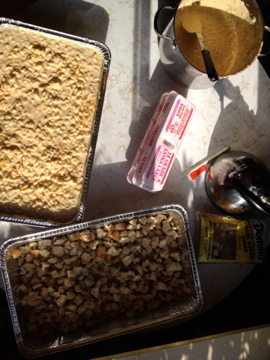
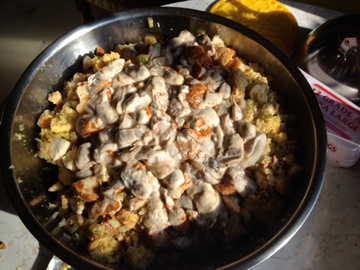
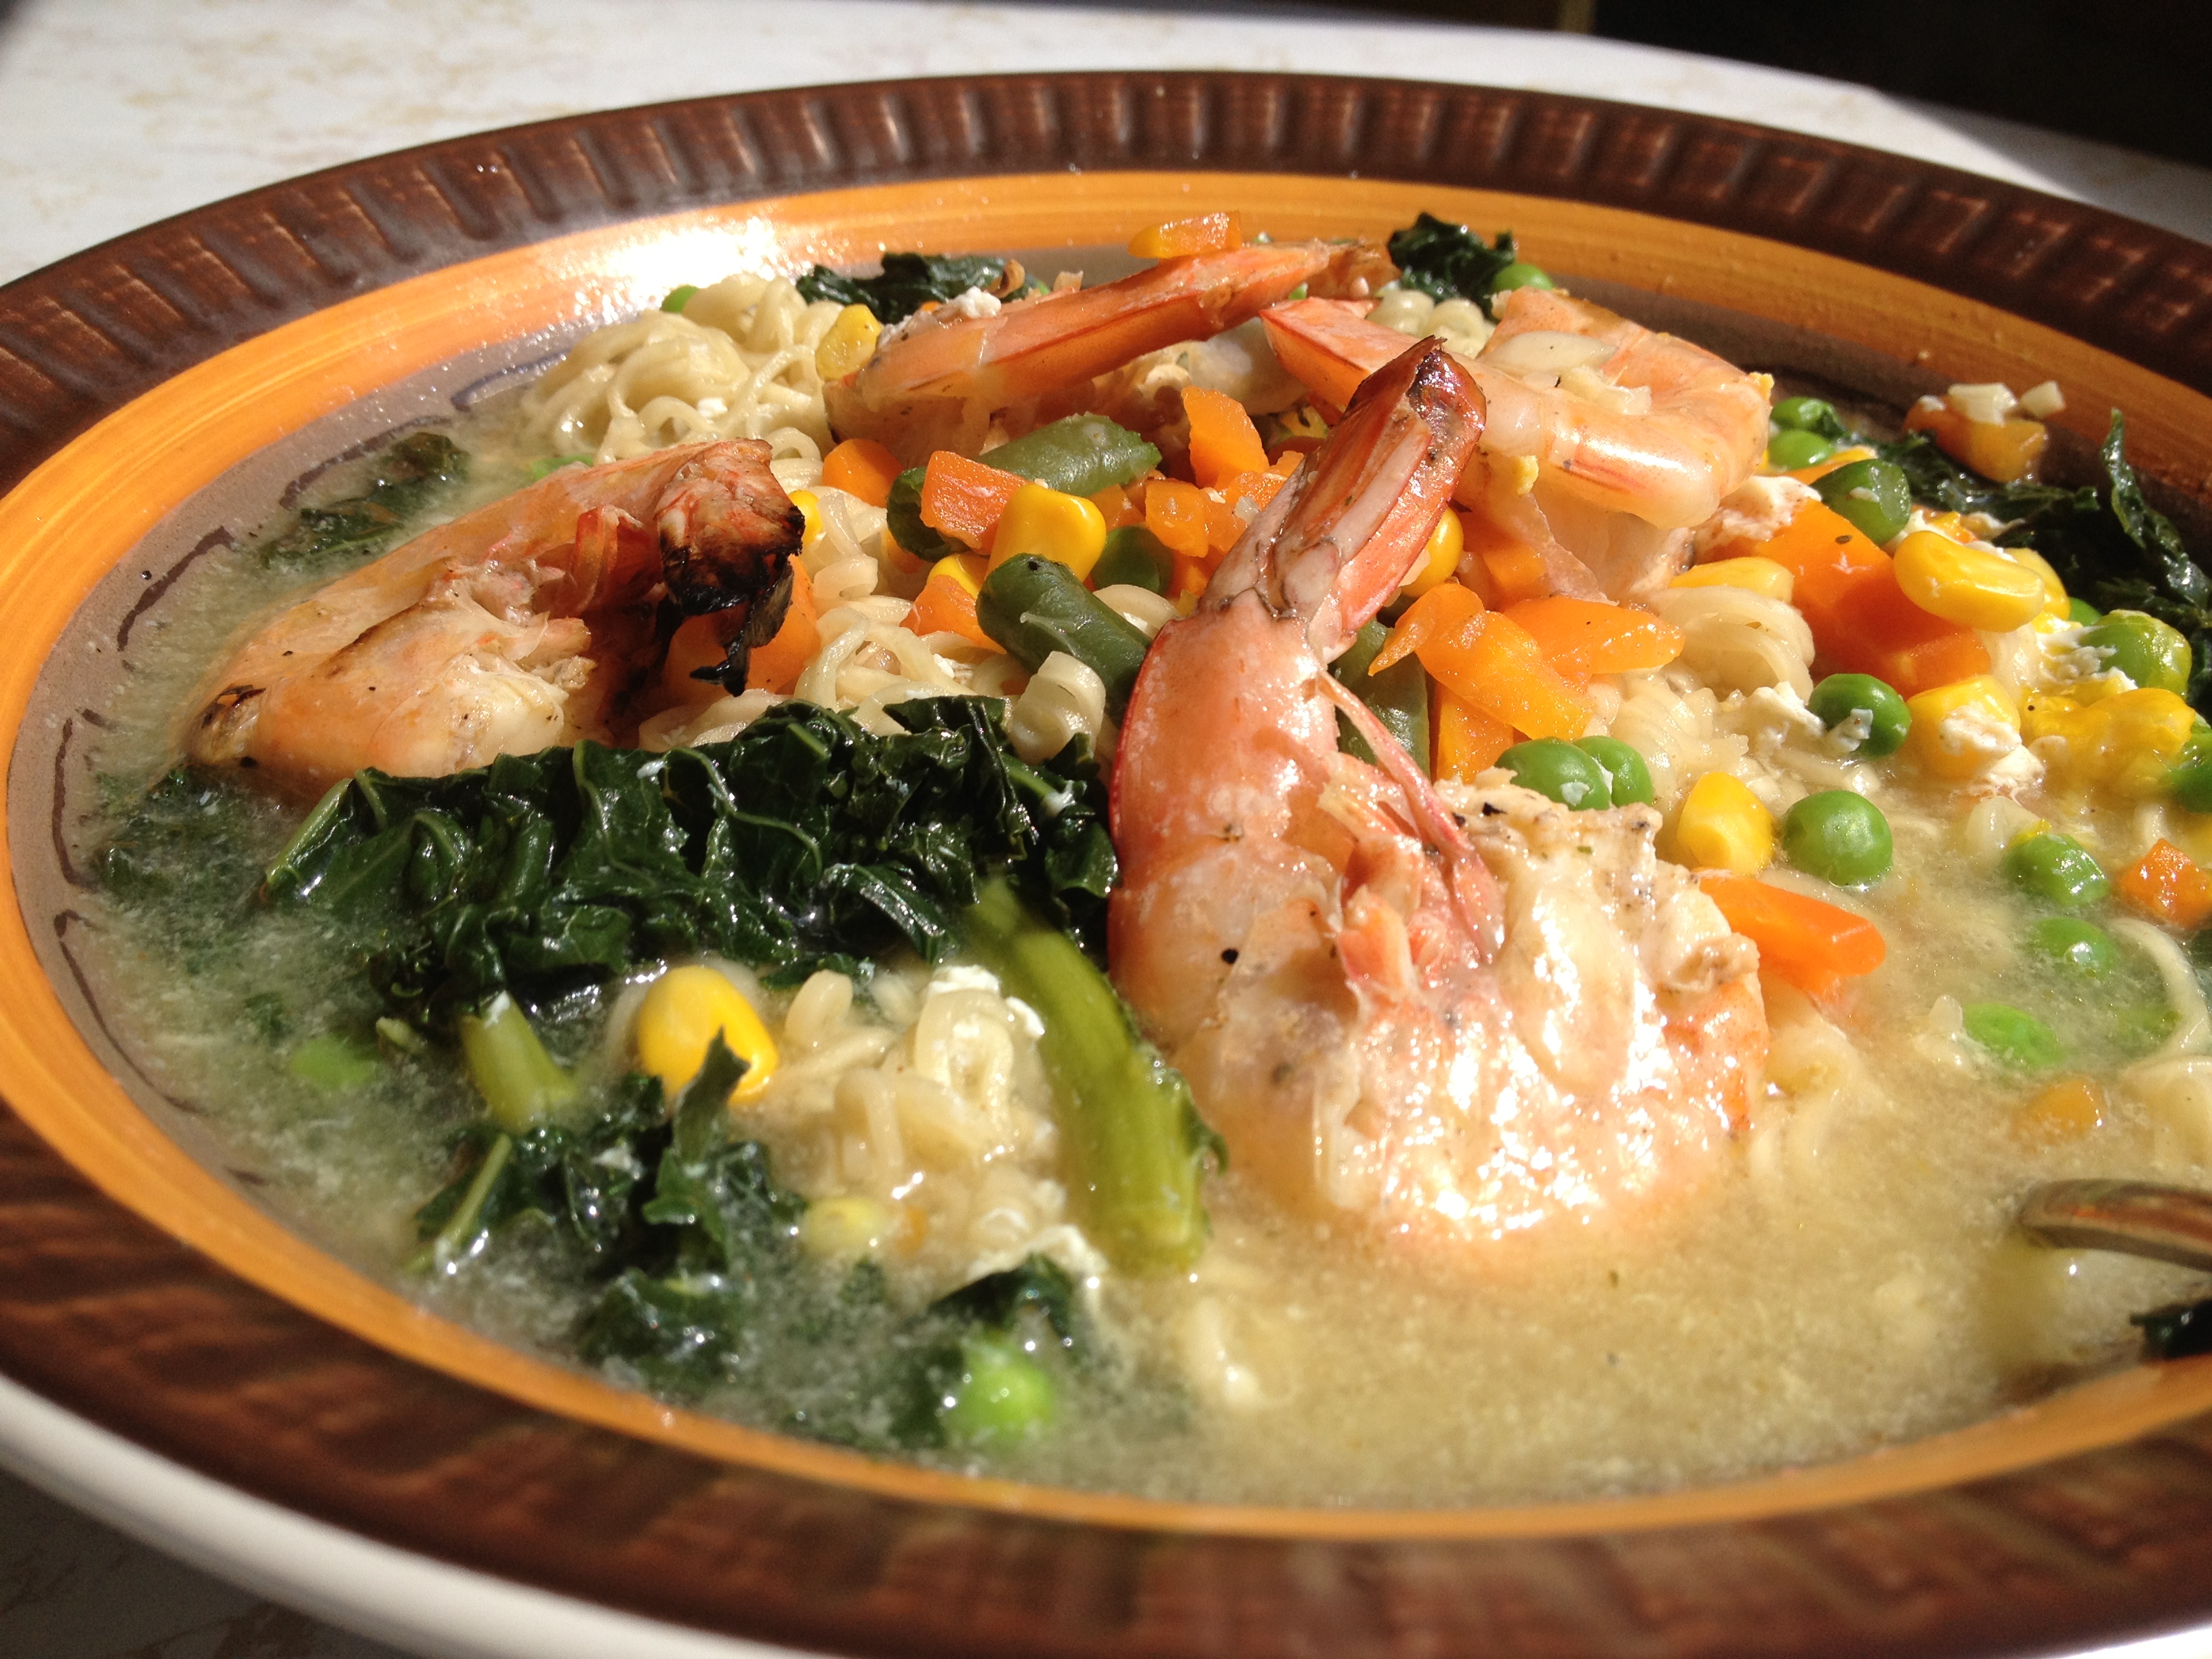
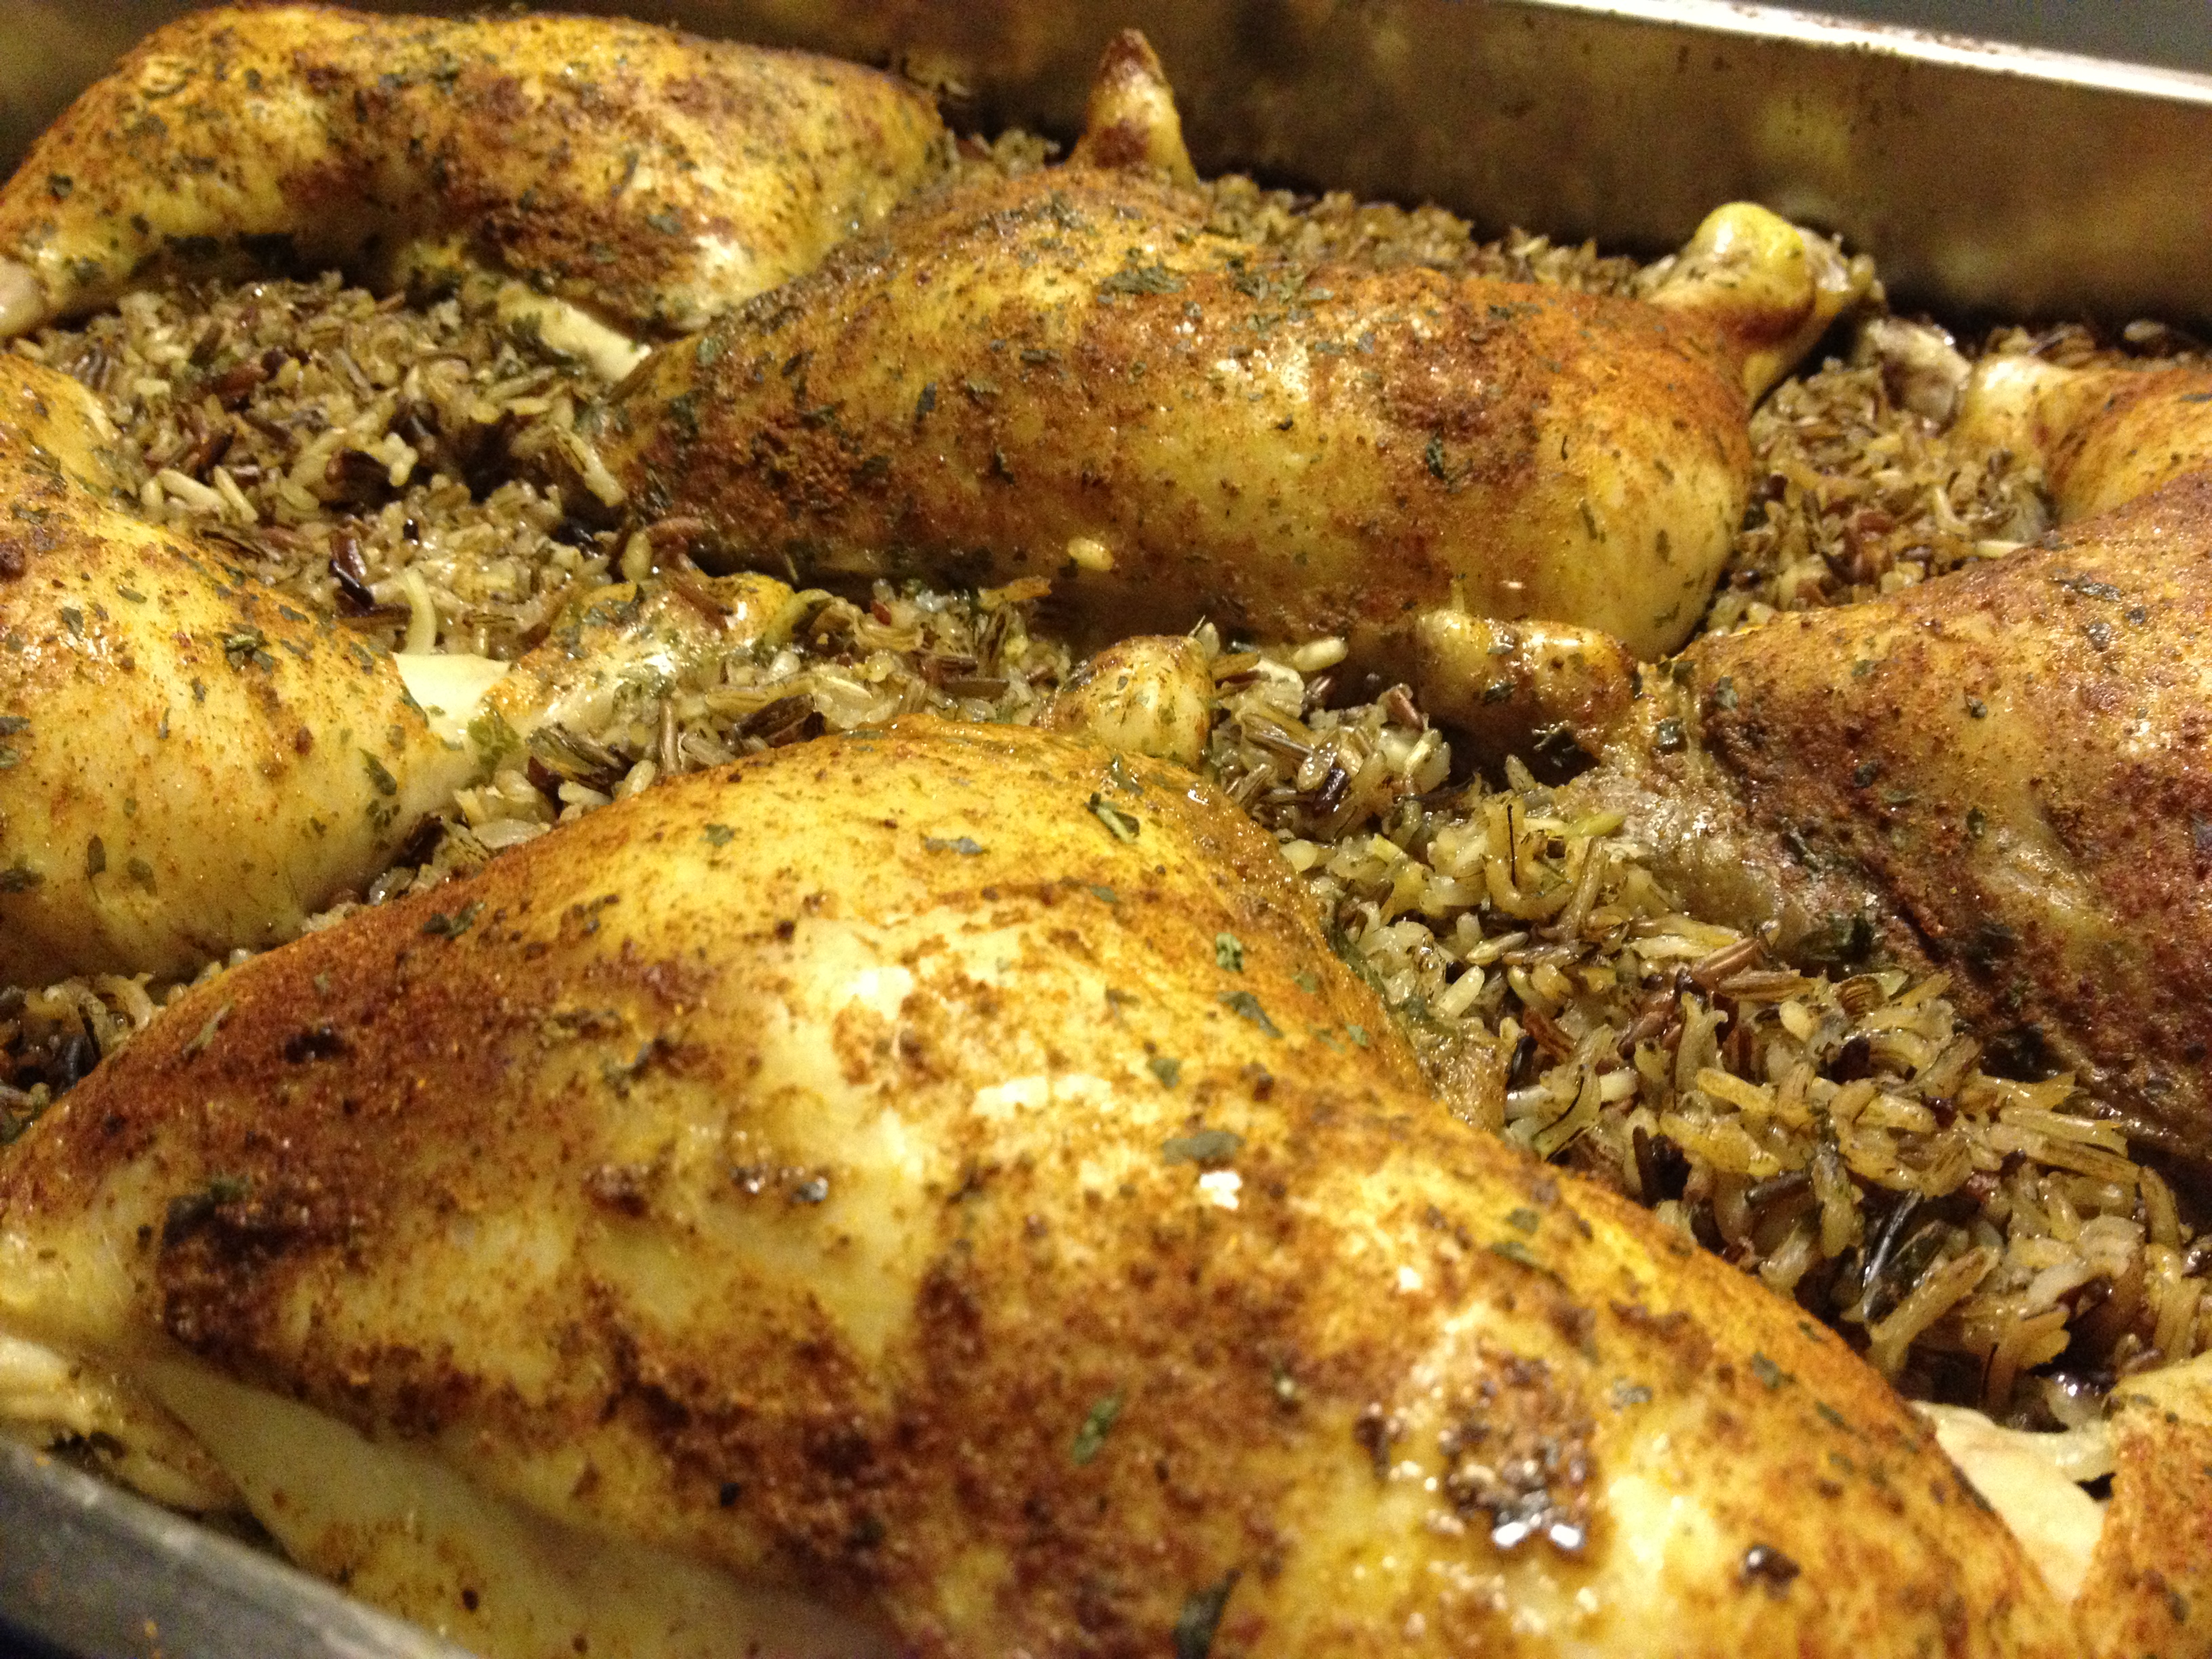
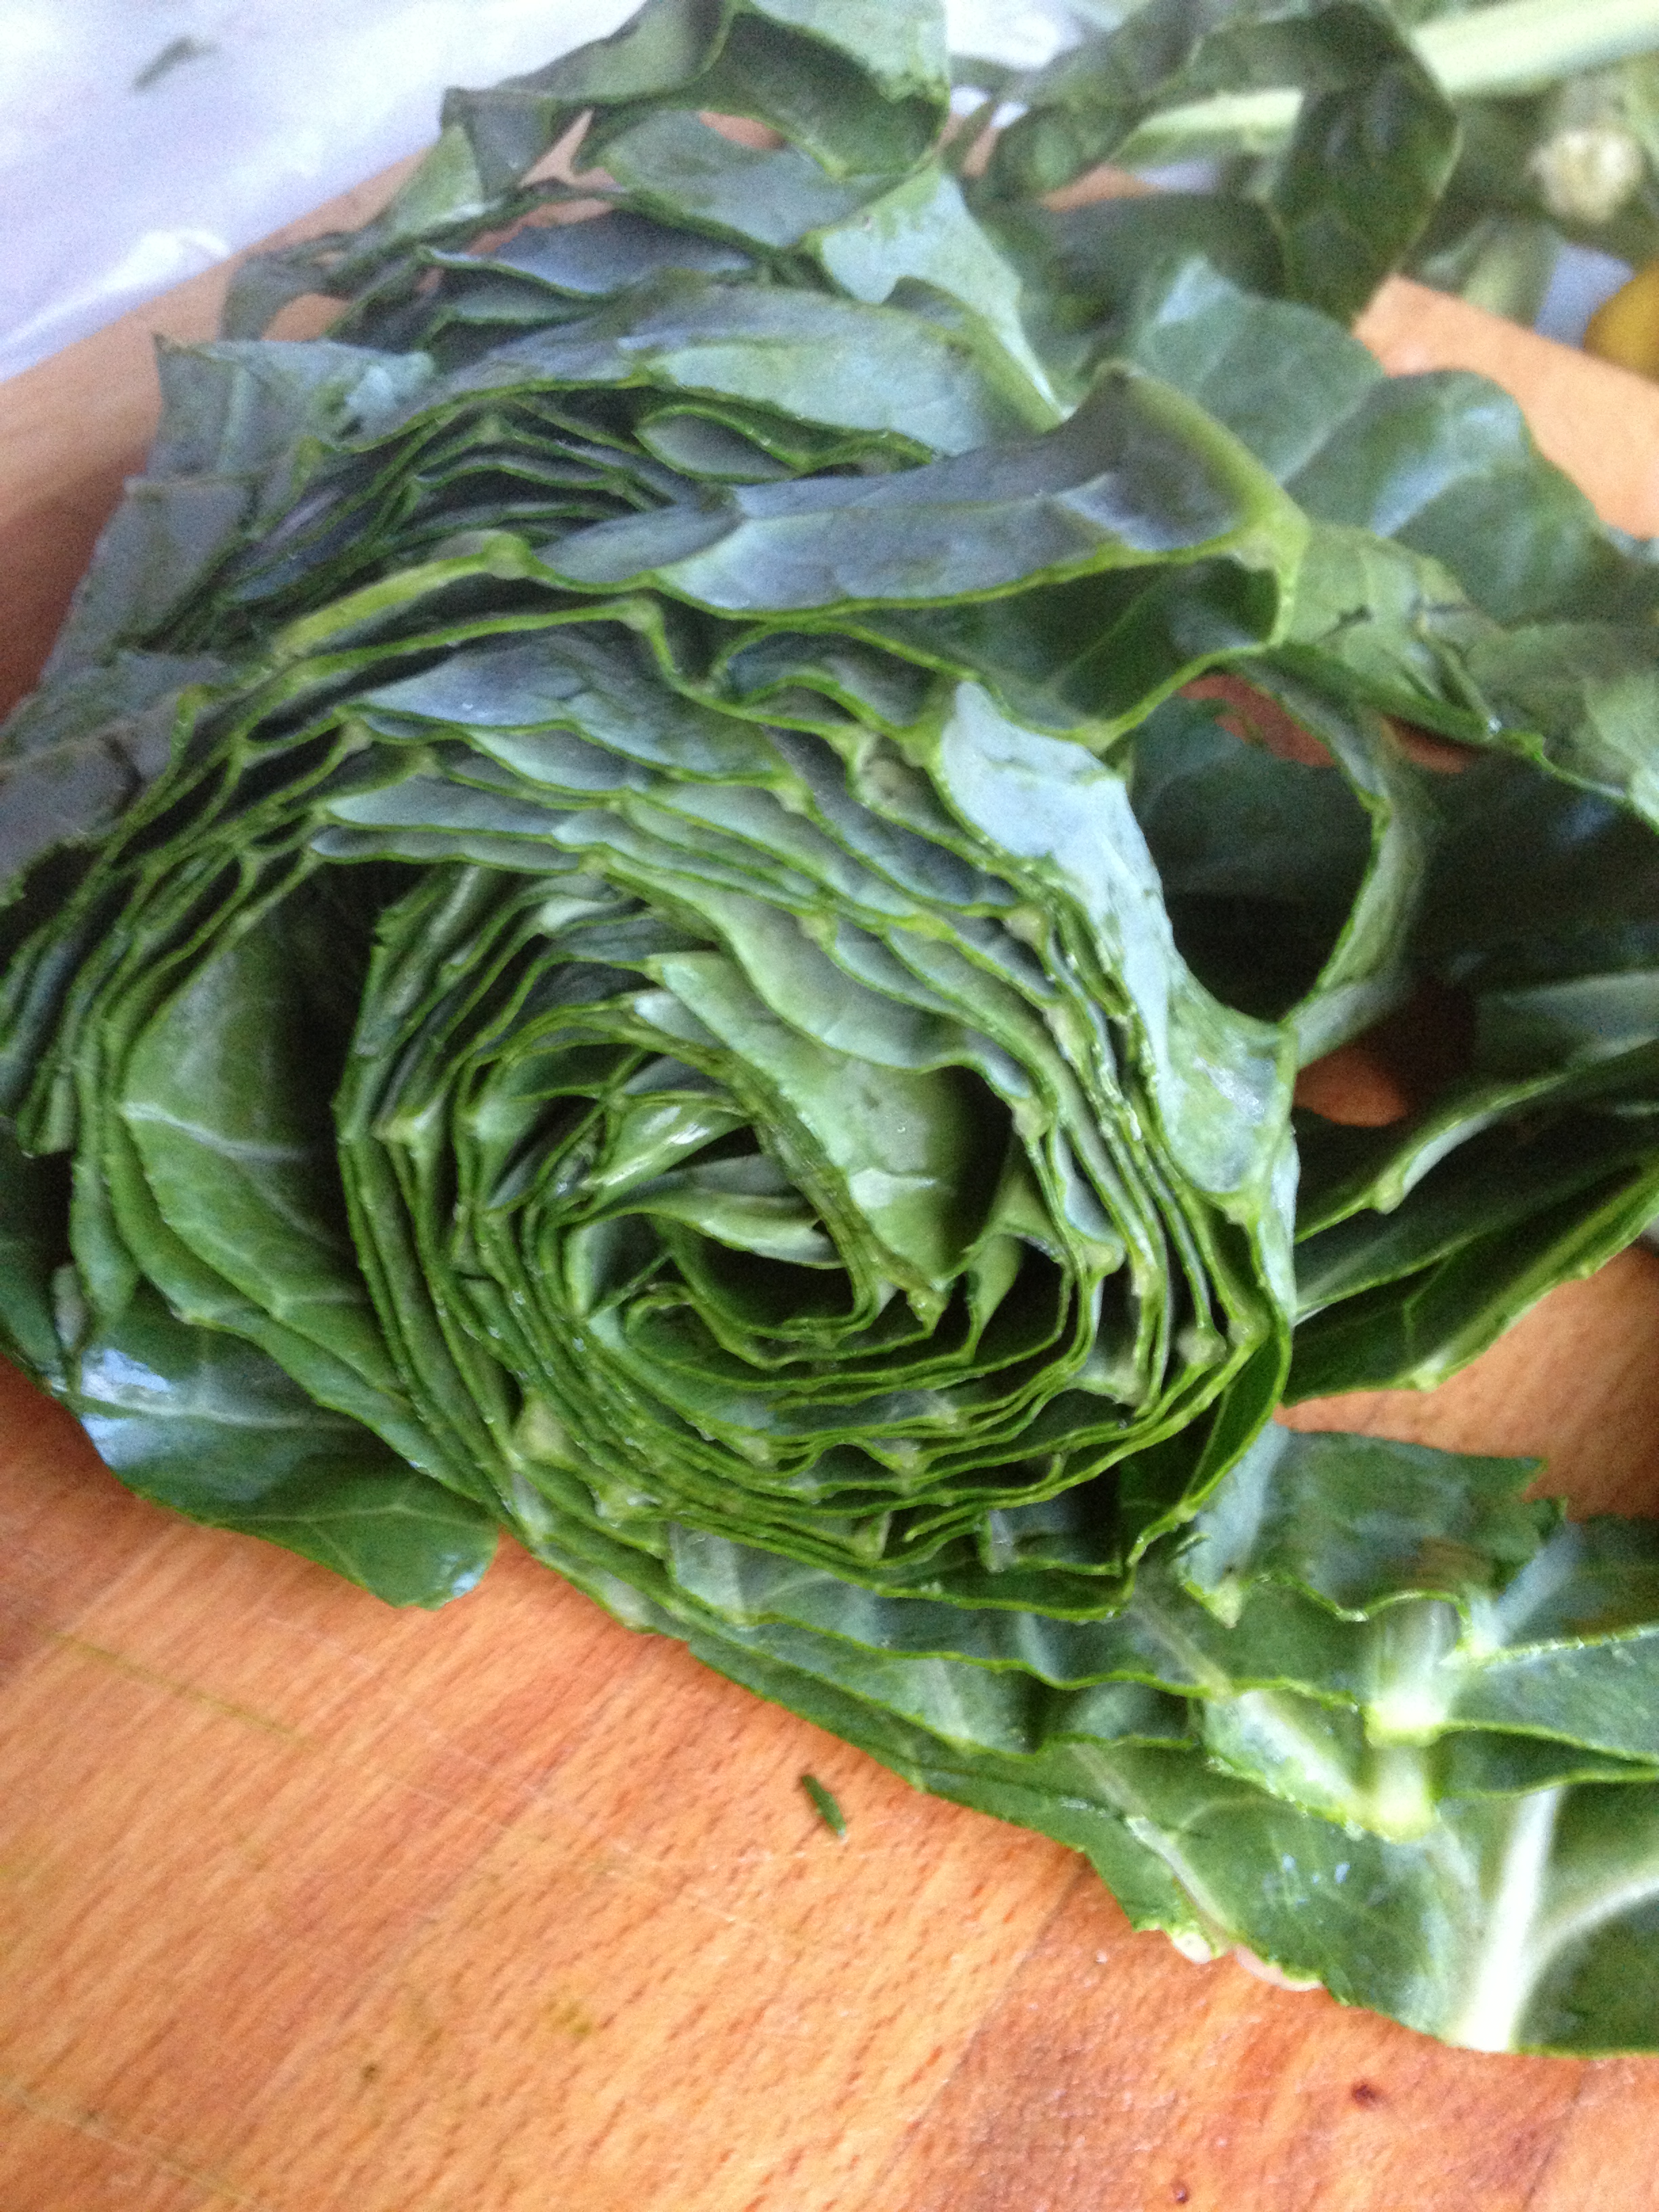
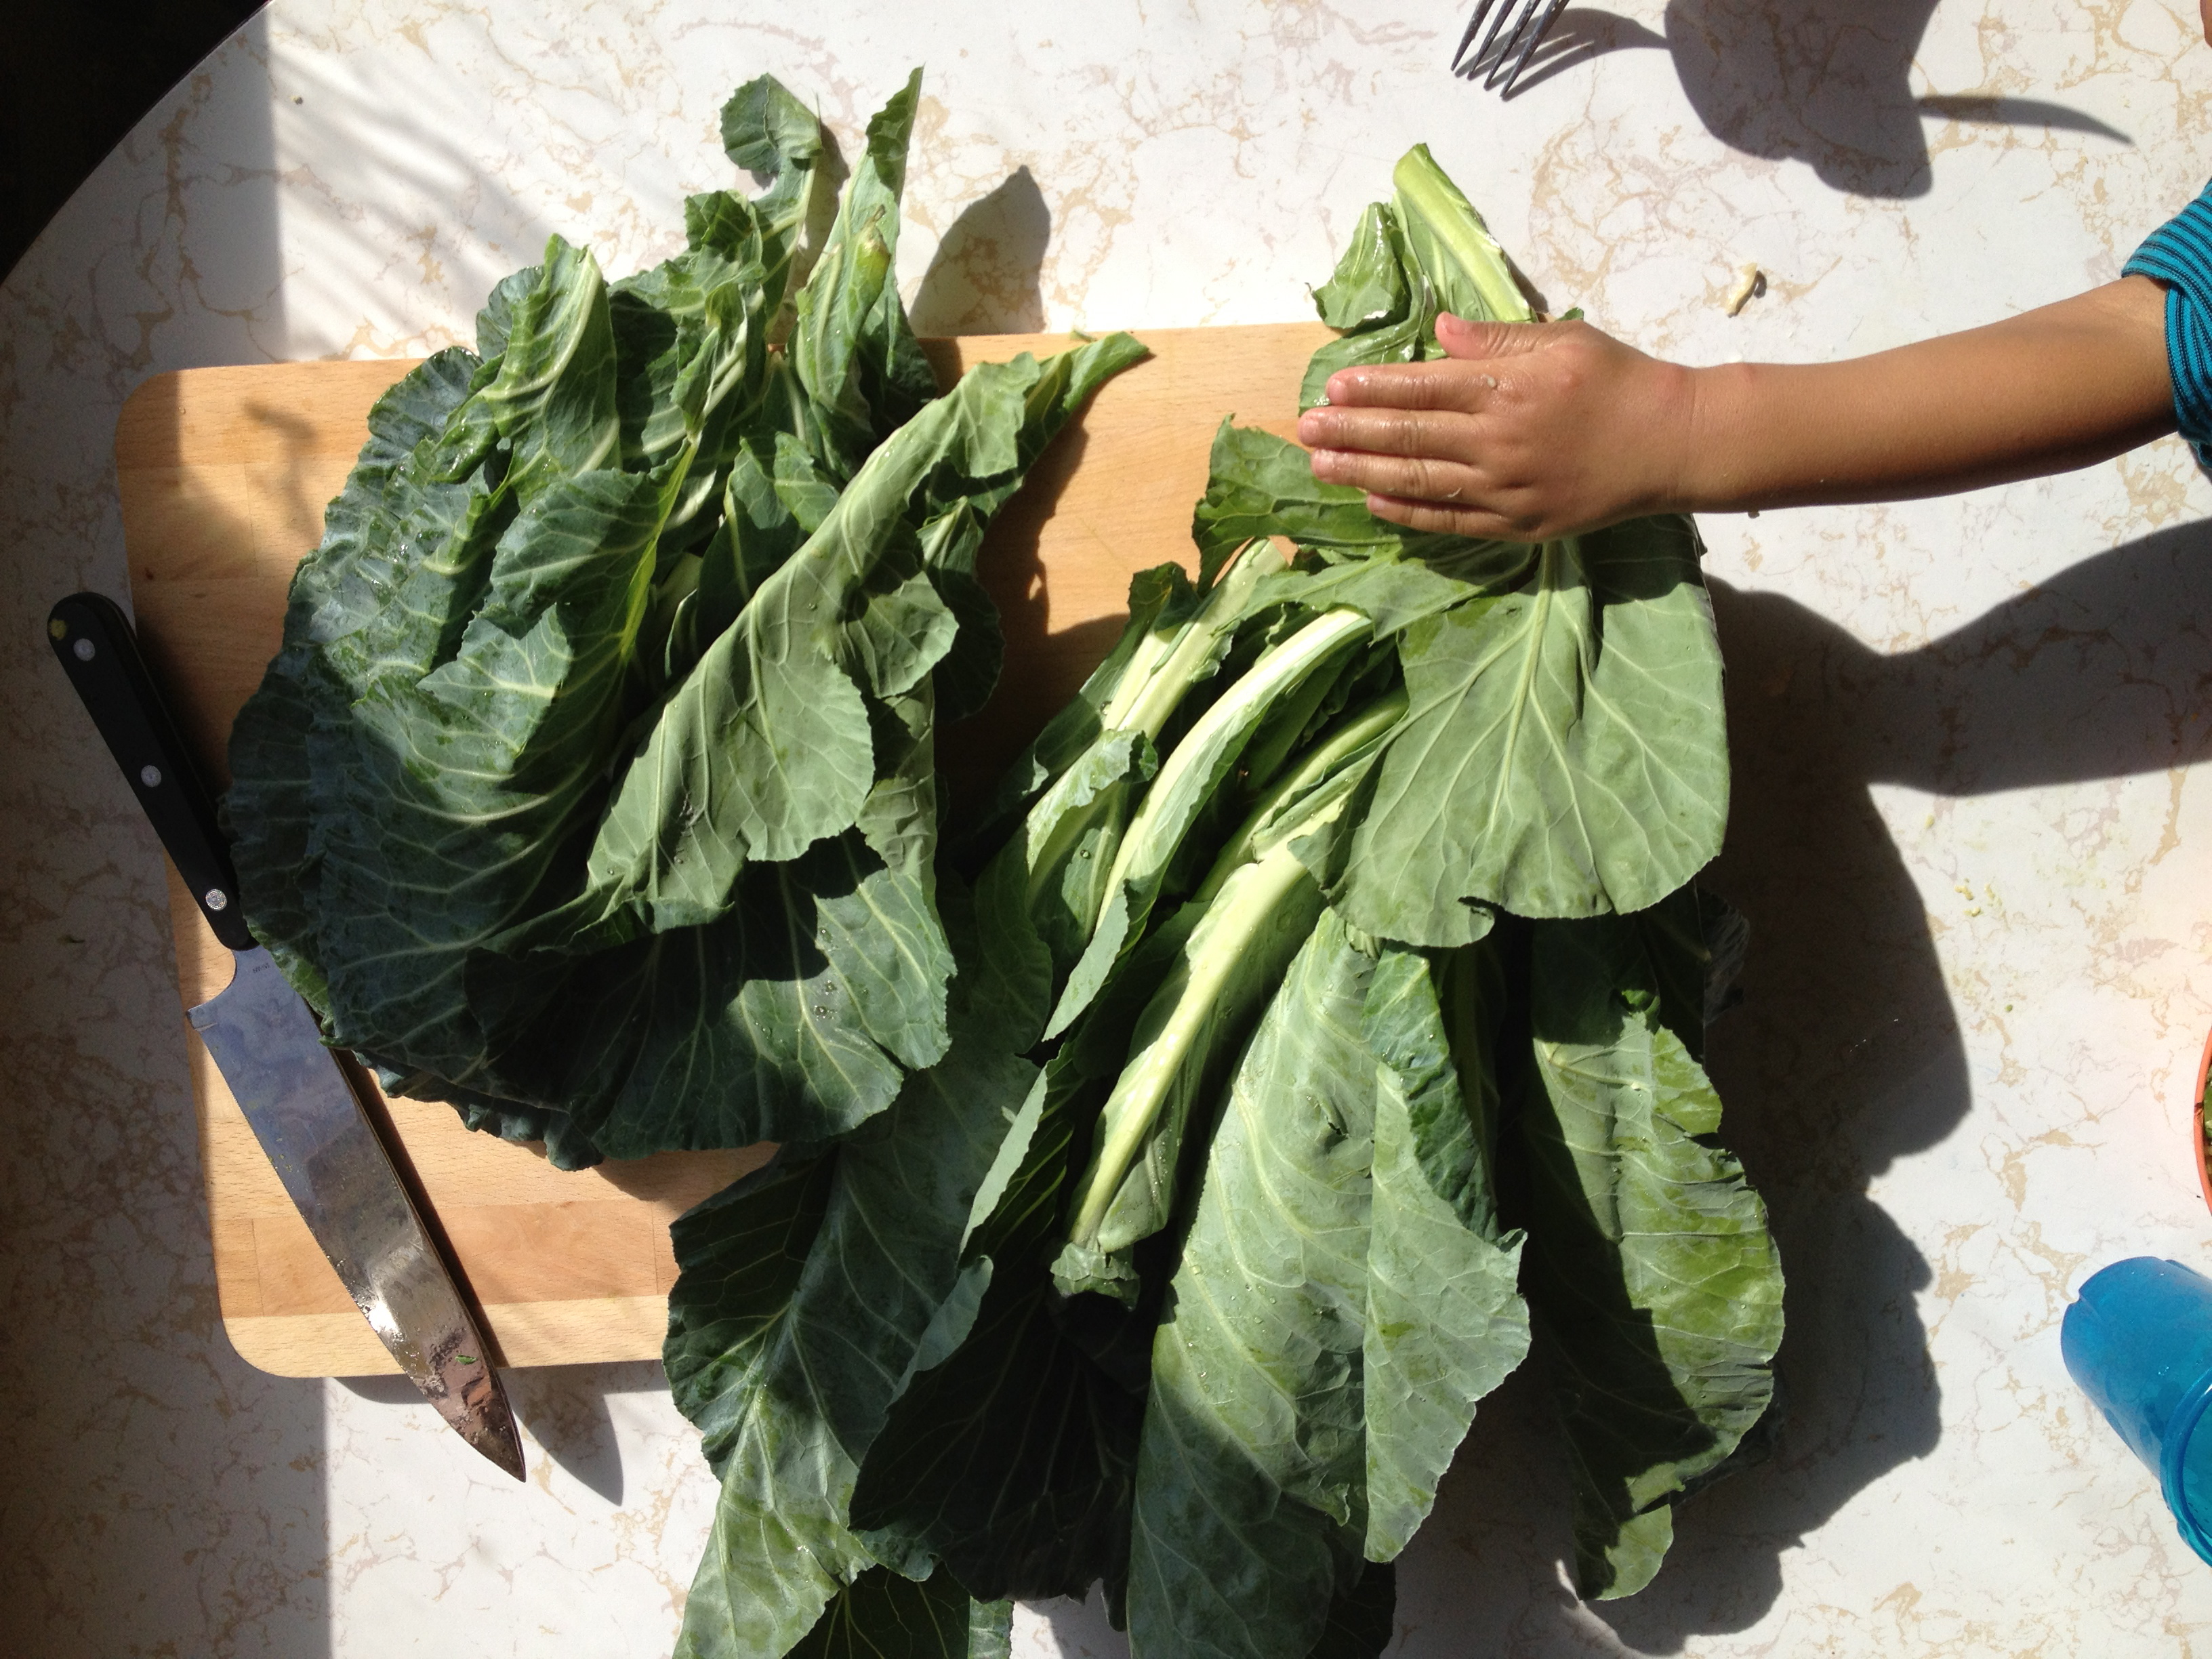
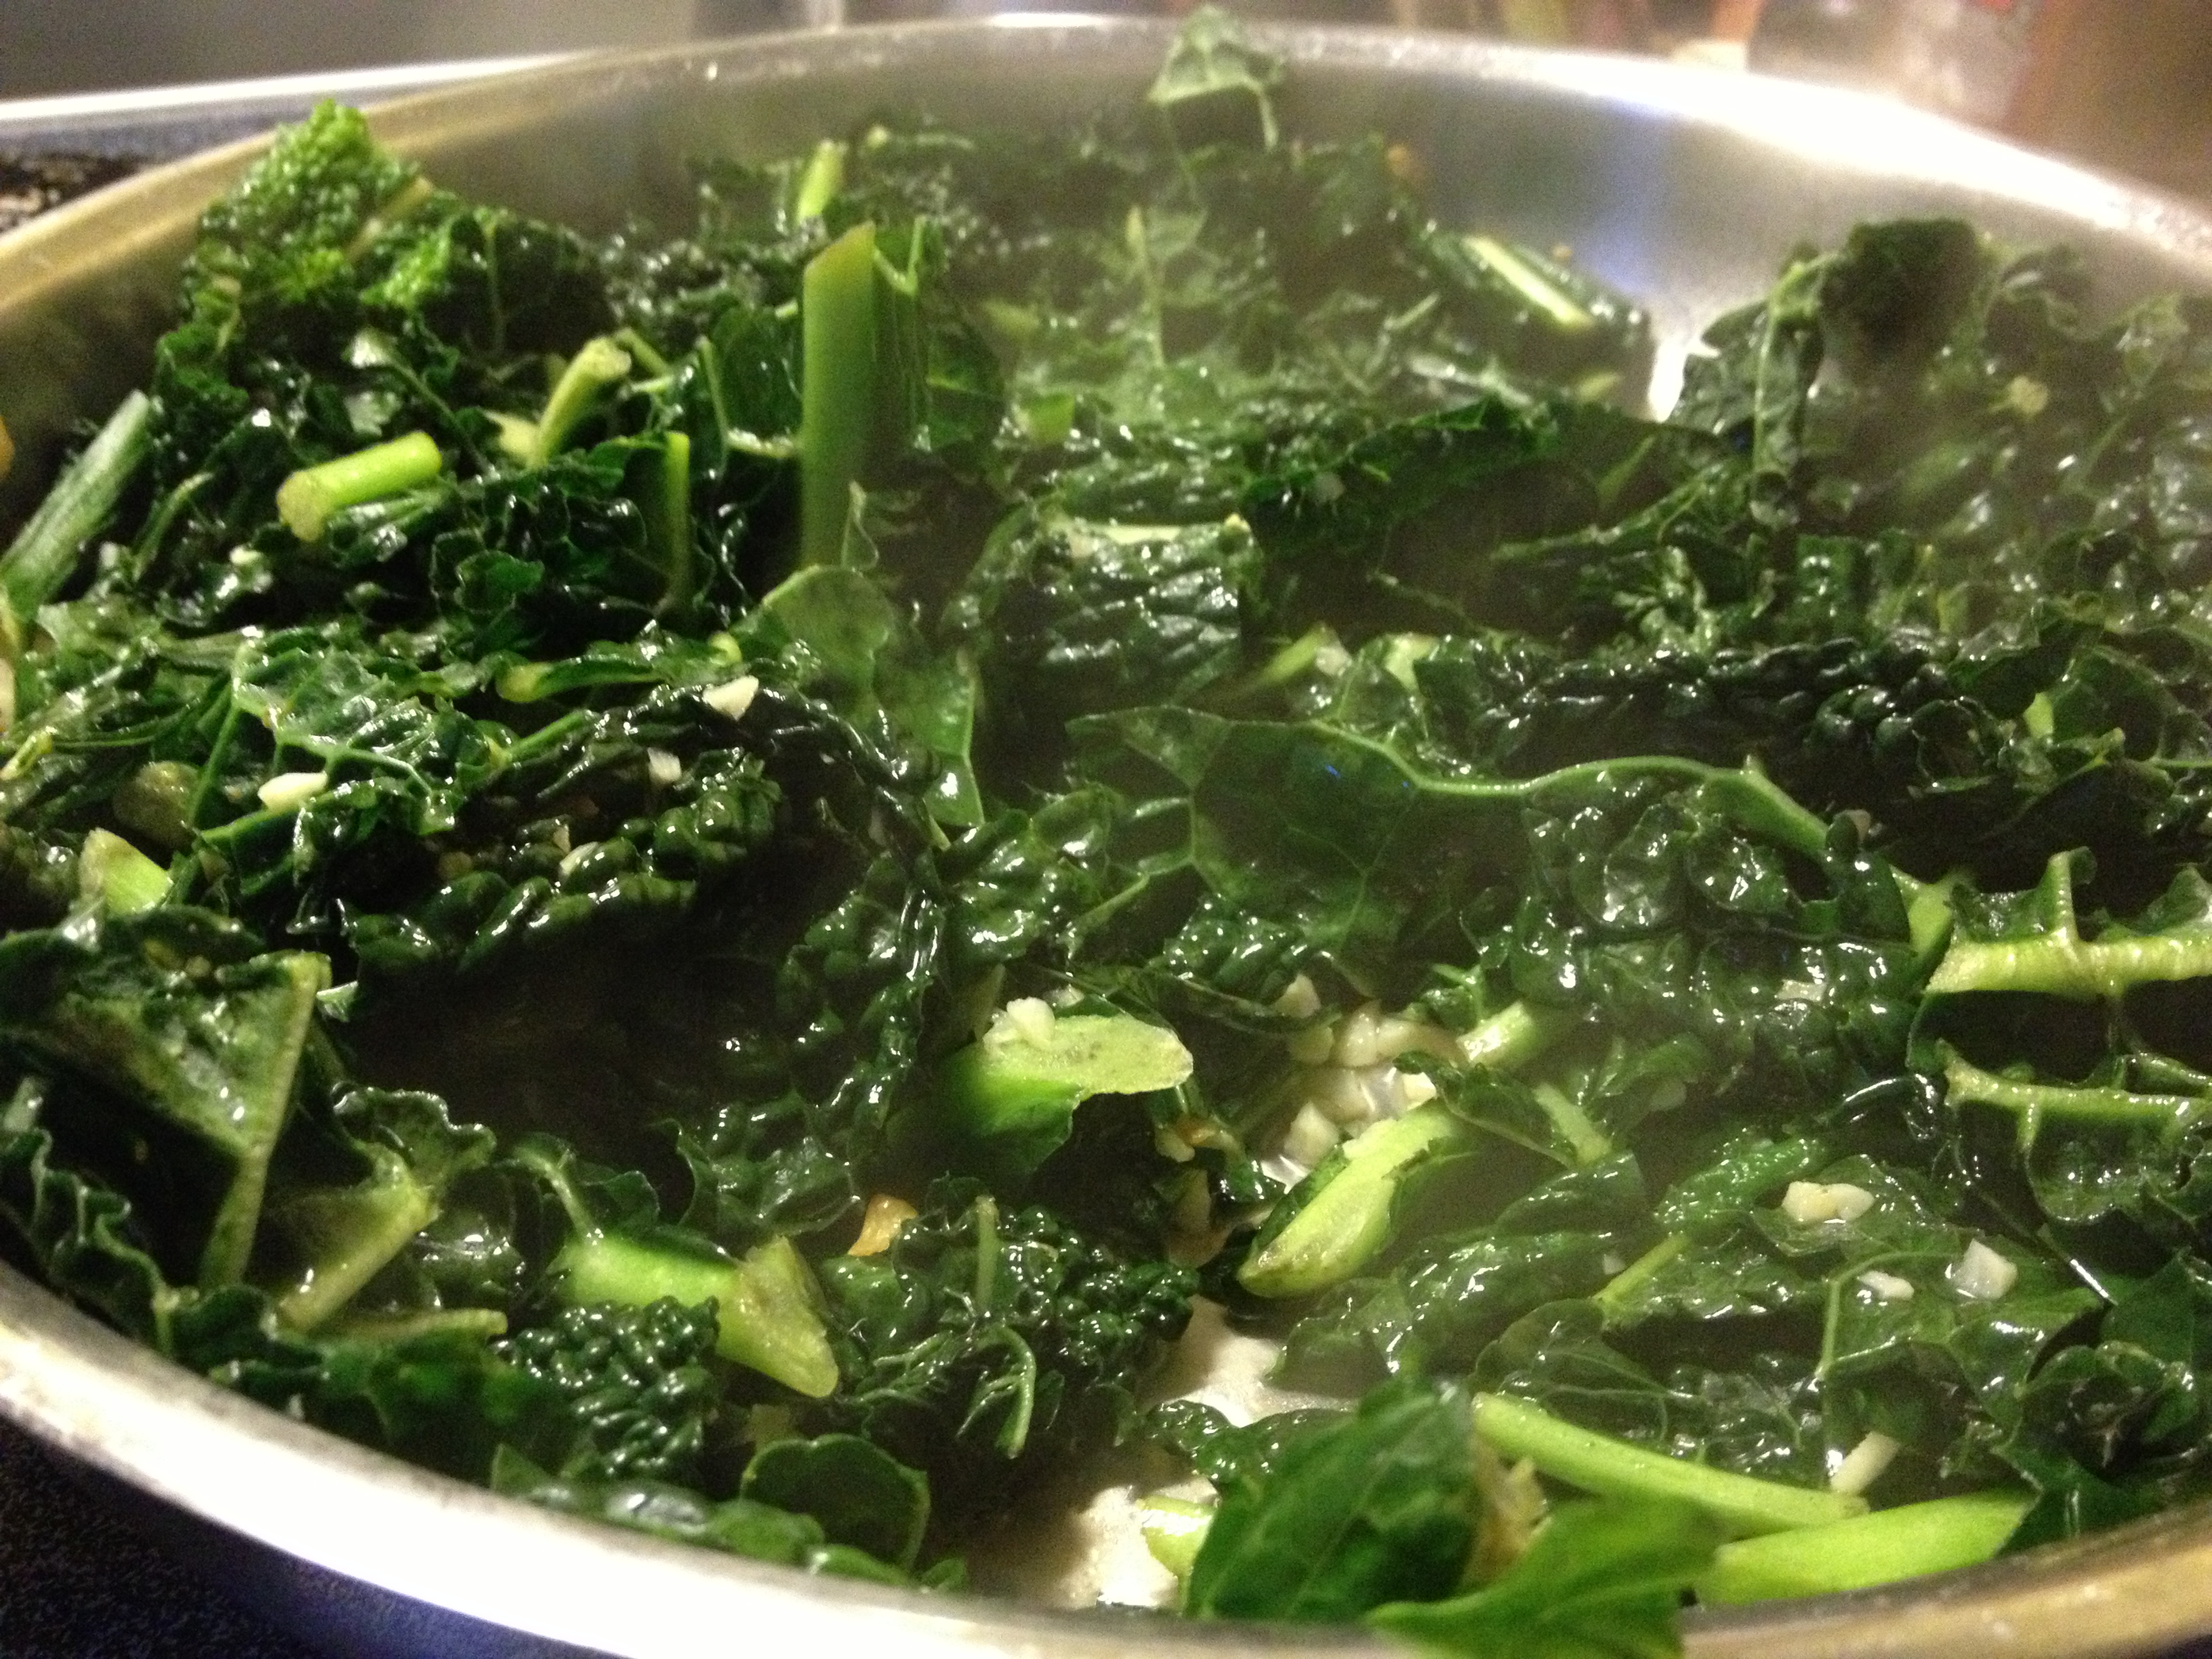
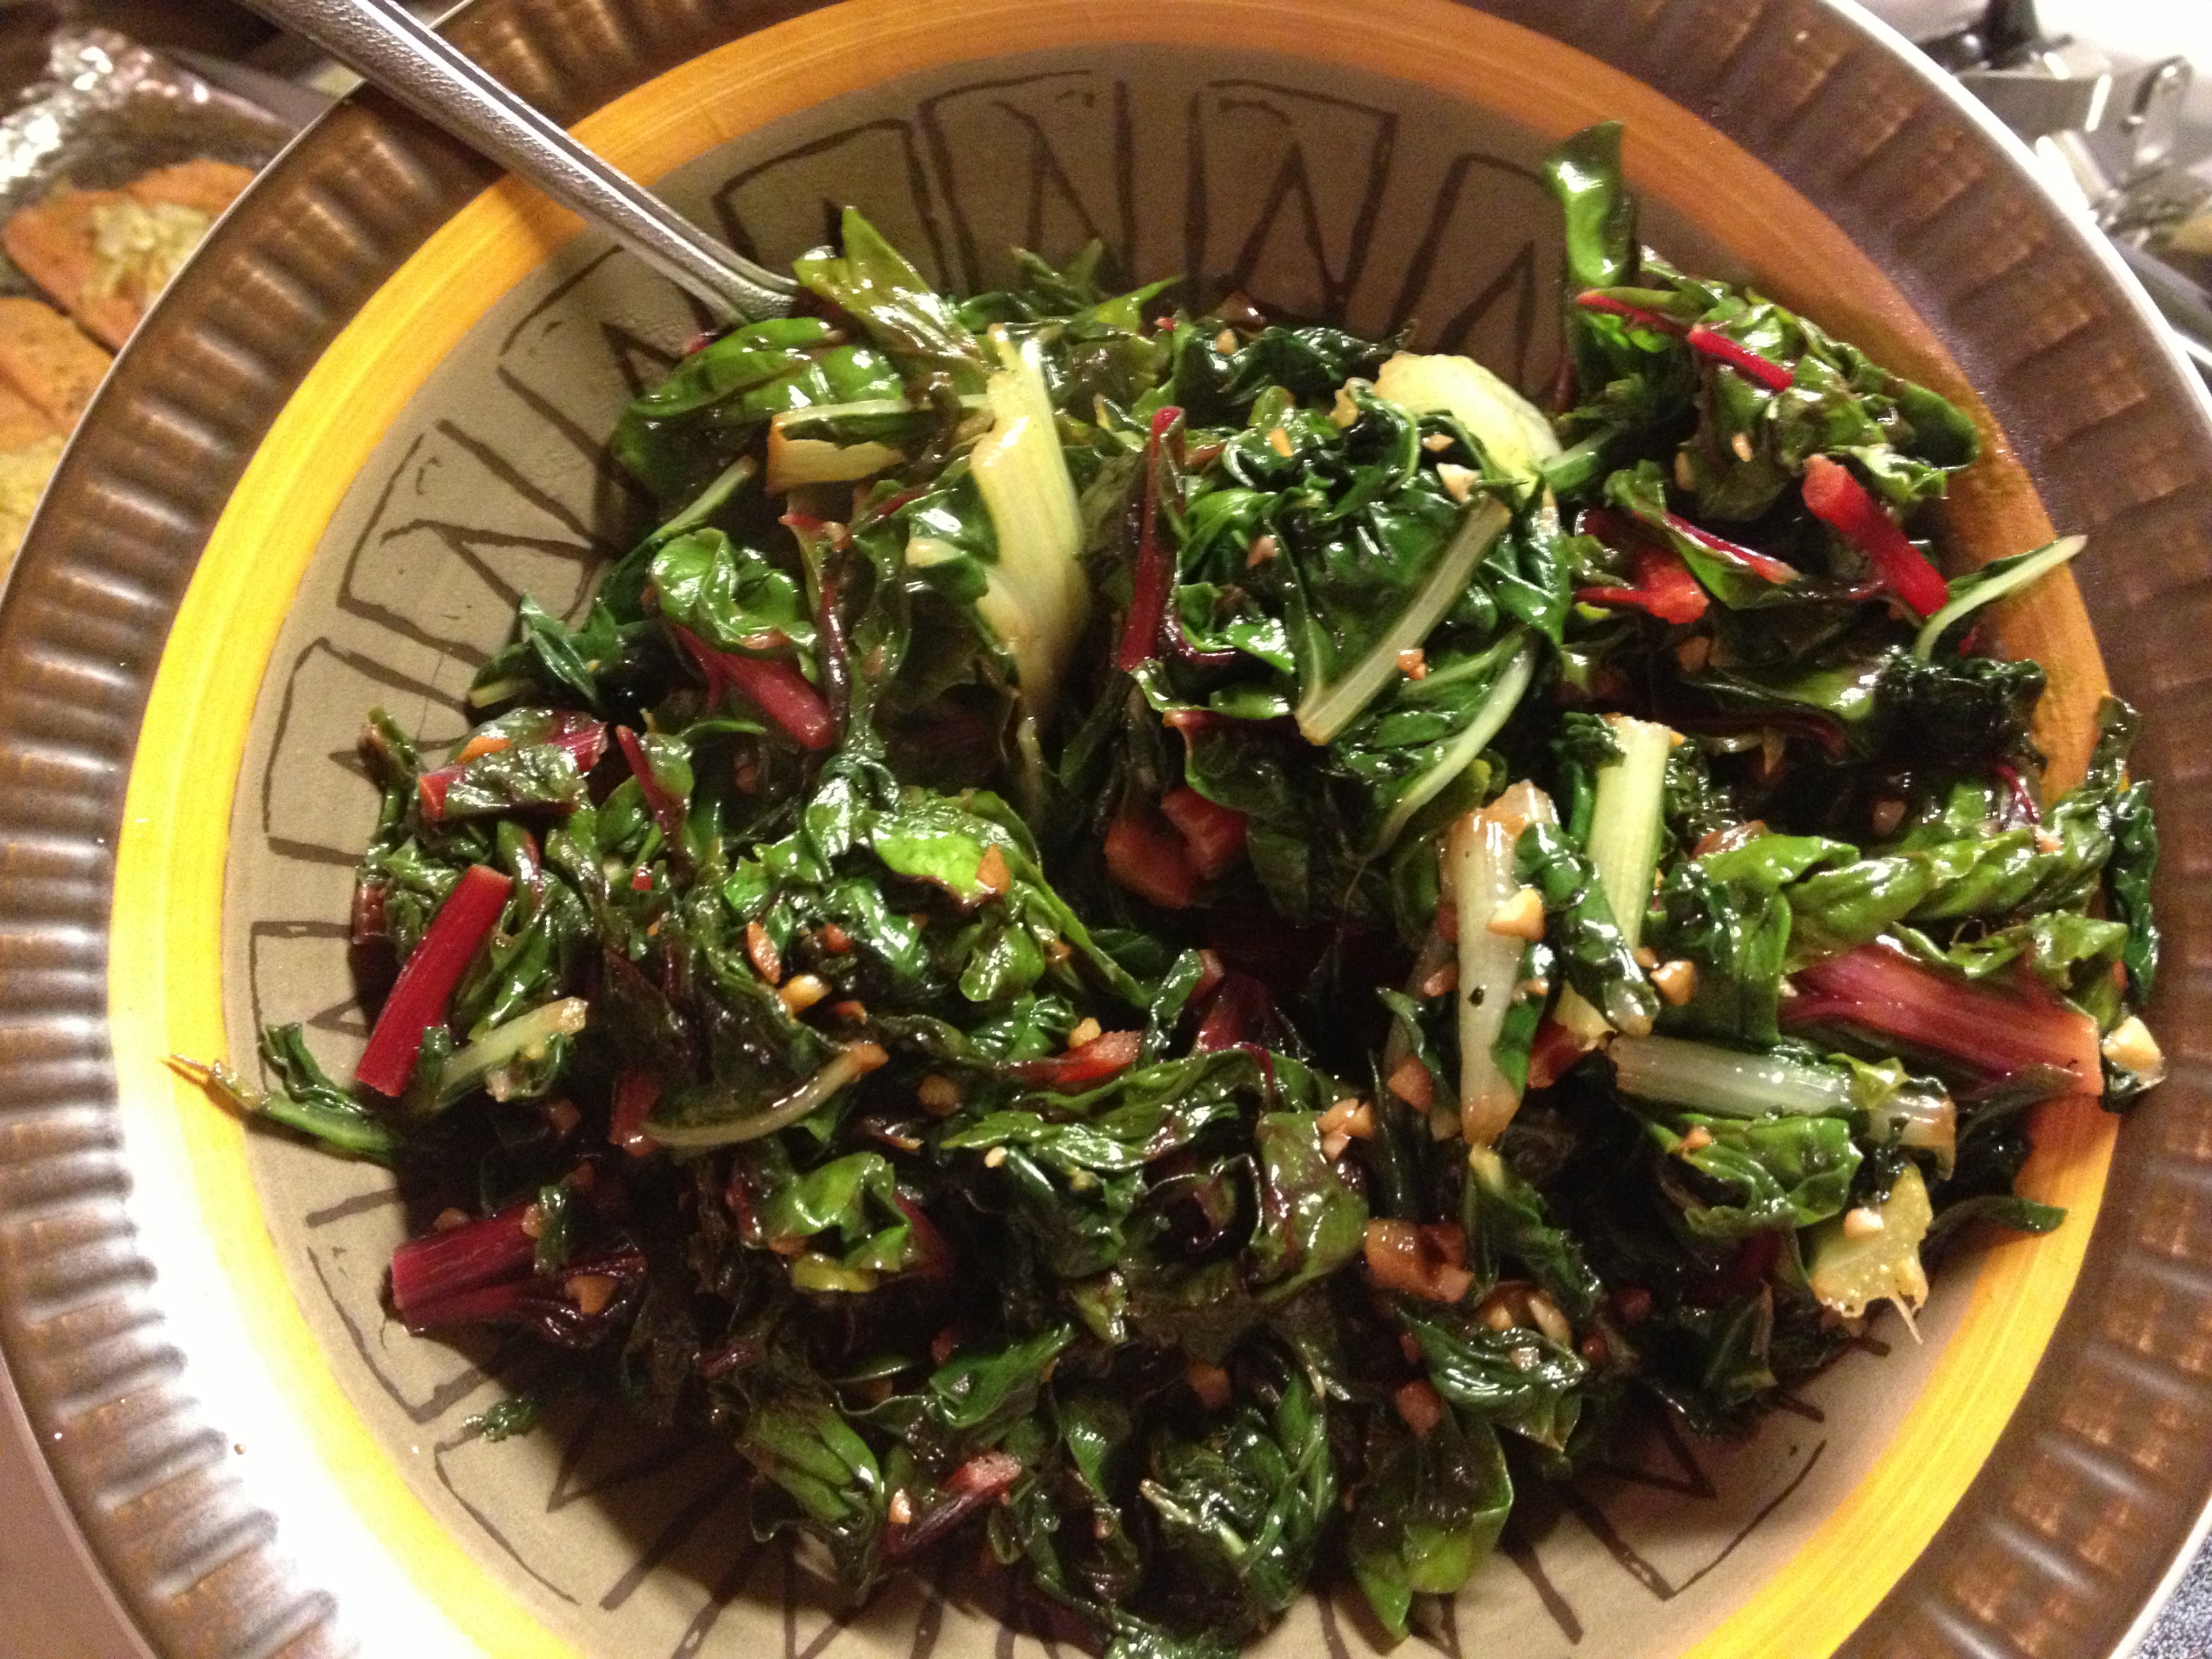
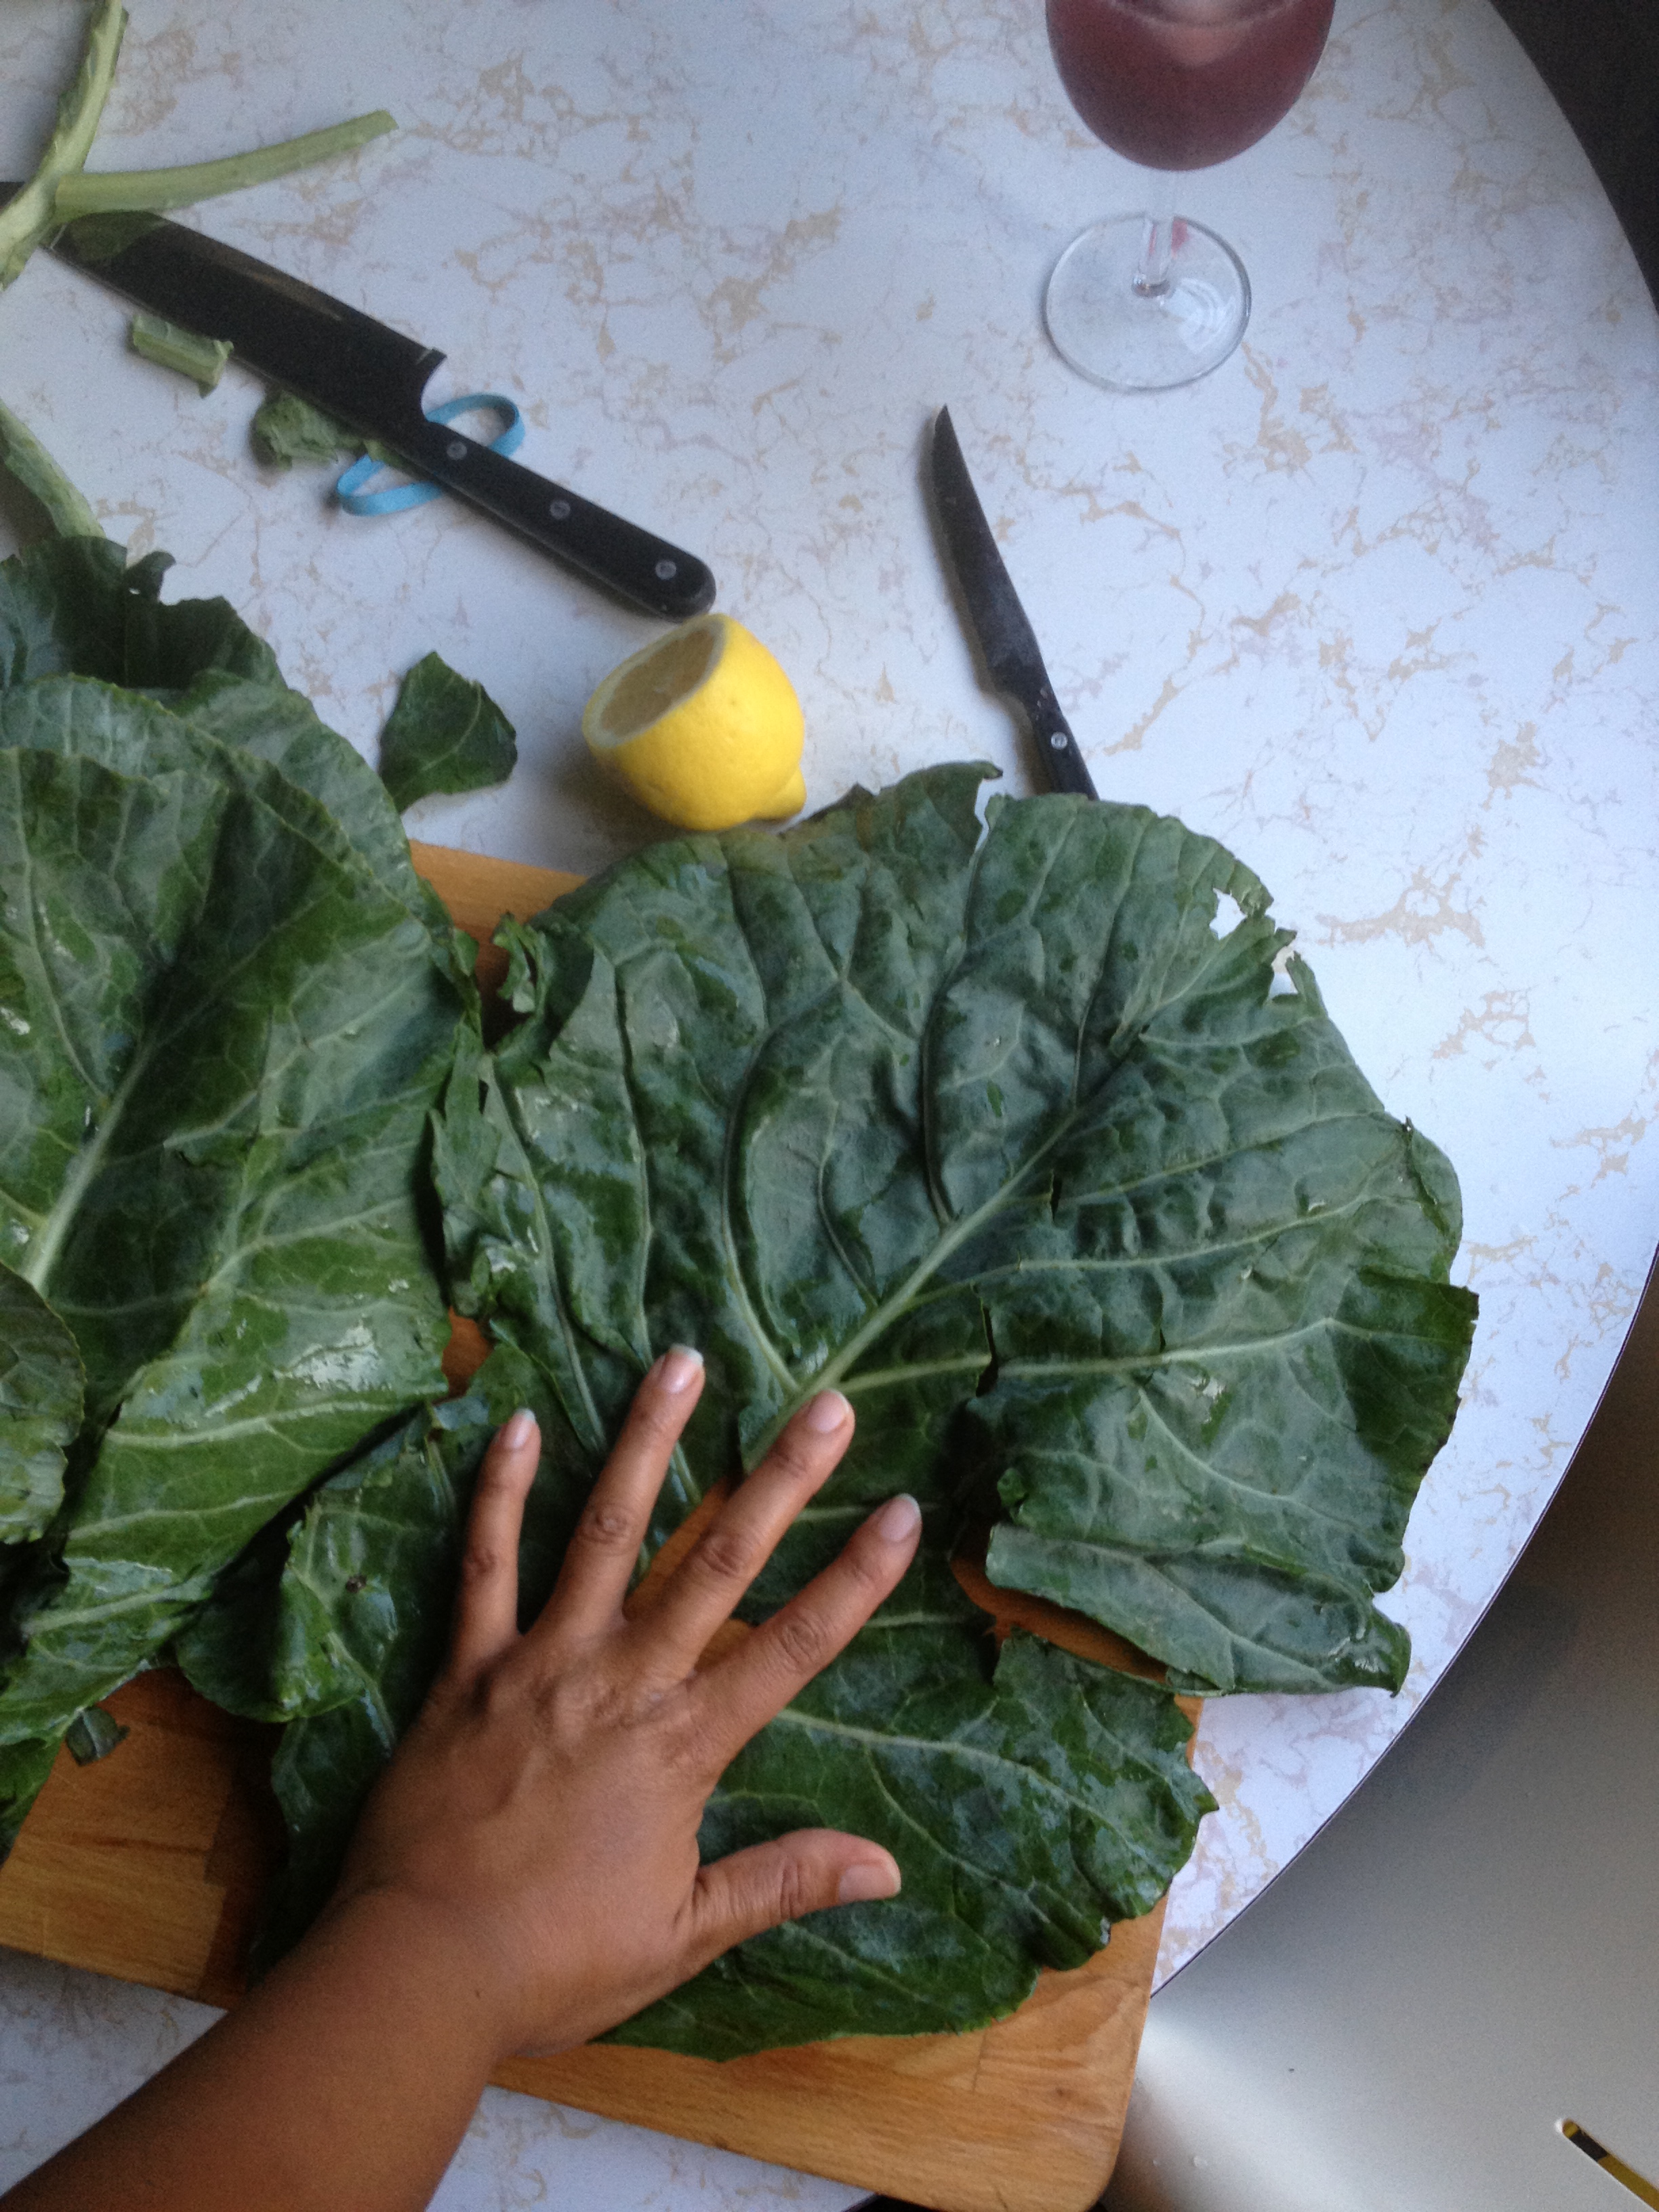
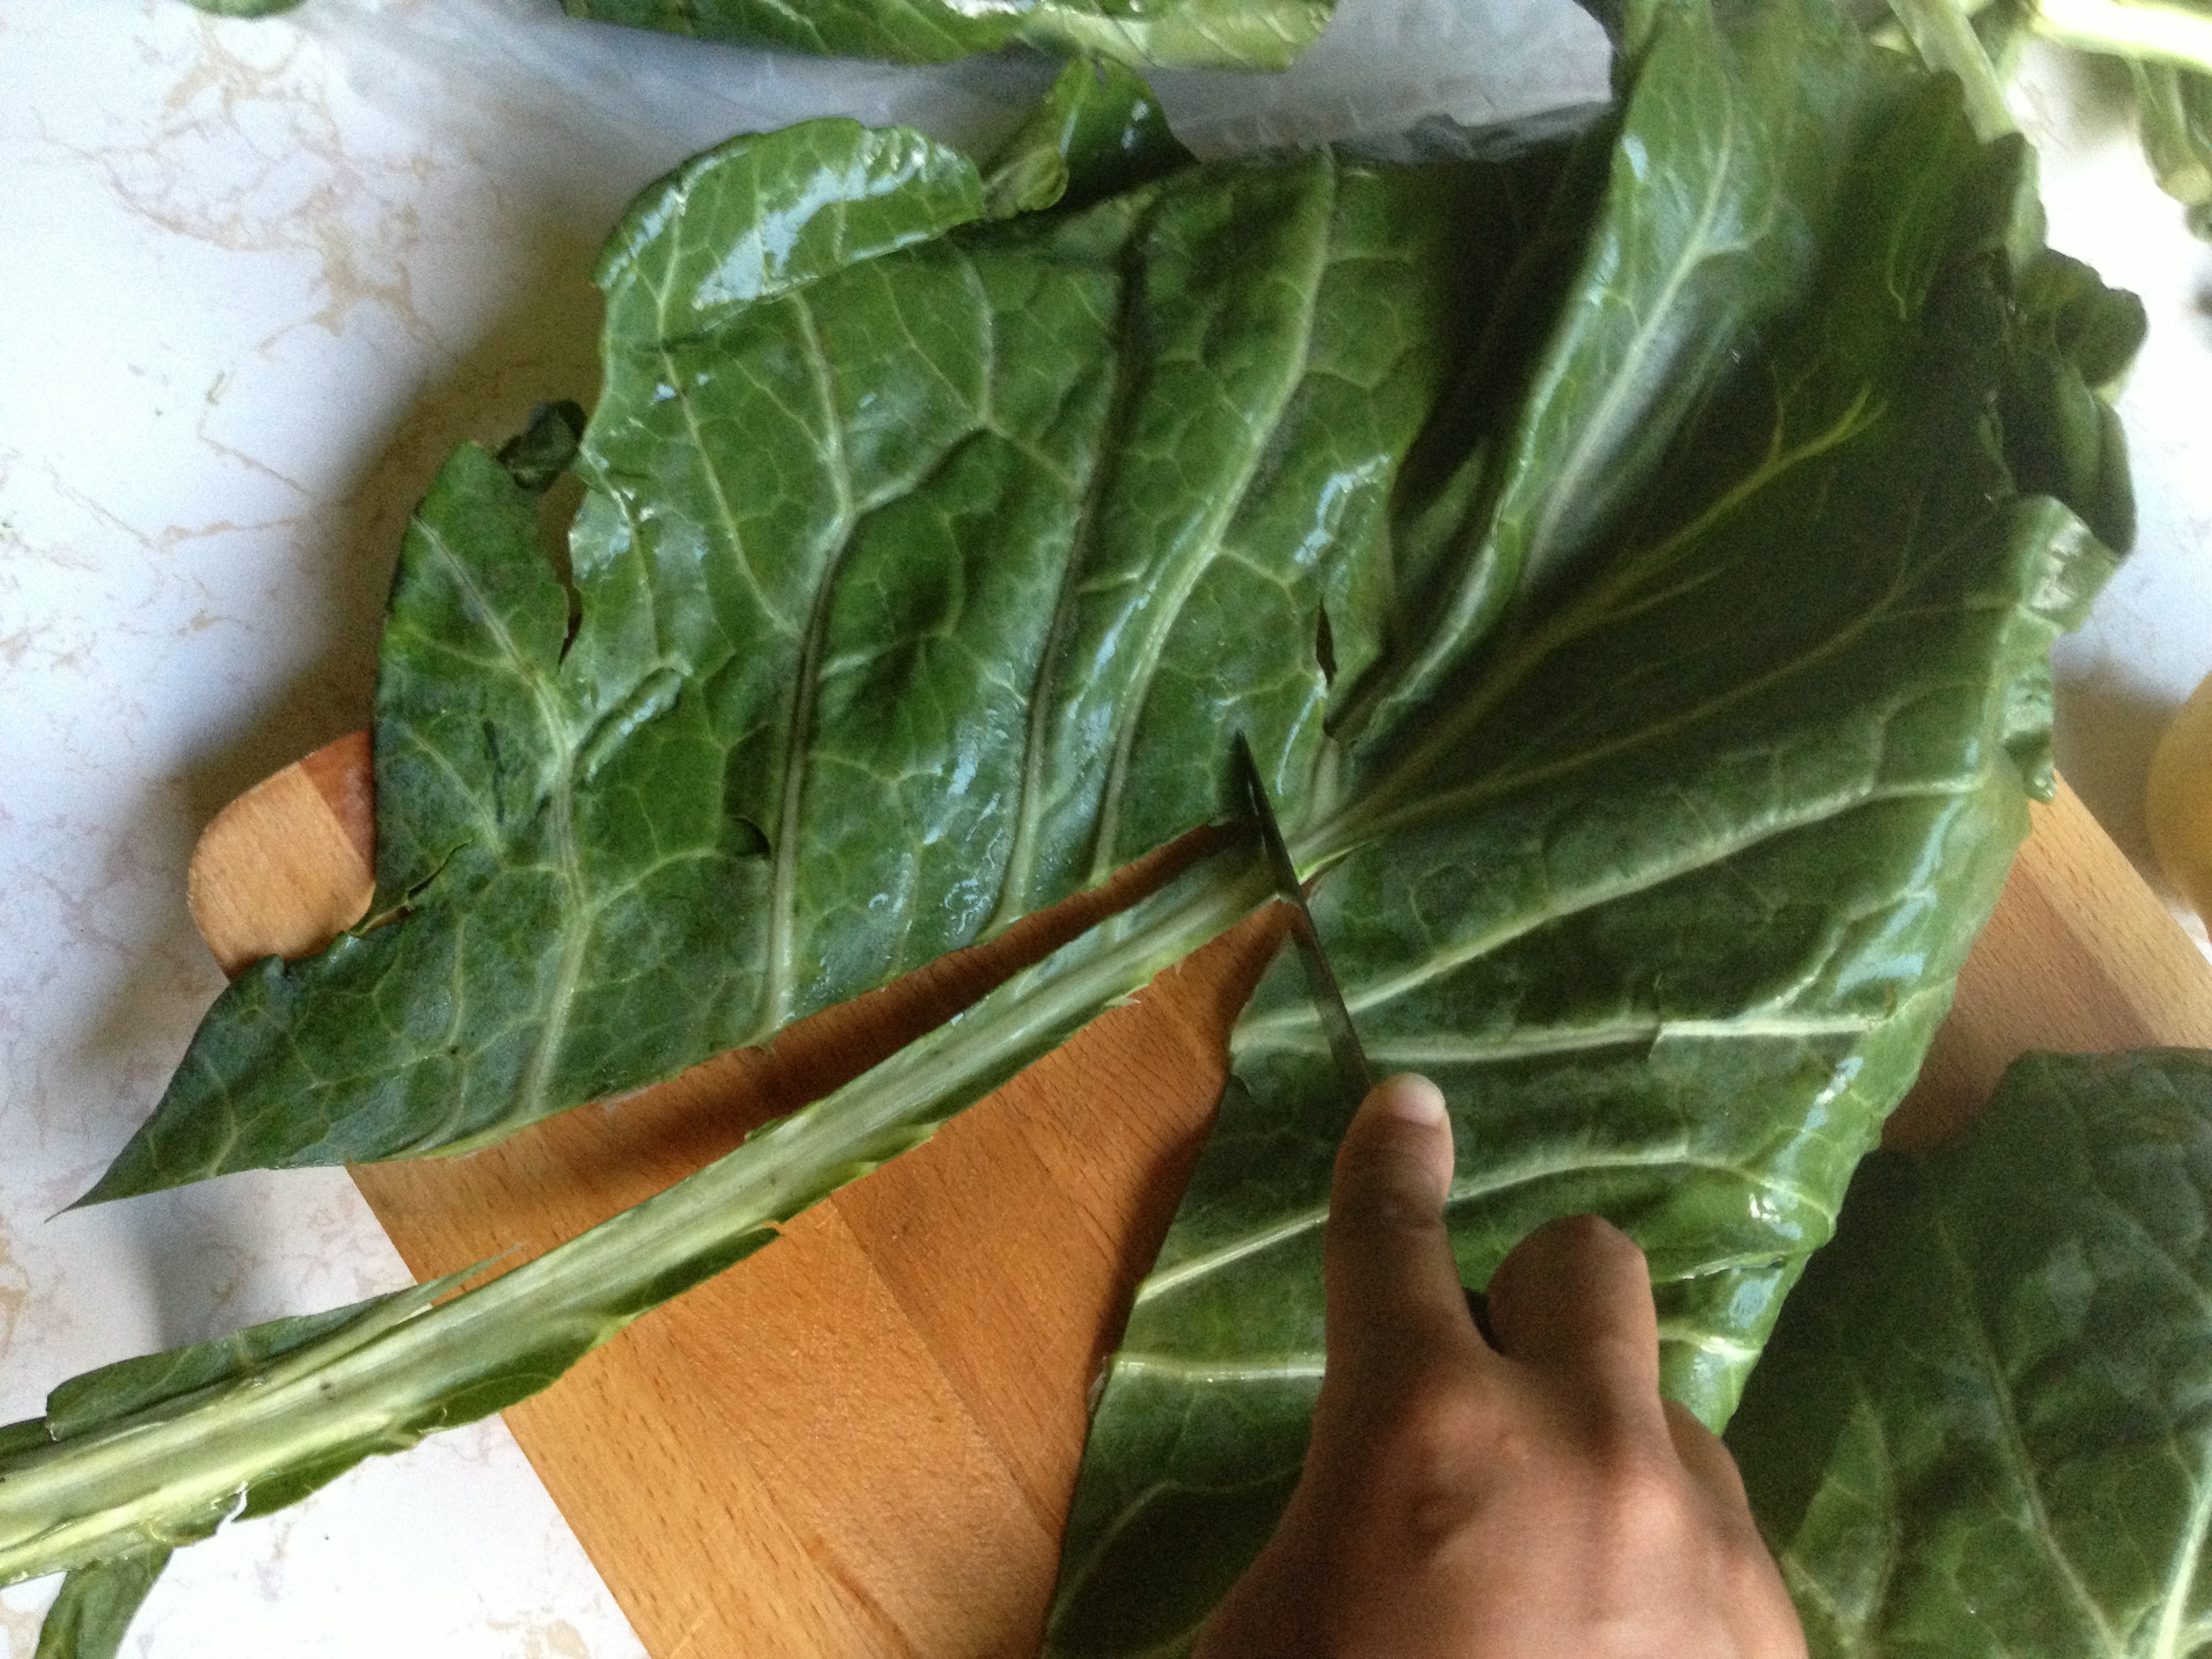
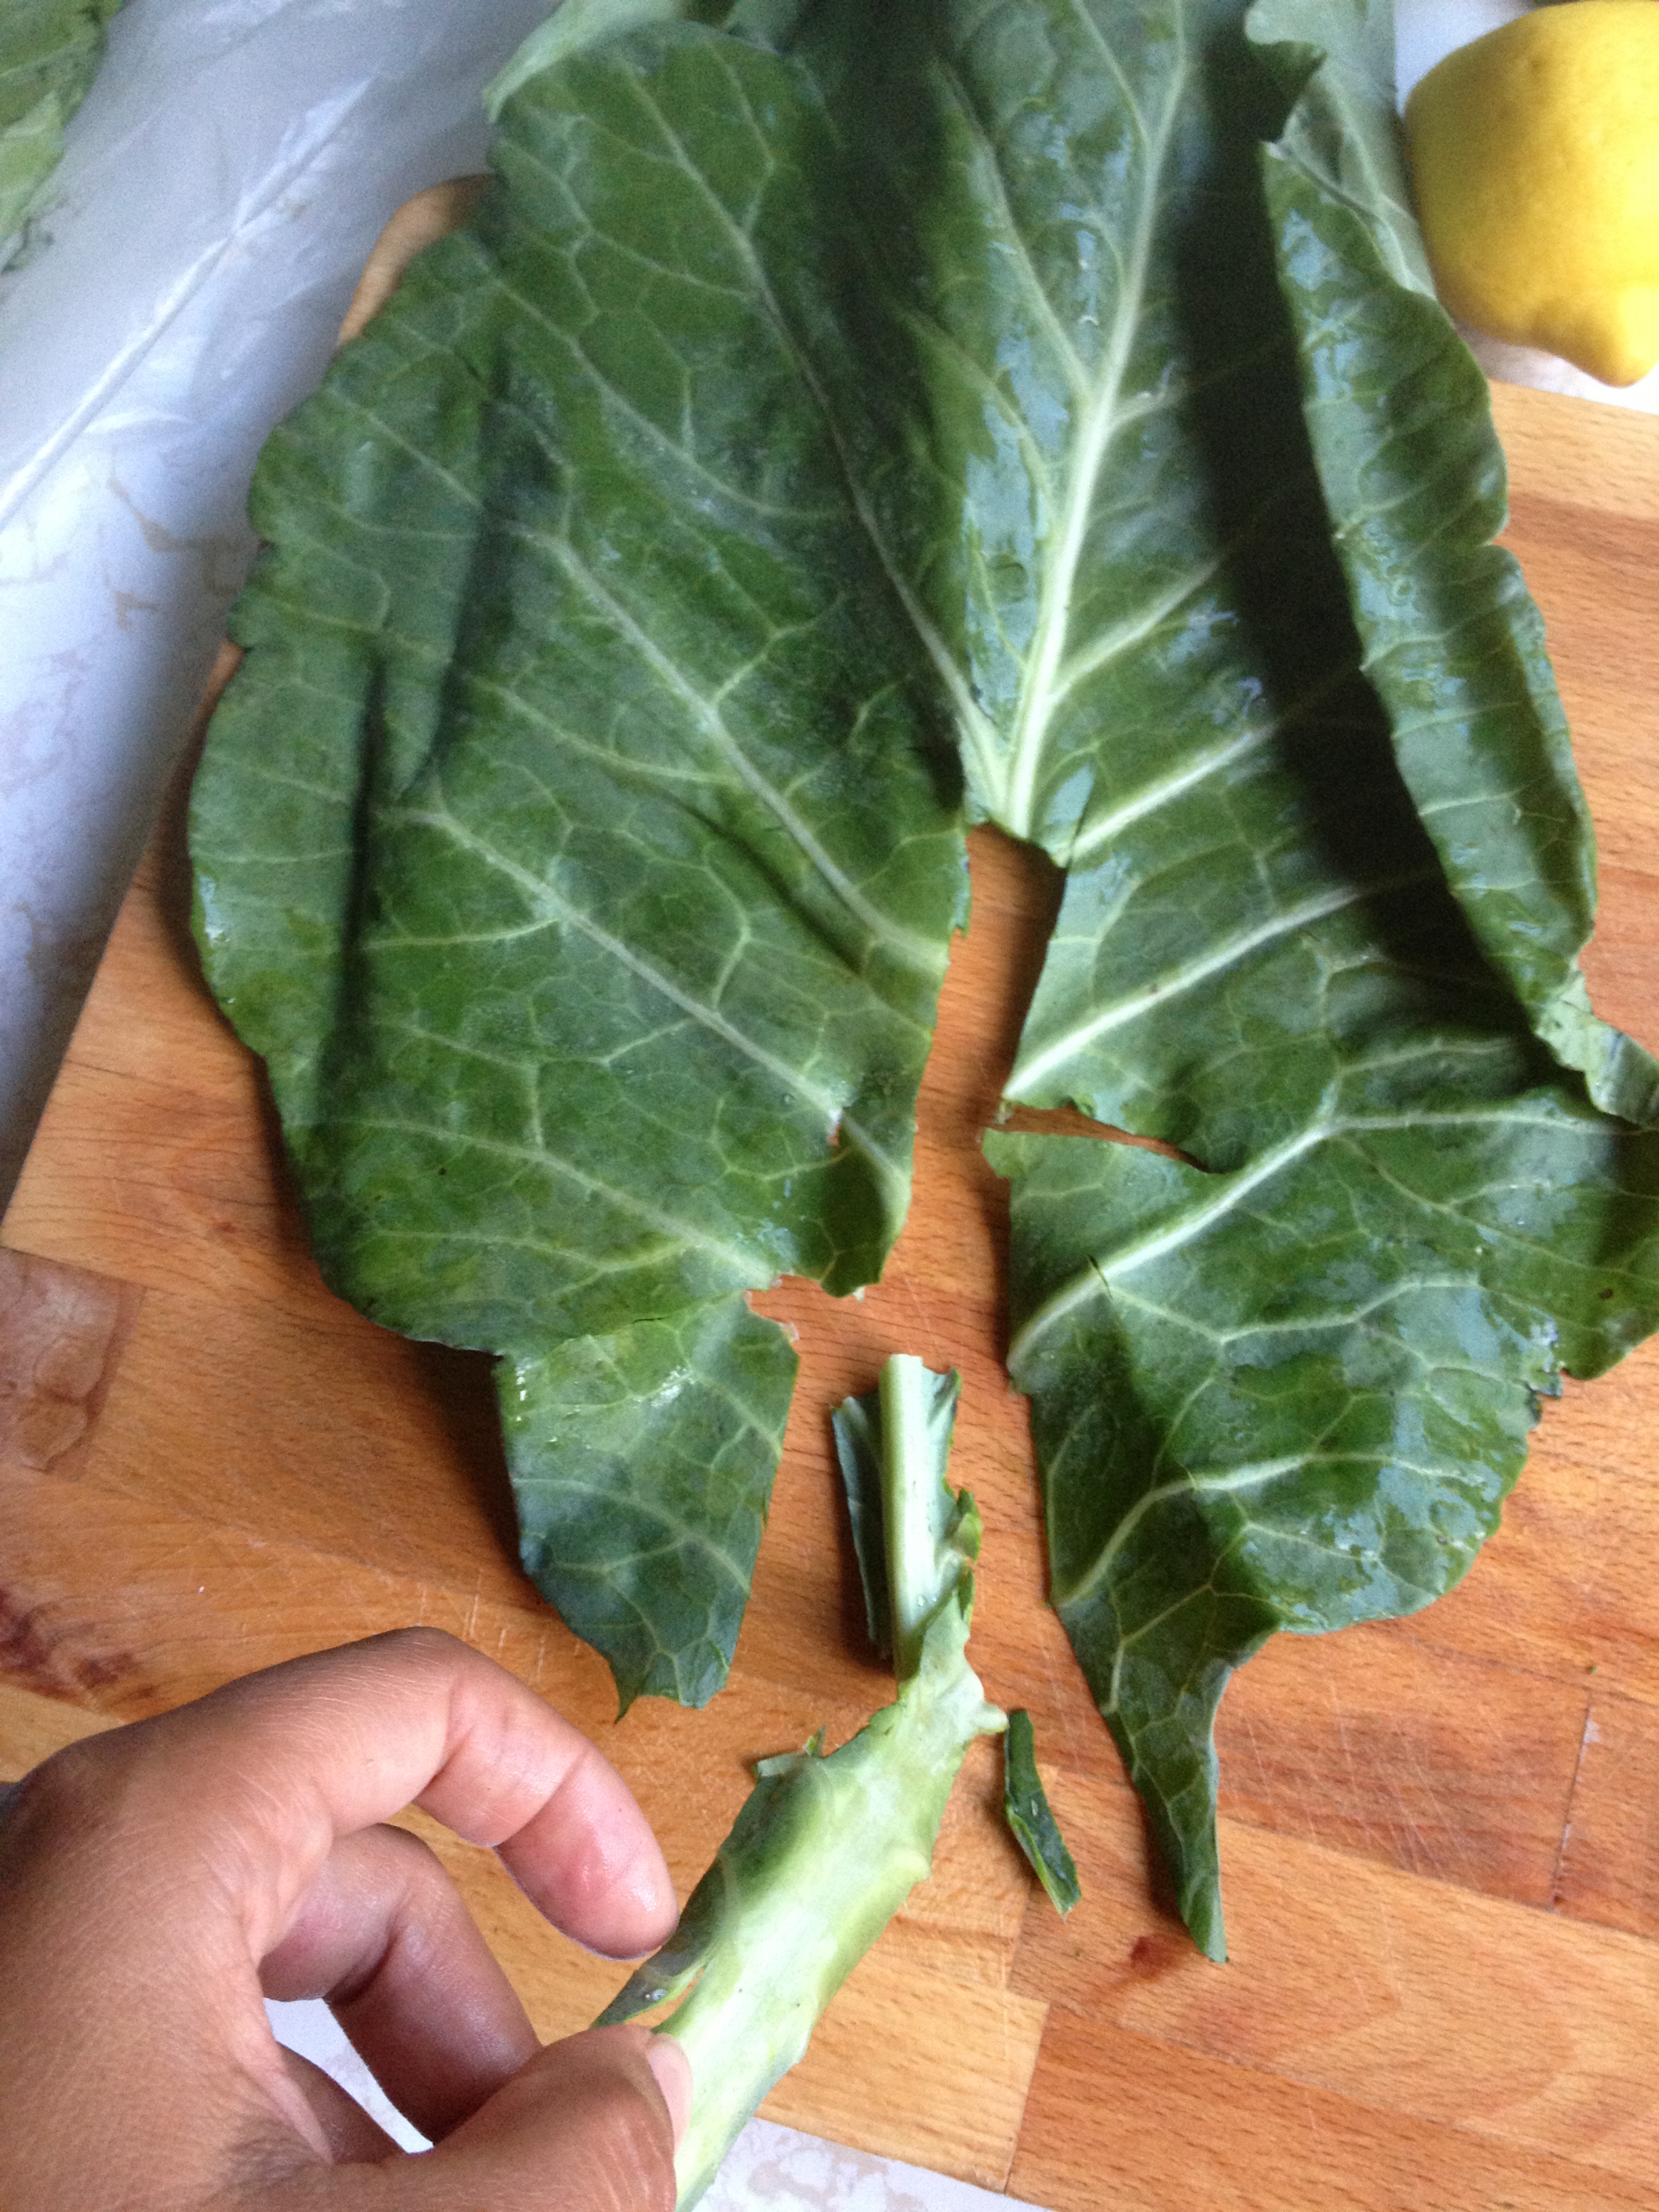
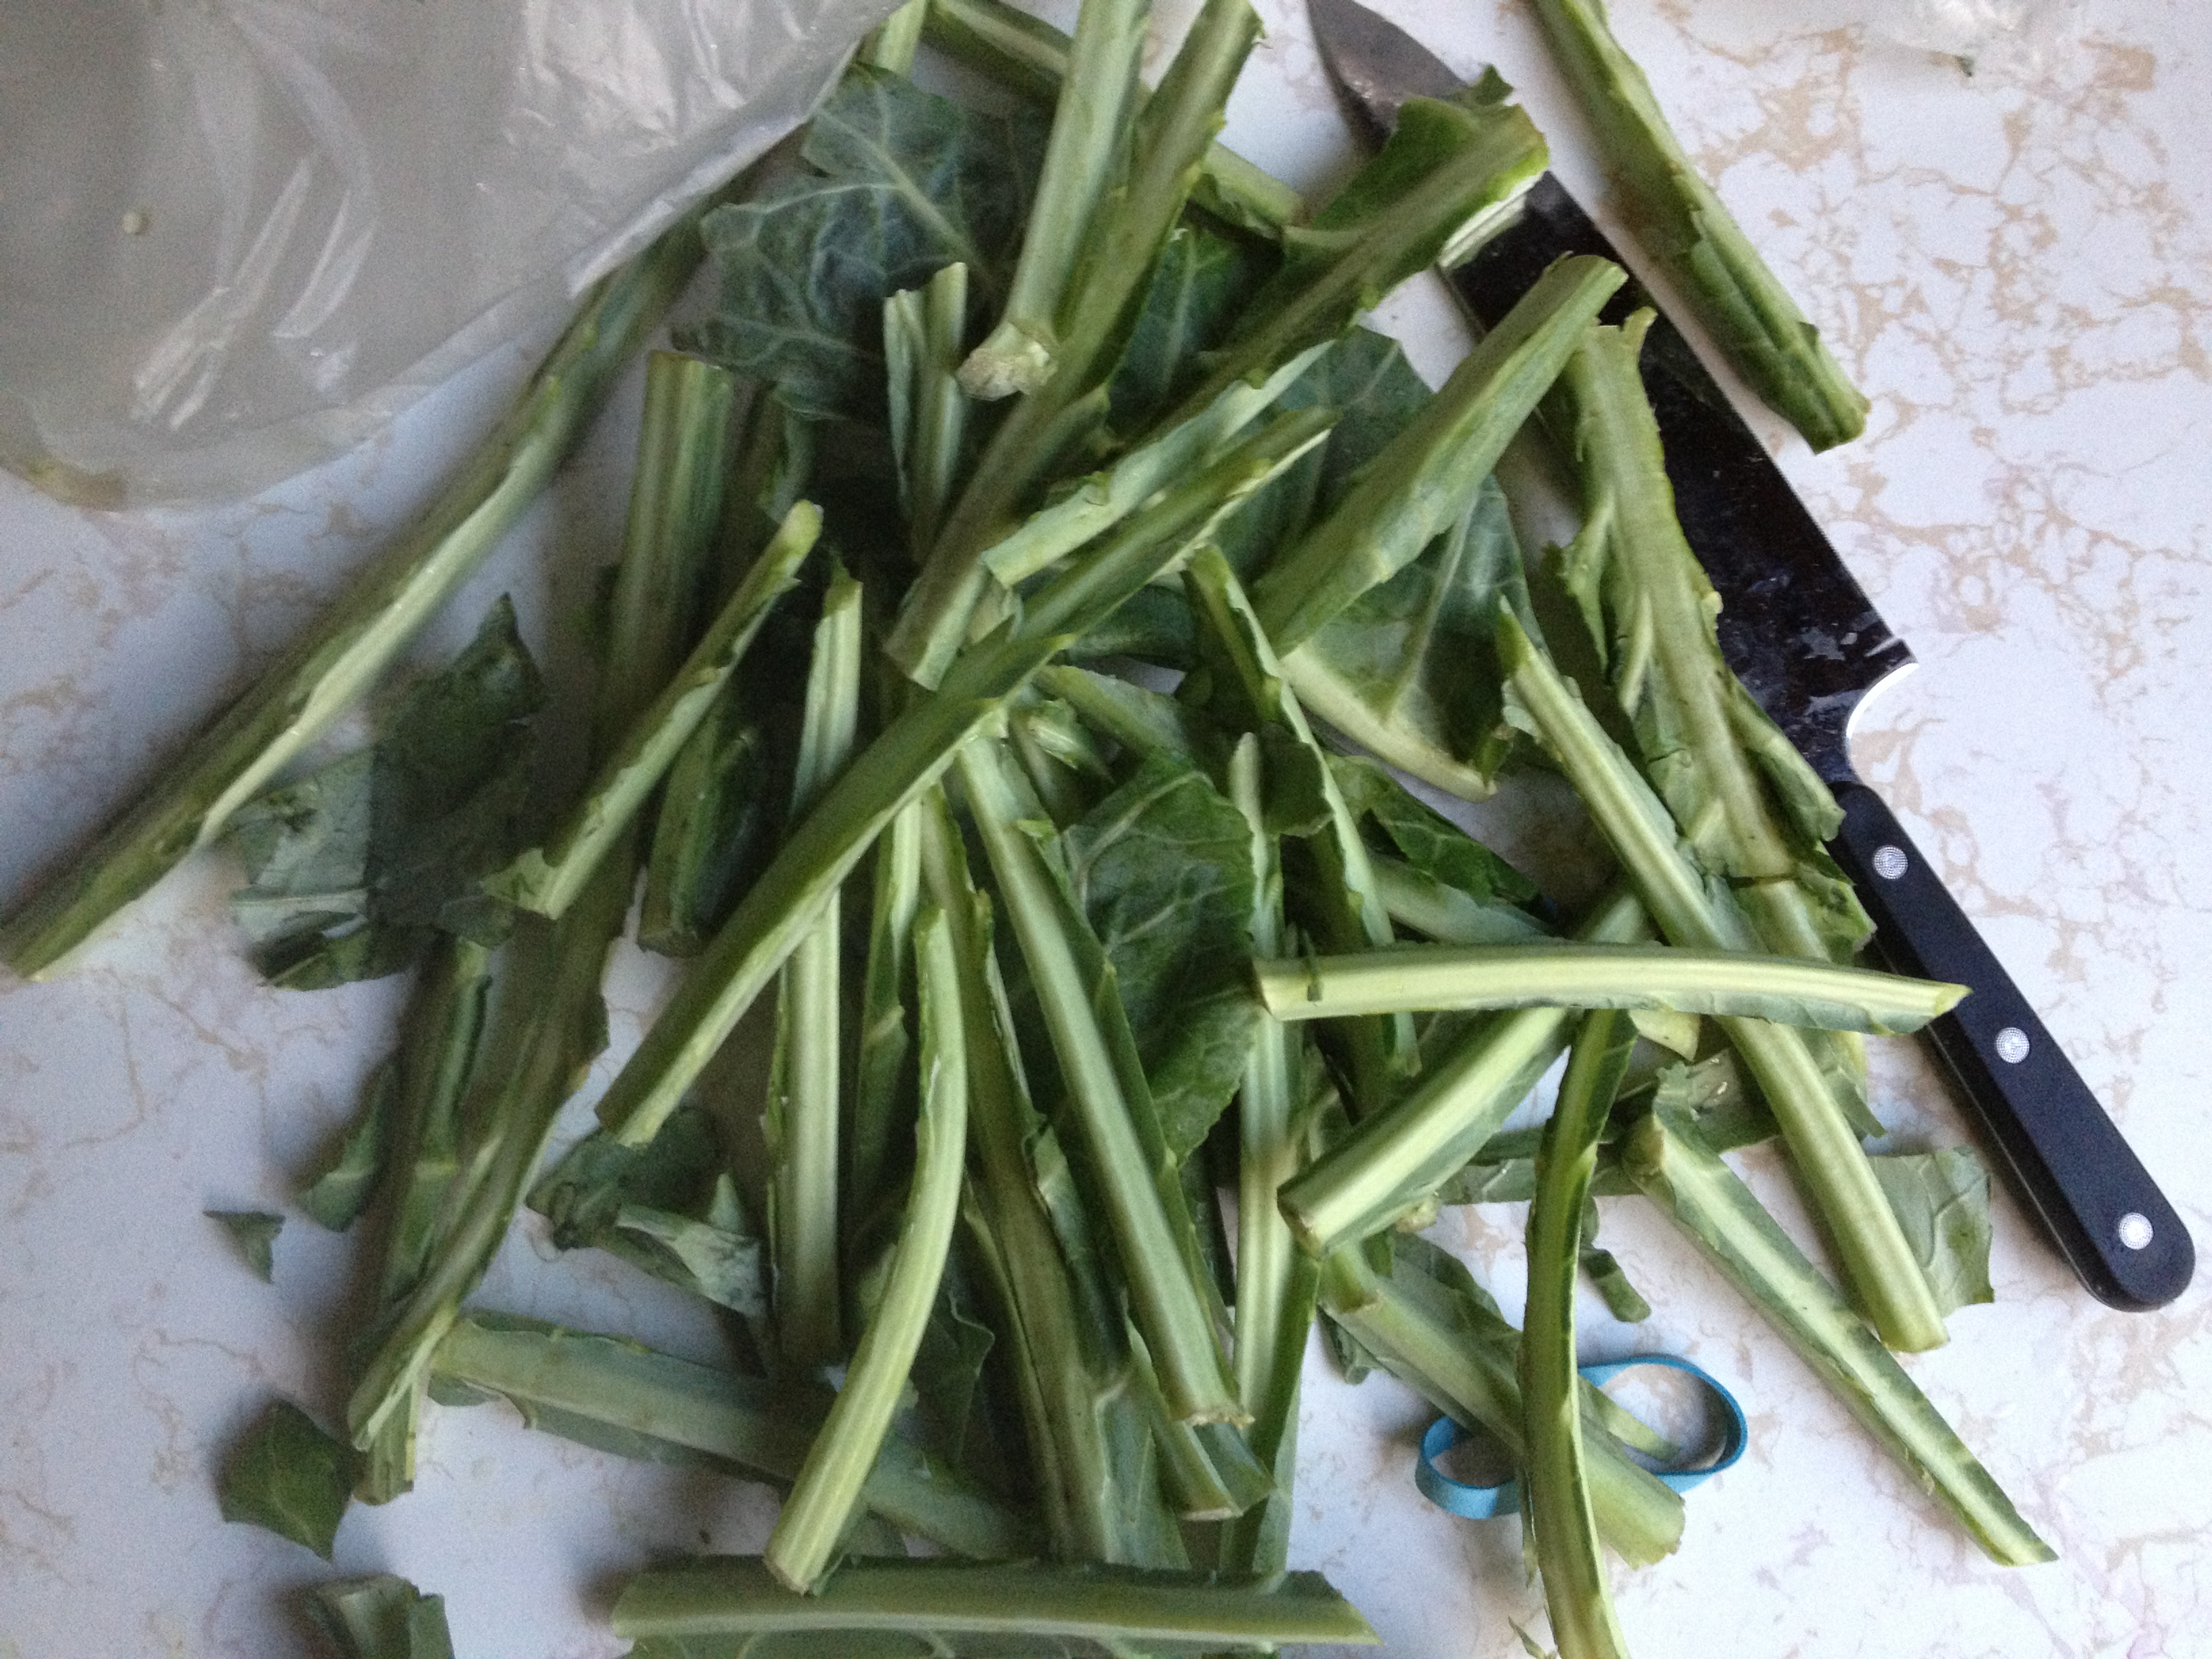
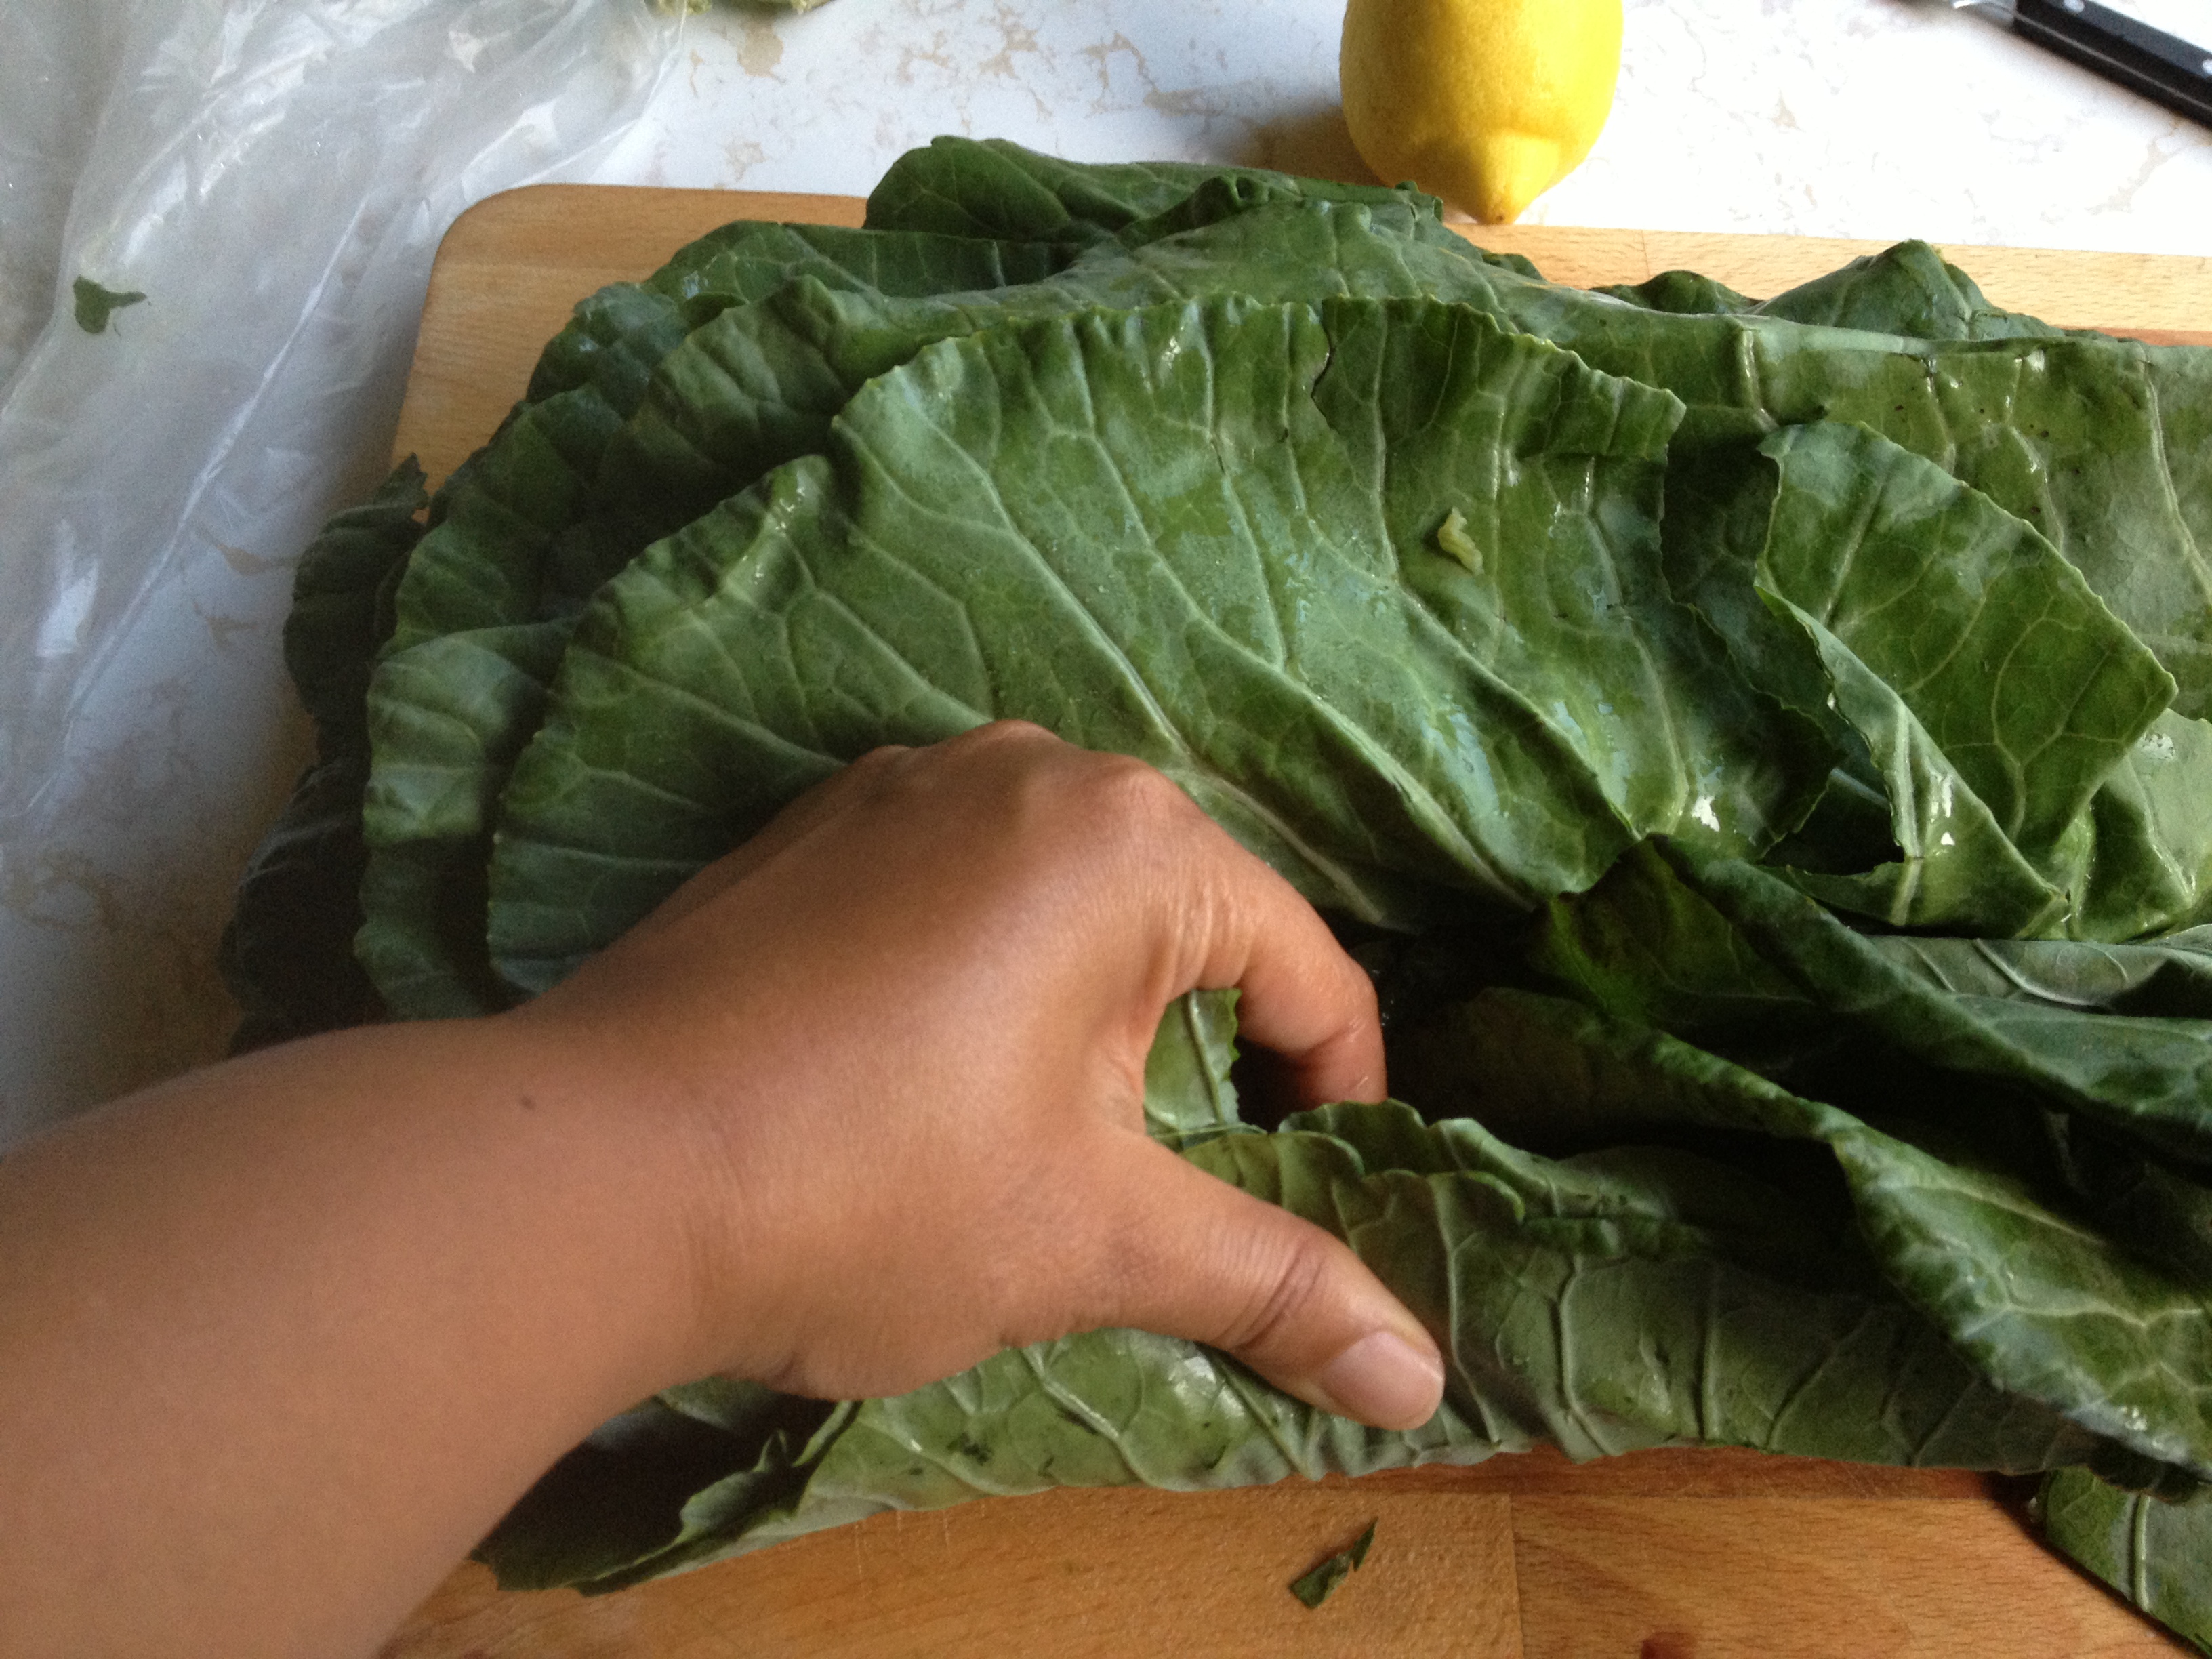
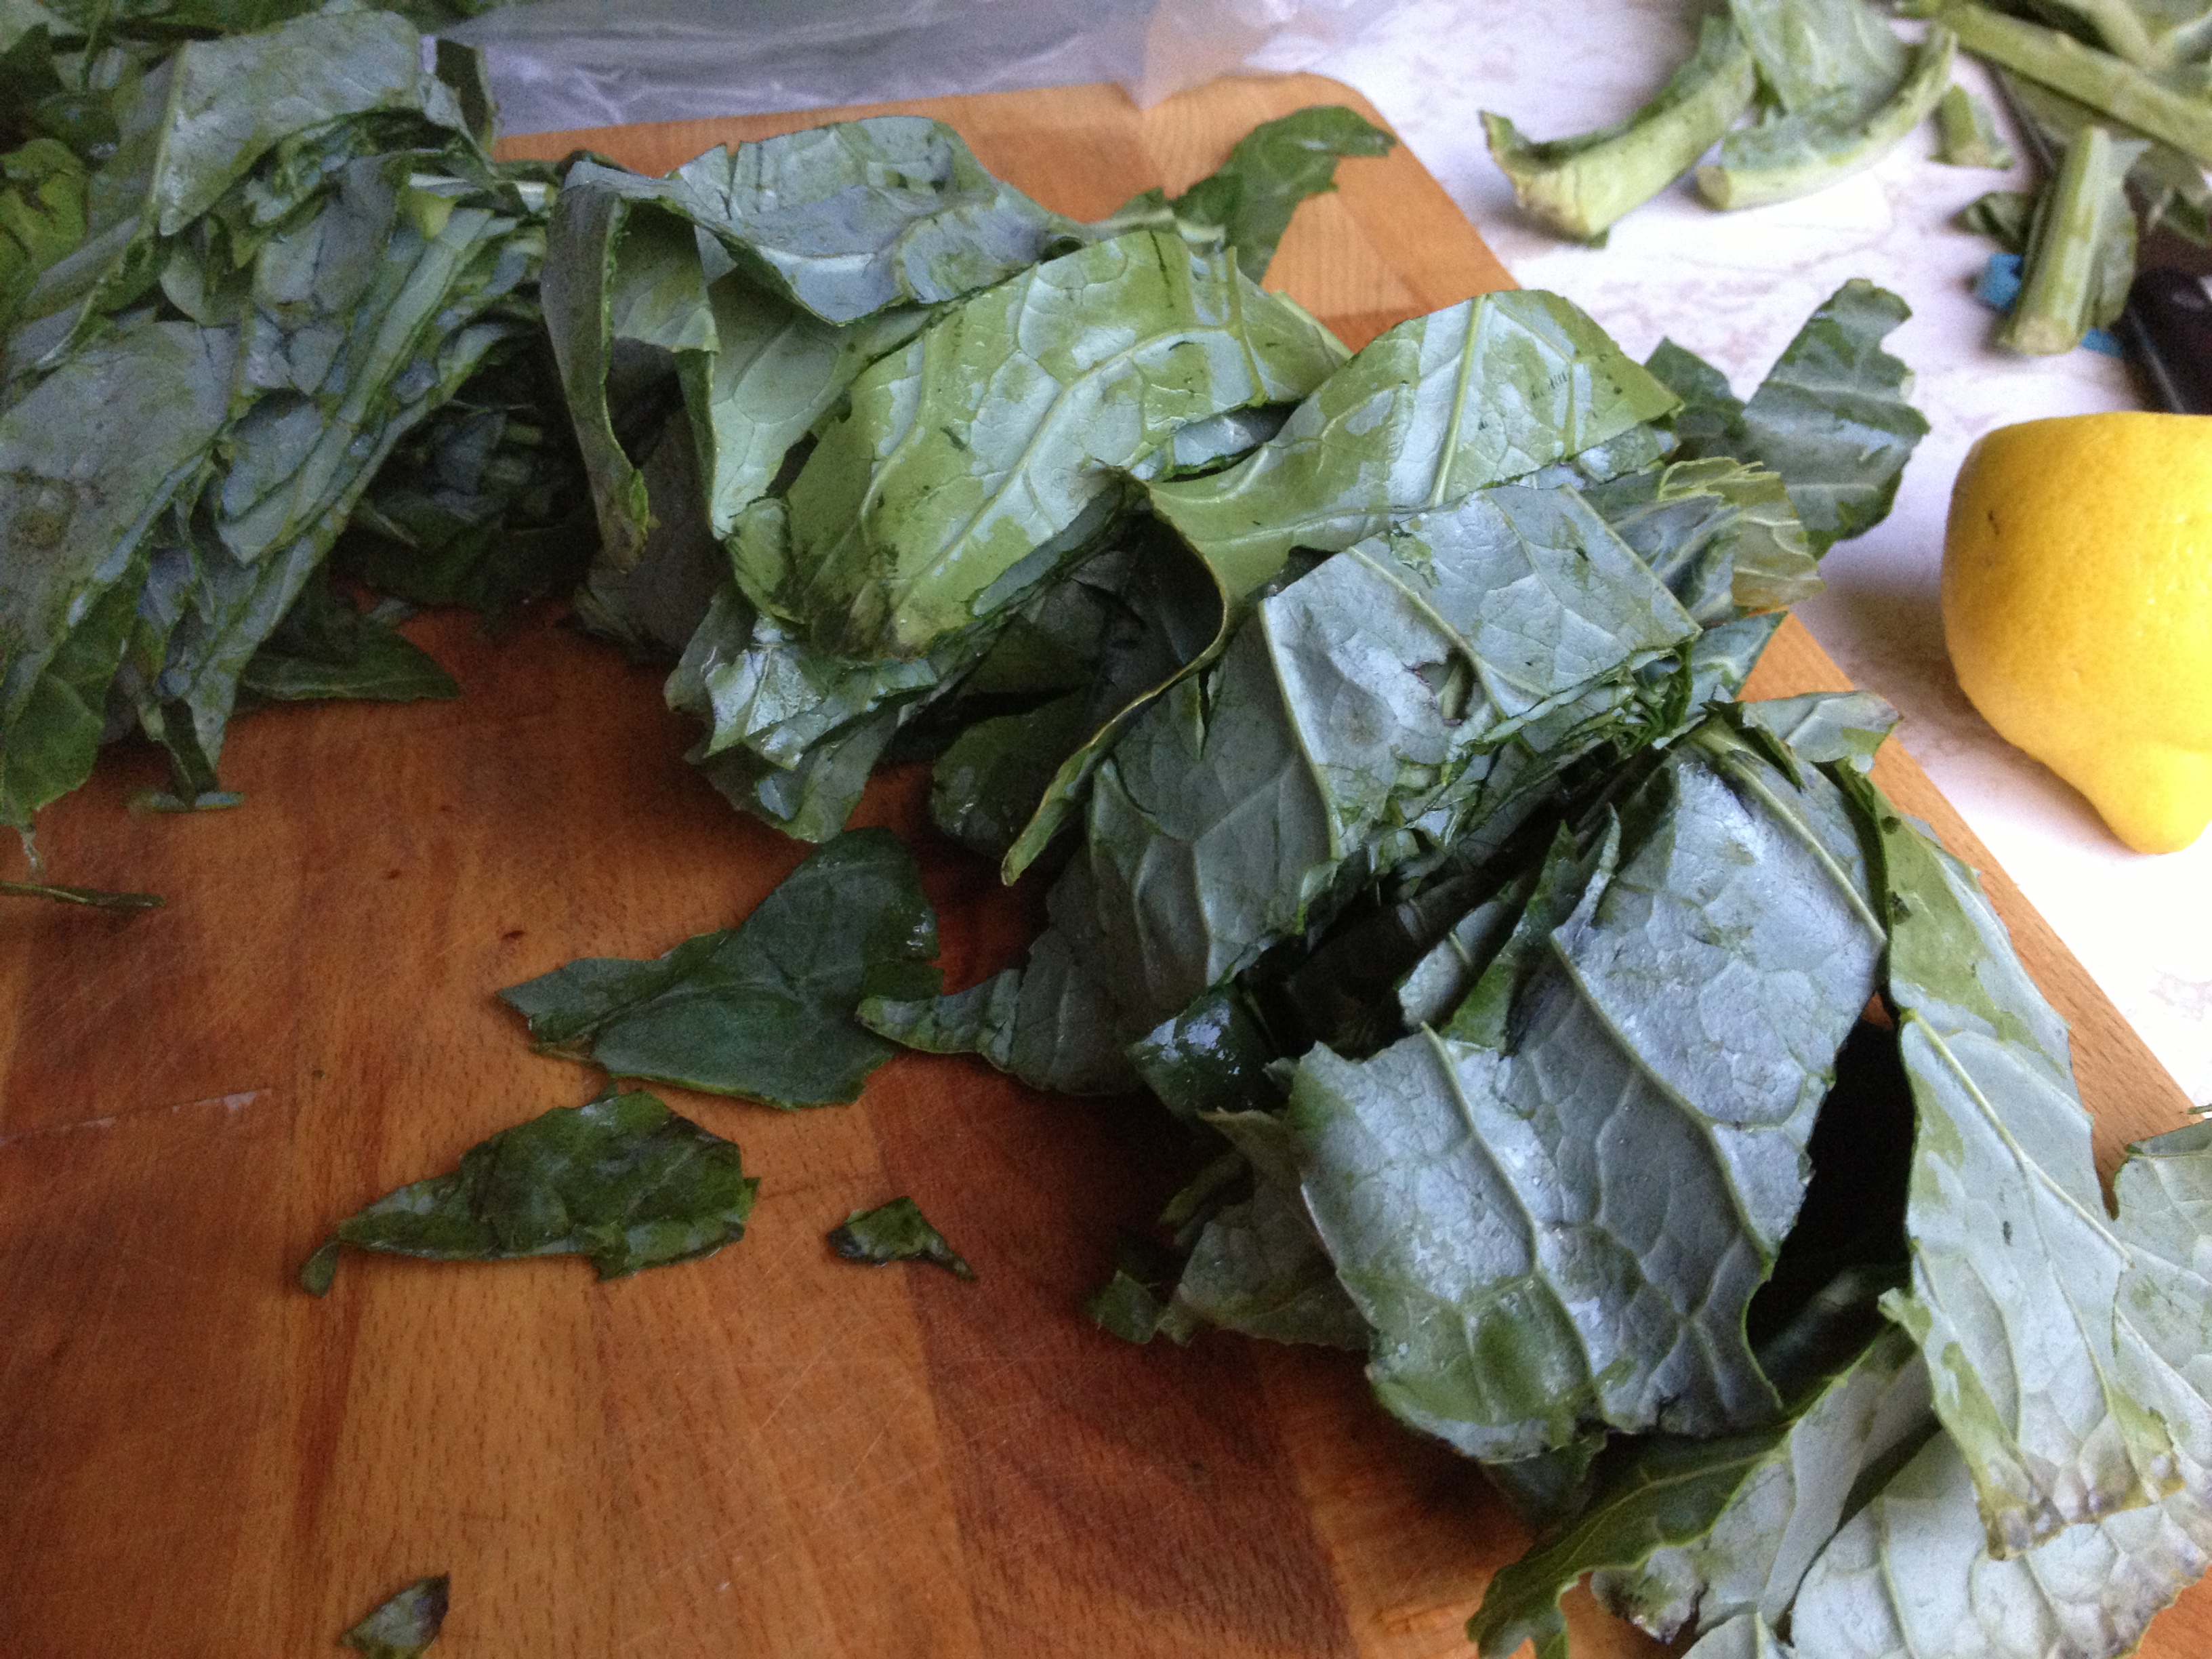
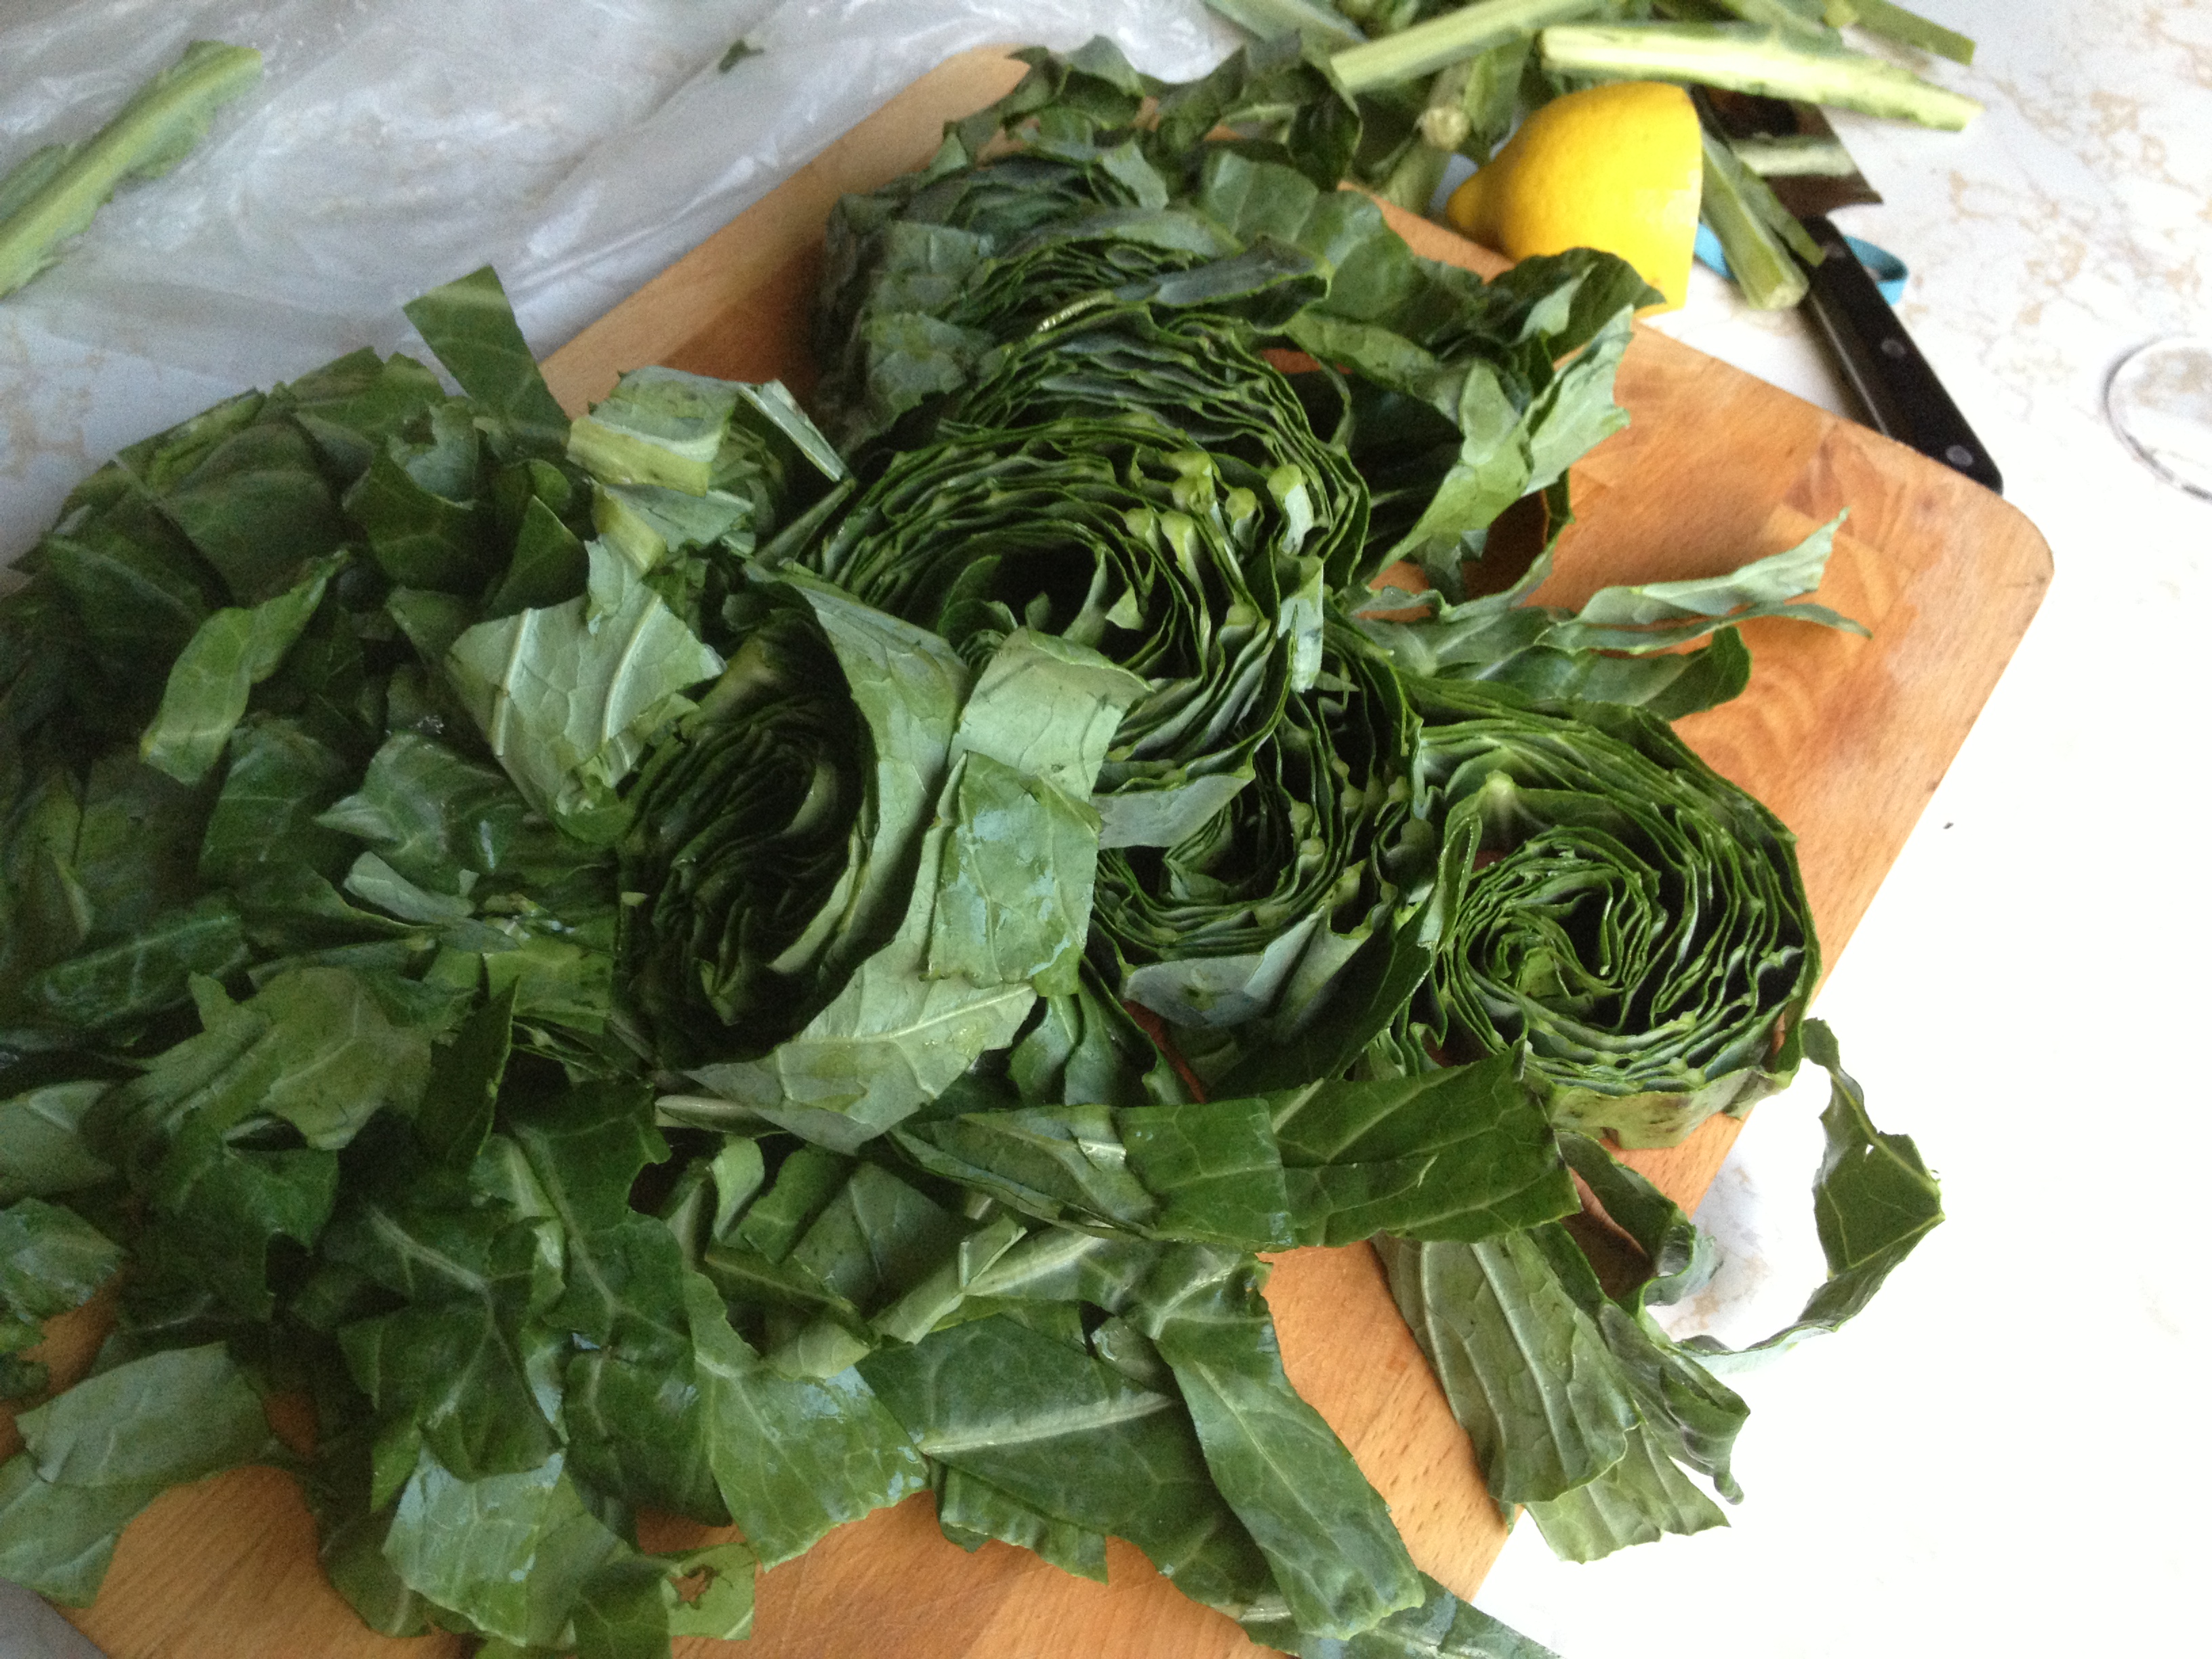
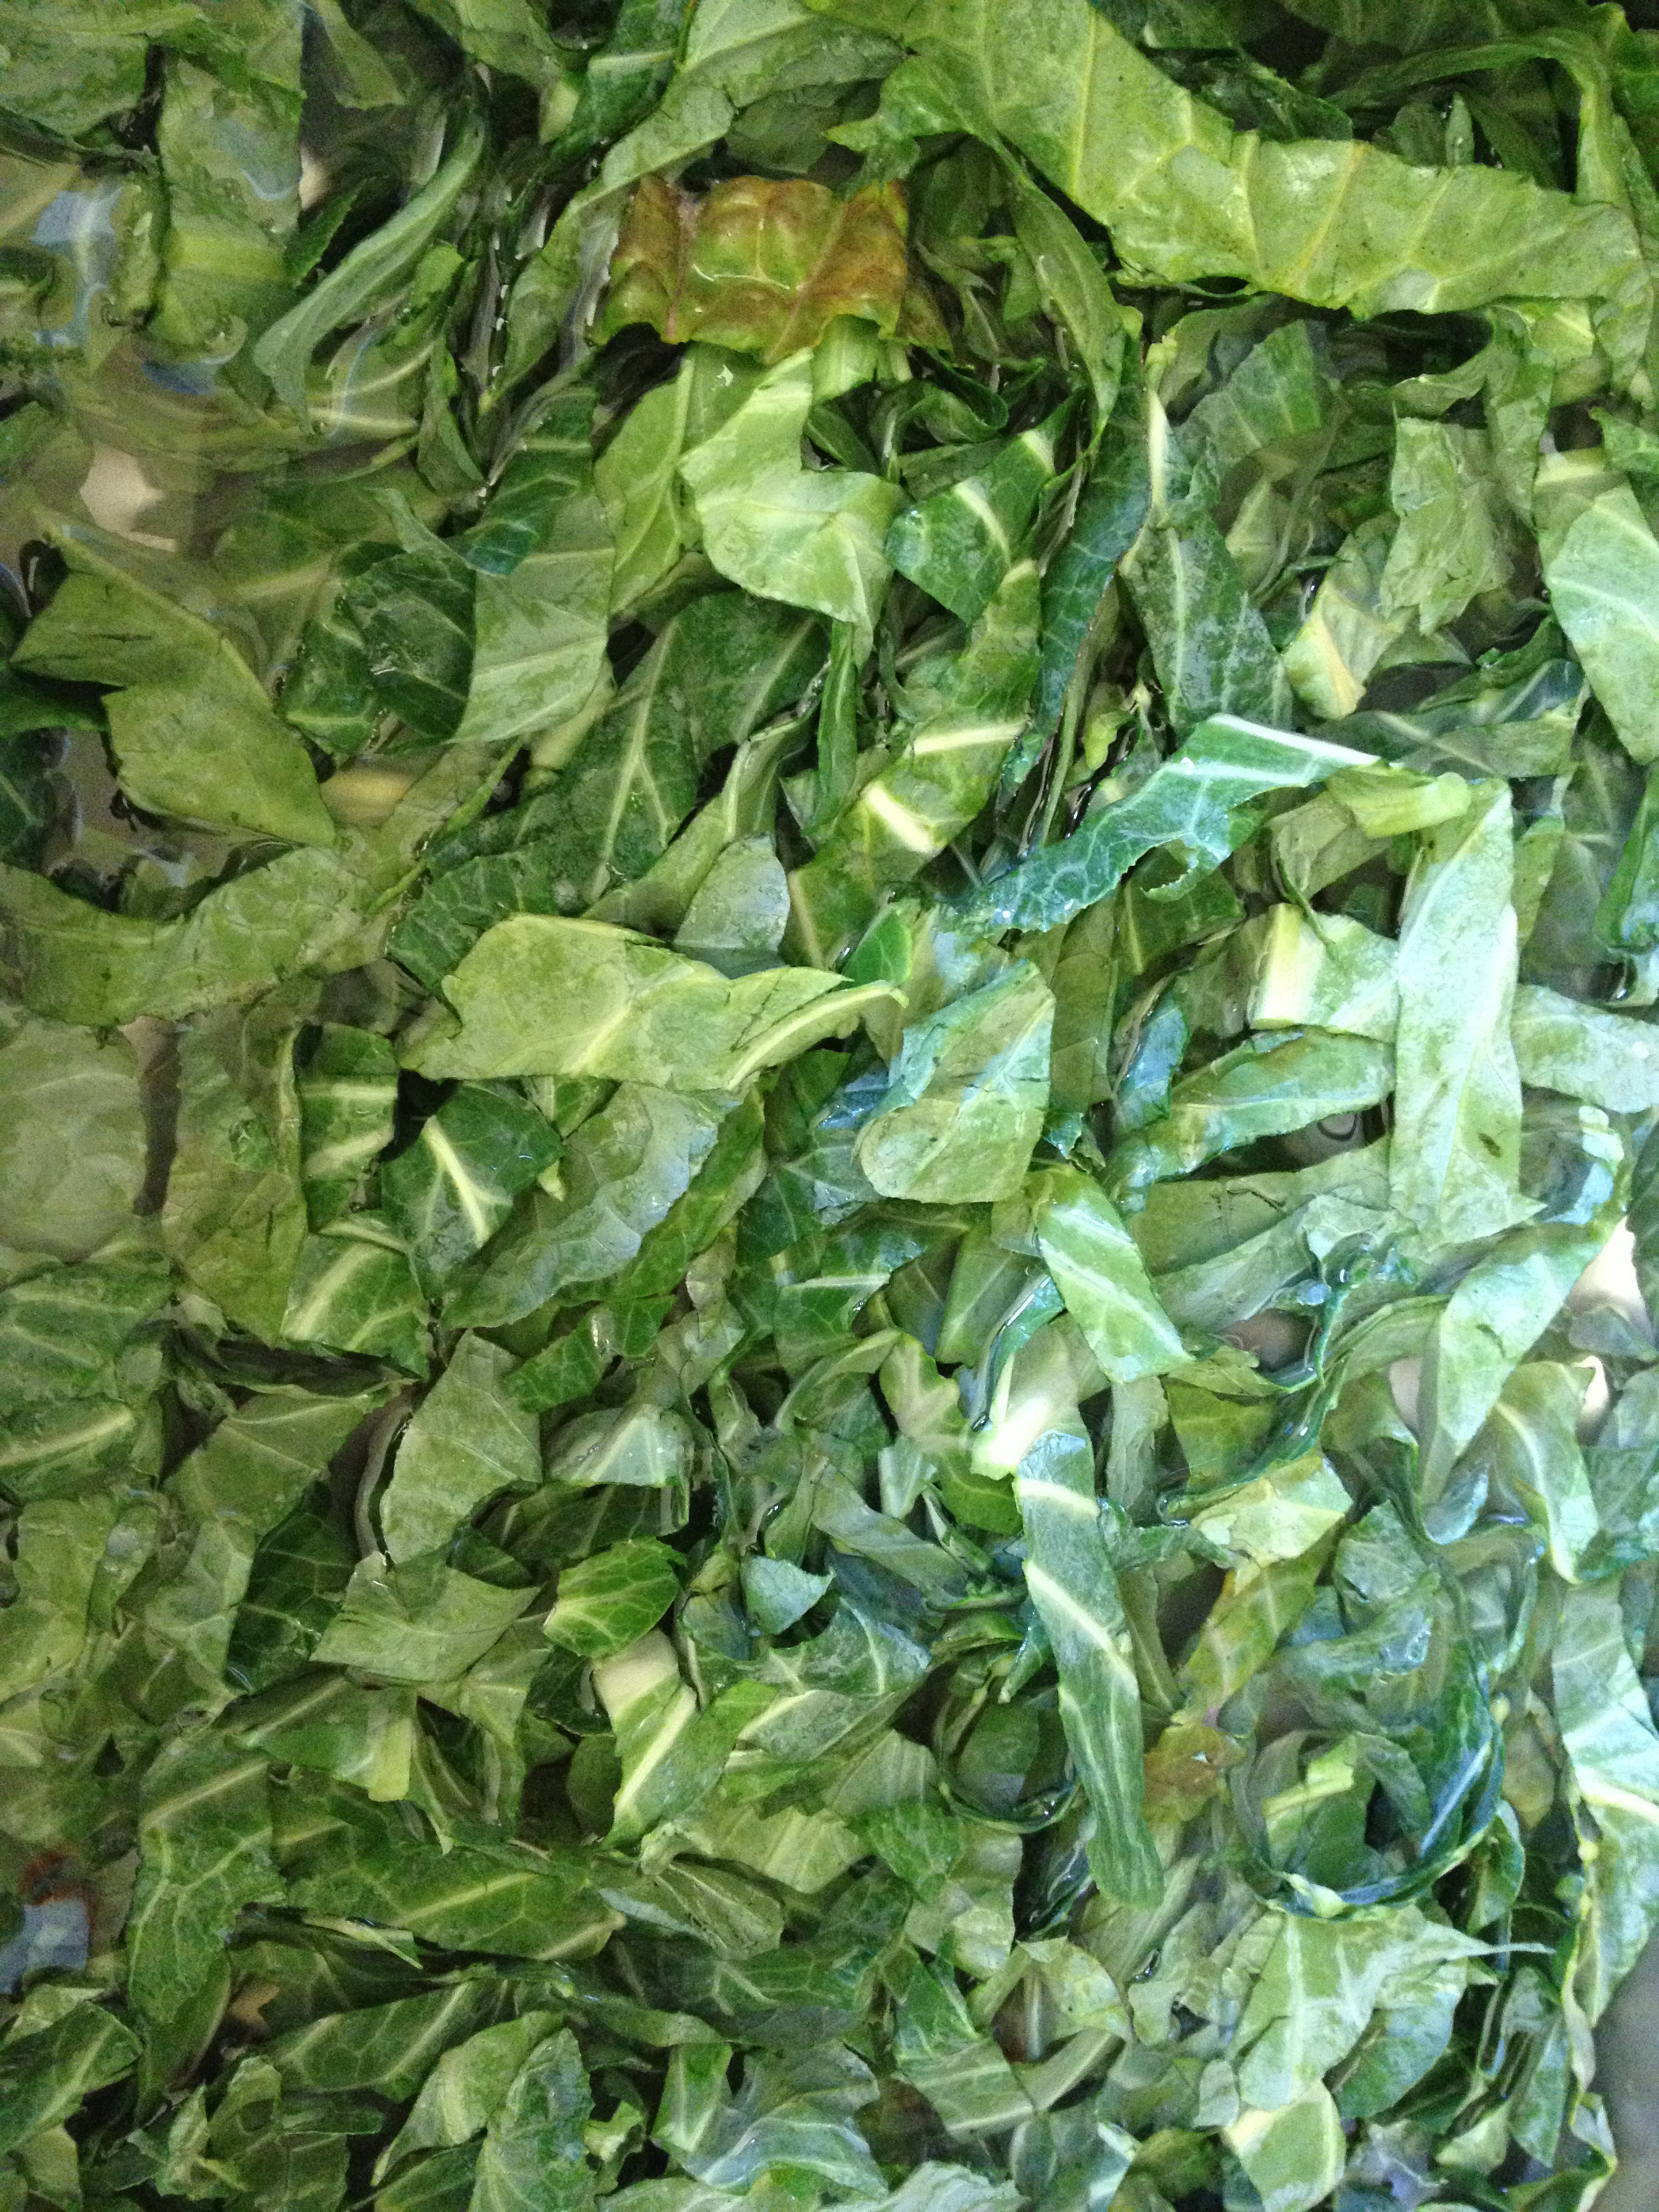
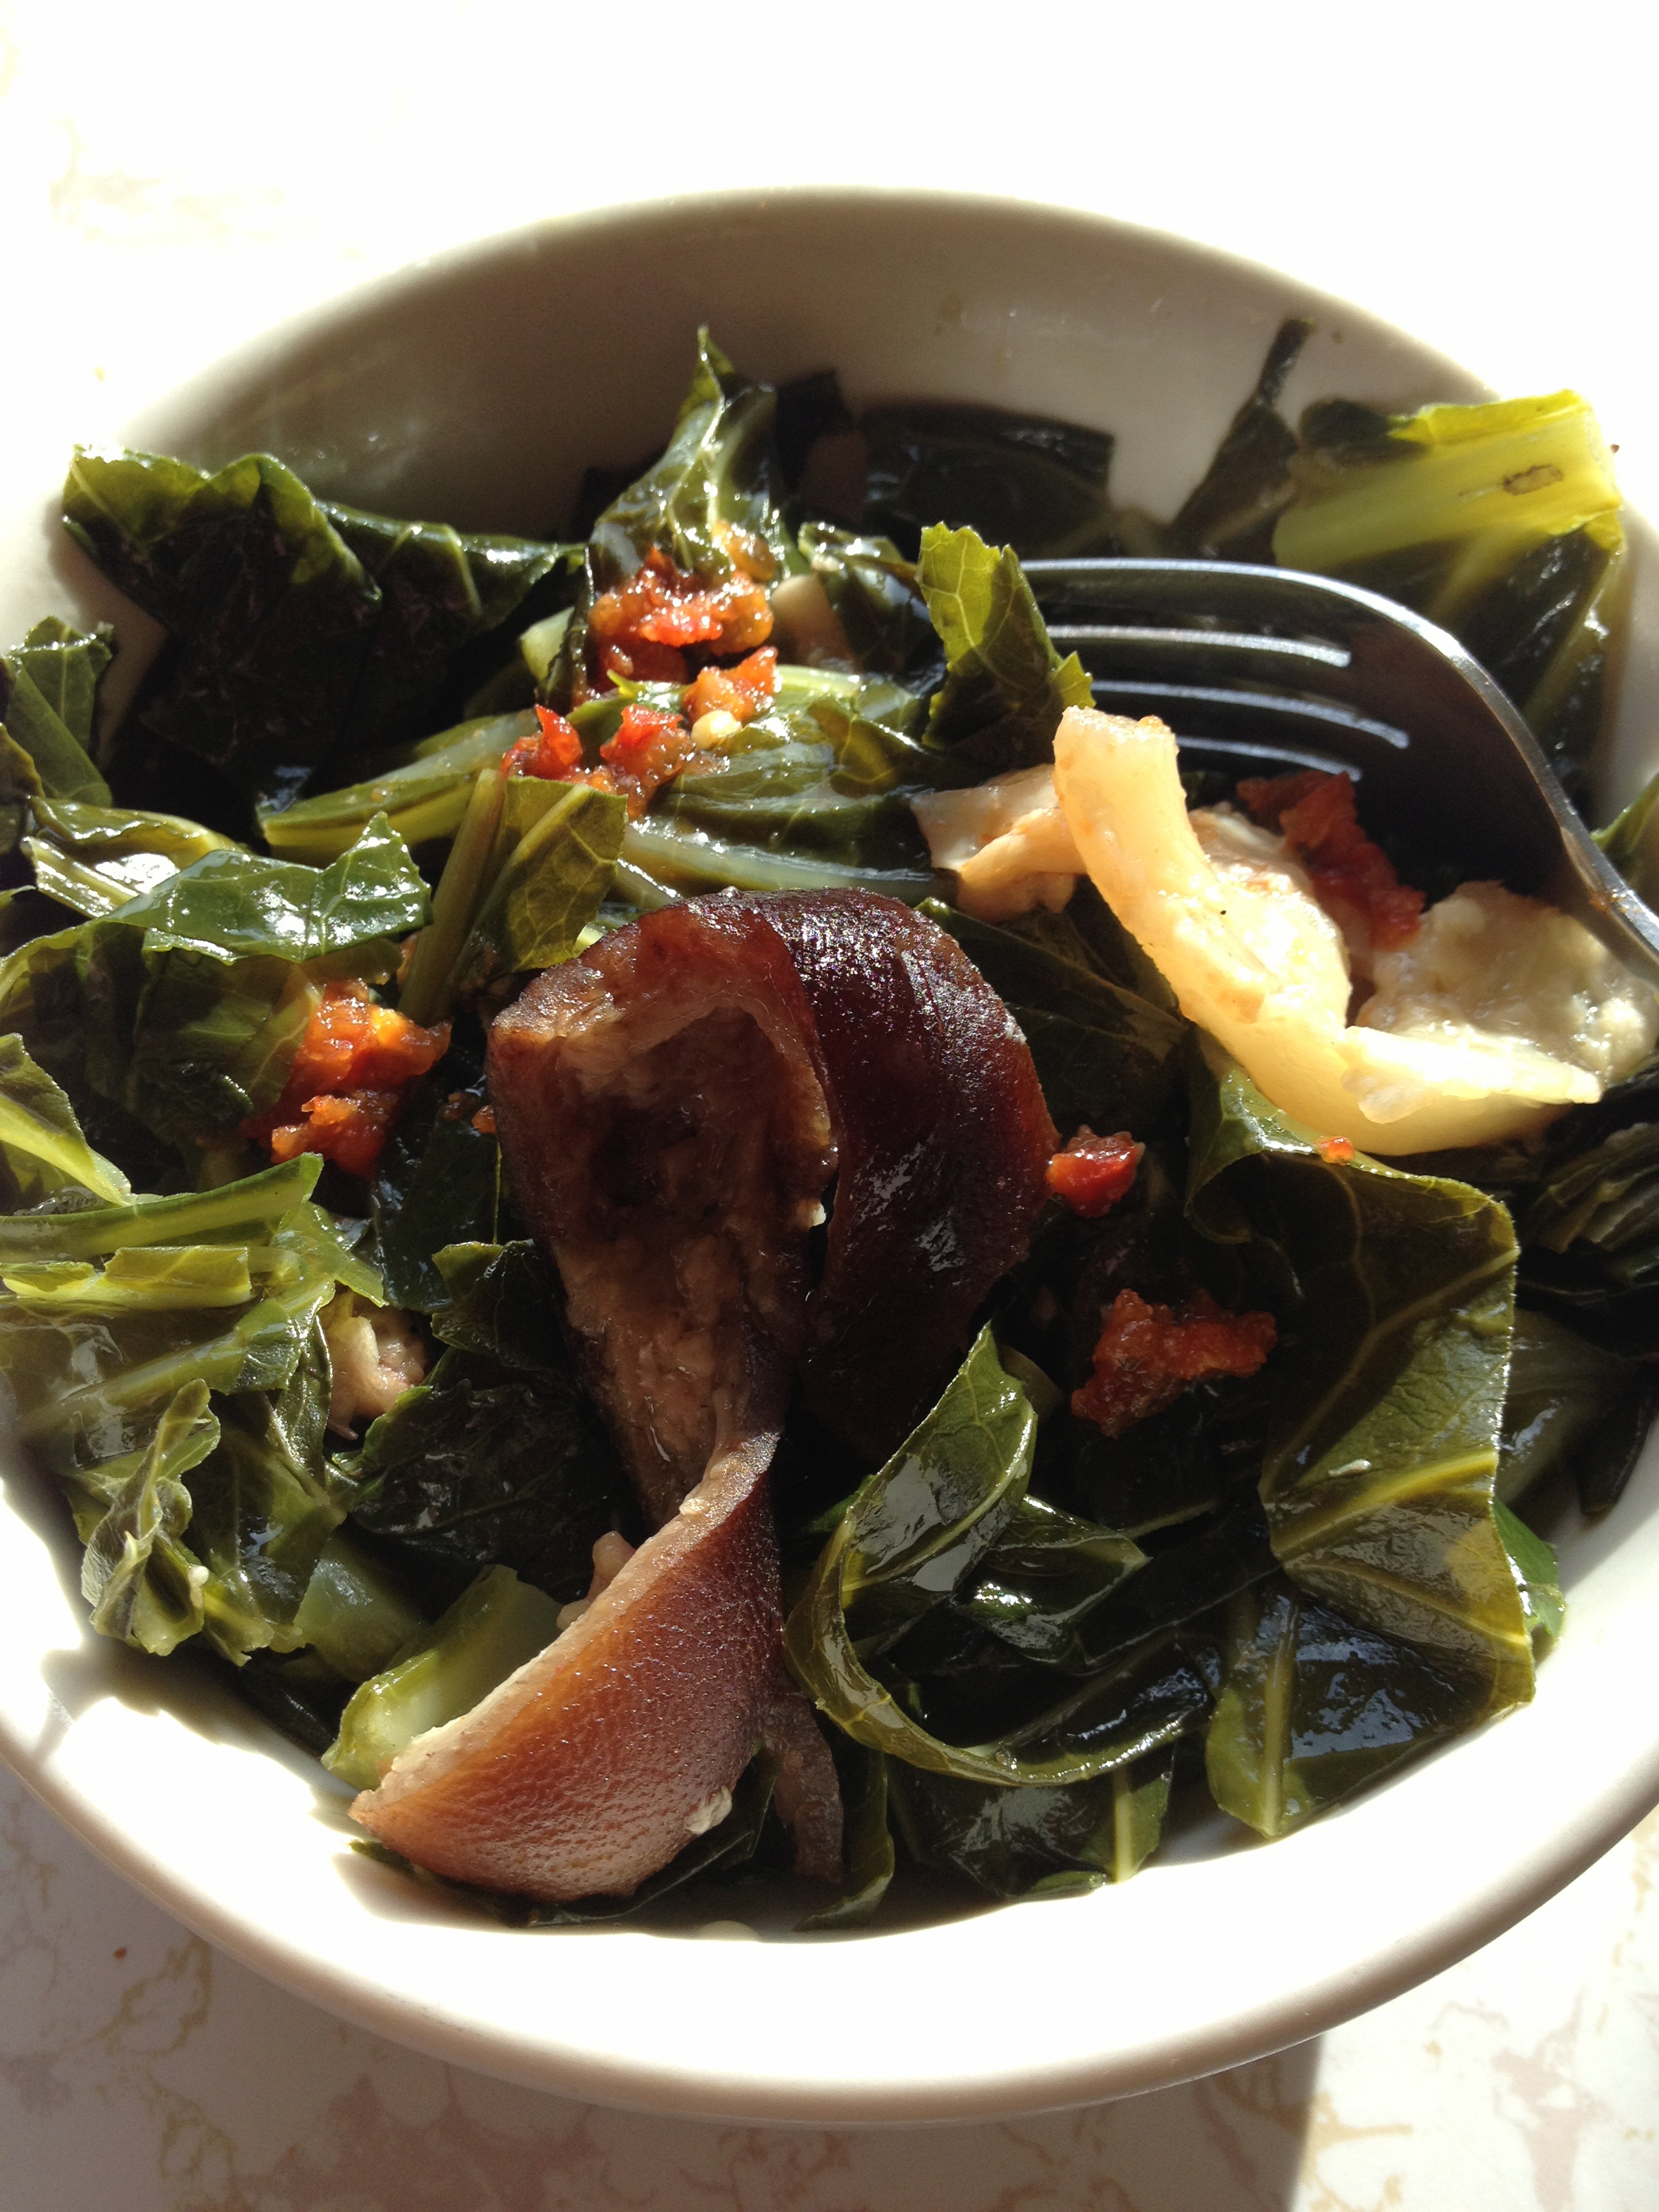
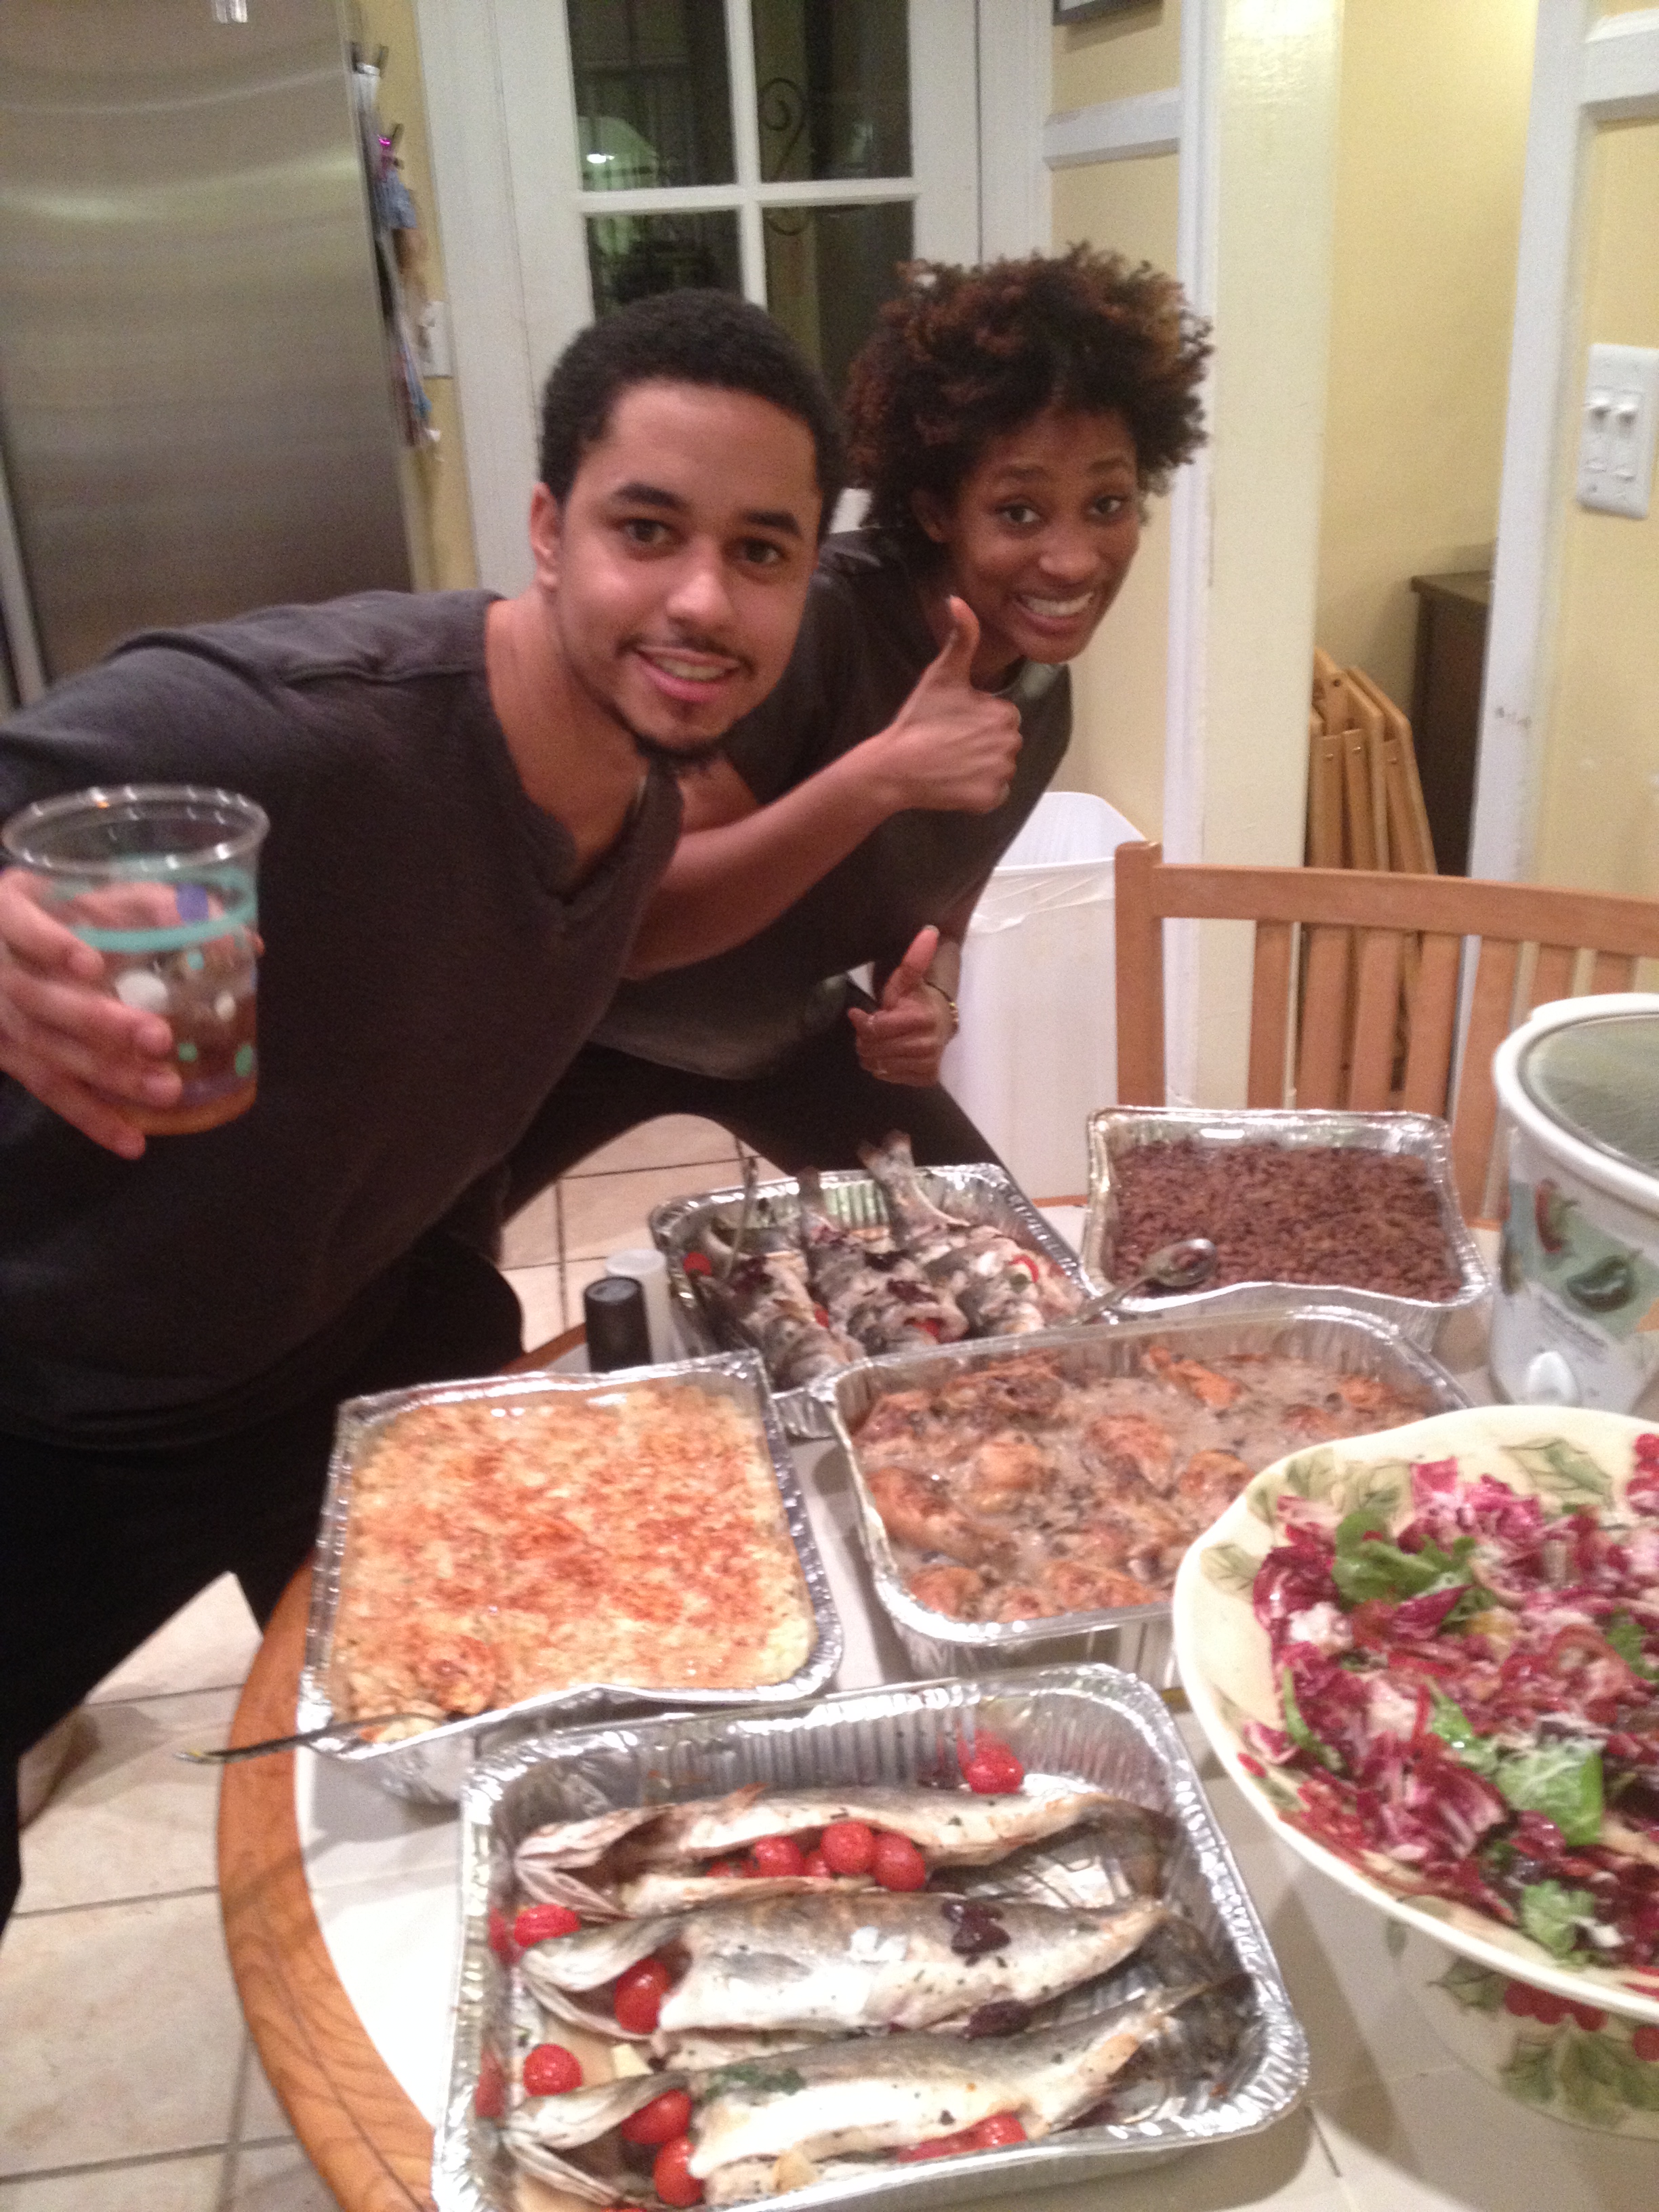
The rest of the spread: branzino roasted w/tomatoes & olives, homemade potato salad, chicken & rice smothered in mushroom white wine sauce, radicchio salad, collard greens.
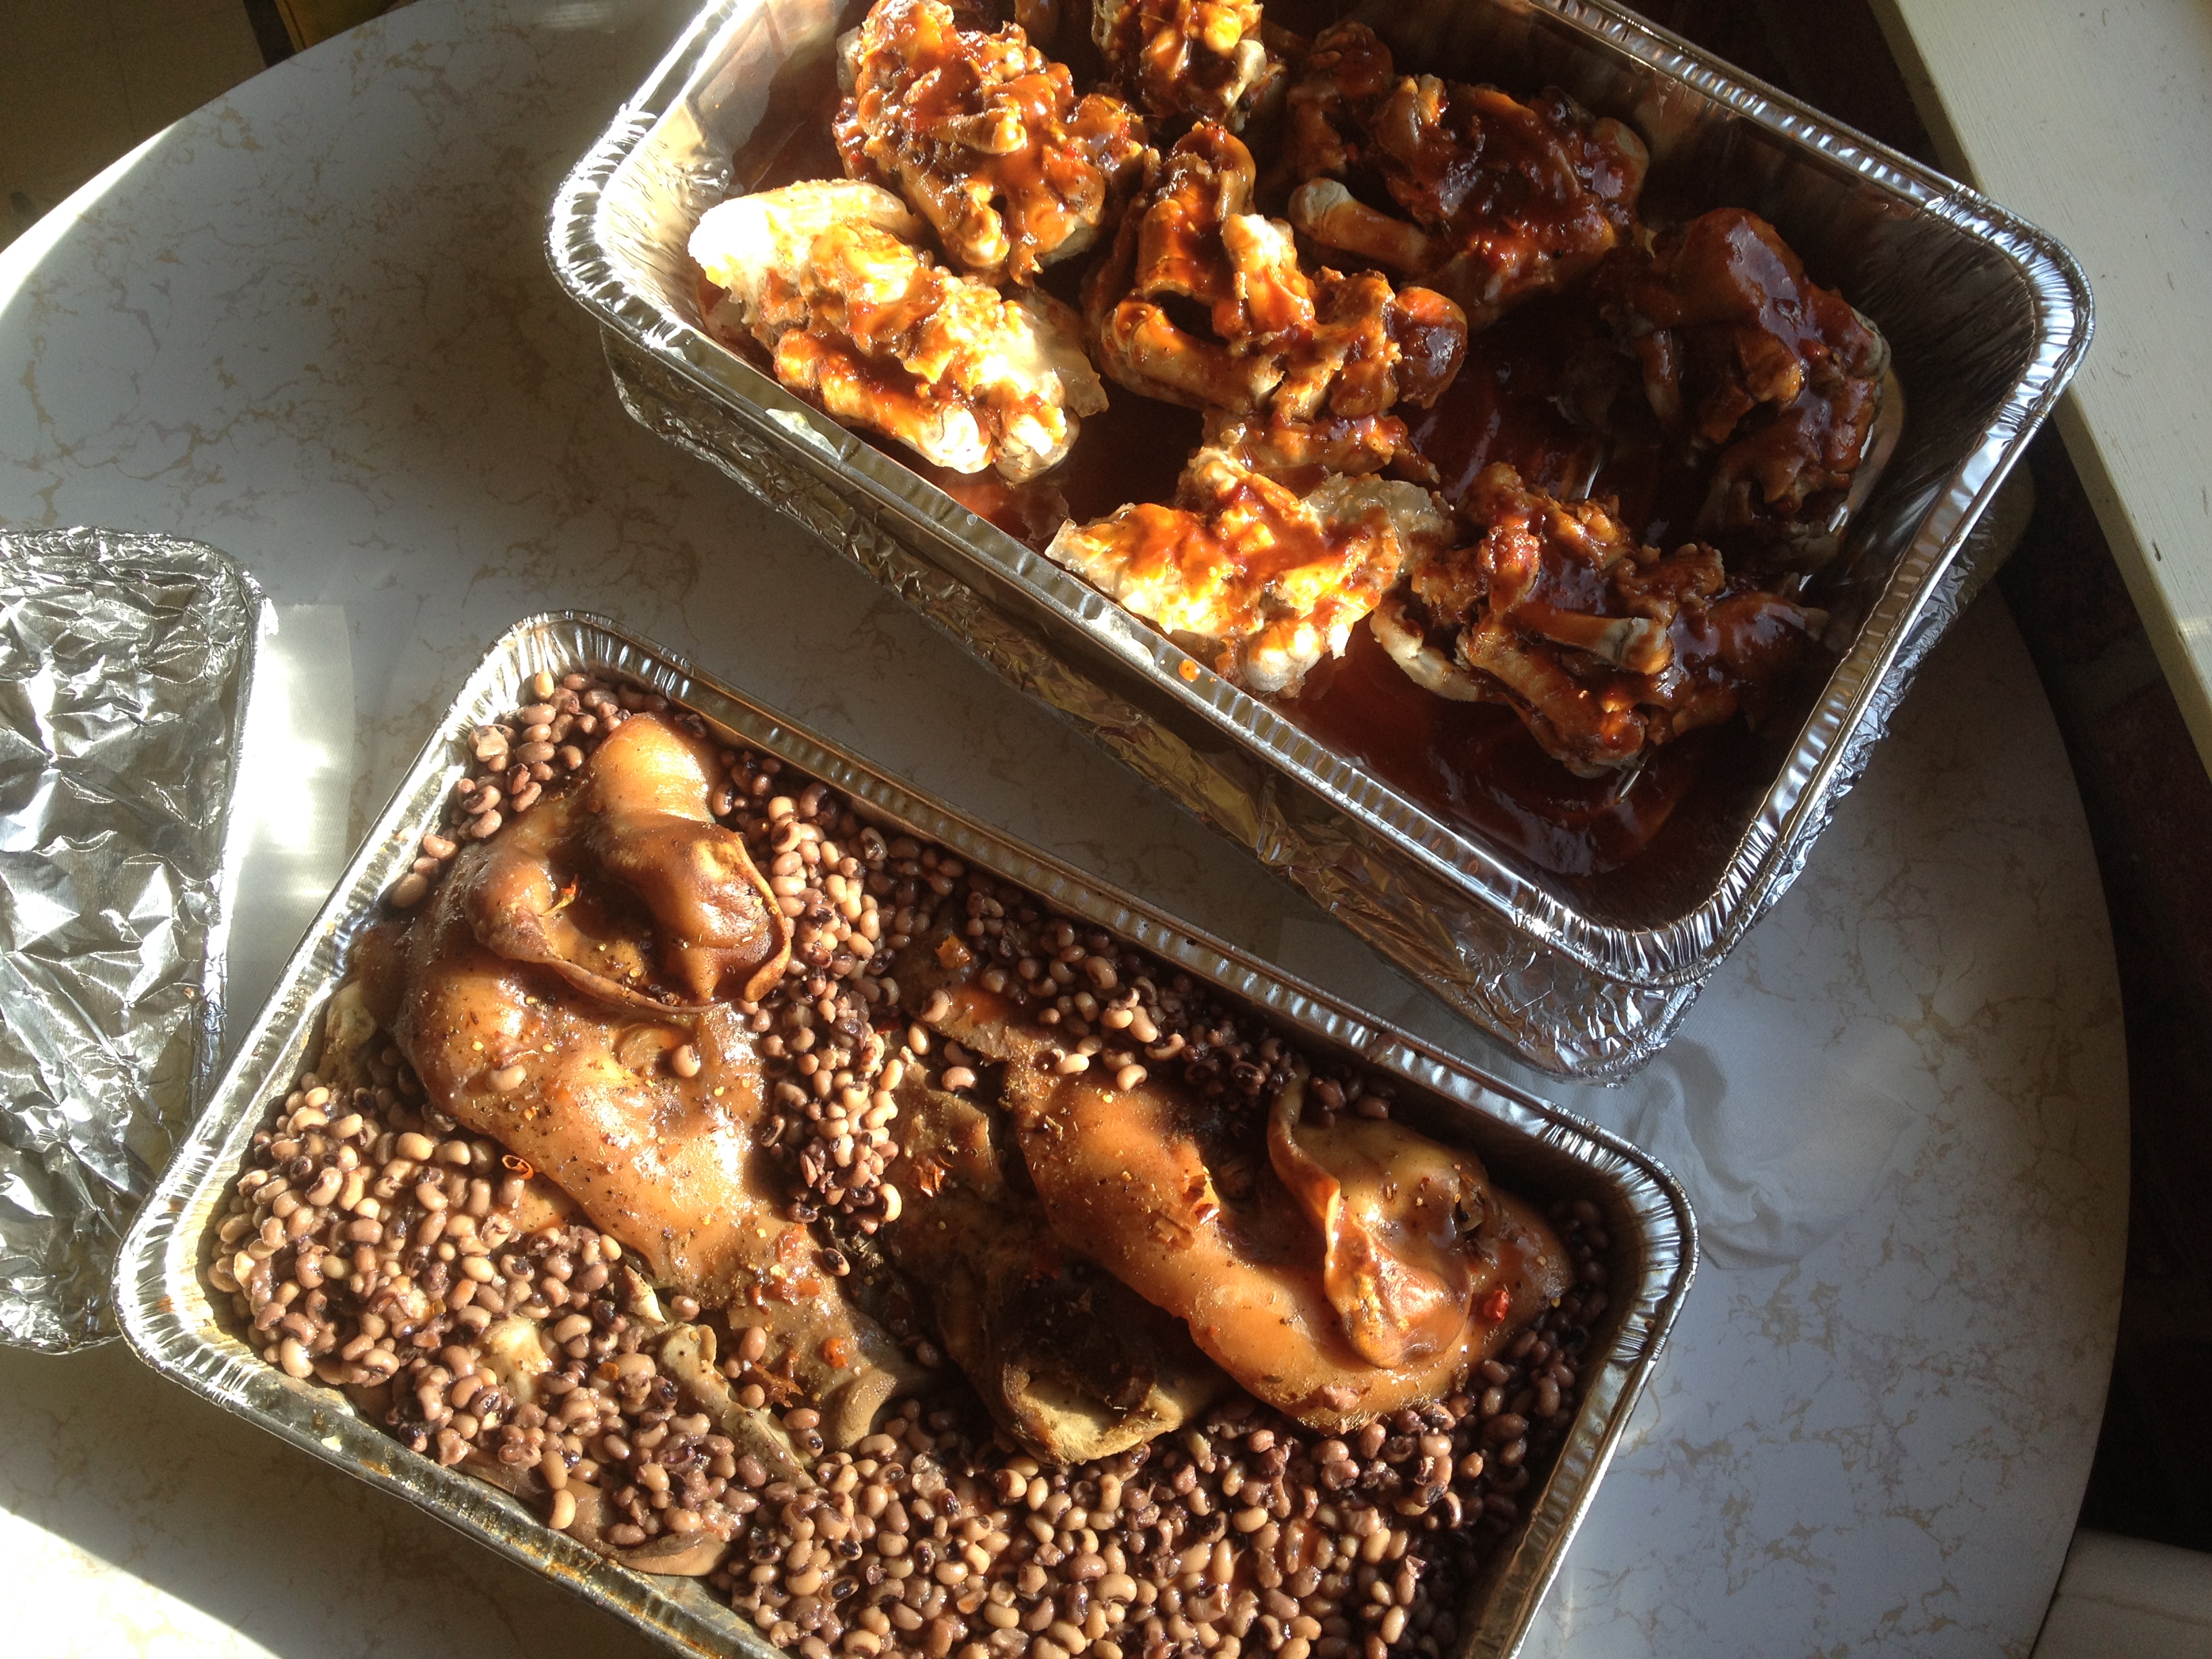
…oh yes…and BBQ pig feet.
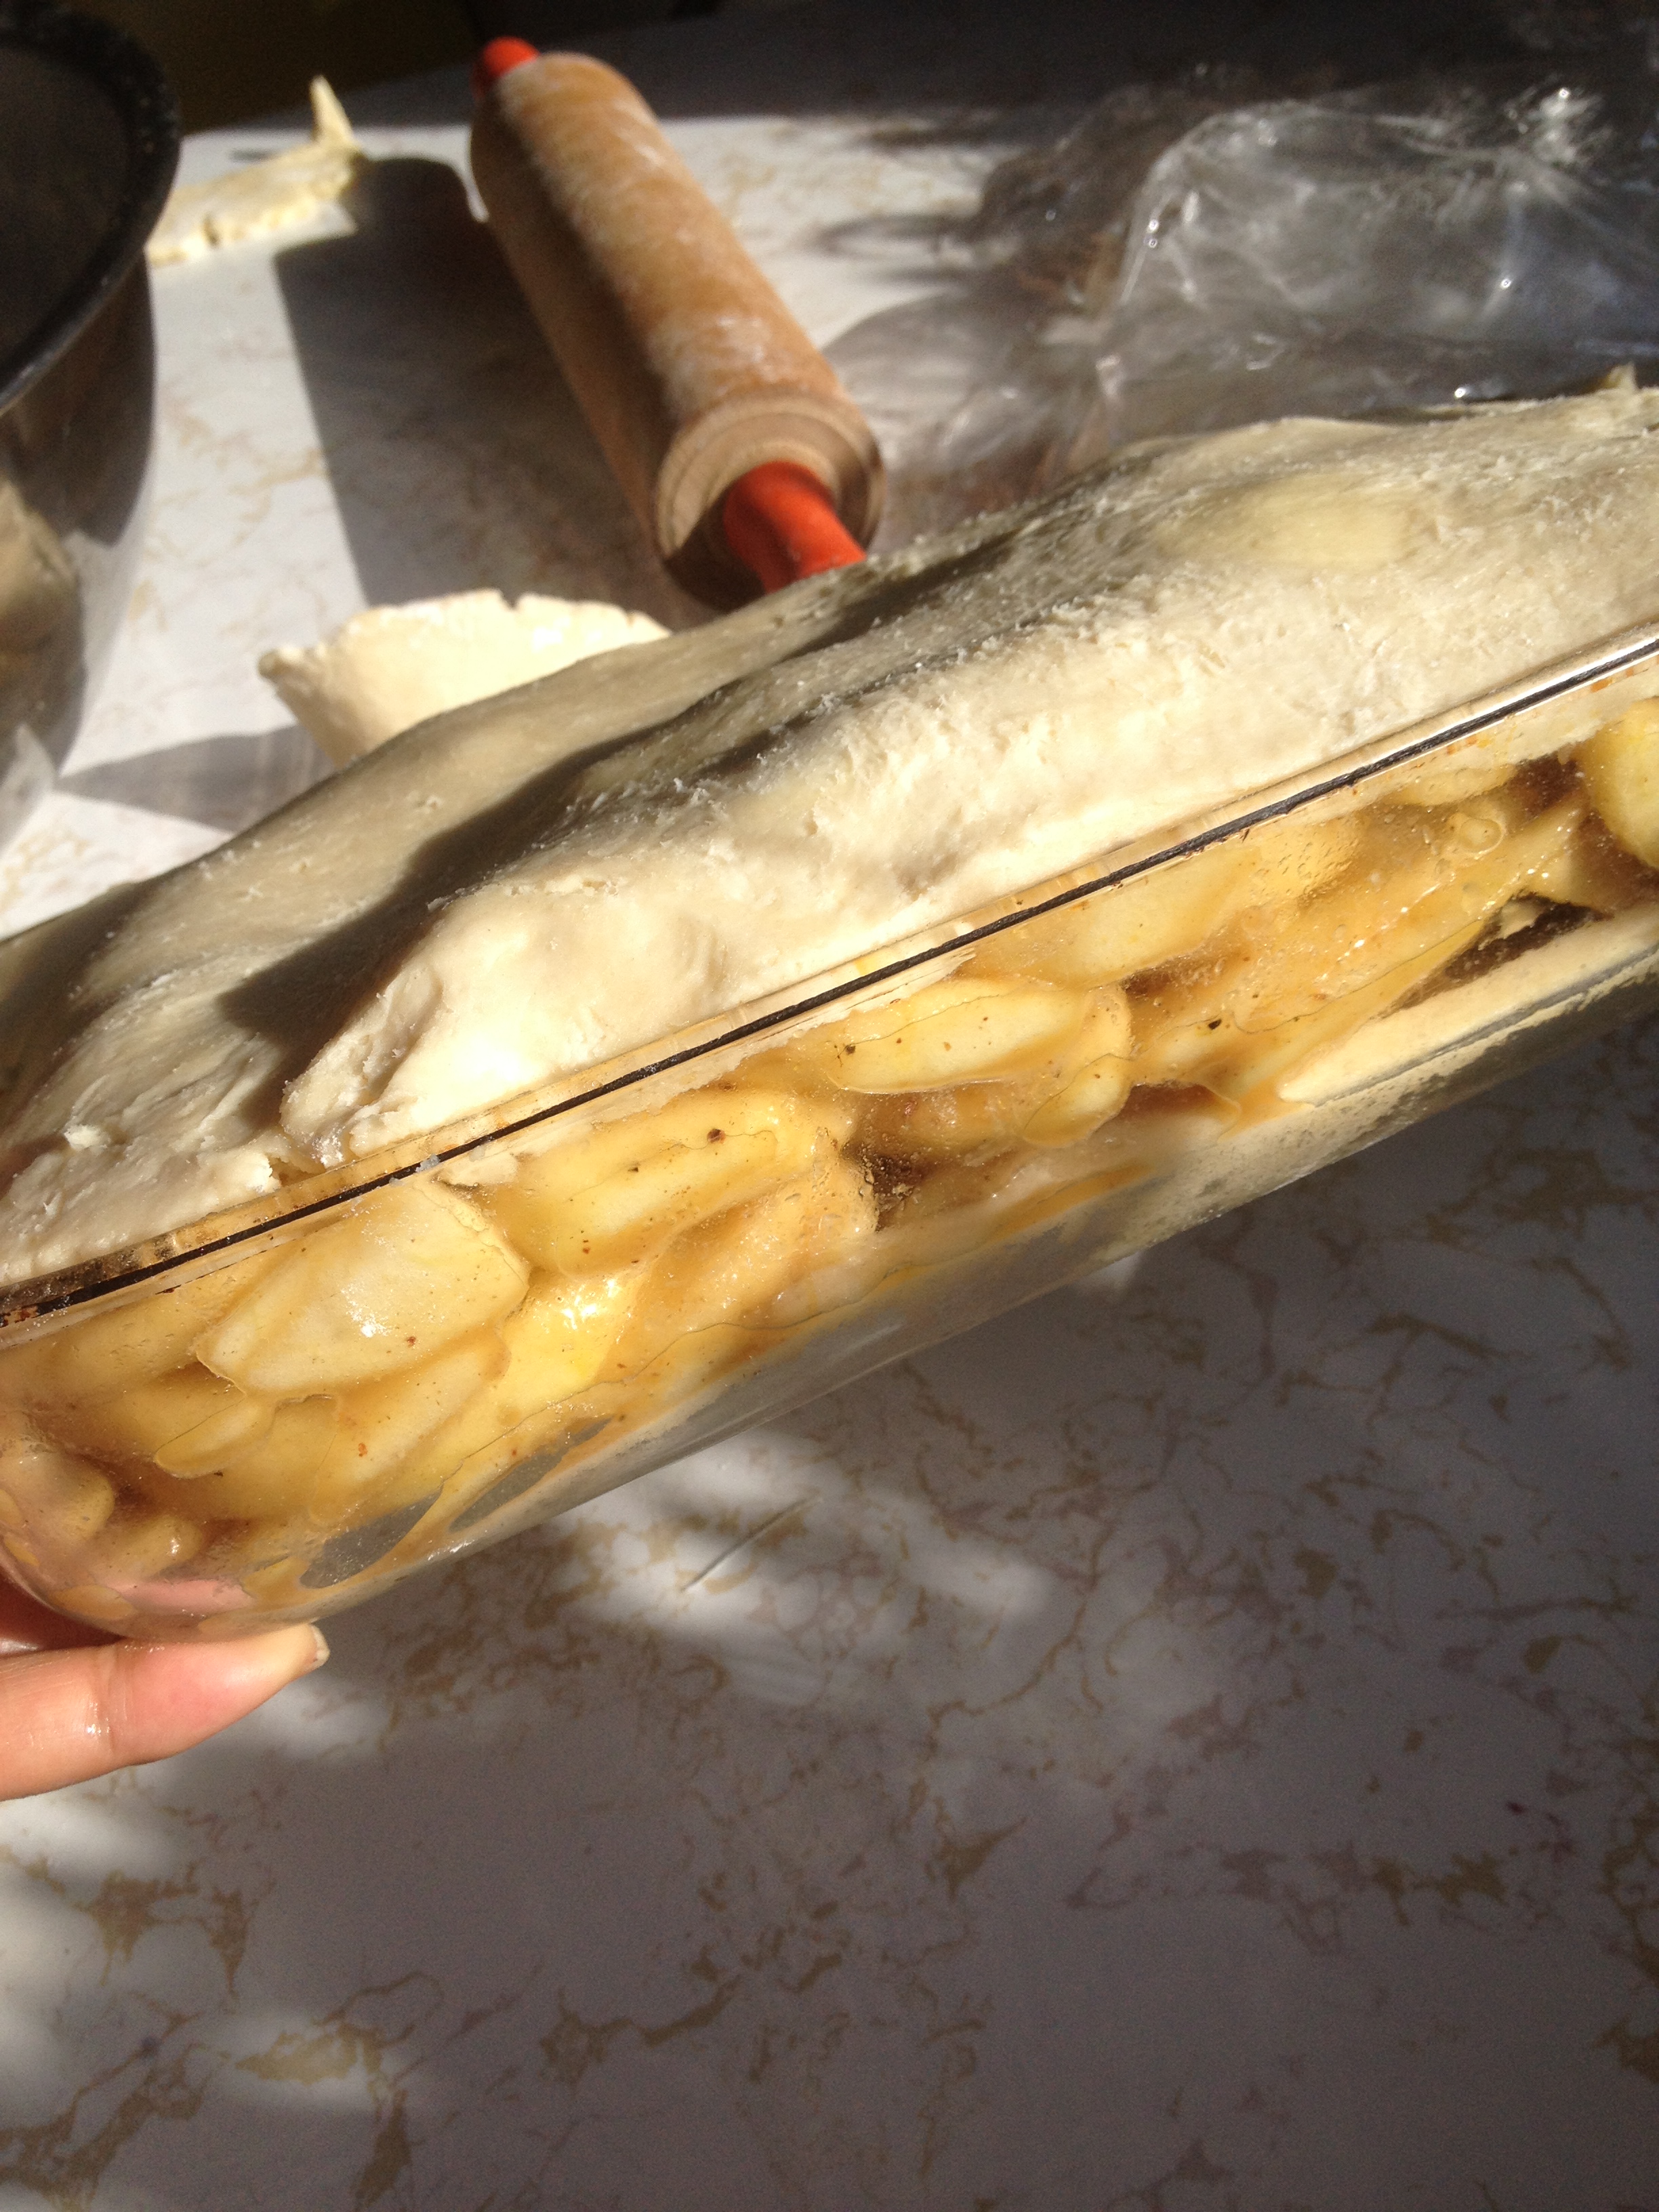
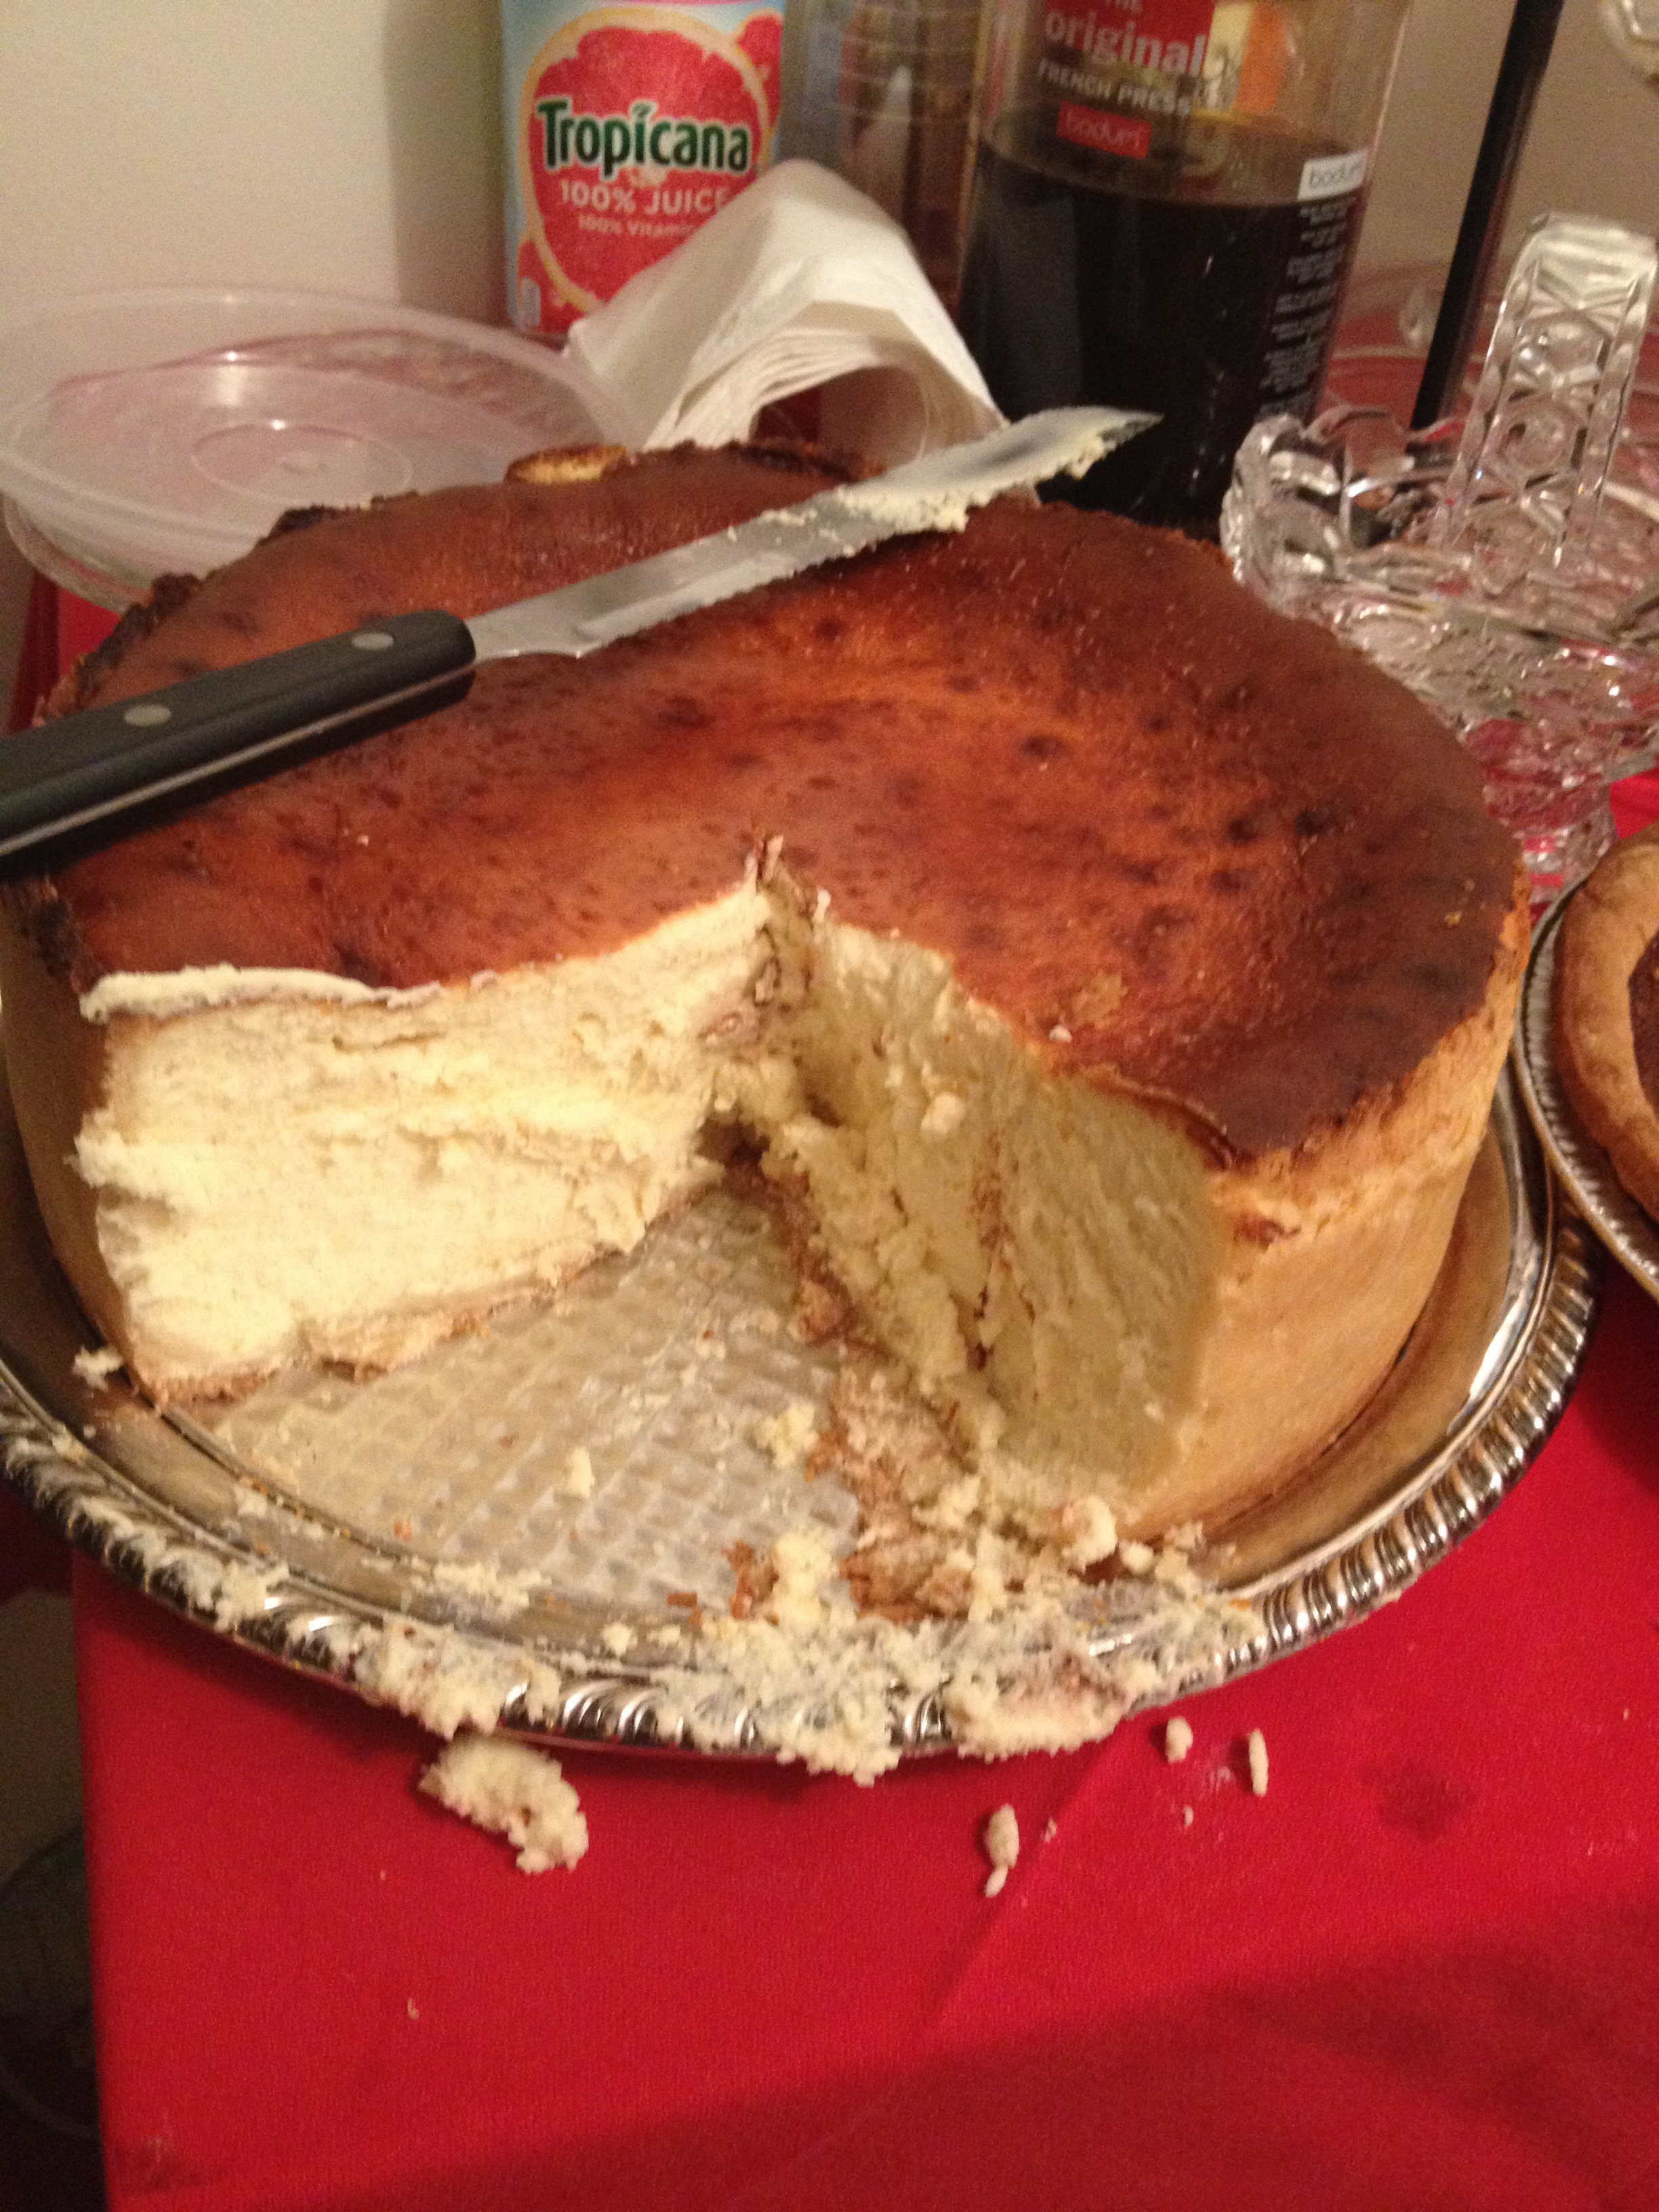
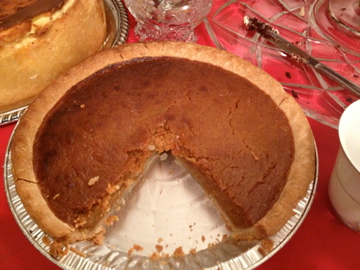
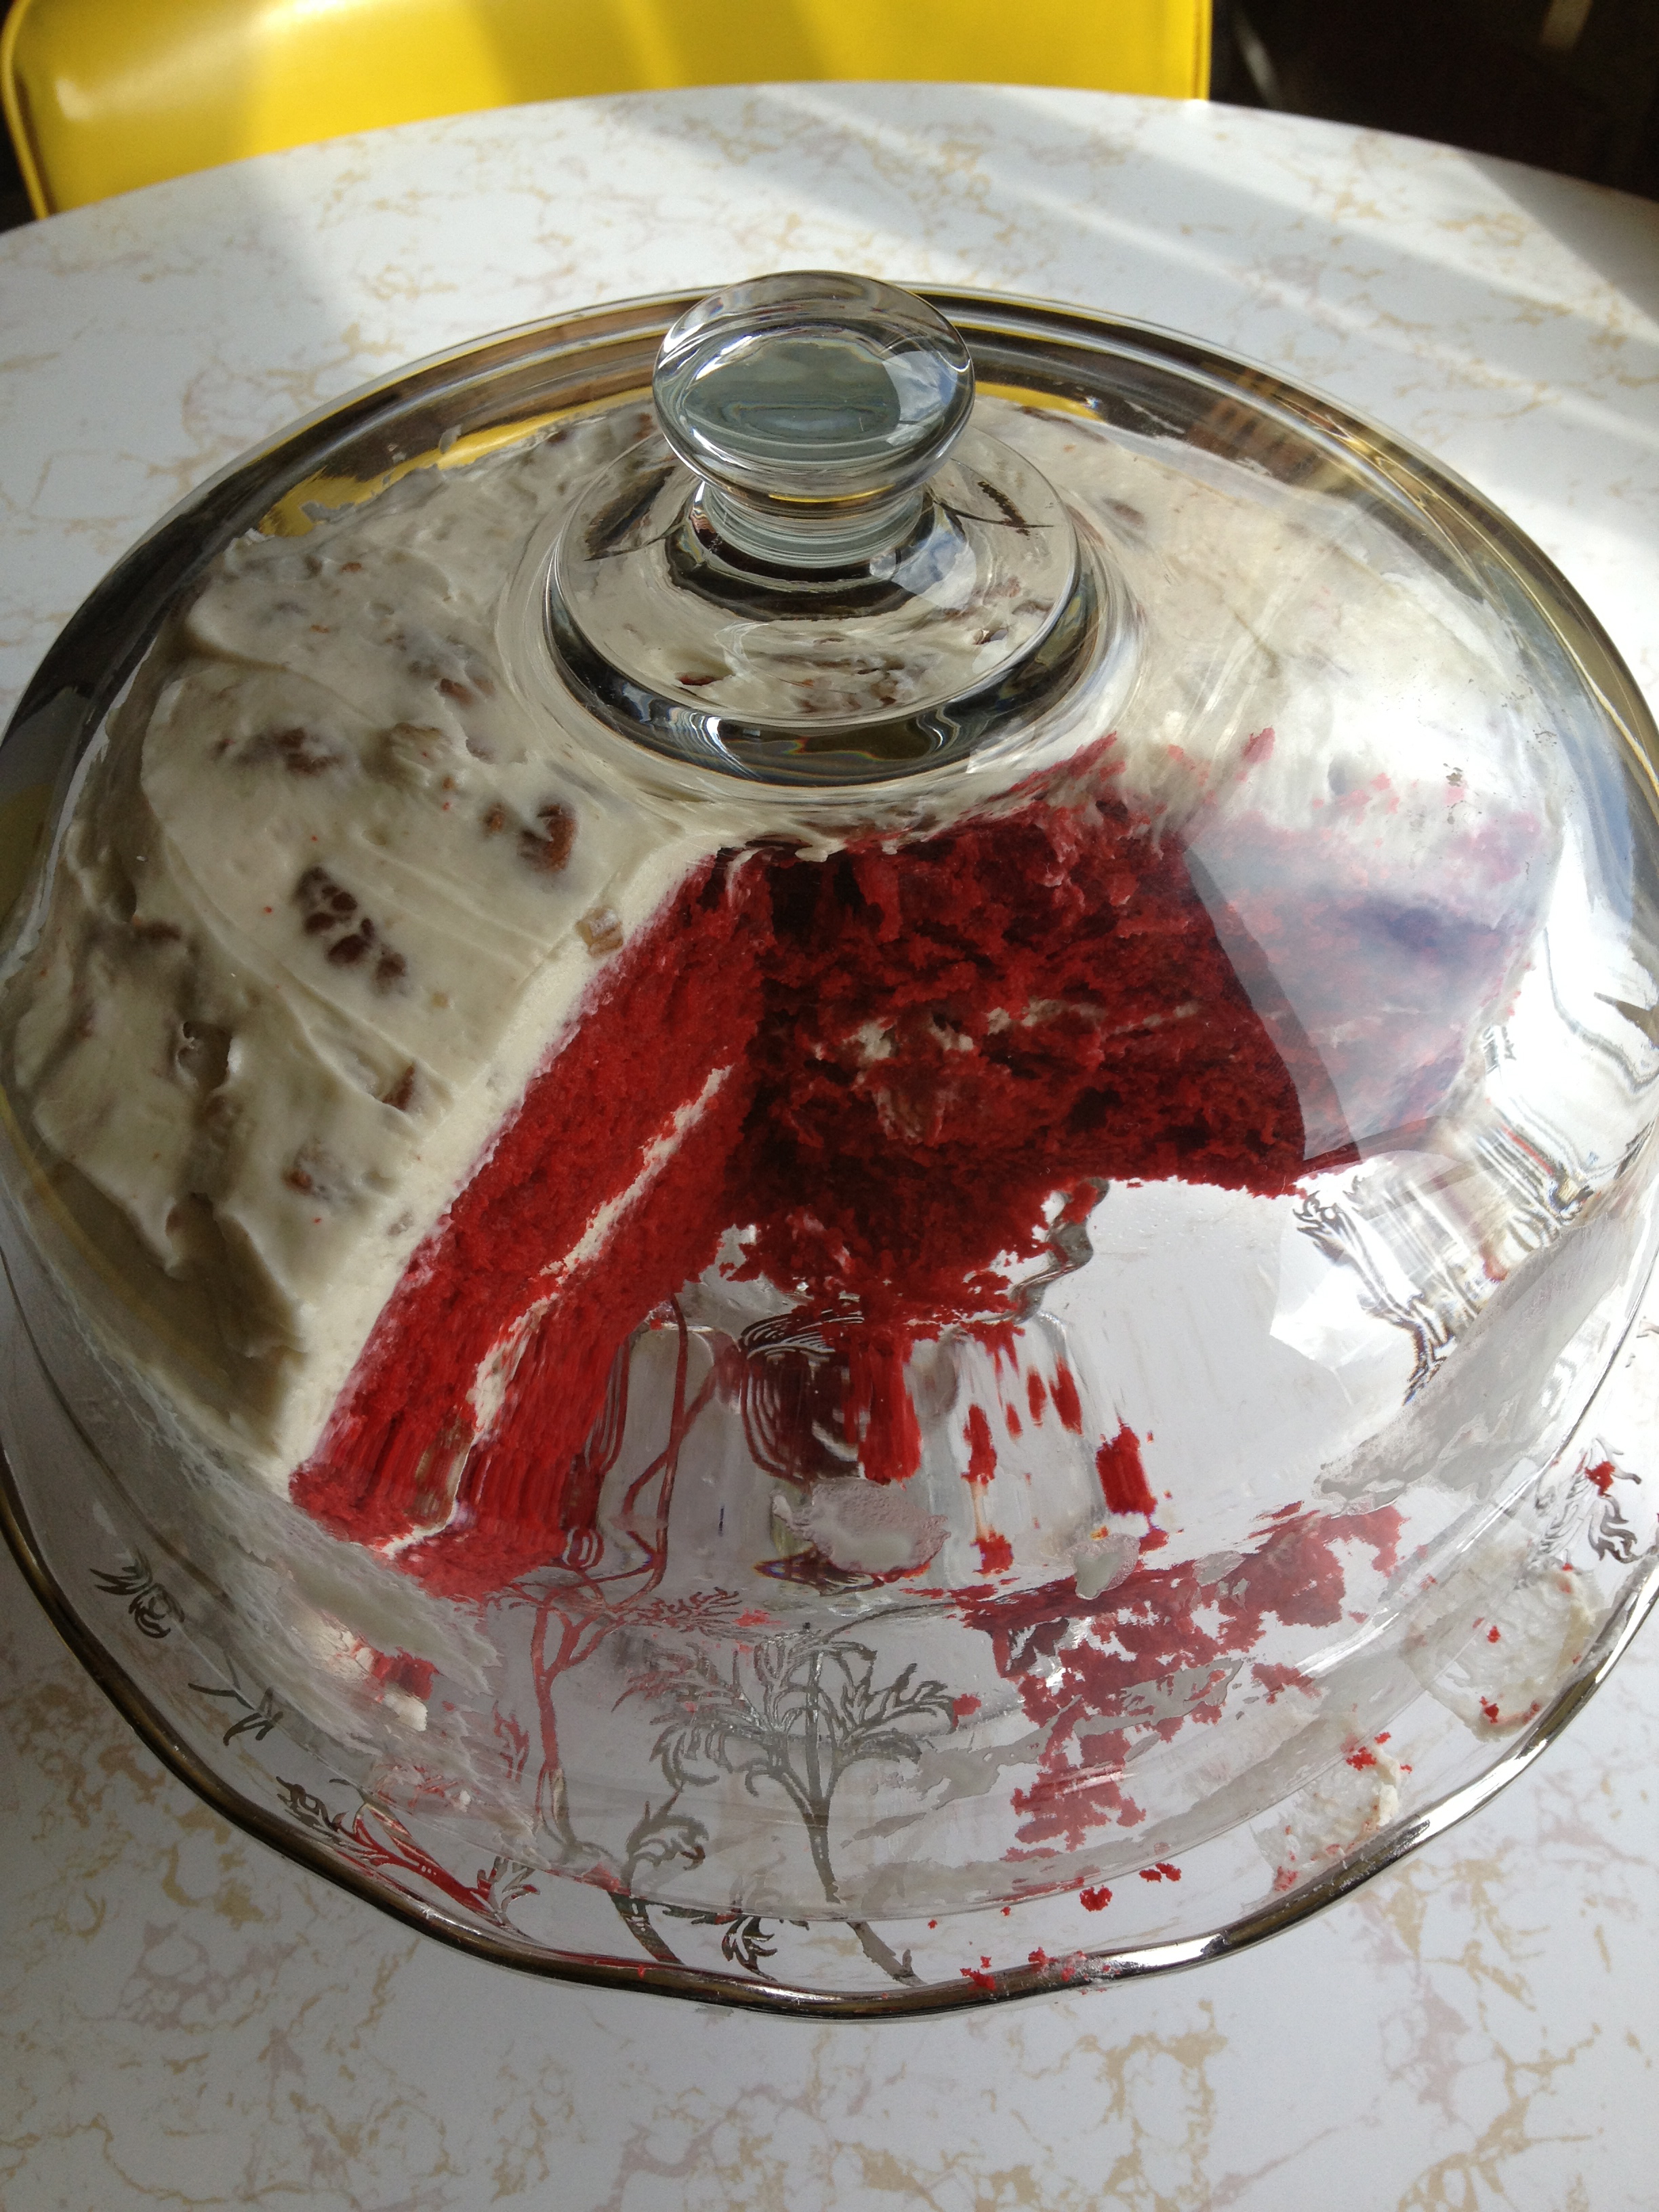
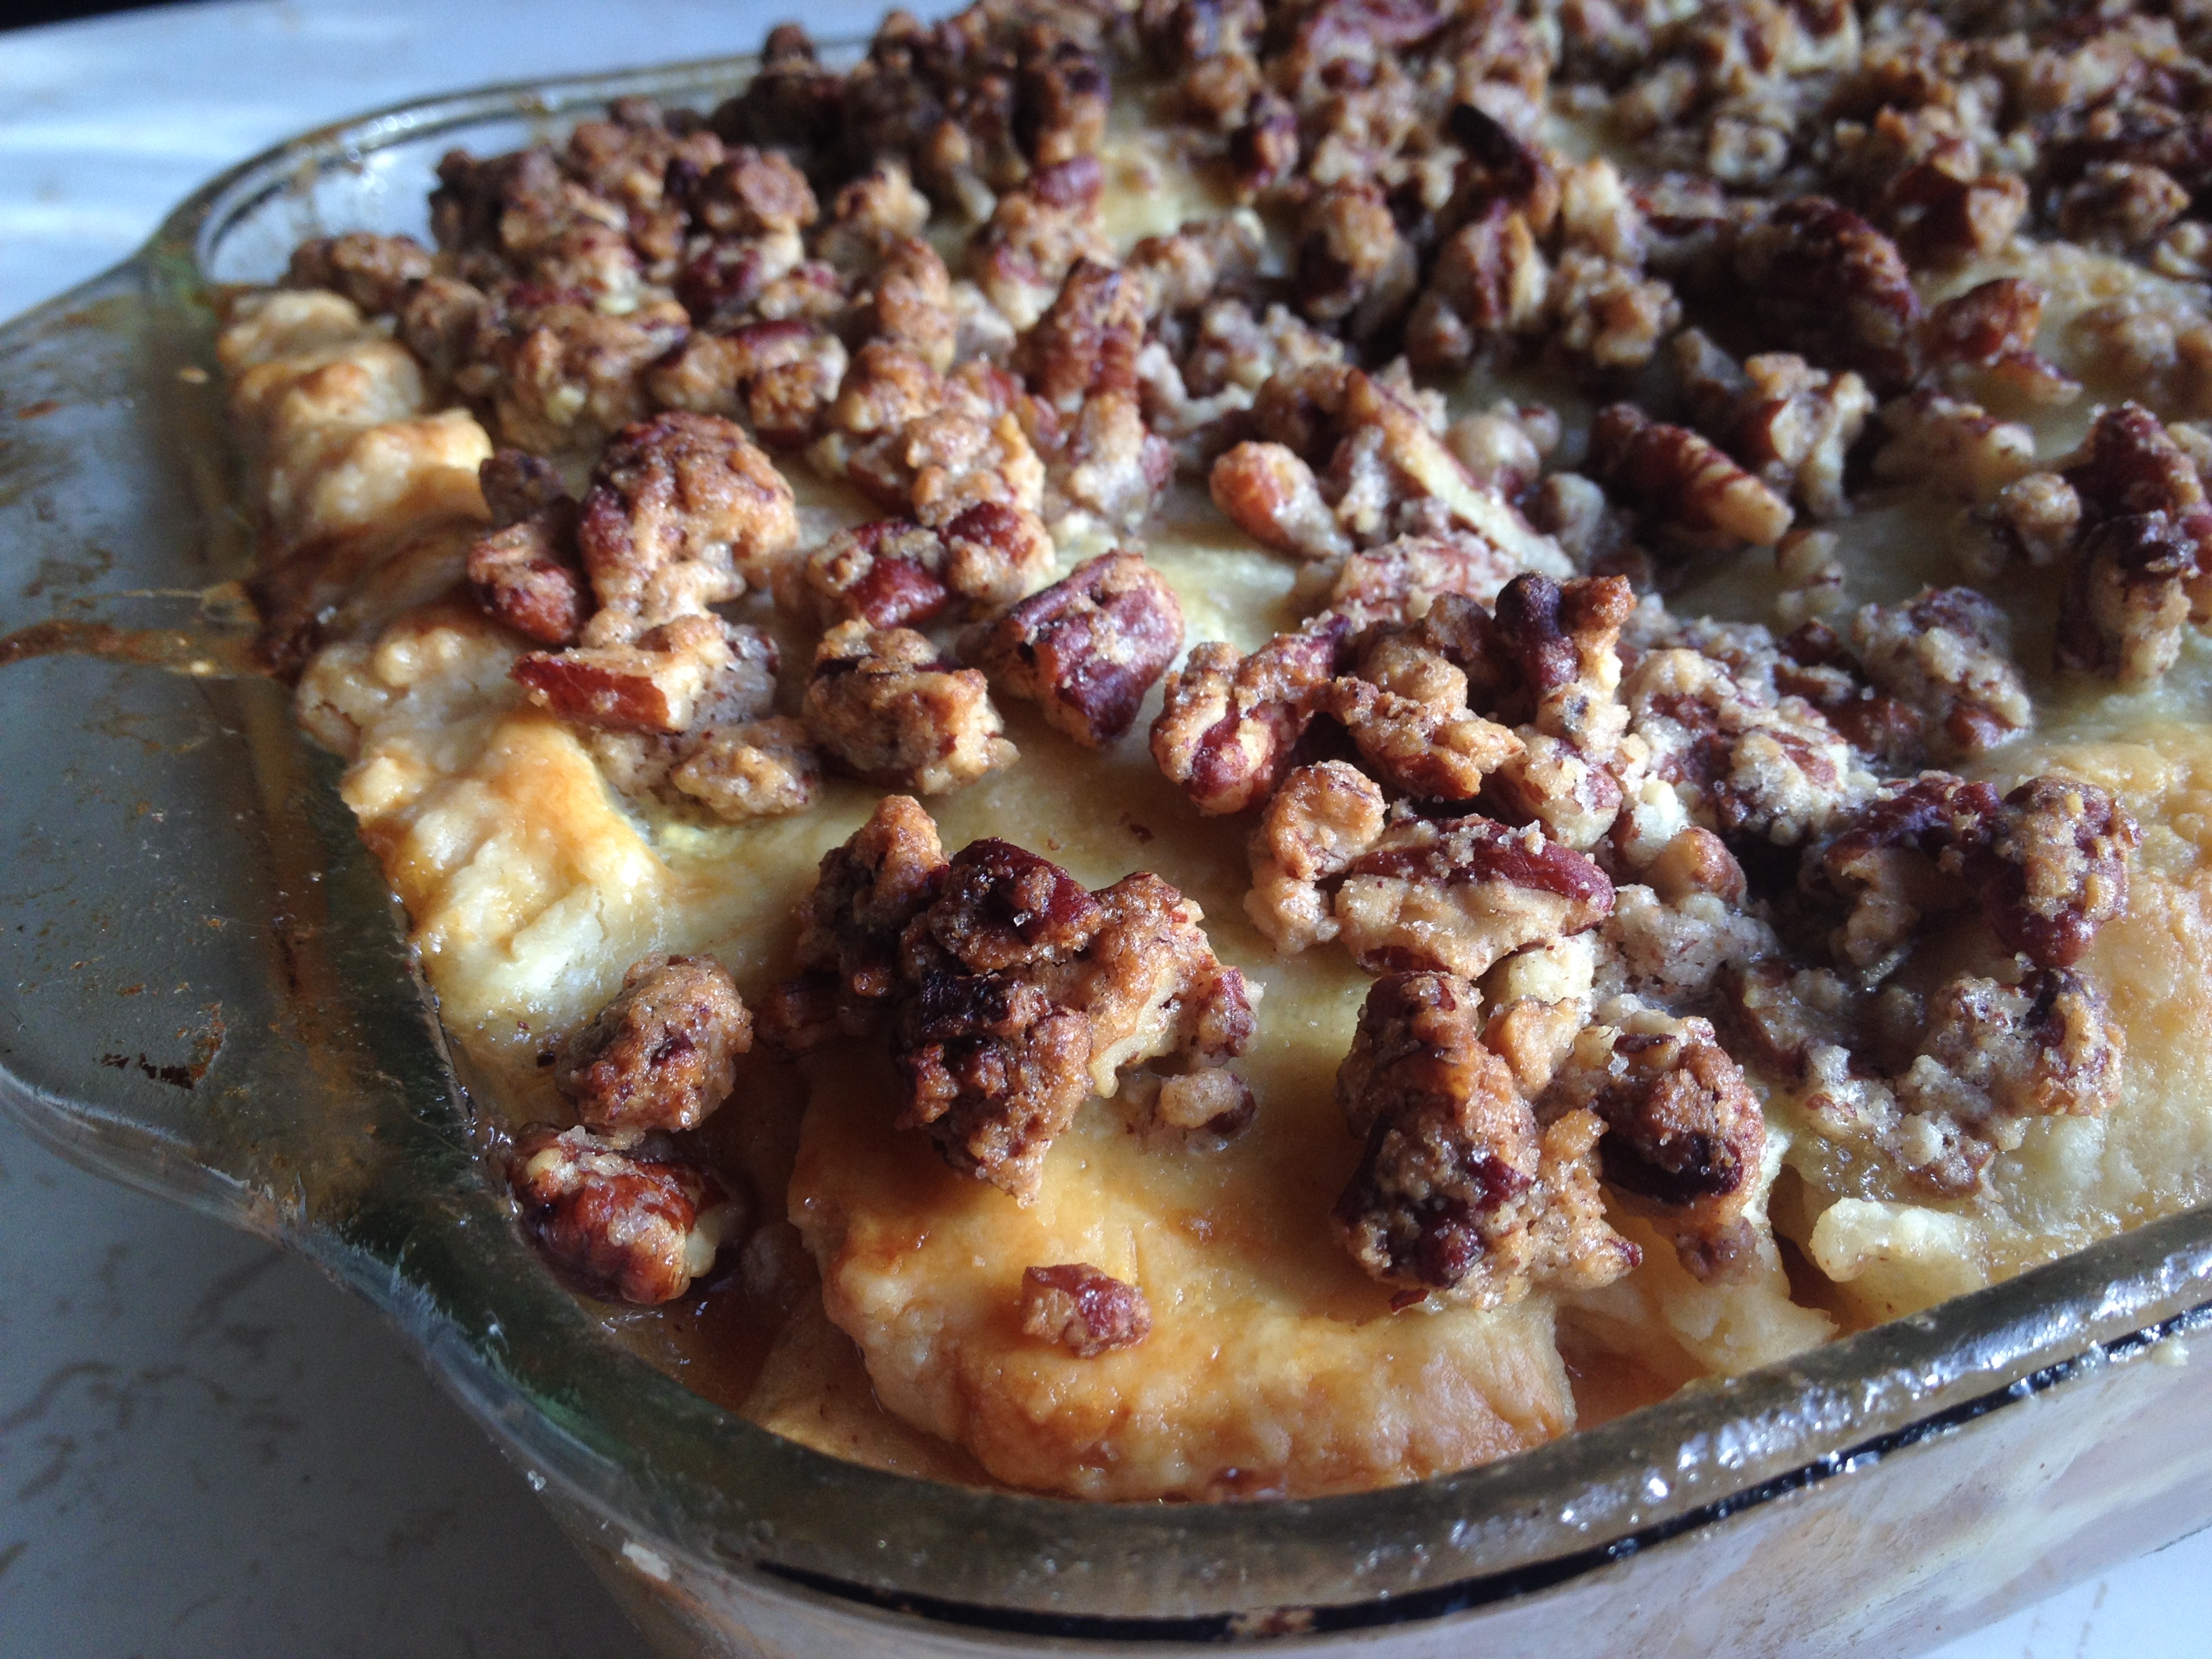
Oh yes…and I decided to whip up a little apple cobbler too!
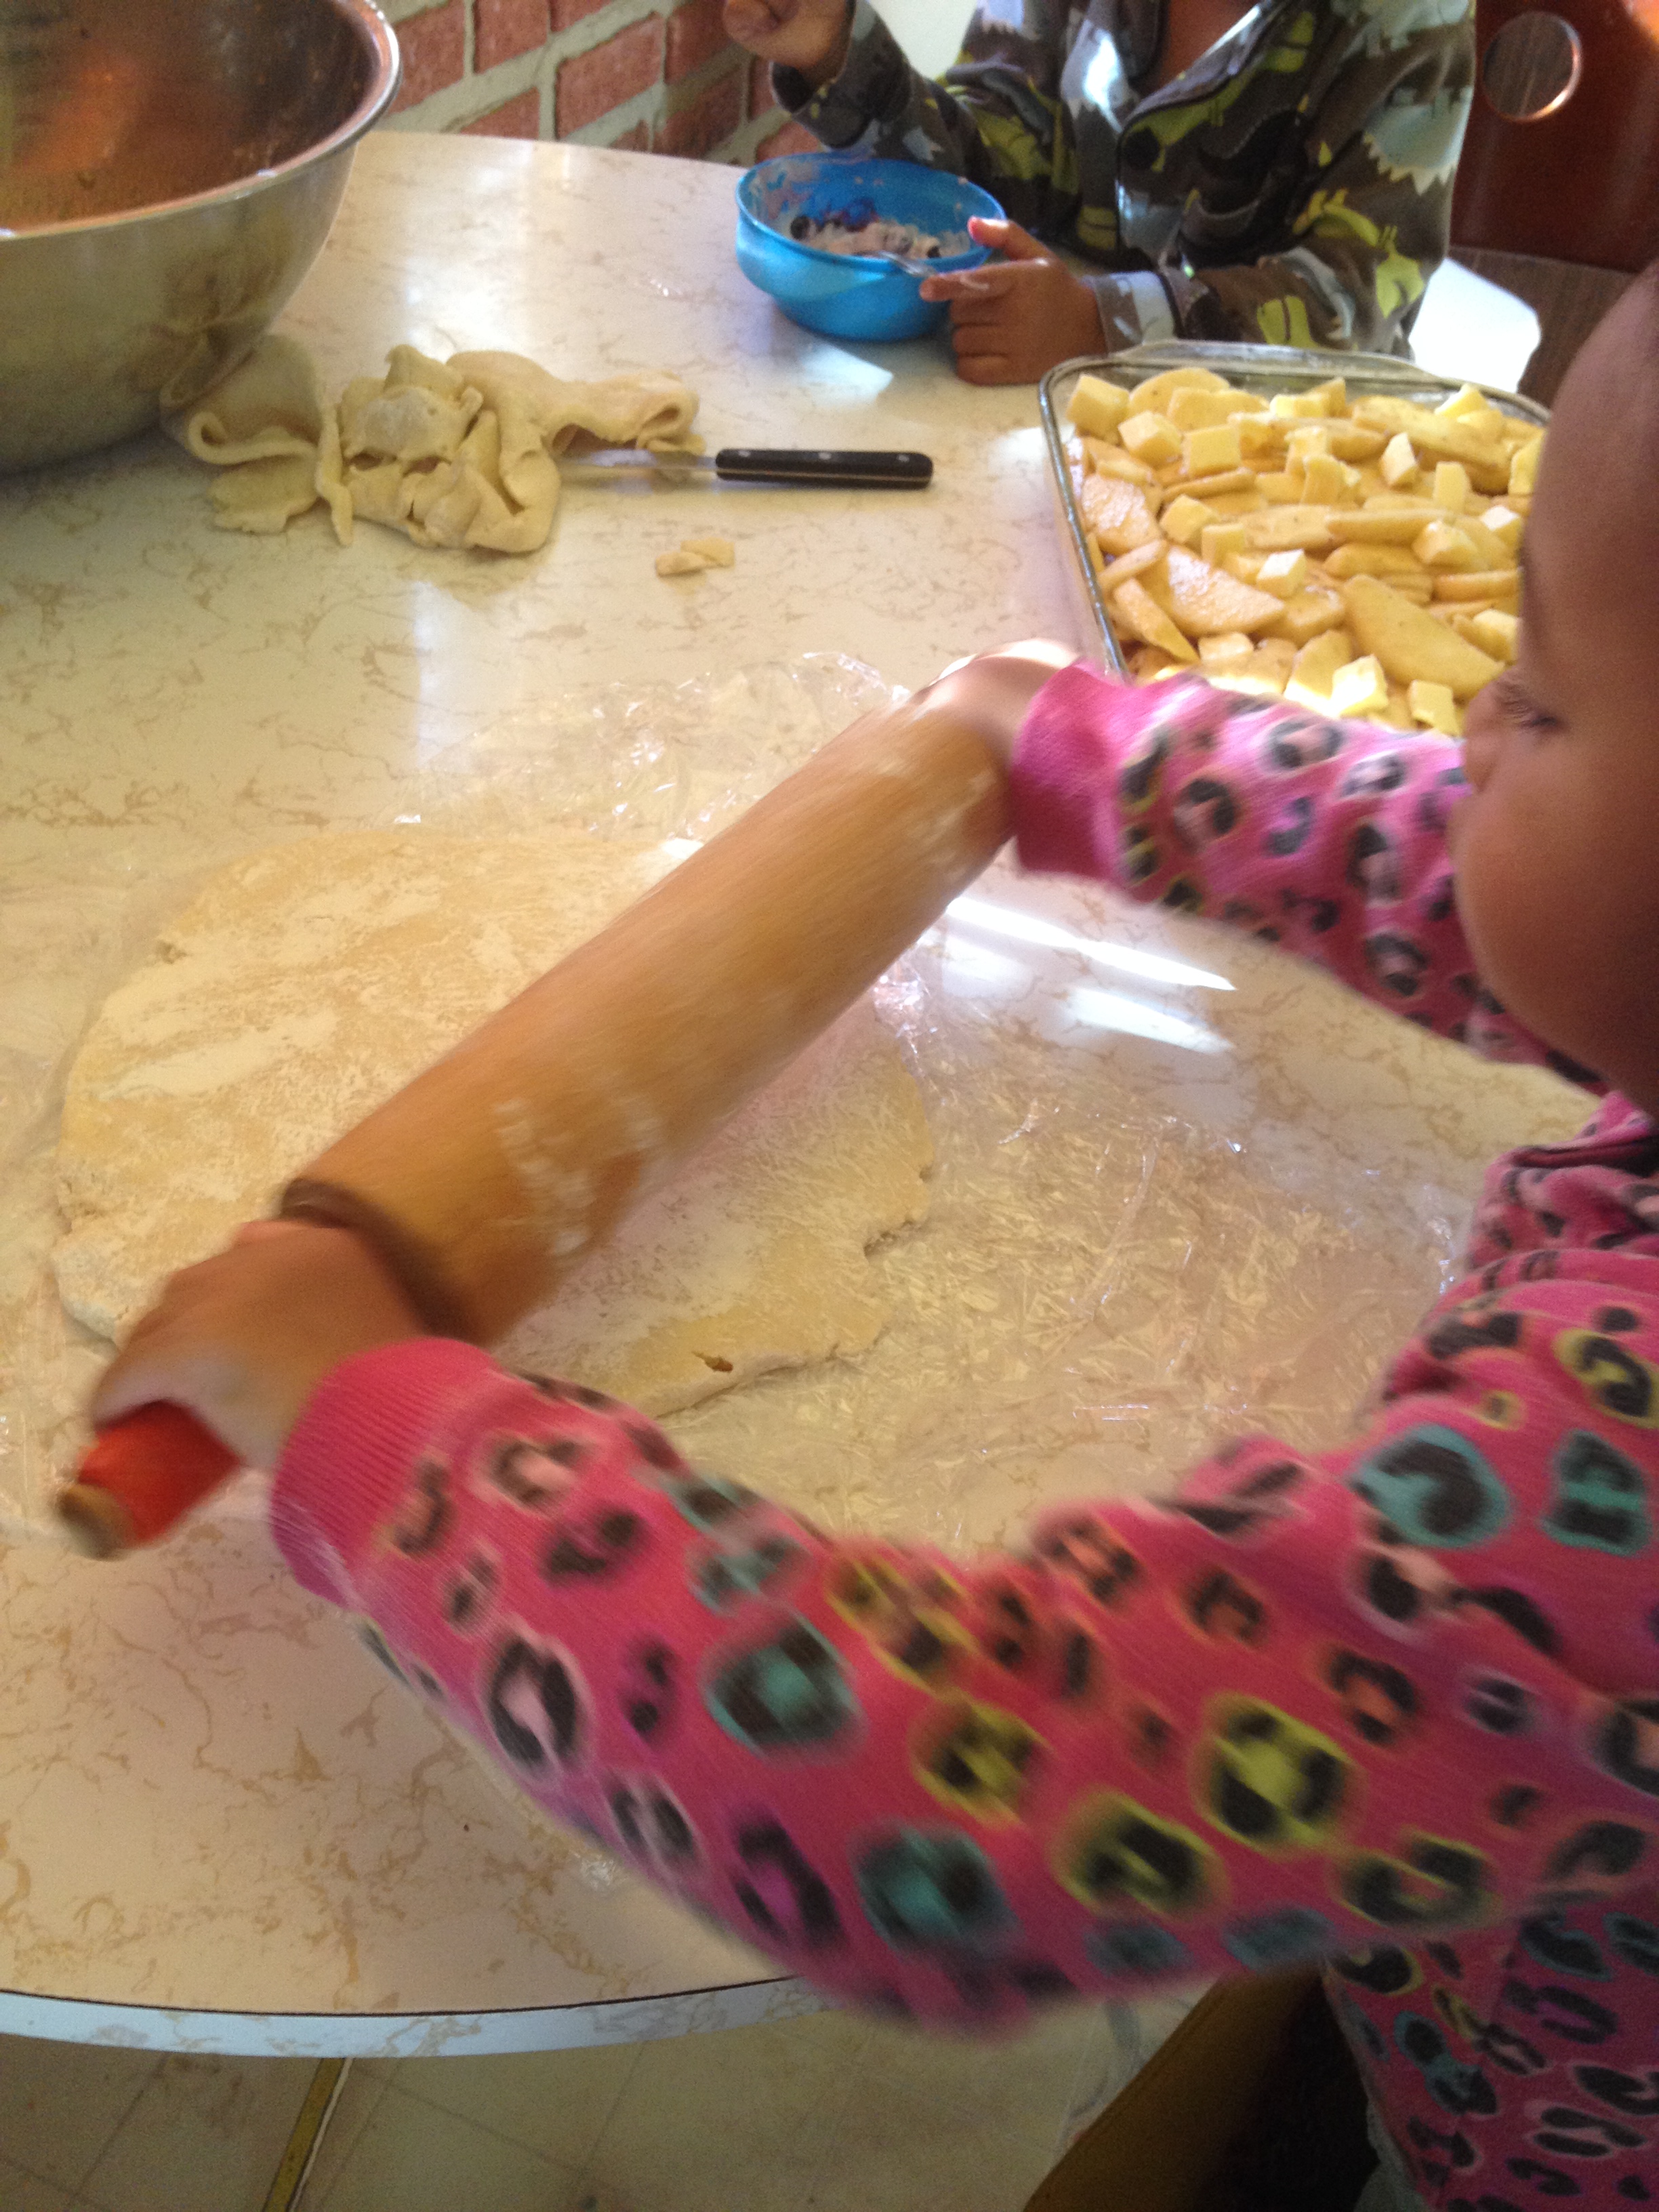
…with some help, of course!
Happy New Year indeed!