I have a new found love affair with greens these days. The same greens that my mother used to make us eat before we could get up from the table. The same greens that grace almost any Southern holiday feast. The same greens that are in everybody’s green juice, raw diet, cleanse, etc. The health benefits are undeniable. But lately I’ve been stocking up on any fresh greens I can get my hands on. Whether it’s kale, collards, swiss chard, rape, turnips, mustards, and so on, I have found them to be extremely convenient to add to any meal: breakfast, lunch, snack or dinner! Serve as a side with eggs for breakfast. They go great inside of one of my kids’ favorite lunches: oodles of noodles. And they can serve as a meal or as a side with dinner. They’re hearty, filling and tasty. I try to cook a big huge pot once a week and just use as needed. Voila…insta-meal! Because, truth be told, I’m not a real “health freak” type of girl…at all! I like my steaks, burgers, pastries, cheese and the like. Greens make it so I don’t feel guilty about a little indulgence from time to time. And after two C-sections and an unpredictable eating schedule, I could use a bit of digestive motivation anyways..heeehee. Soooo, greens it is! I truly love them any way I can get them, but here is my go-to method for prepping and cooking them to go with anything. Happy Eating!
Step One: Choose Wisely
When it comes to greens, just like most any other produce, the fresher, crisper, firmer, brighter the greens, the better.
I try to also cook them the the same day I buy them. When I use a more tender green like kale or swiss chard I usually sauté them in a pan over medium high heat with olive oil, loads of garlic and salt, pepper and garlic chili paste to taste.
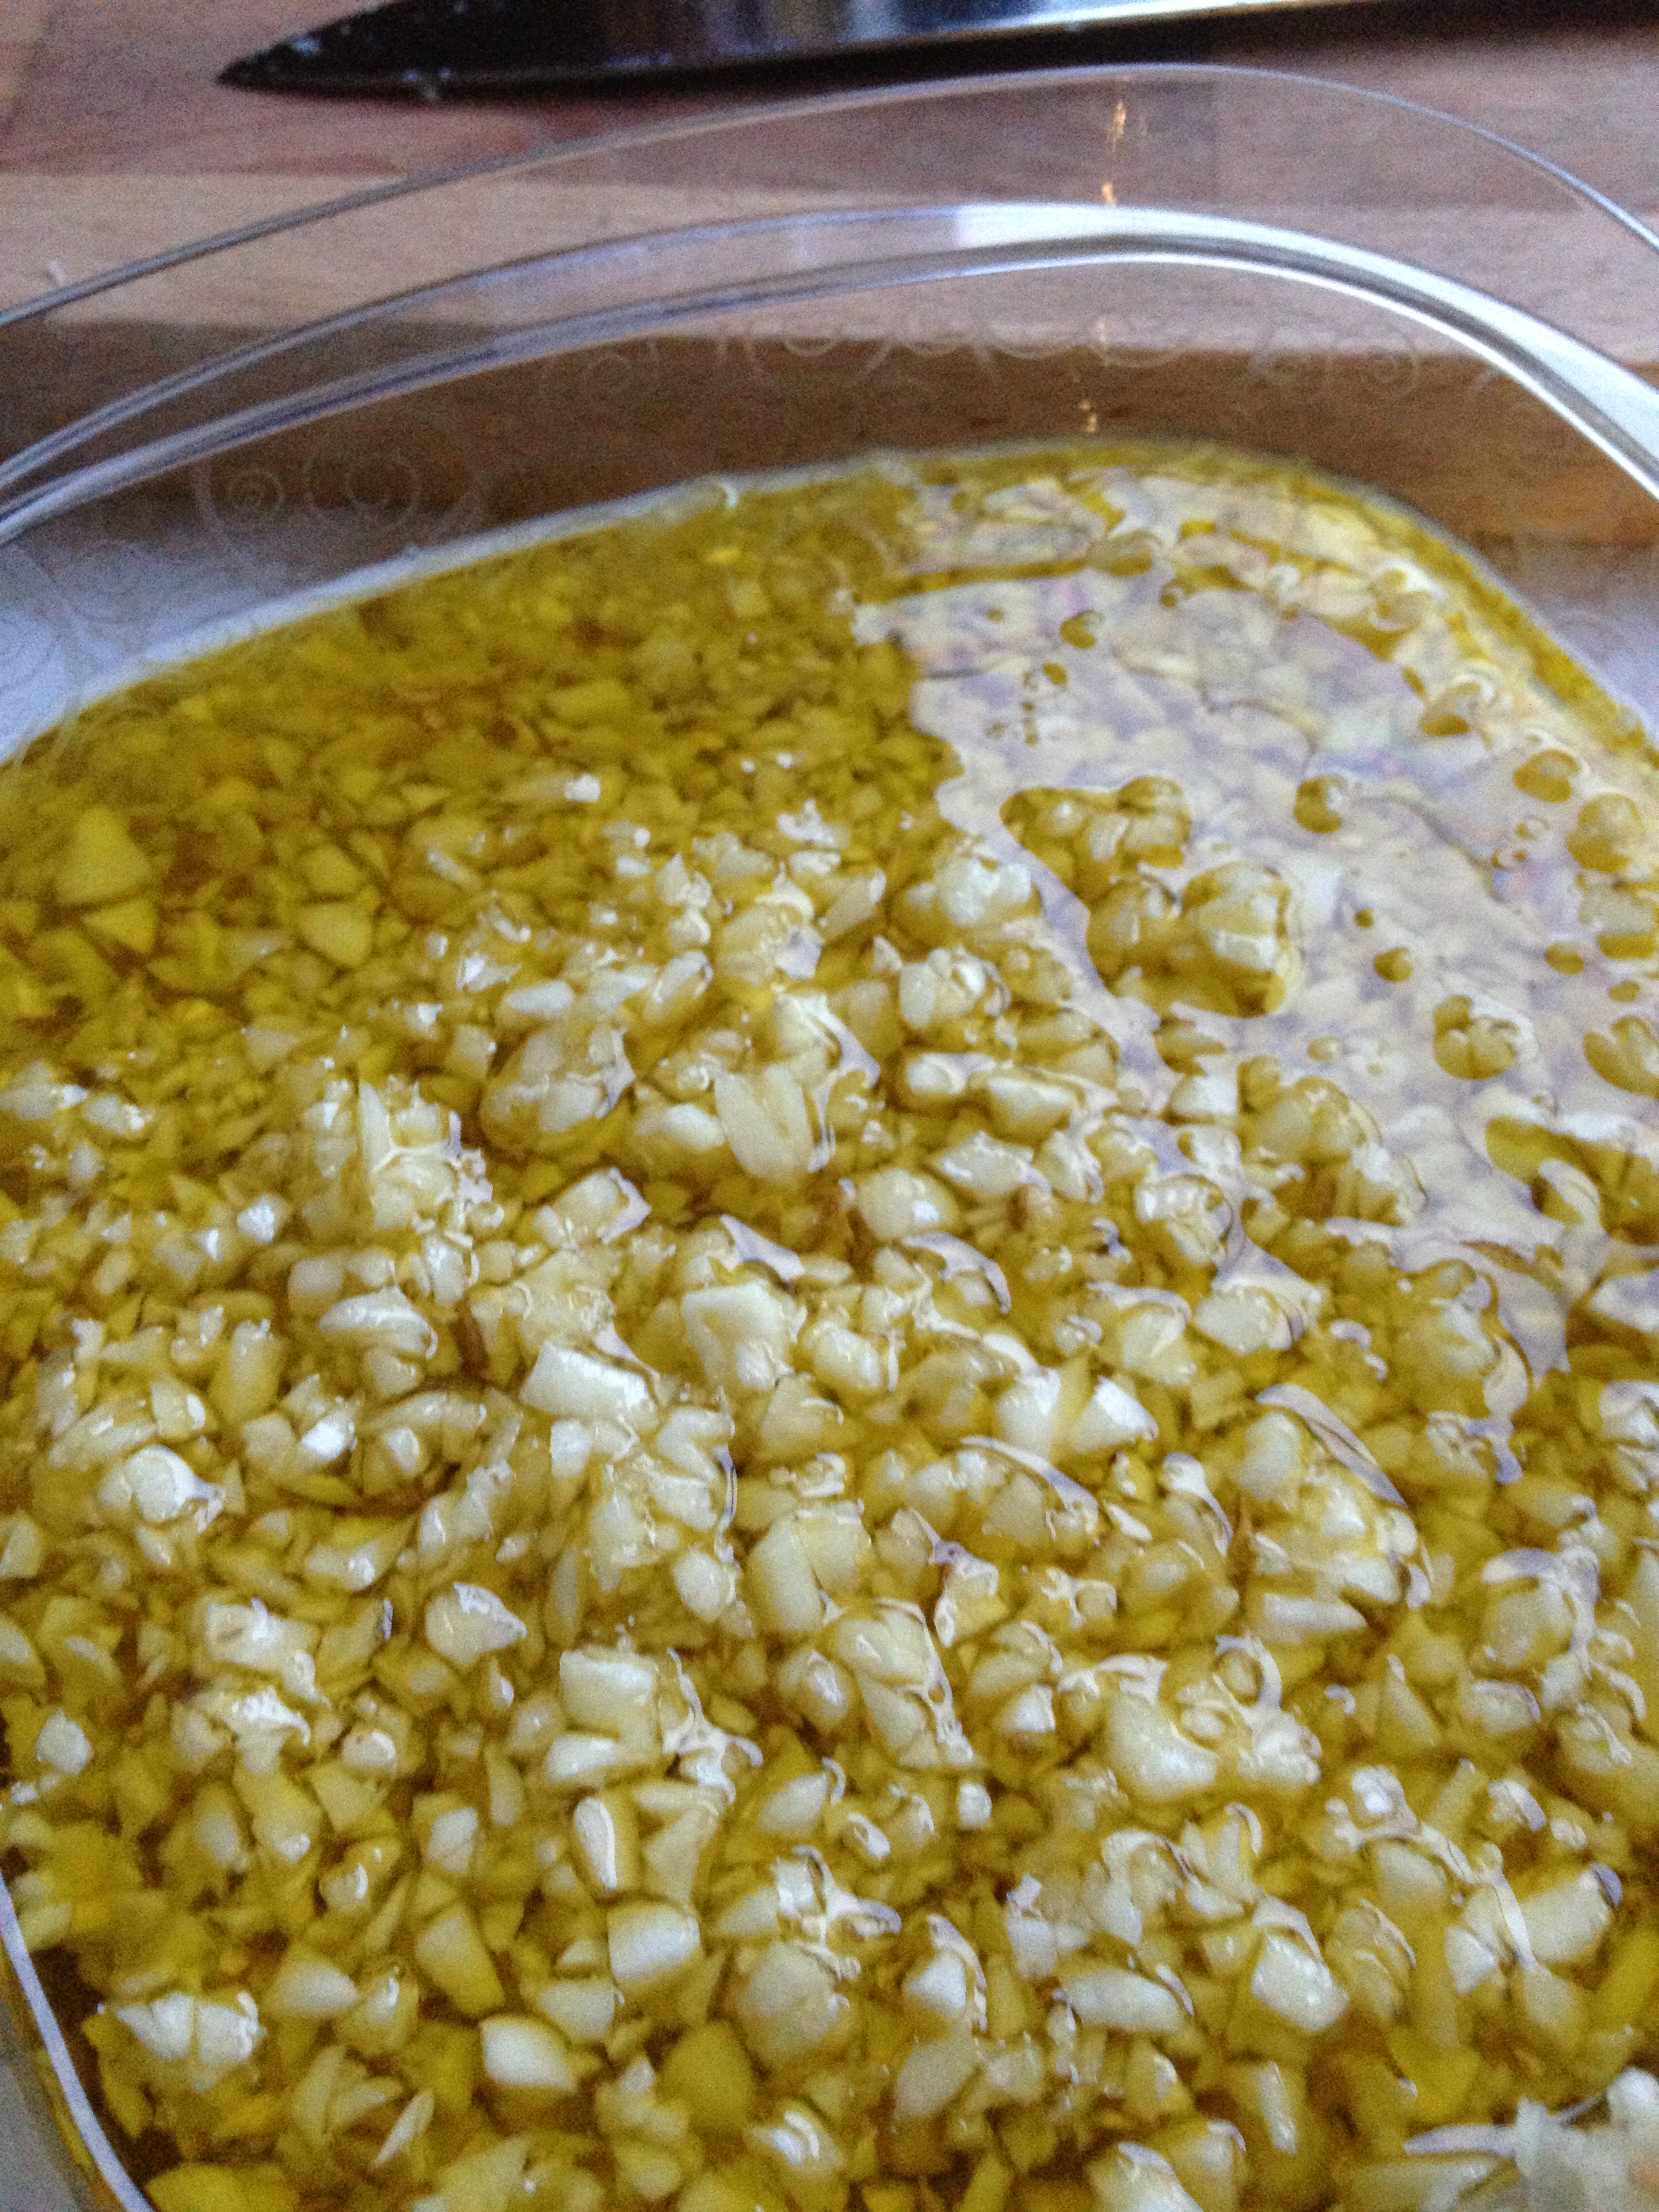
Chopped garlic in olive oil. Refrigerator staple.
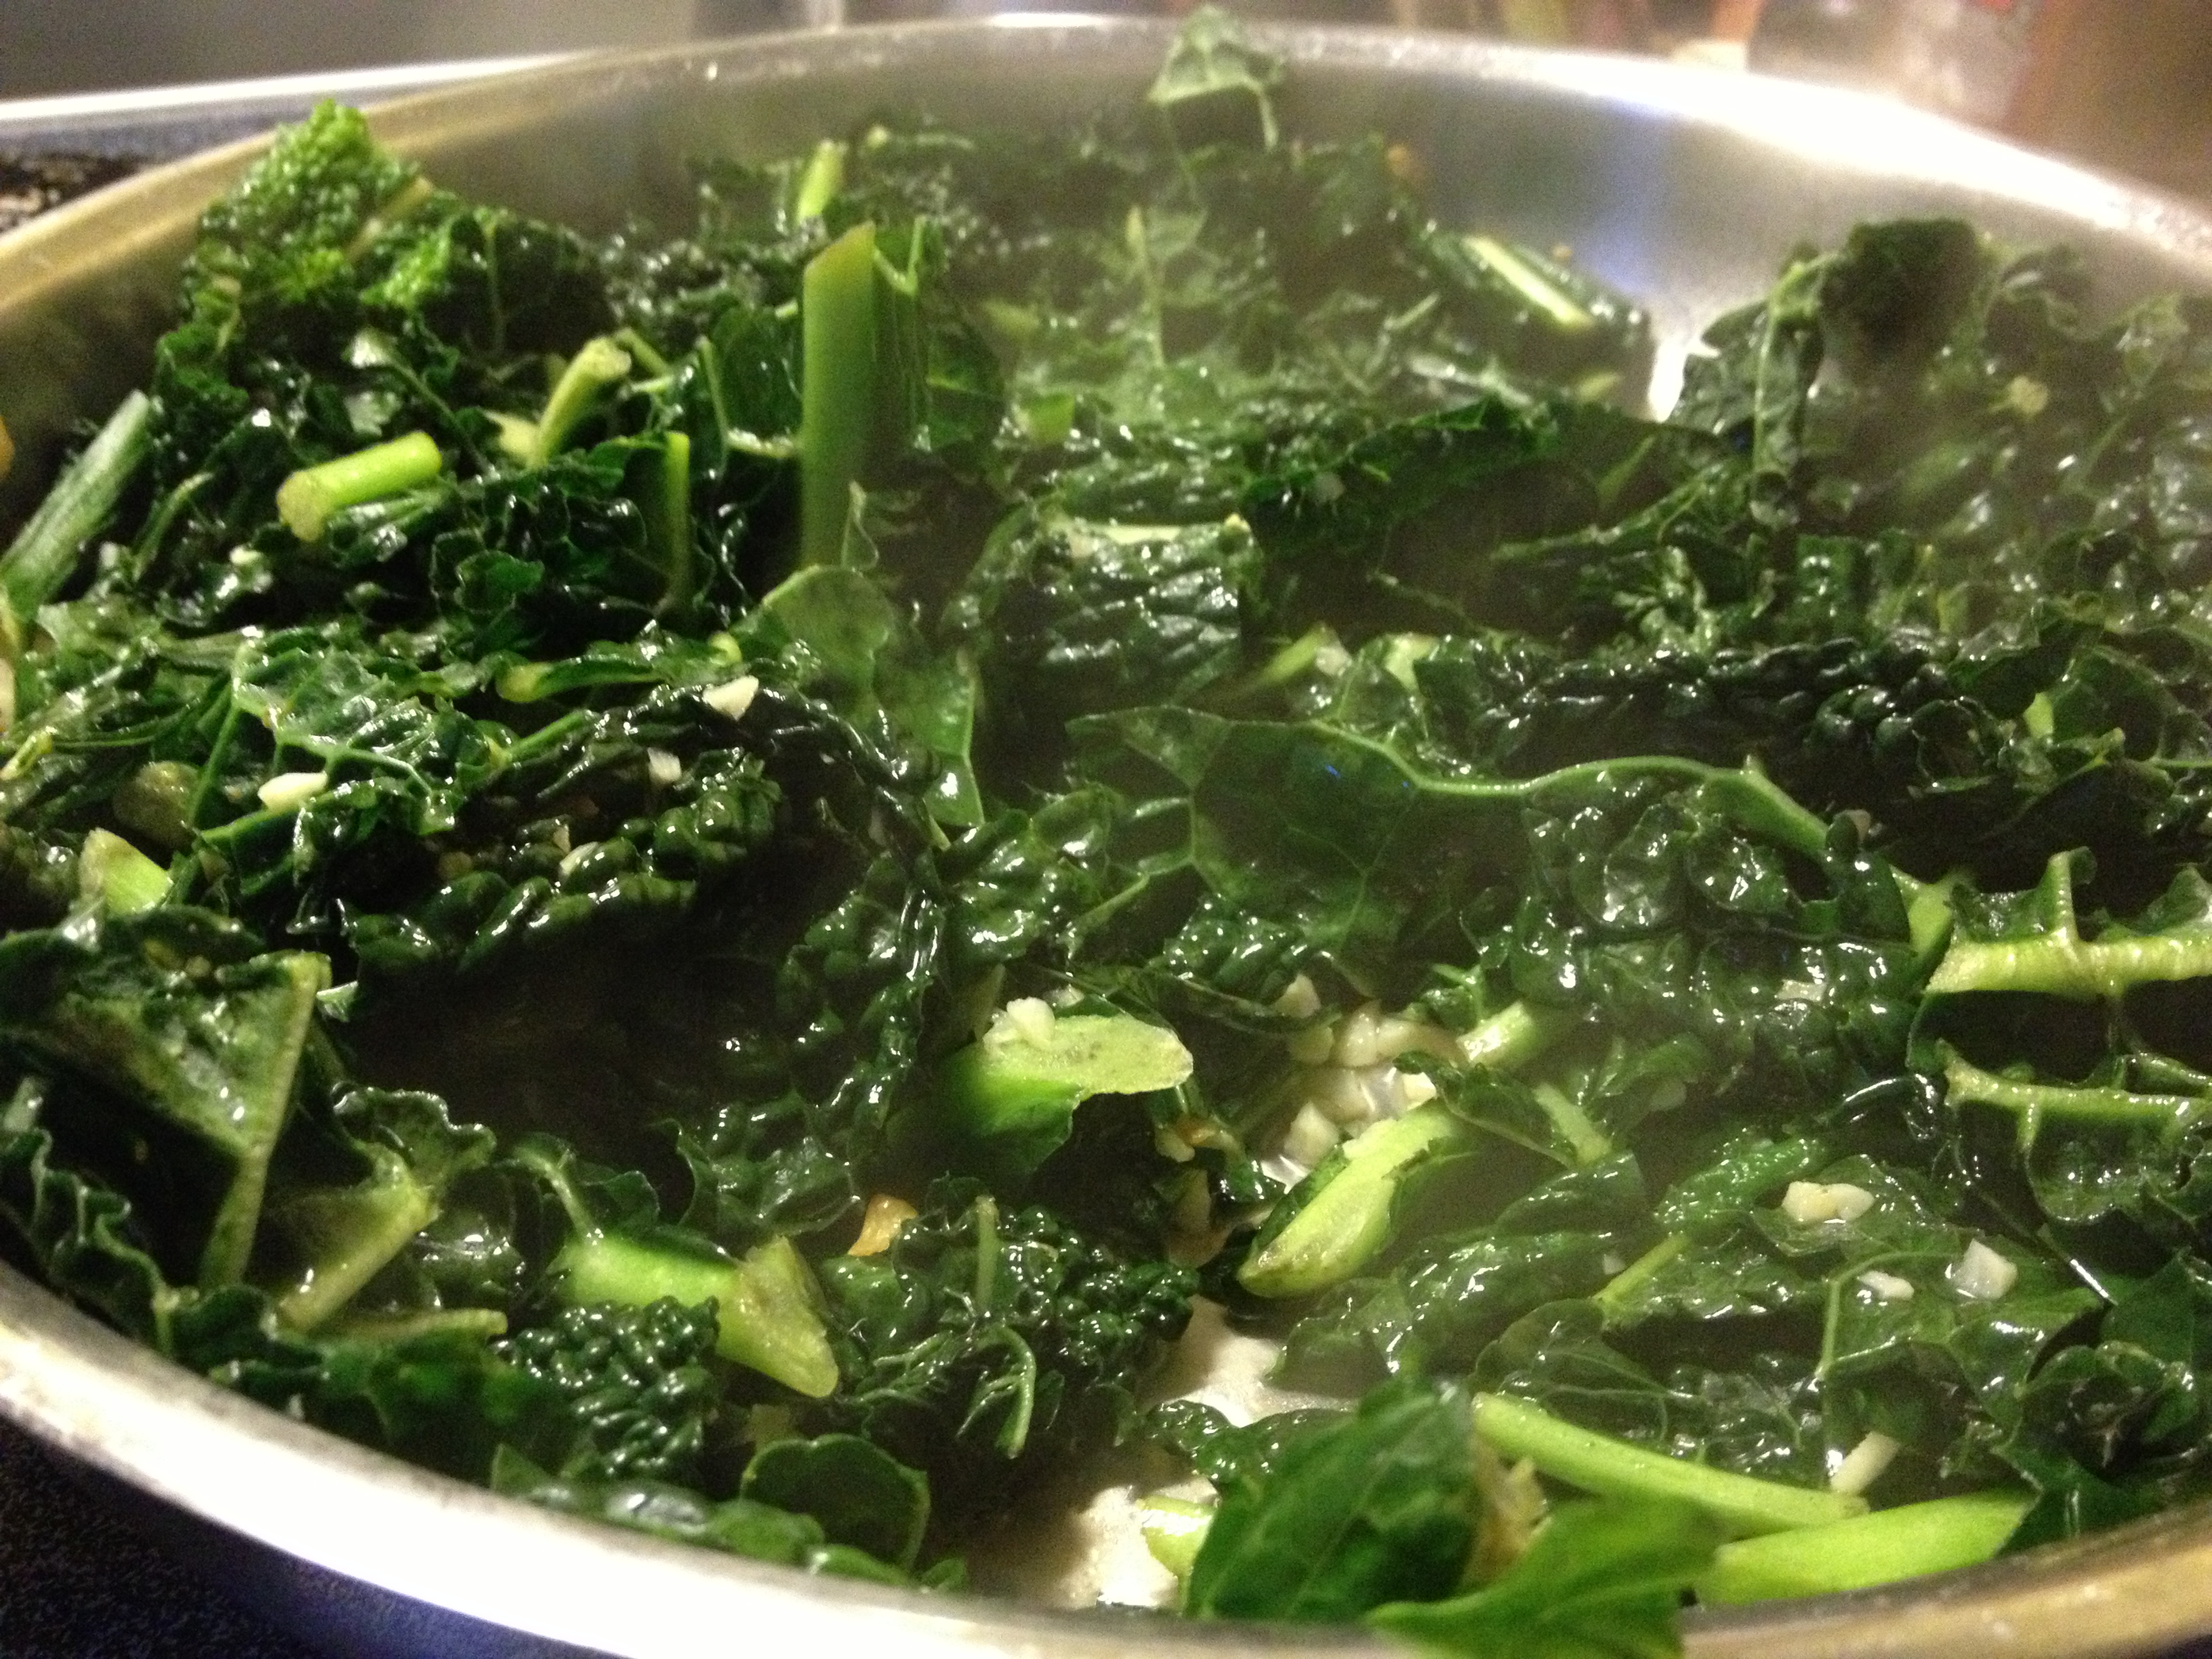
Kale
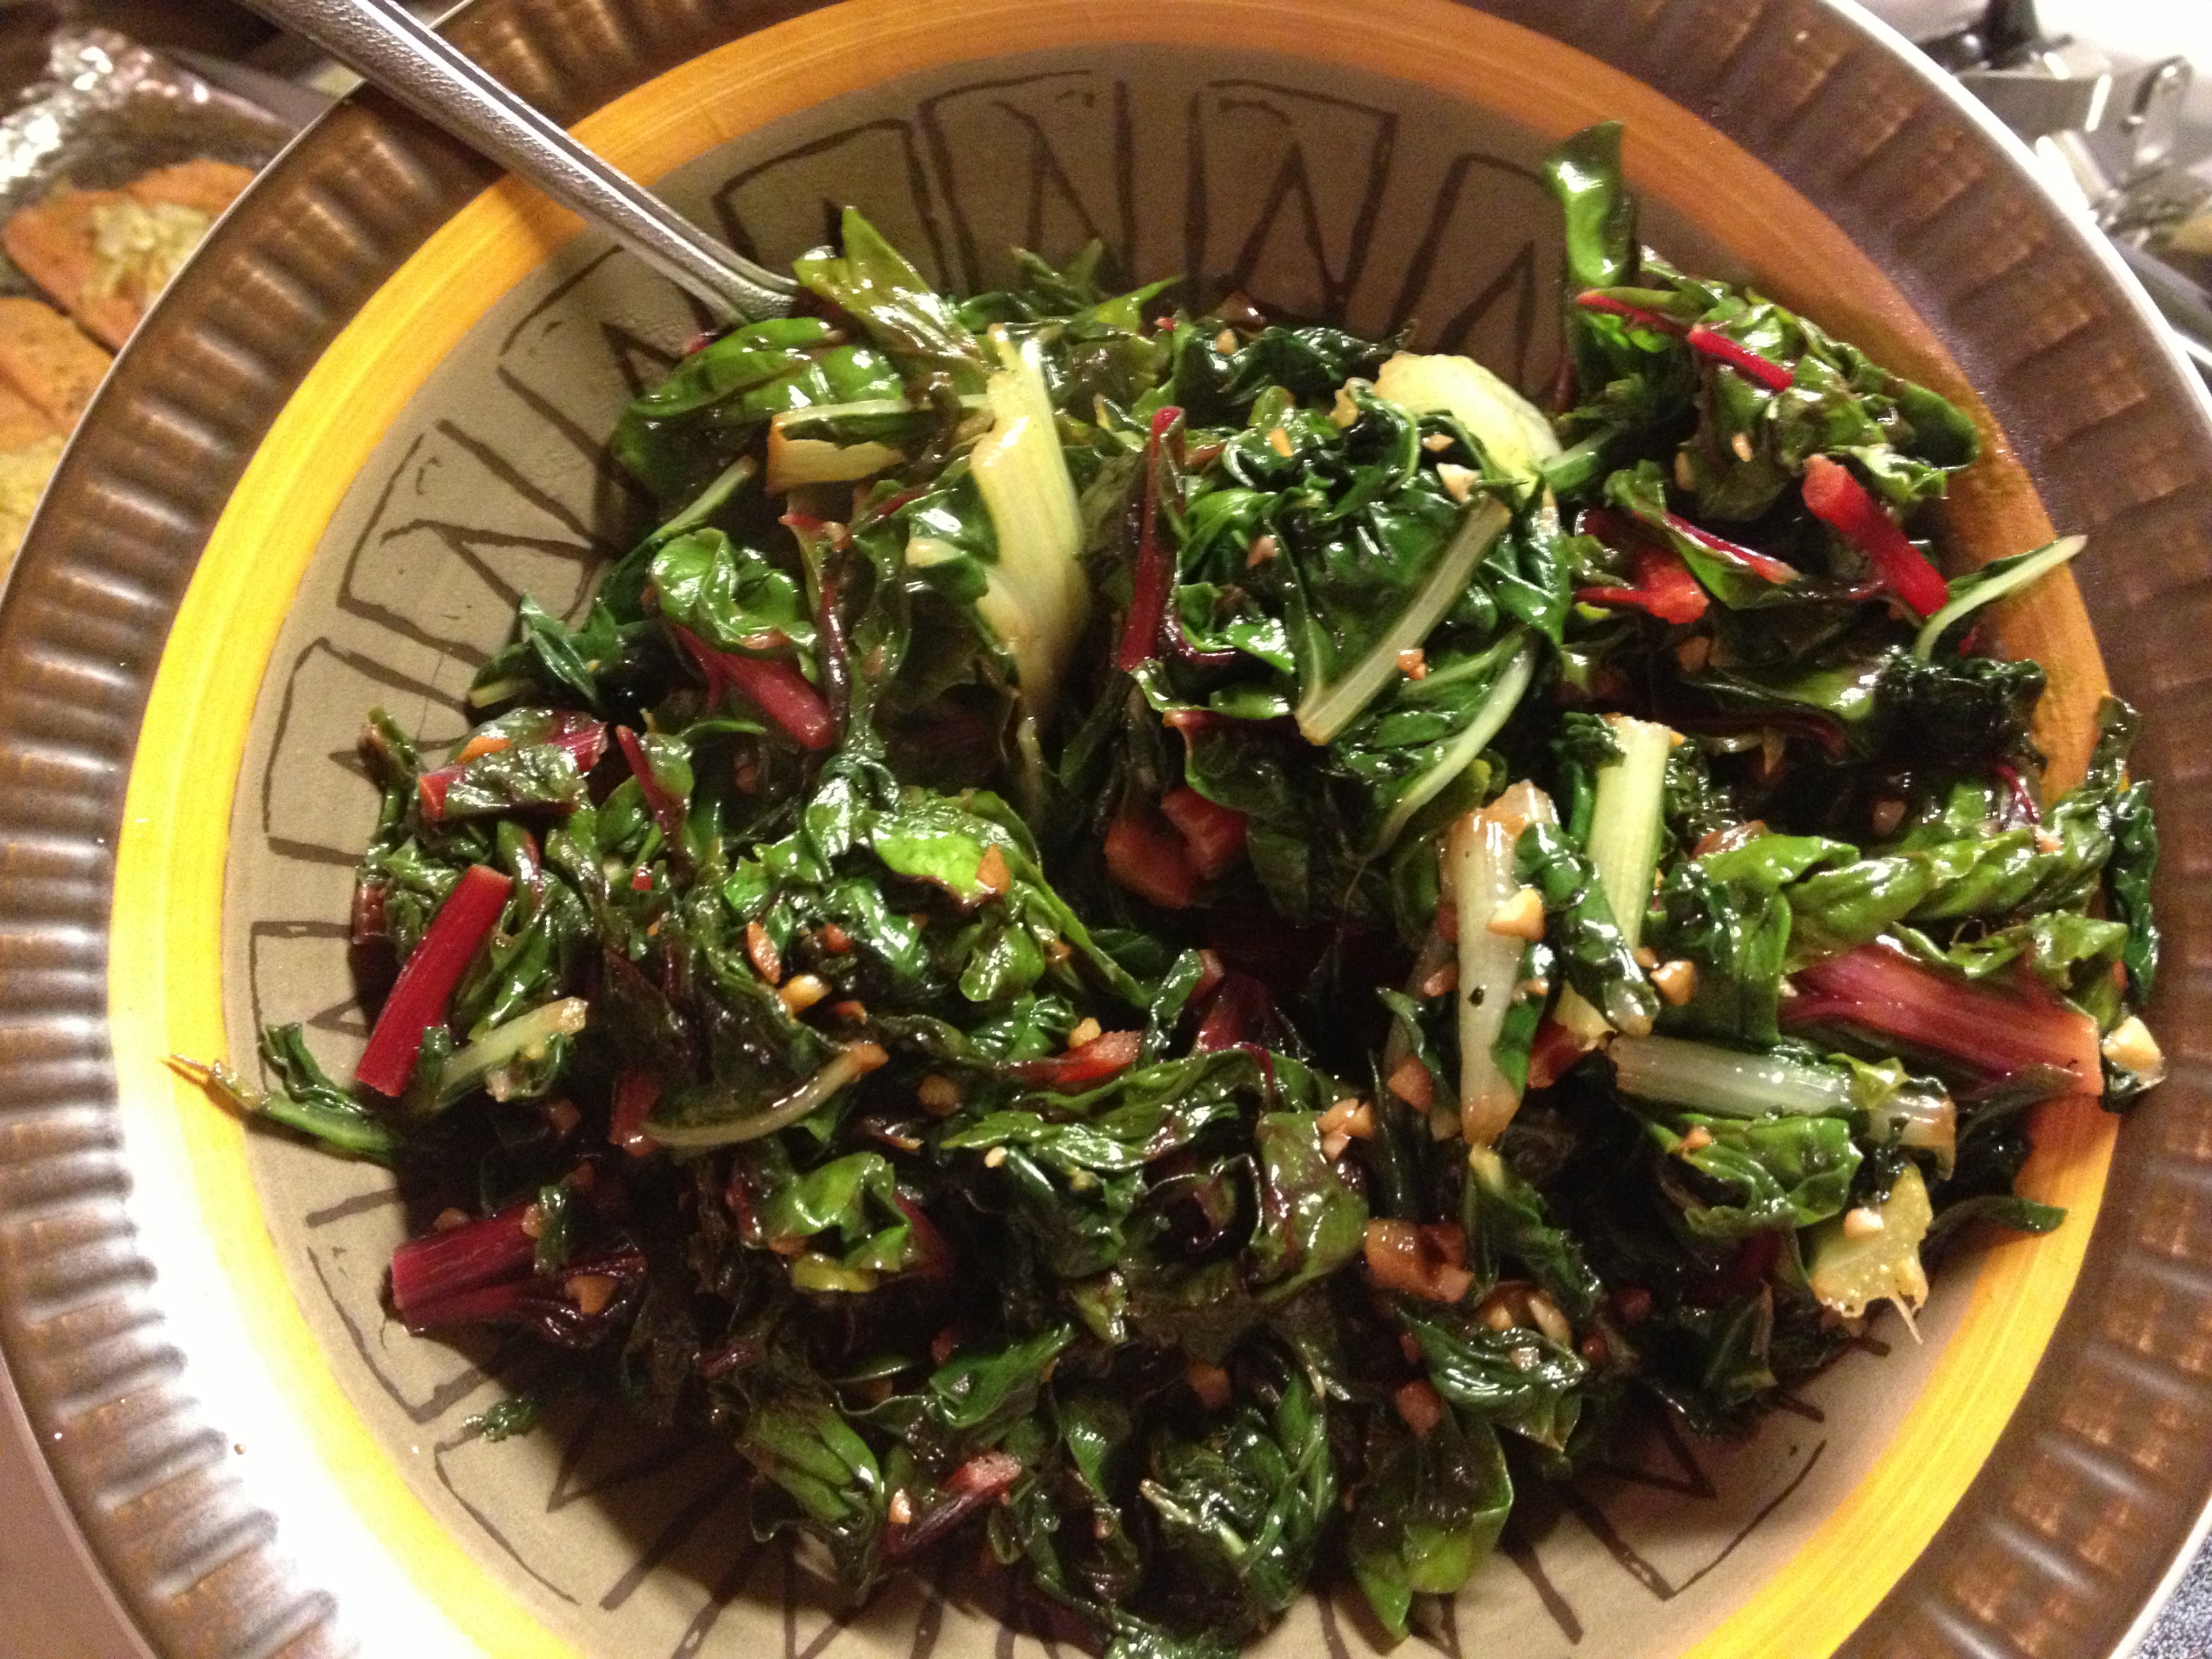
Rainbow Swiss Chard
Tougher greens like collards and turnips call for a longer cooking method to get them tender like I like. For this I’ll usually get a couple smoked ham hocks and cook them in plain boiling water for 3-4 hours or until the hocks start coming apart. I also add loads of garlic to the pot and seasoning to taste: Old Bay, Lawry’s, garlic chili paste and a touch of brown sugar. I boil the liquid down until there’s only about an inch or two left.
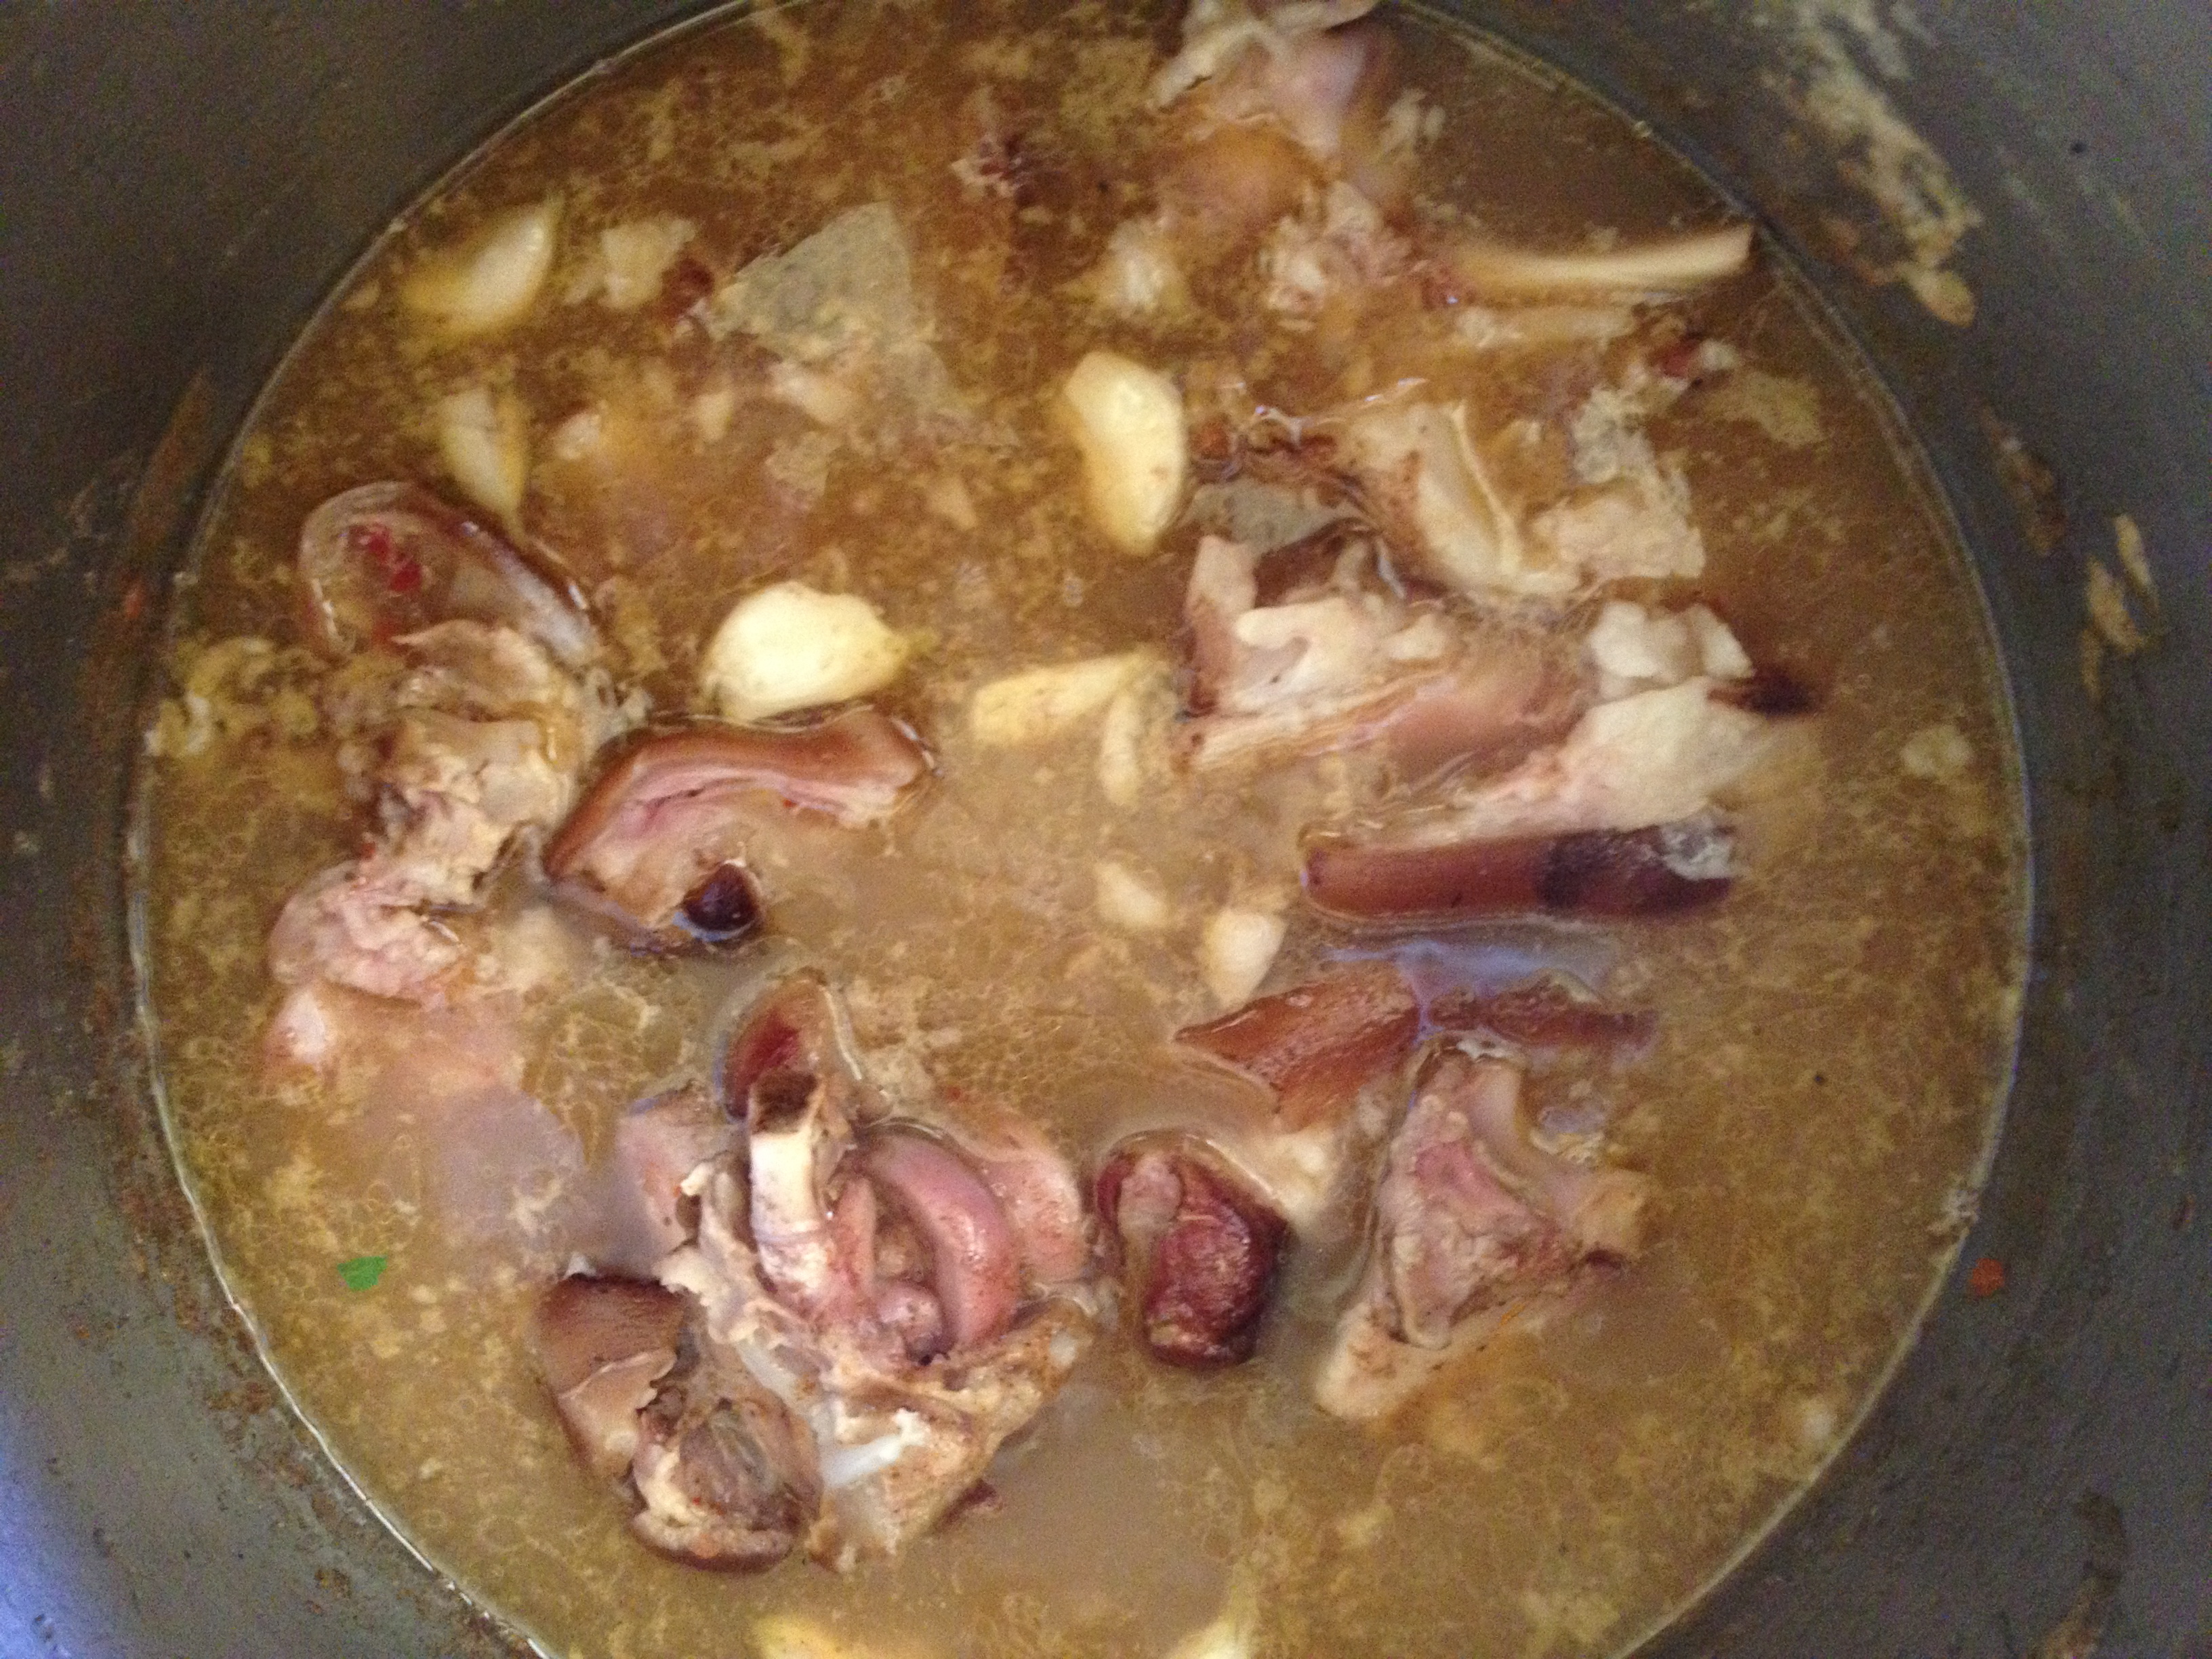
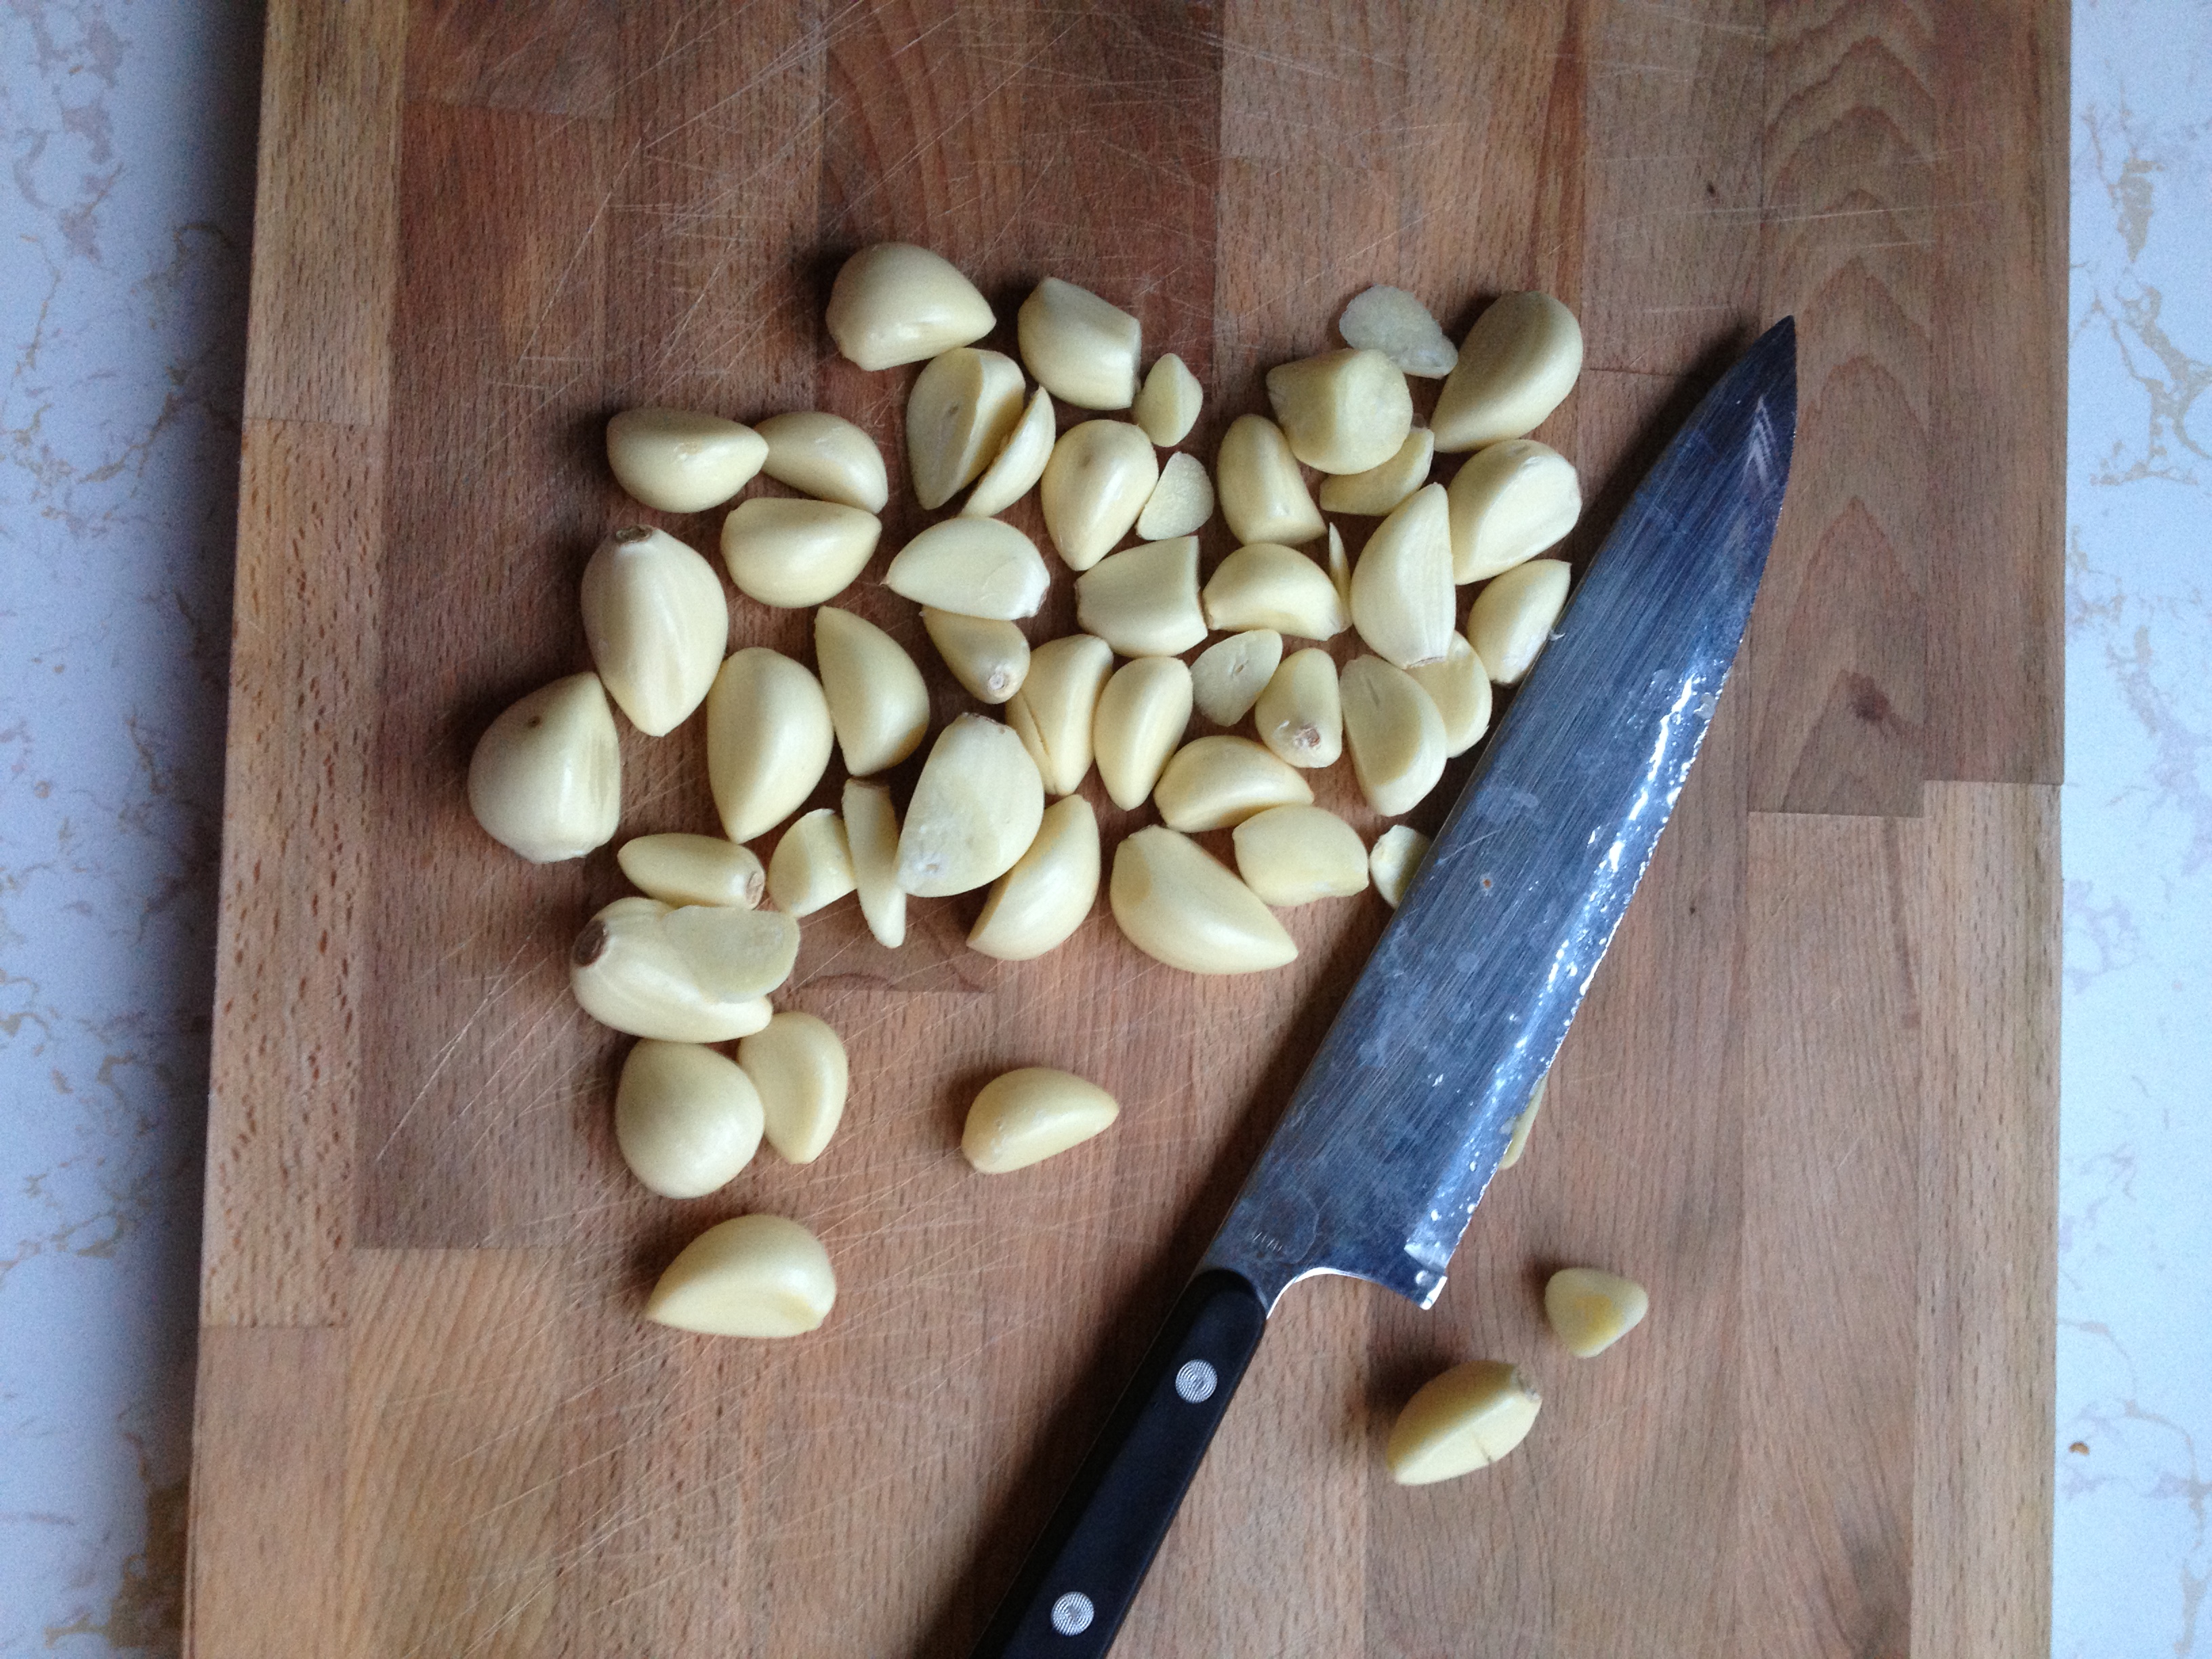
Ham hocks and loads and loads of garlic cloves.
Step Two: Wash, Wash then Wash Again!
Have you ever eaten greens with grit in them? It’s akin to eating on the beach (with two small children). So unpleasant to chew anything, let alone fully enjoy your meal. Mema has a three-washes rule that I tend to follow, despite the time constraint. First, rinse the whole leaves off in a sink full of cold water. The next two washes come after the leaves have been cut.
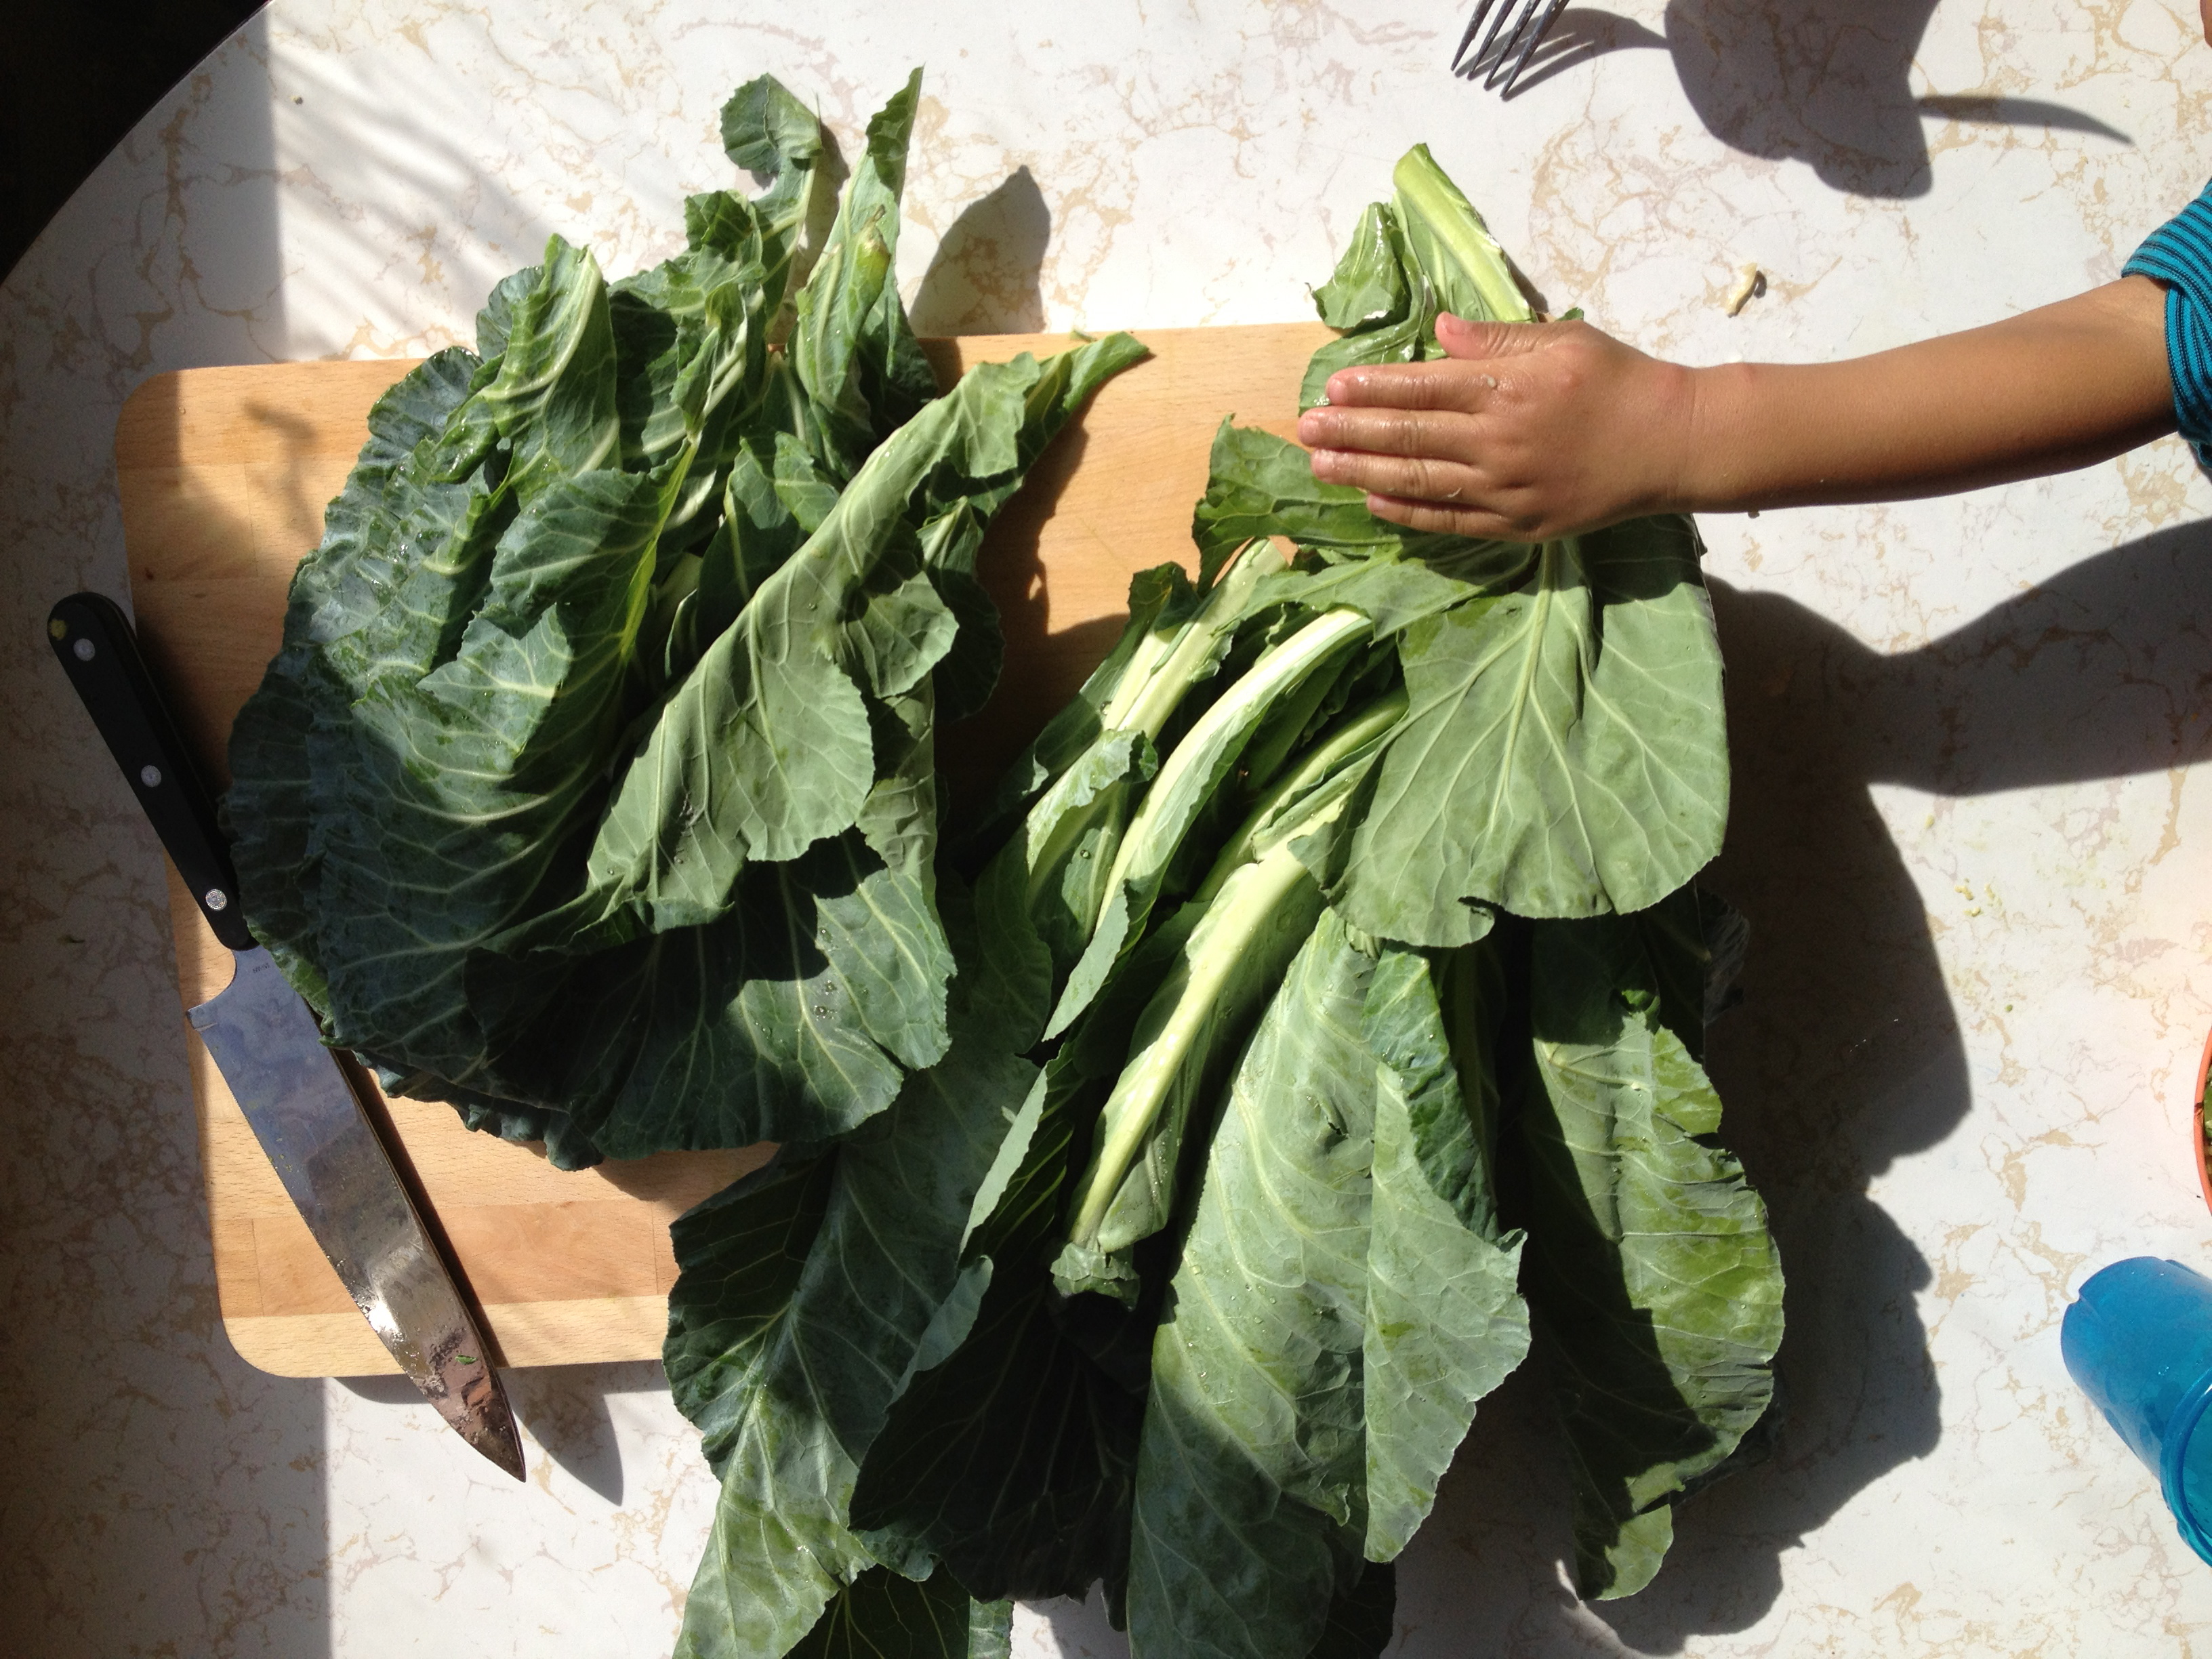
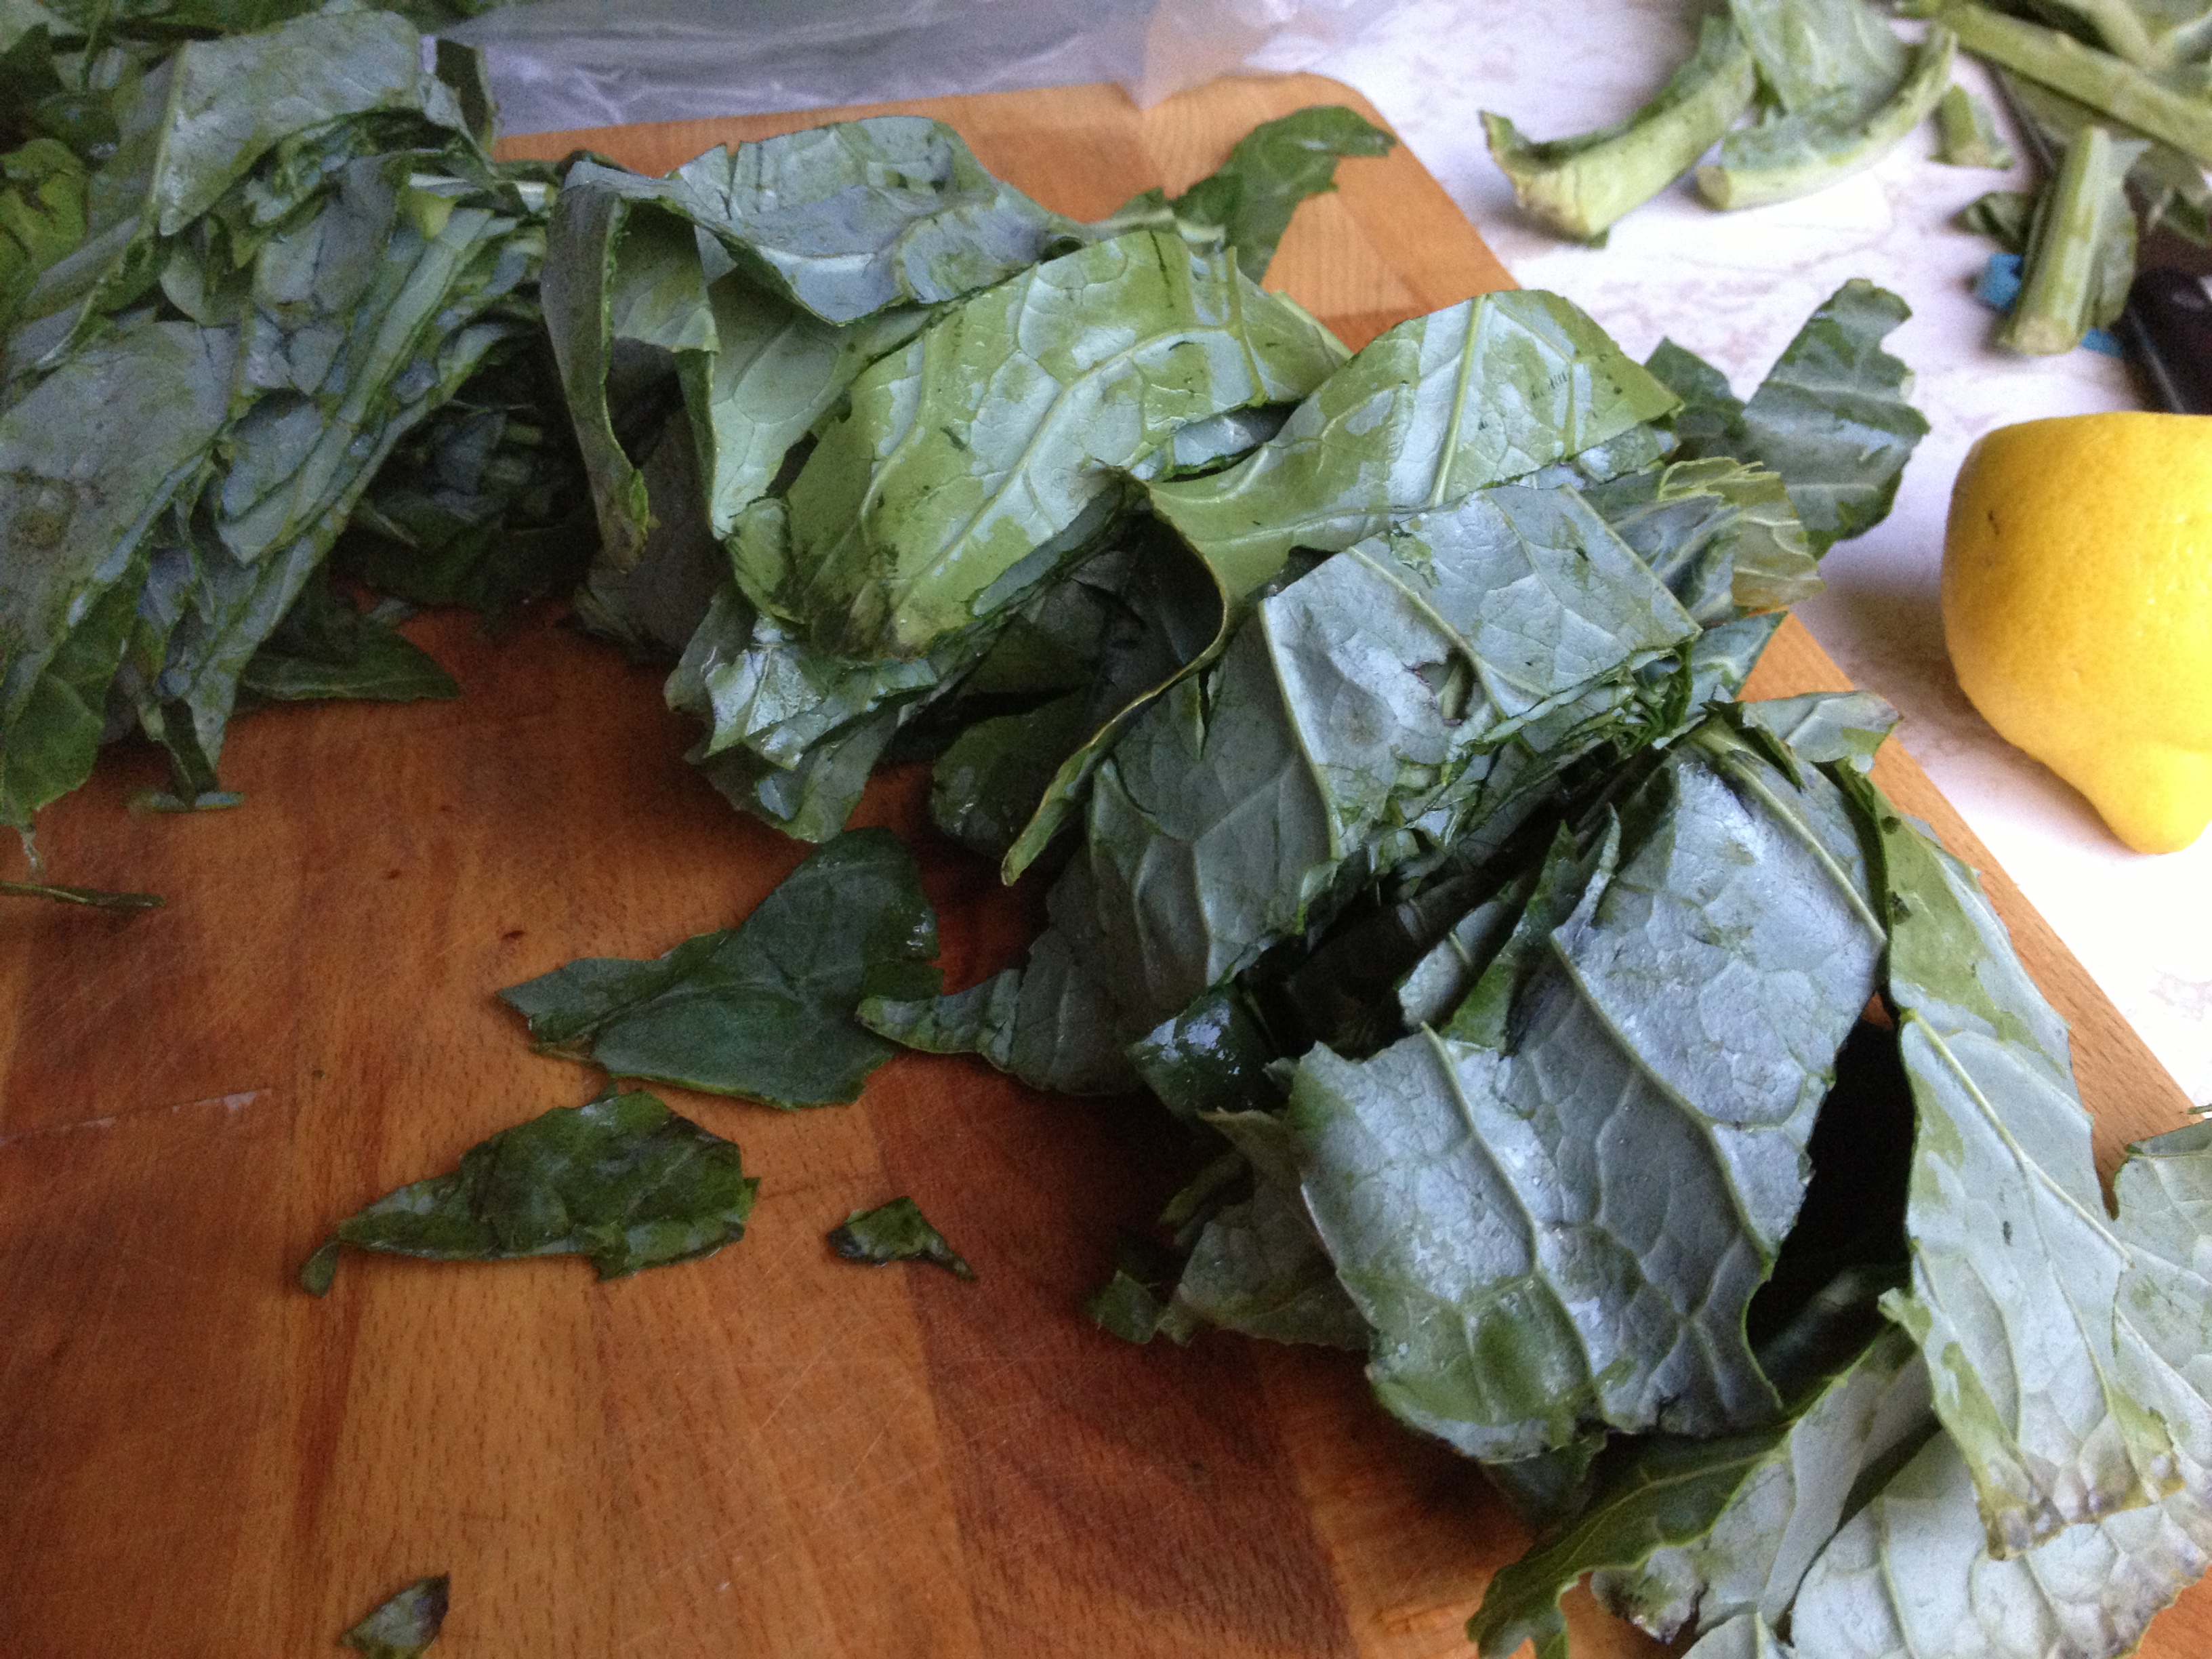
Step Three: Cut the Stems

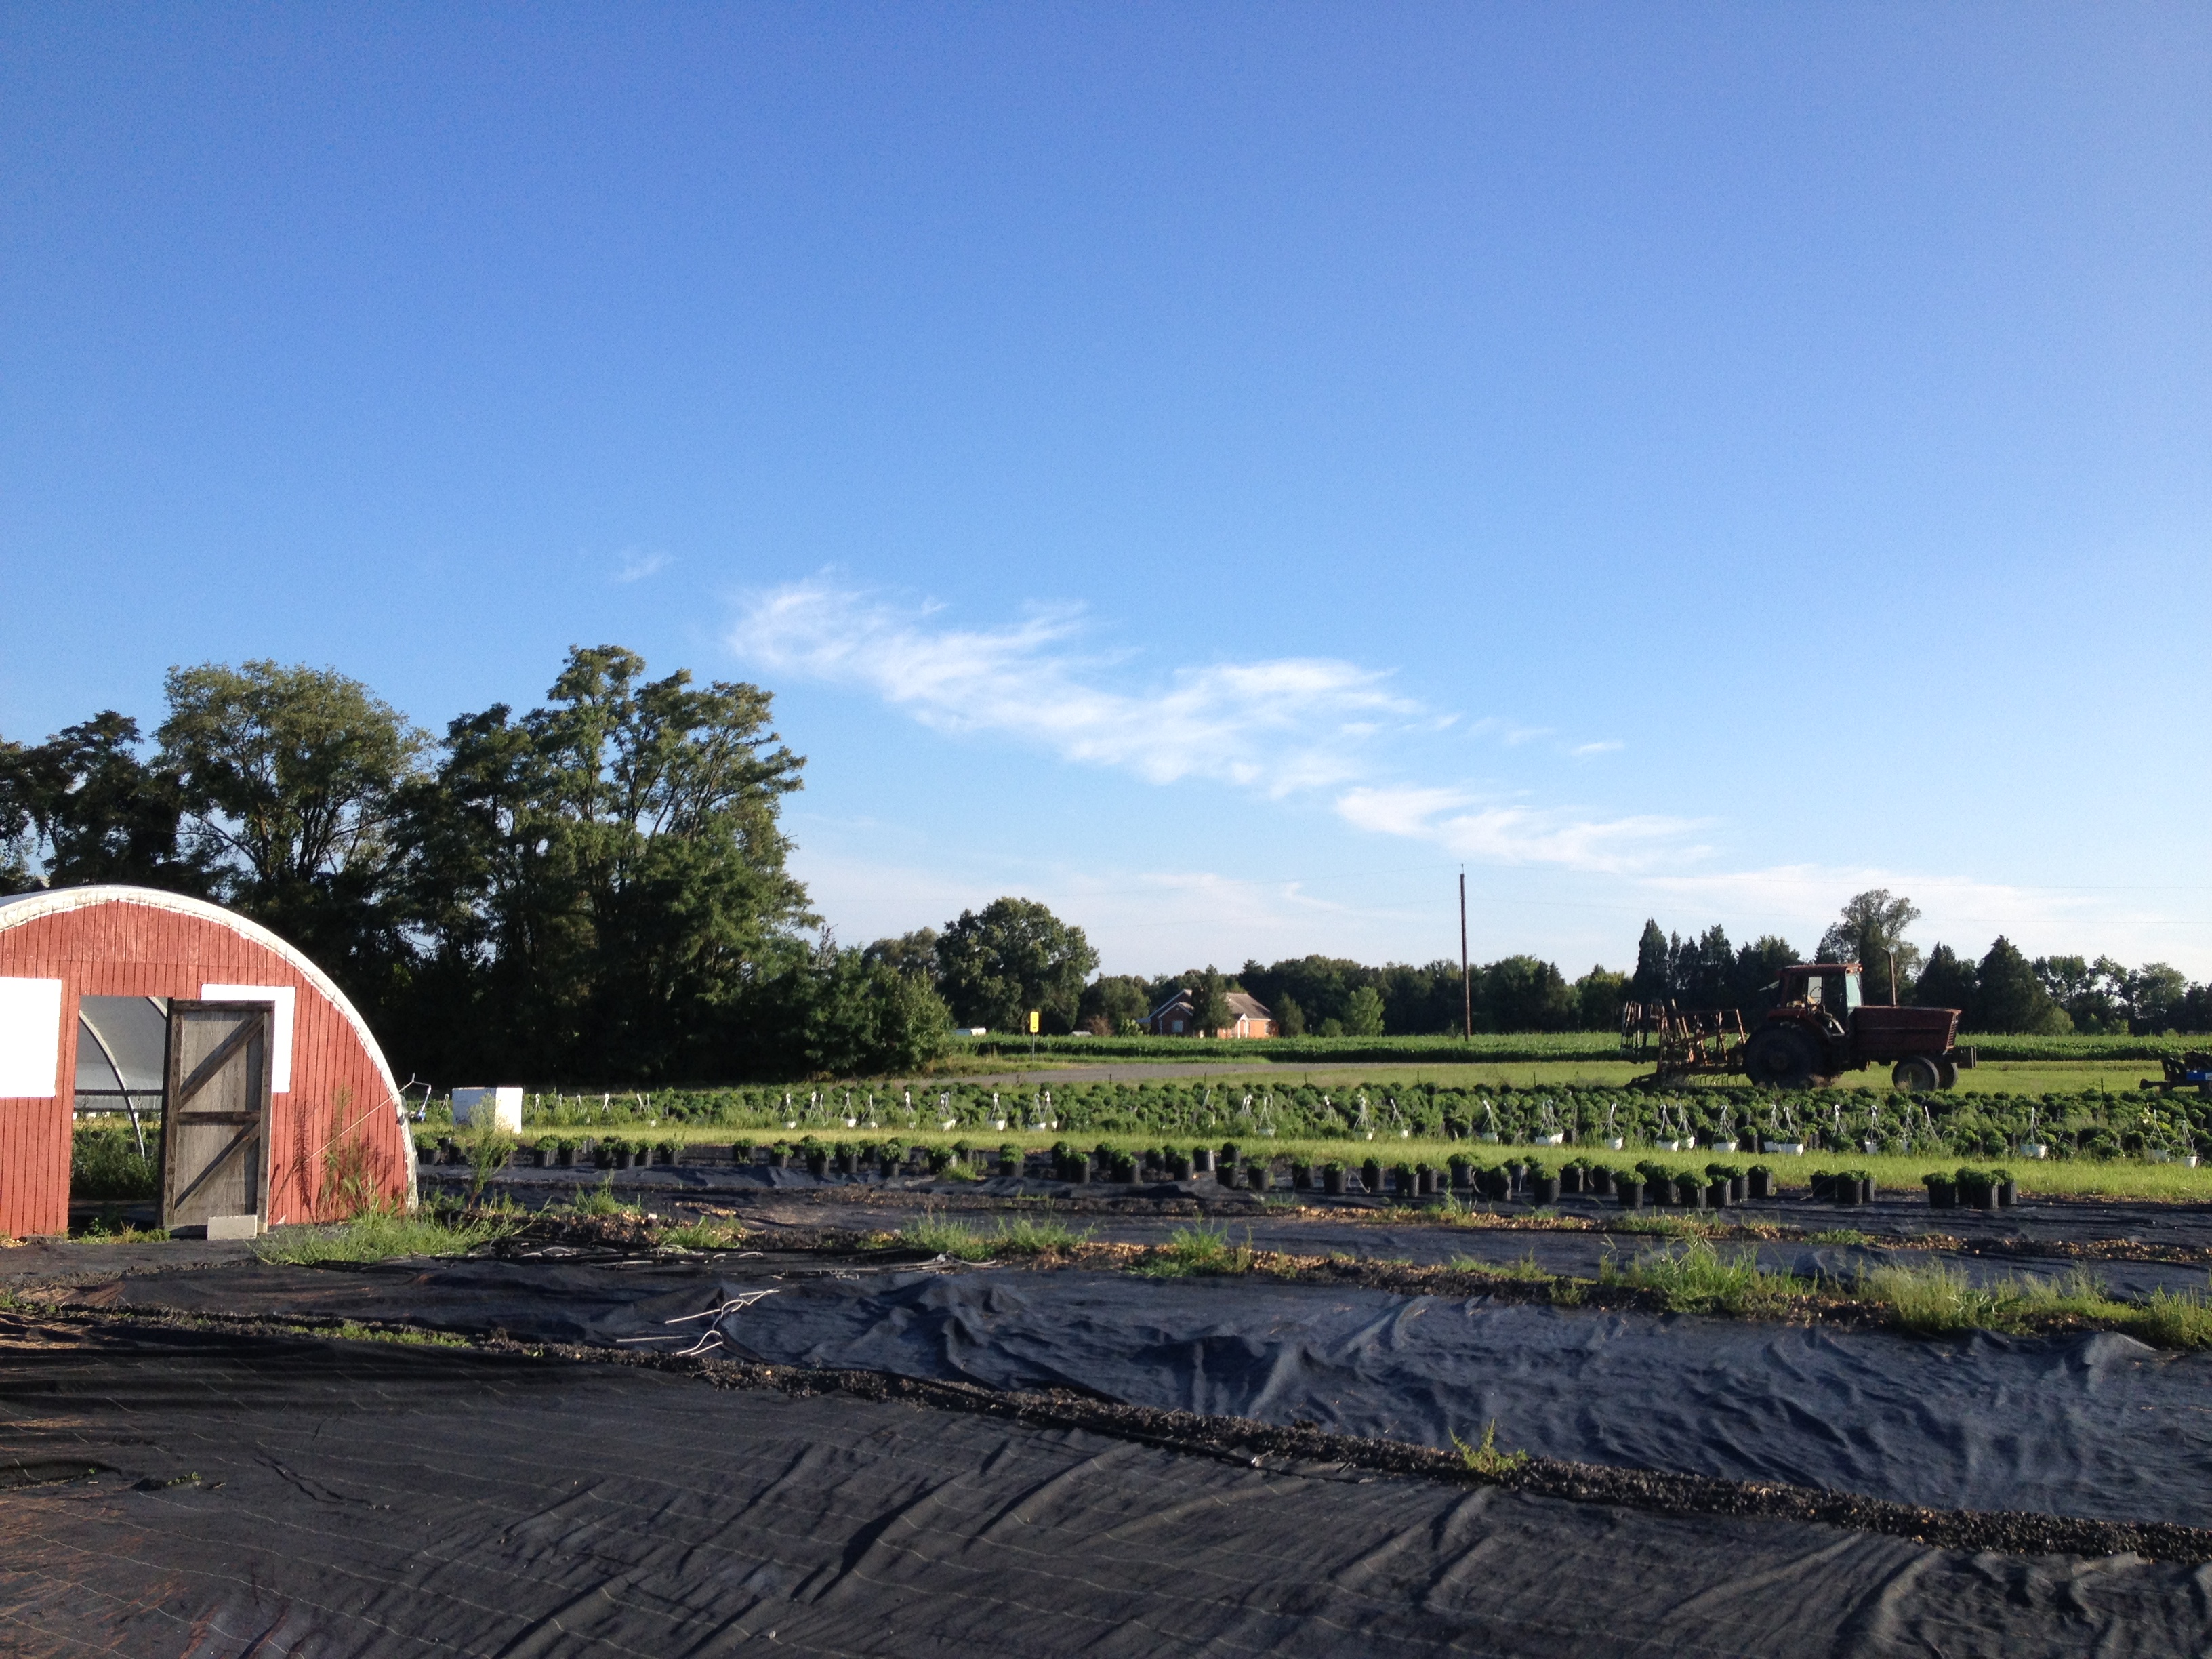
I love seeing exactly where my food comes from.
Especially with the collards I get from the farm near my house, the leaves can be very huge! This means the stems are huge and very tough.
.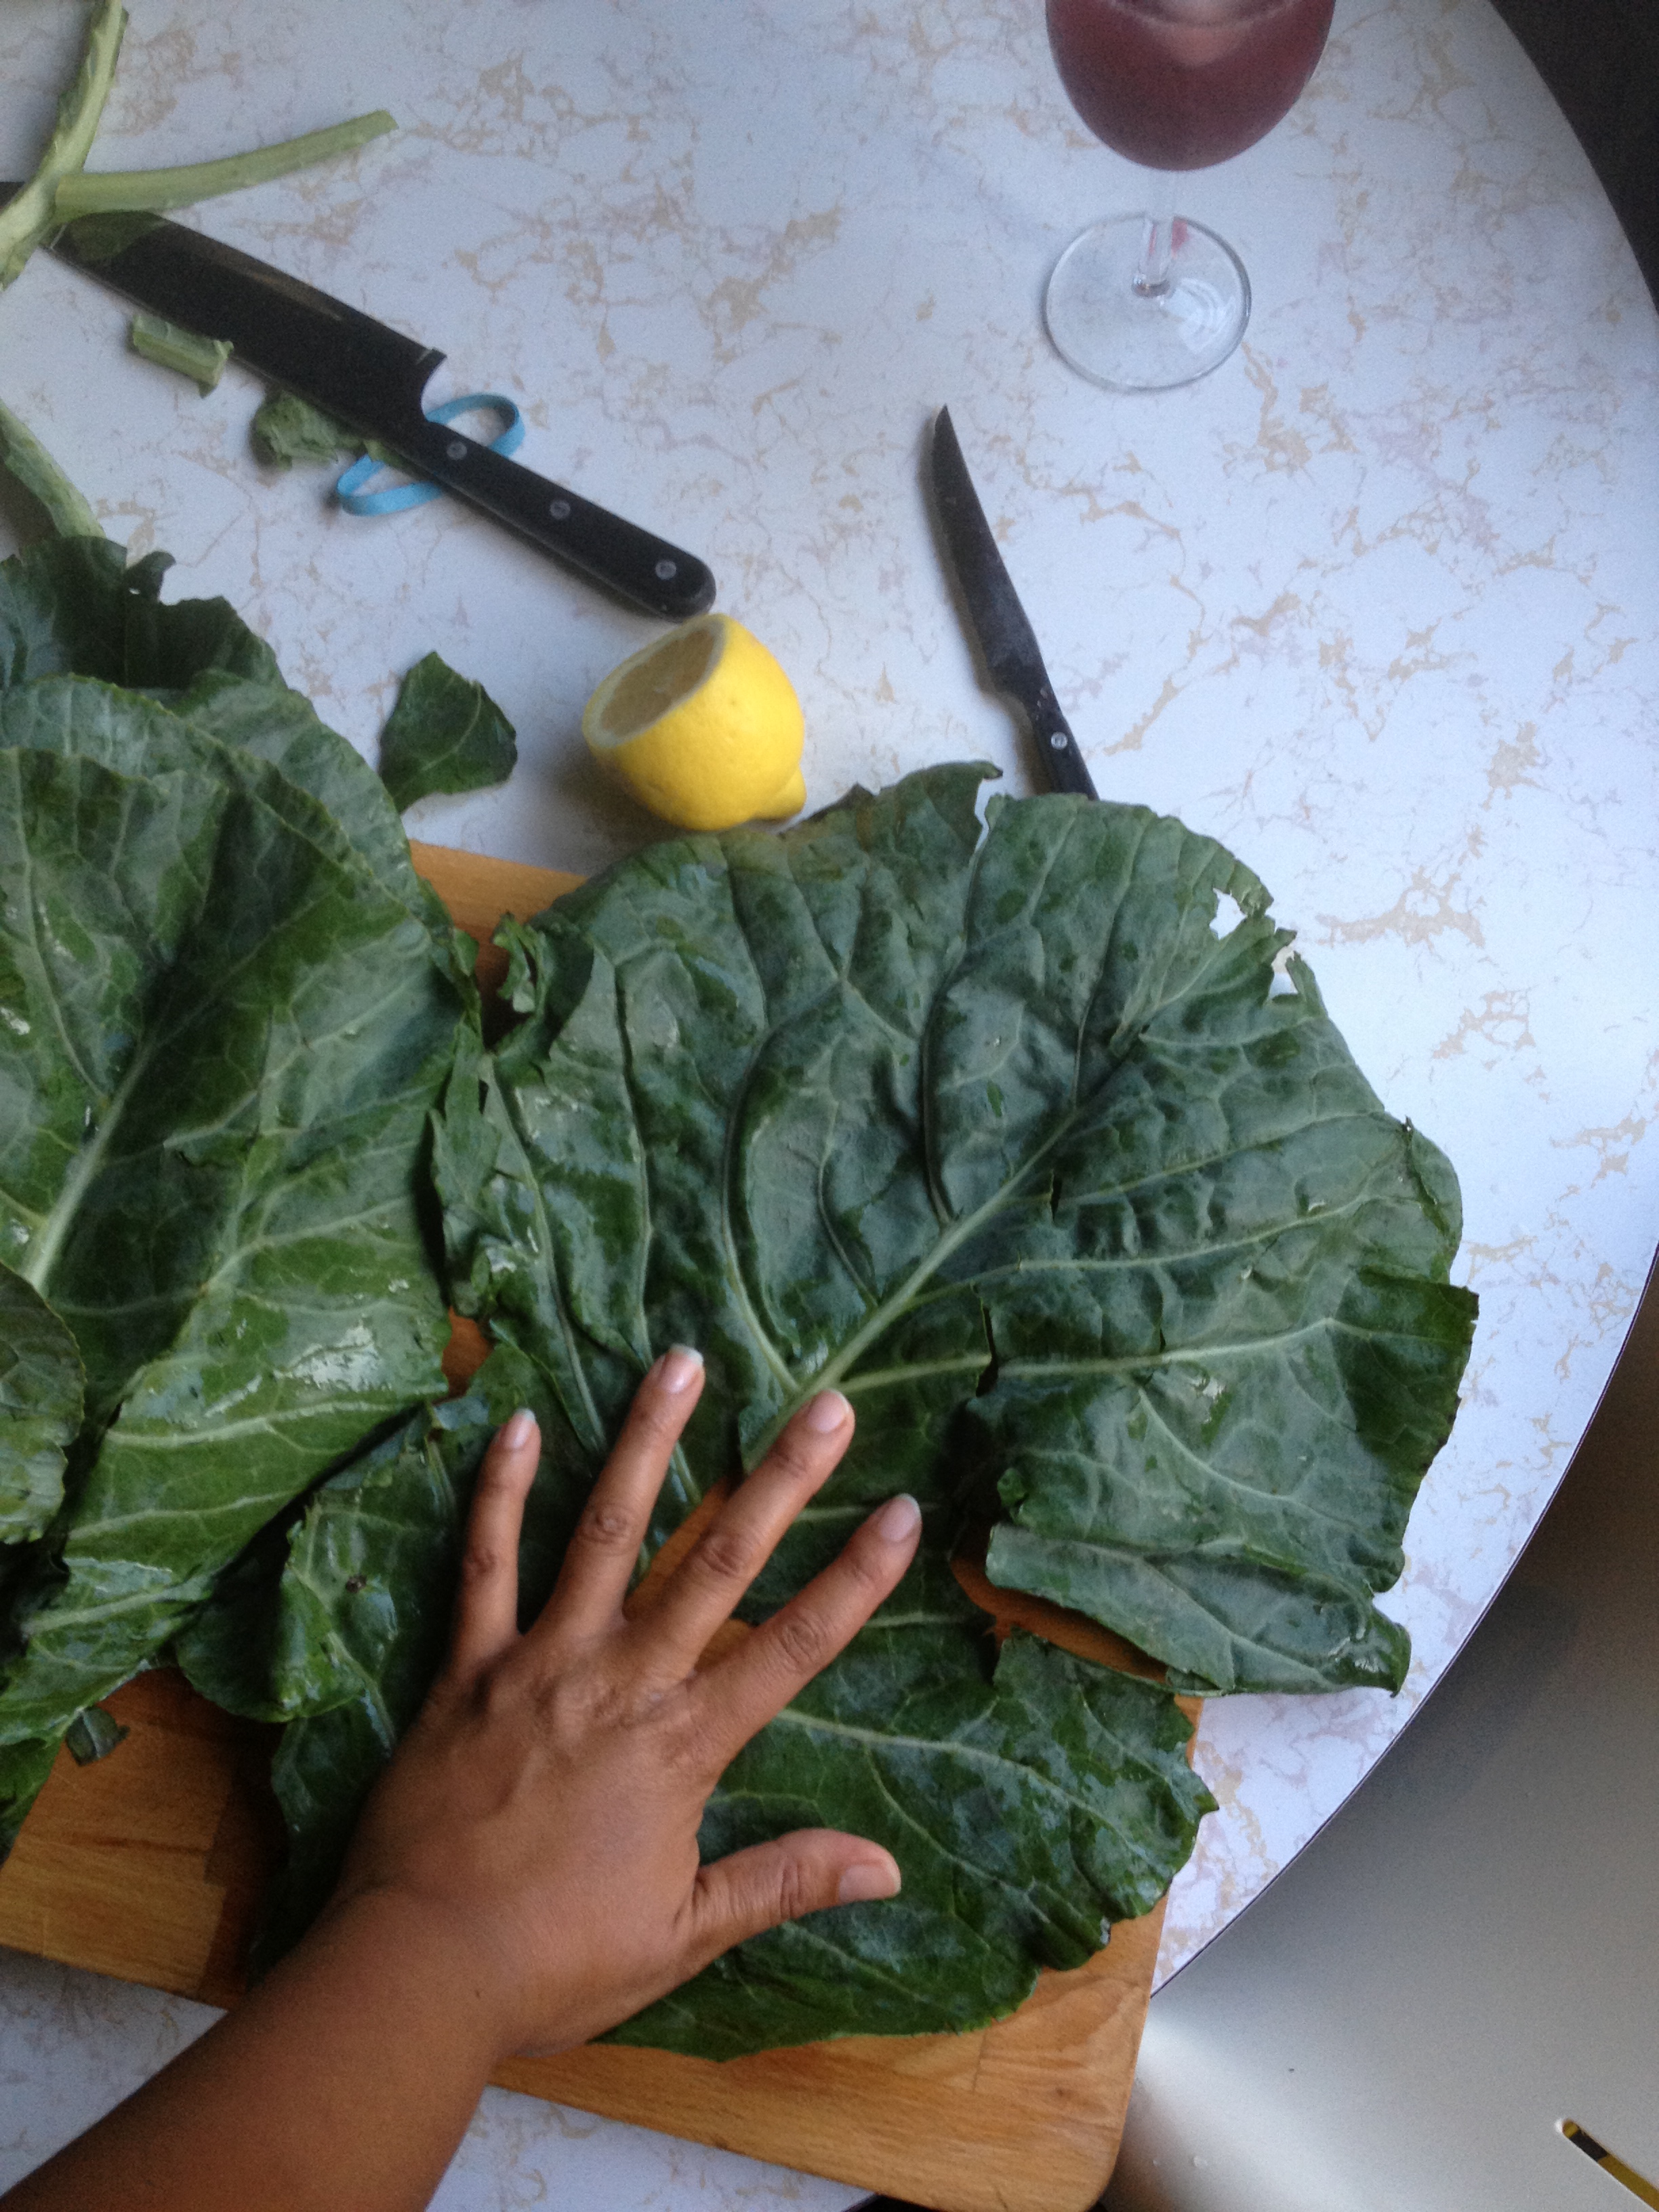
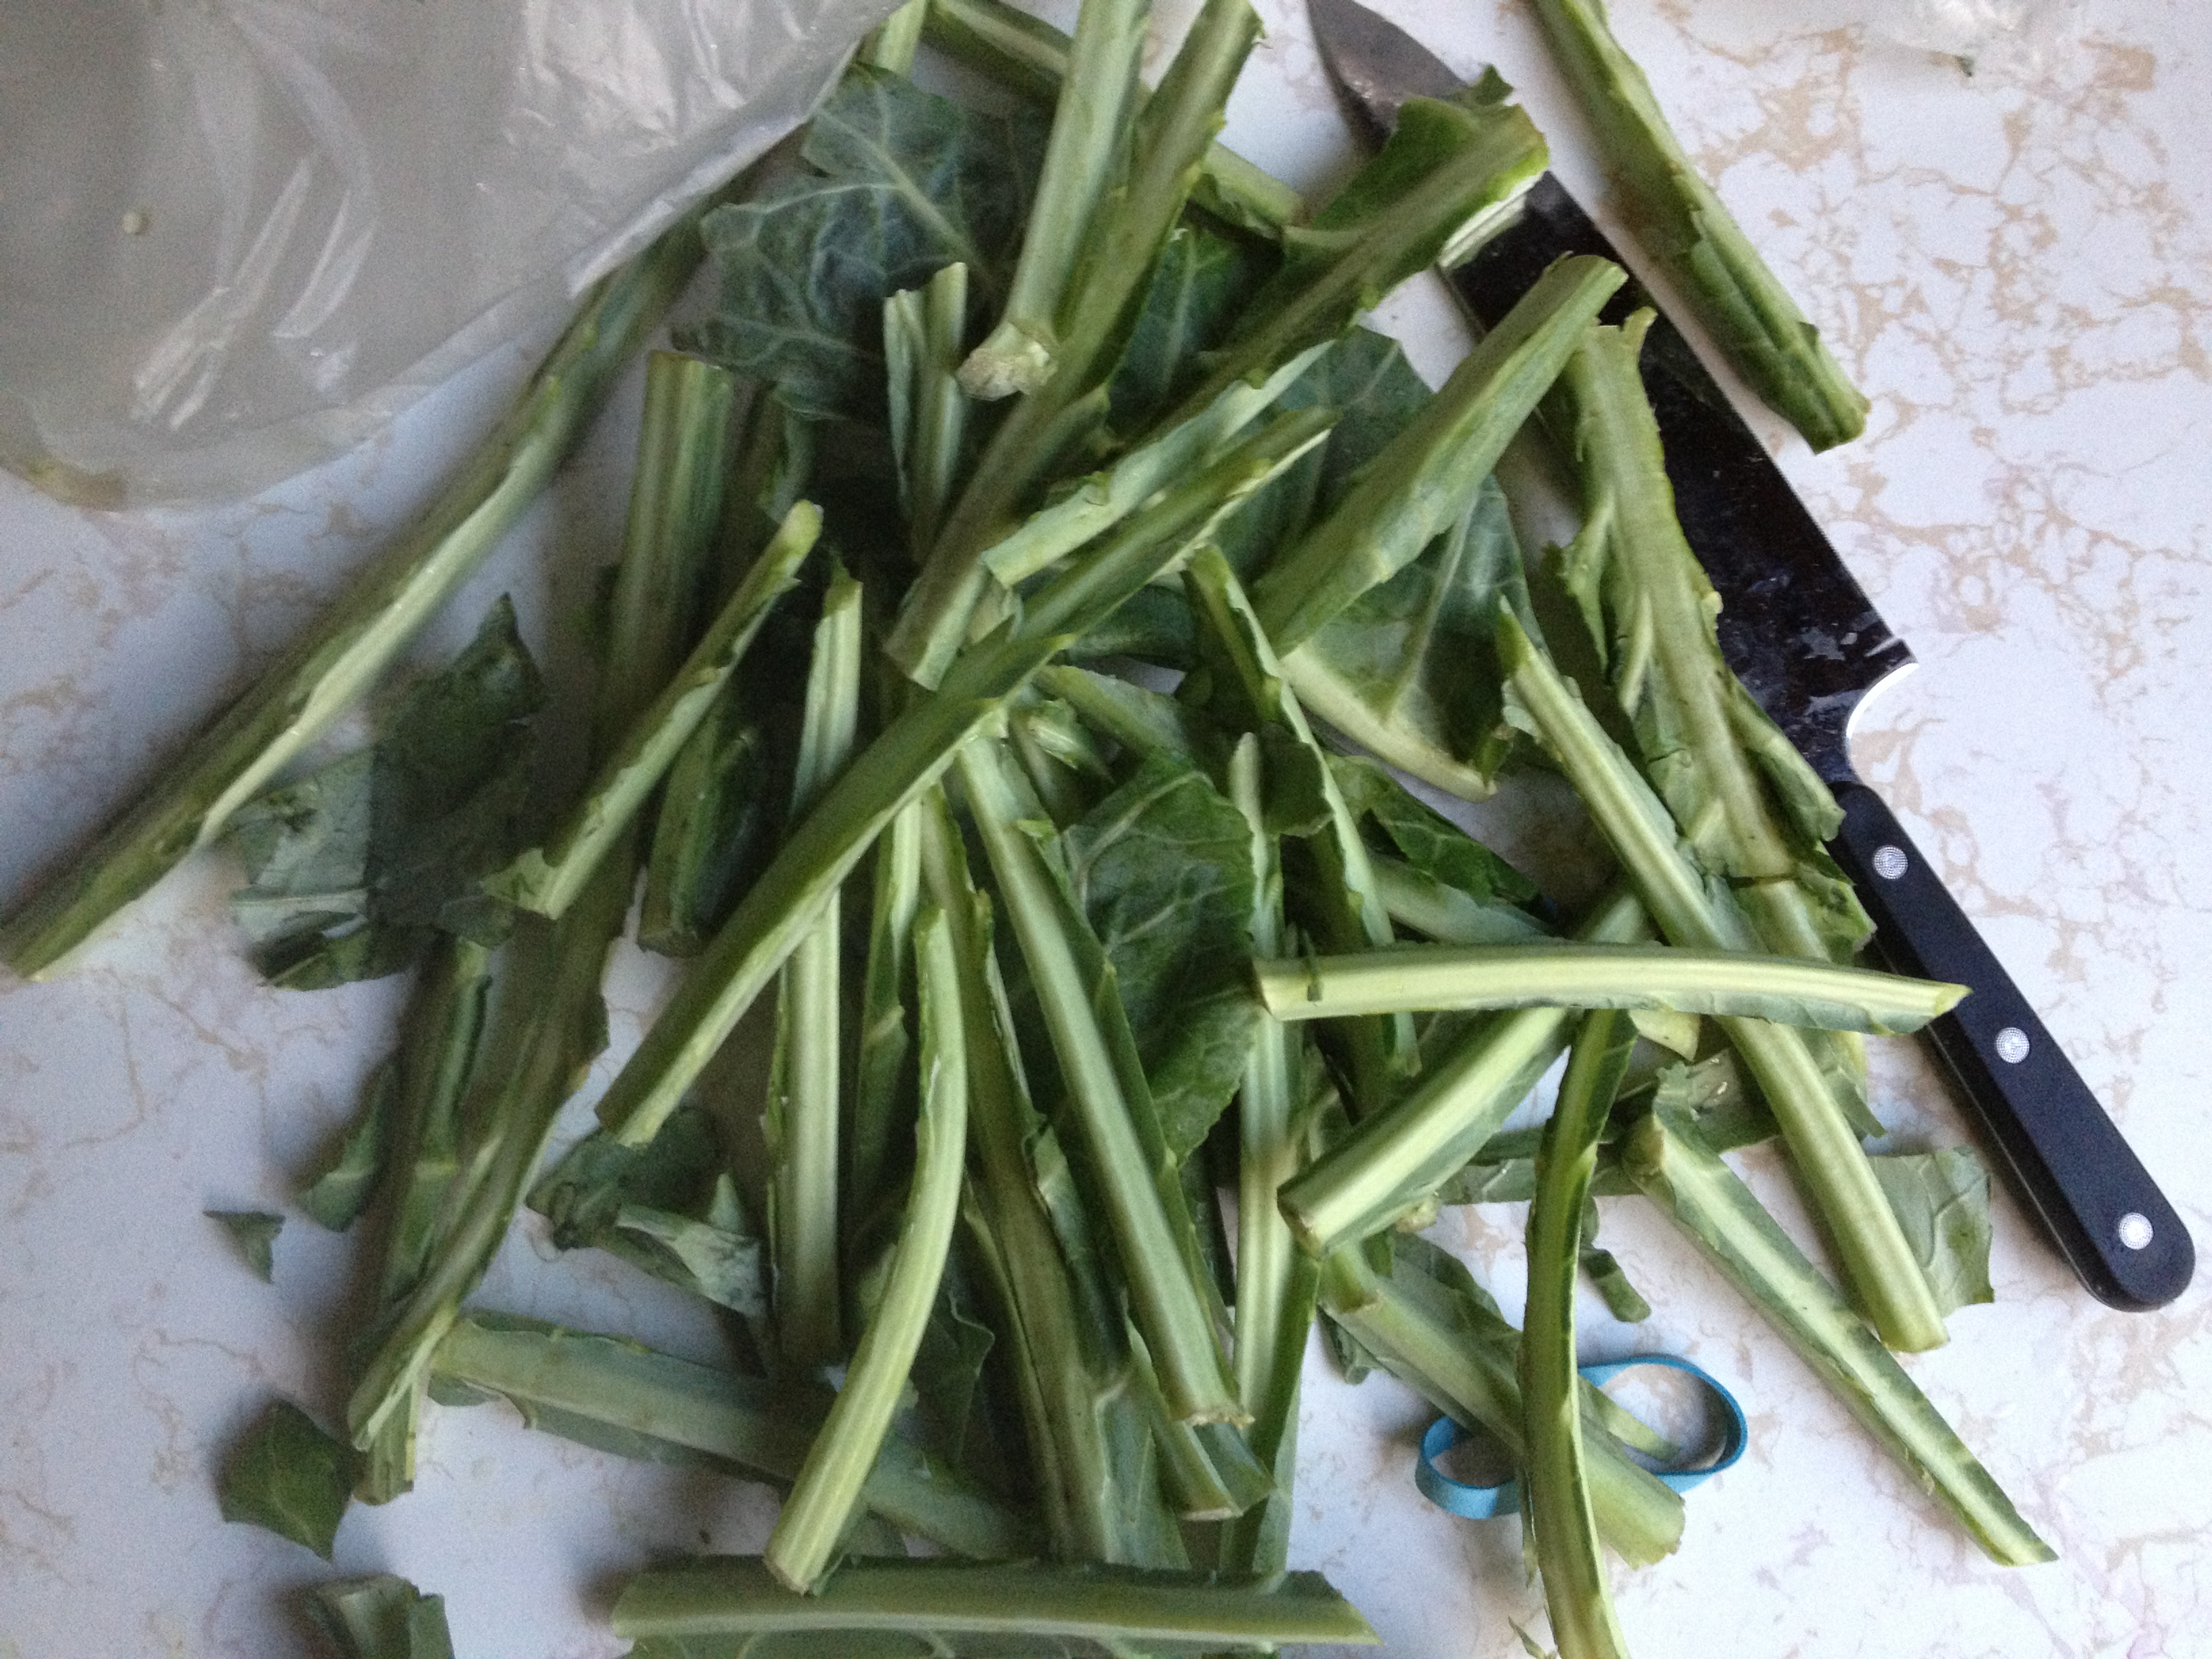
A good way to ensure a pot of evenly-cooked tender greens is to cut the biggest part of the stem out of the leaves. Cut down either side of the stem and across the top.
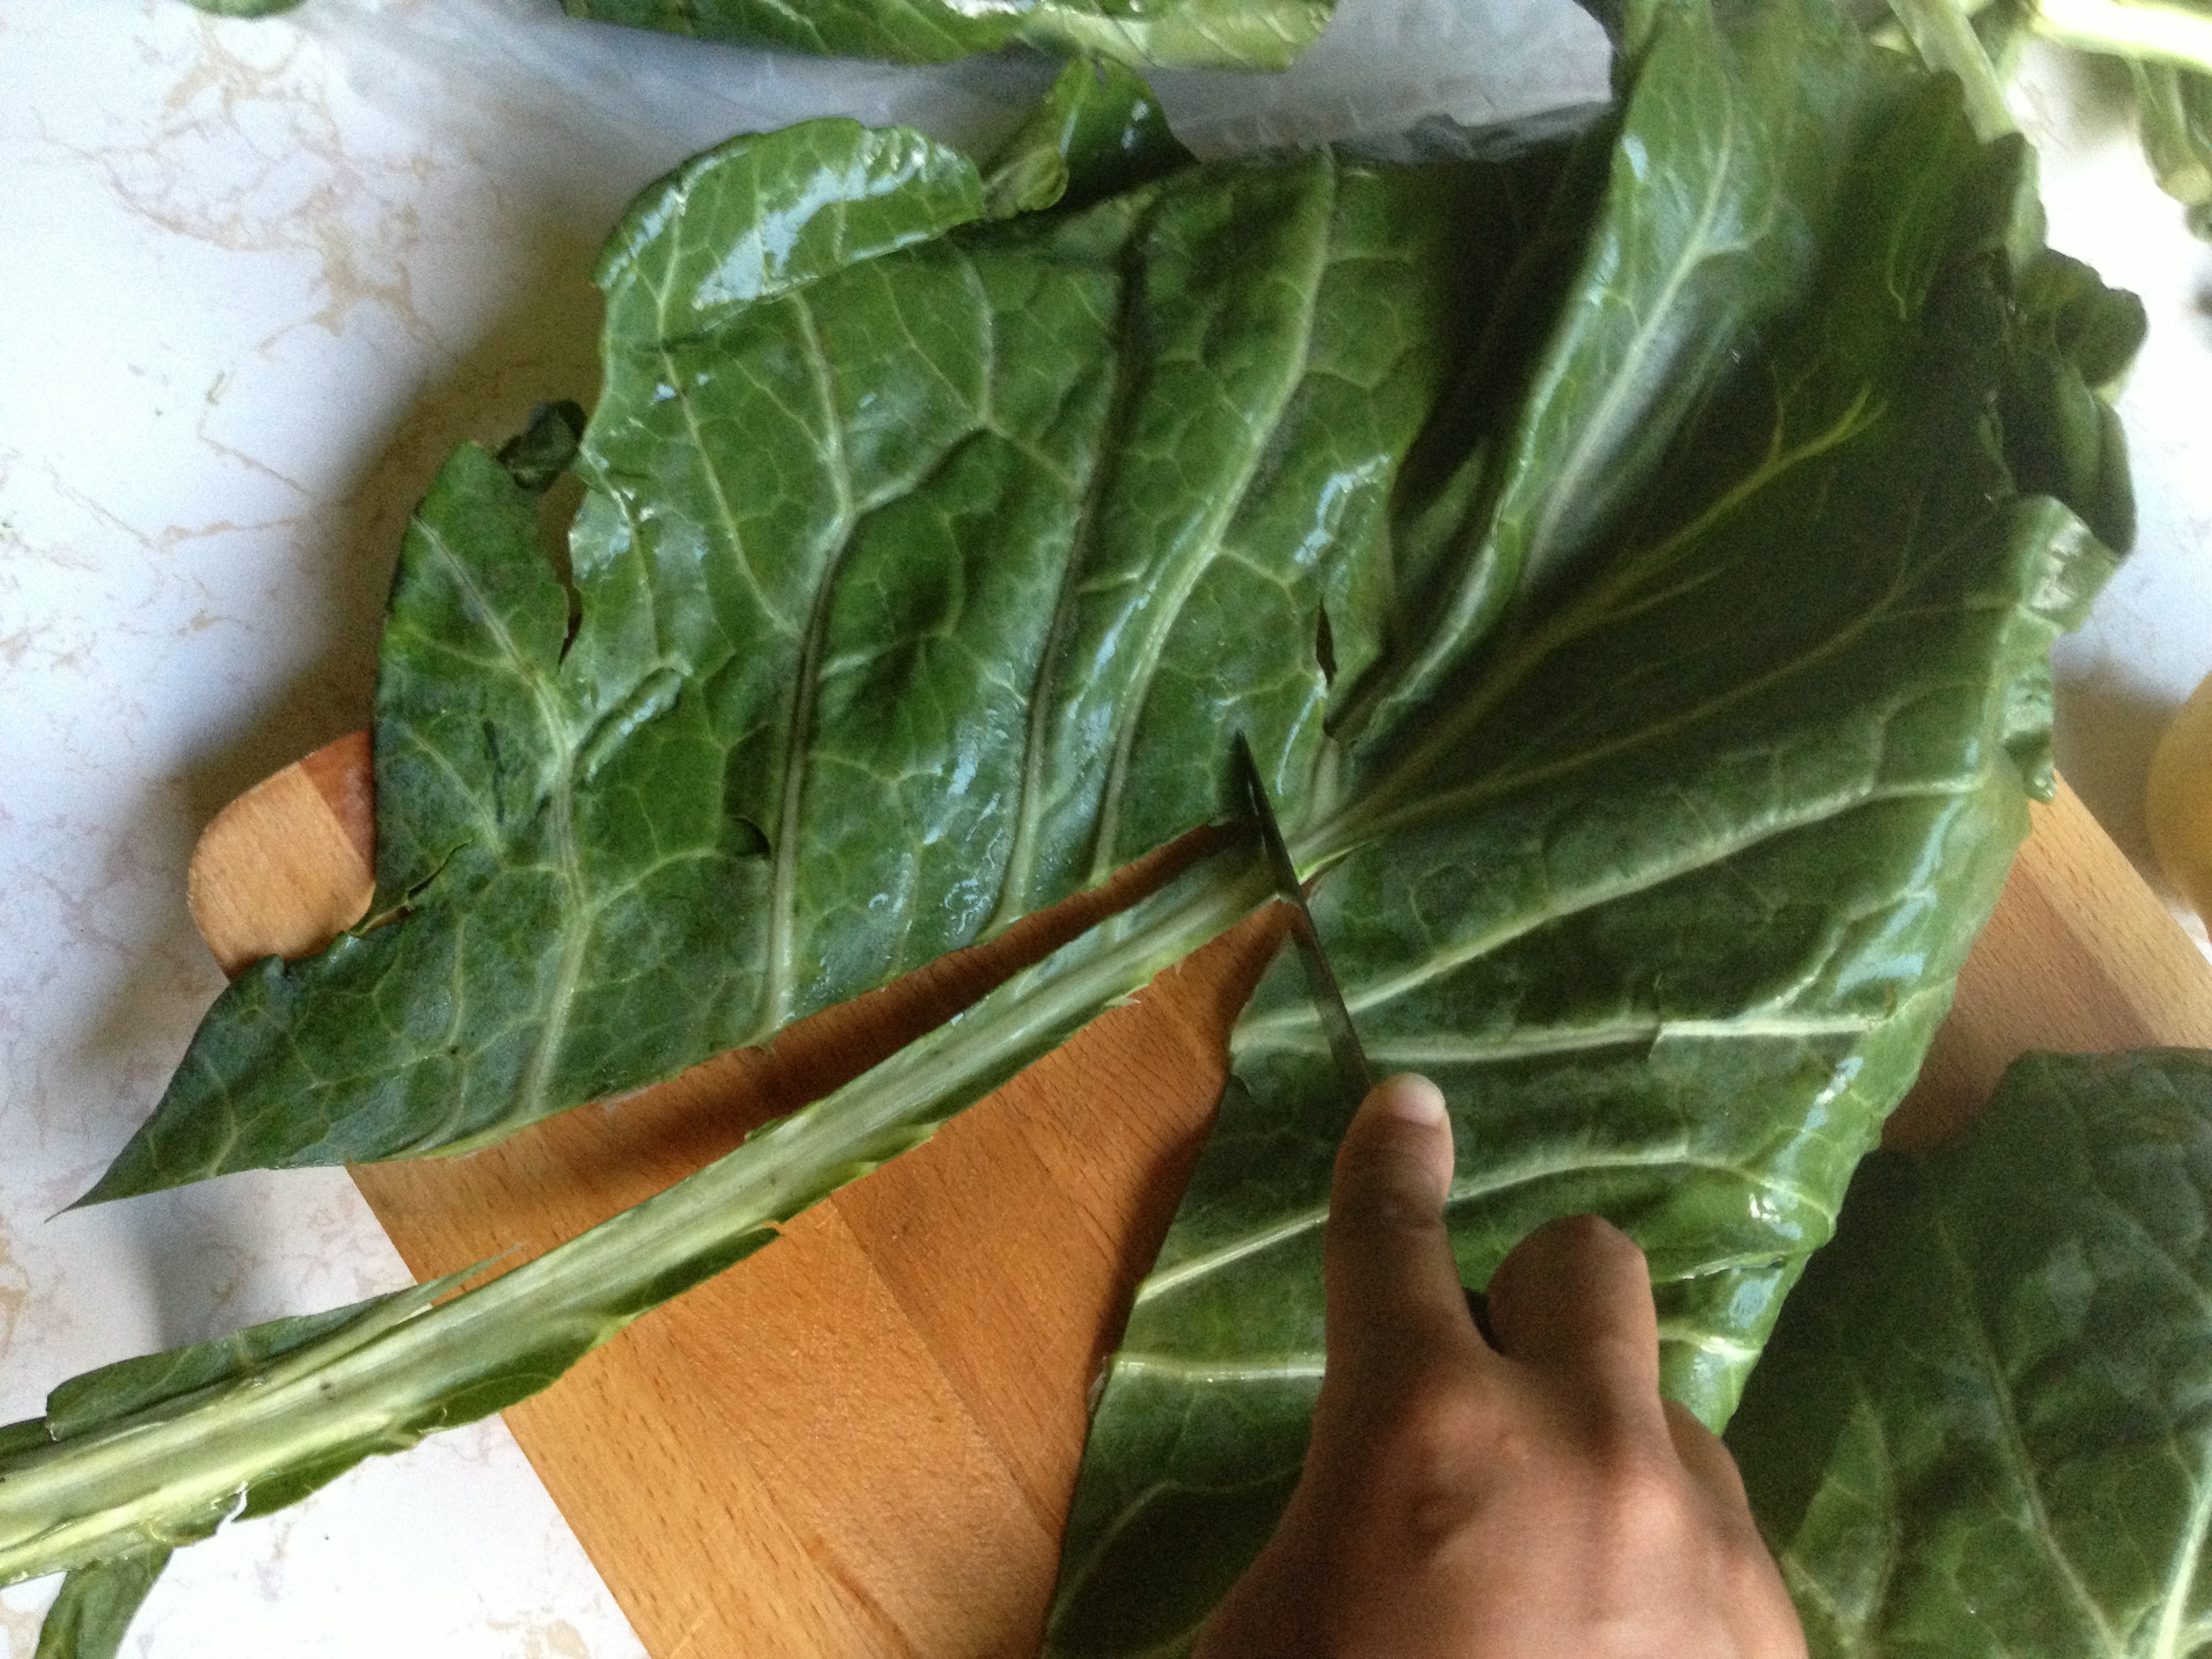
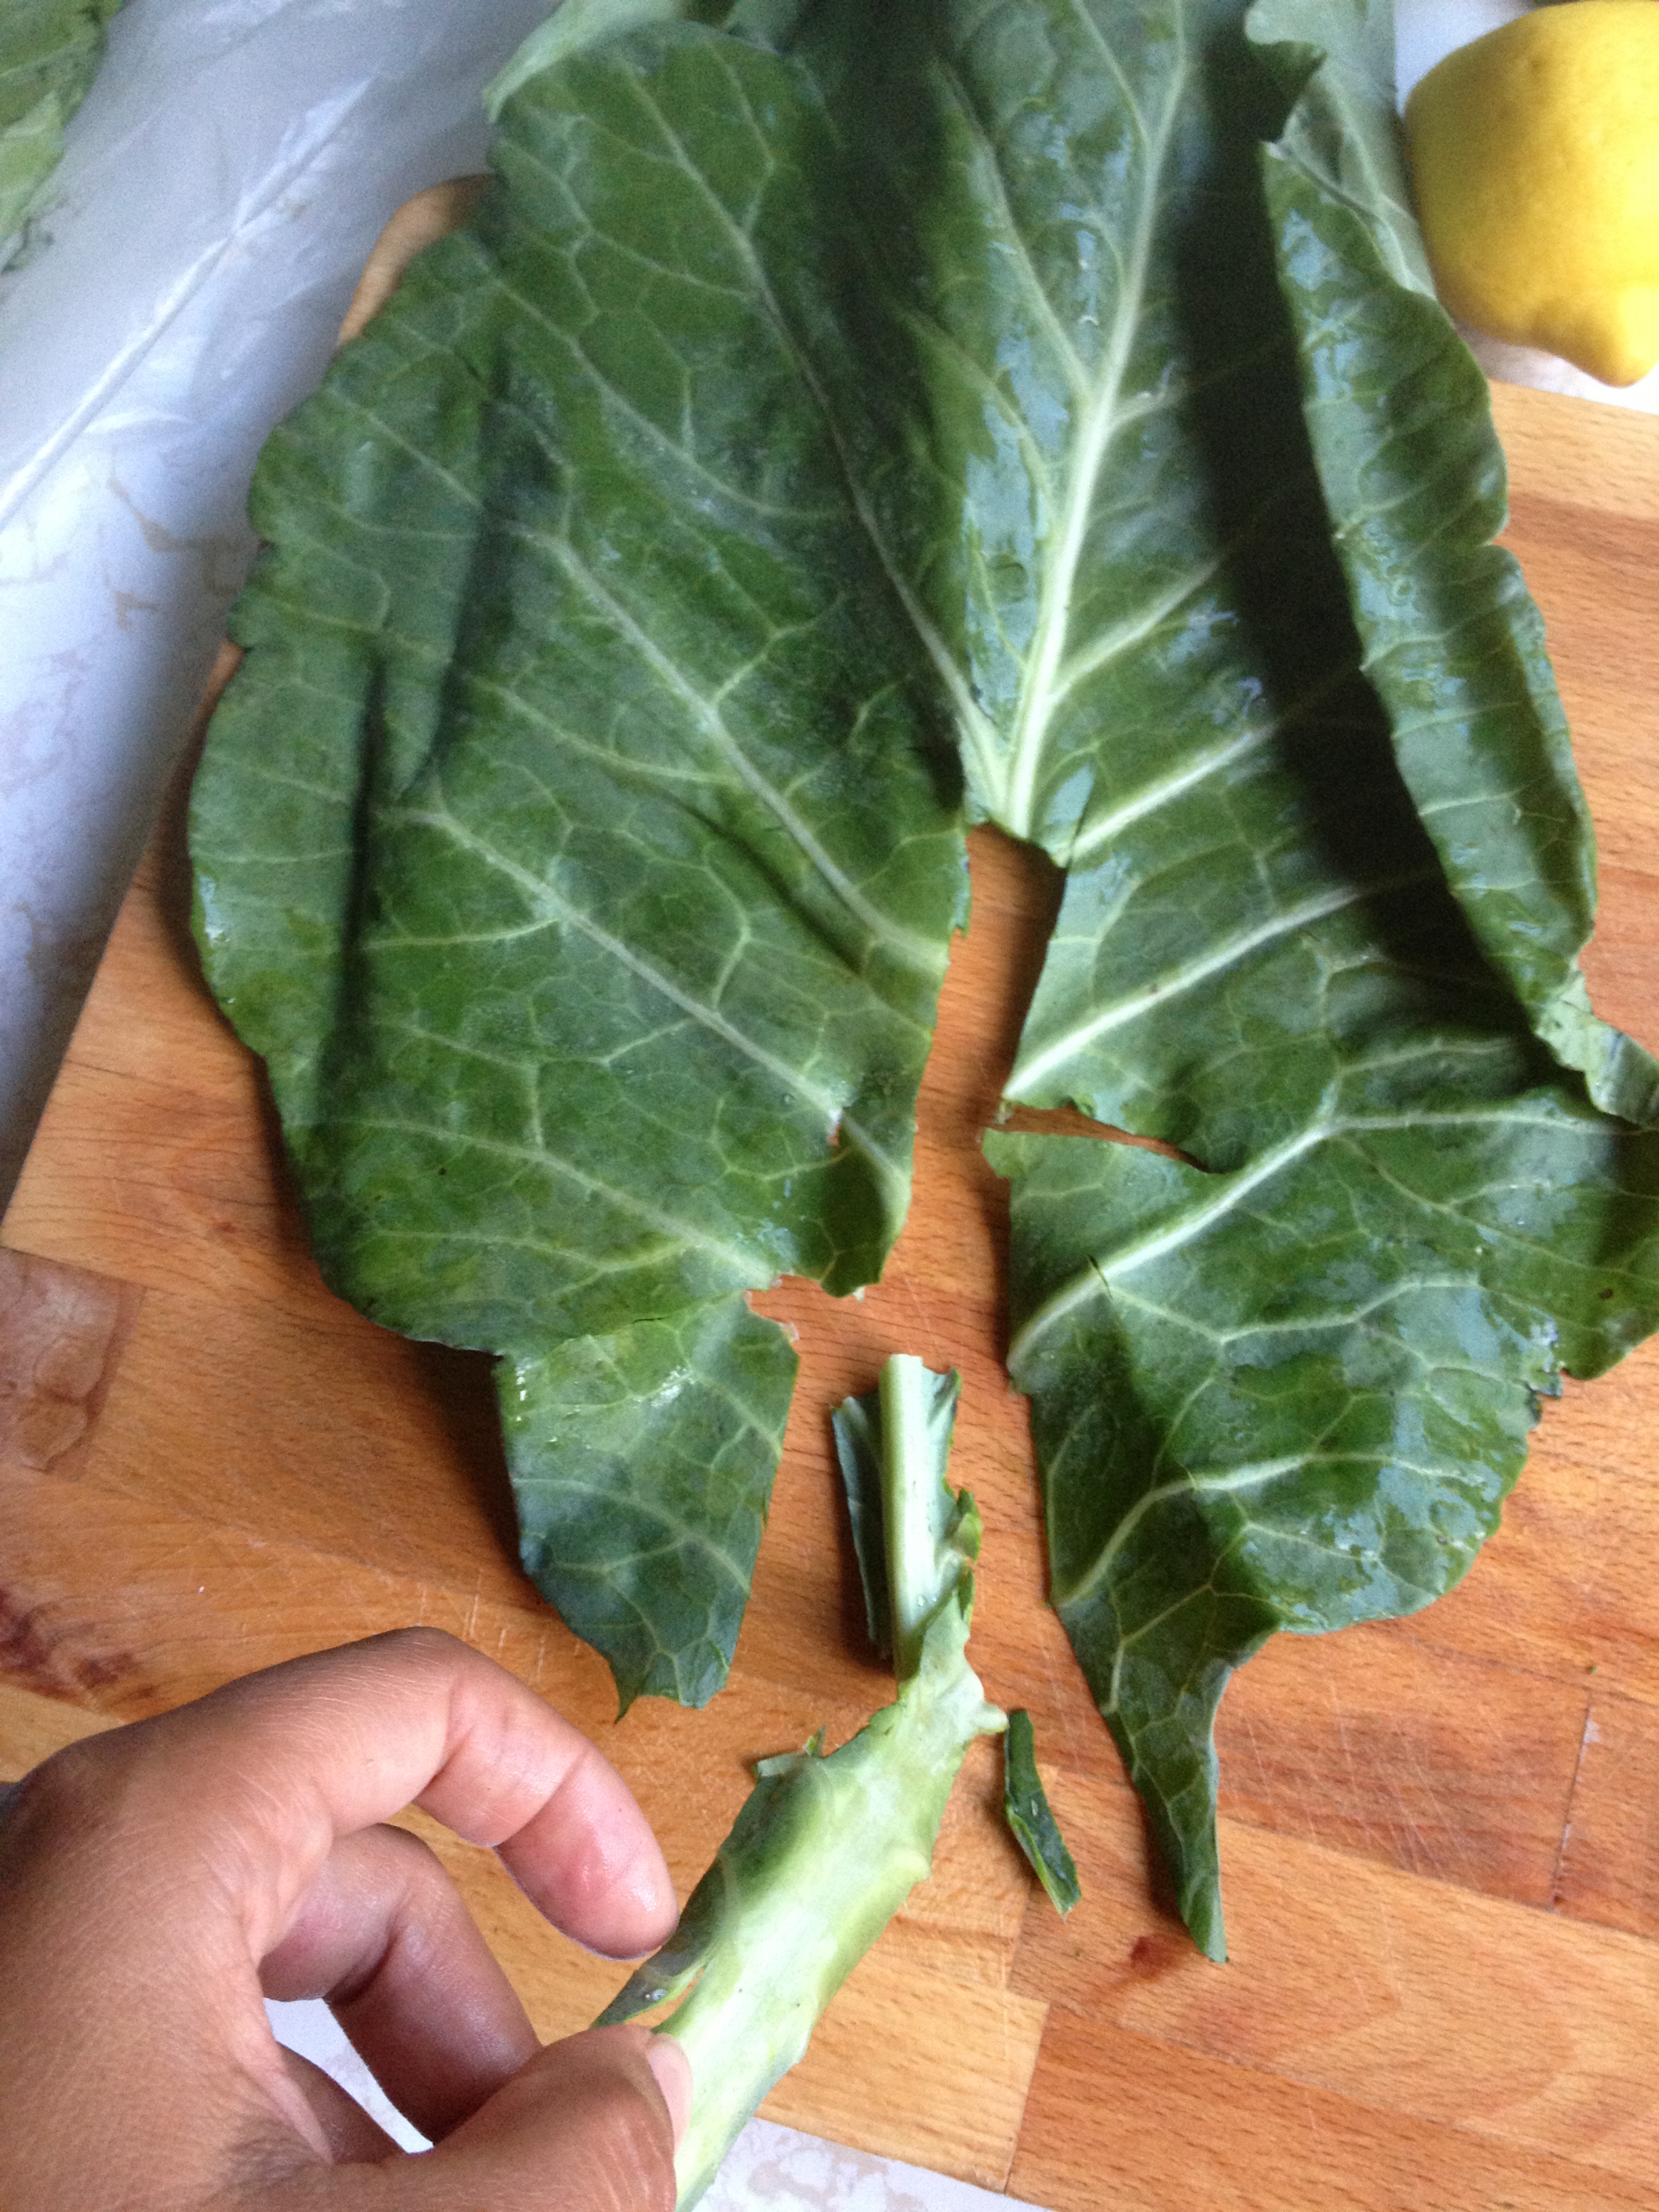
Tedious, but worth it!
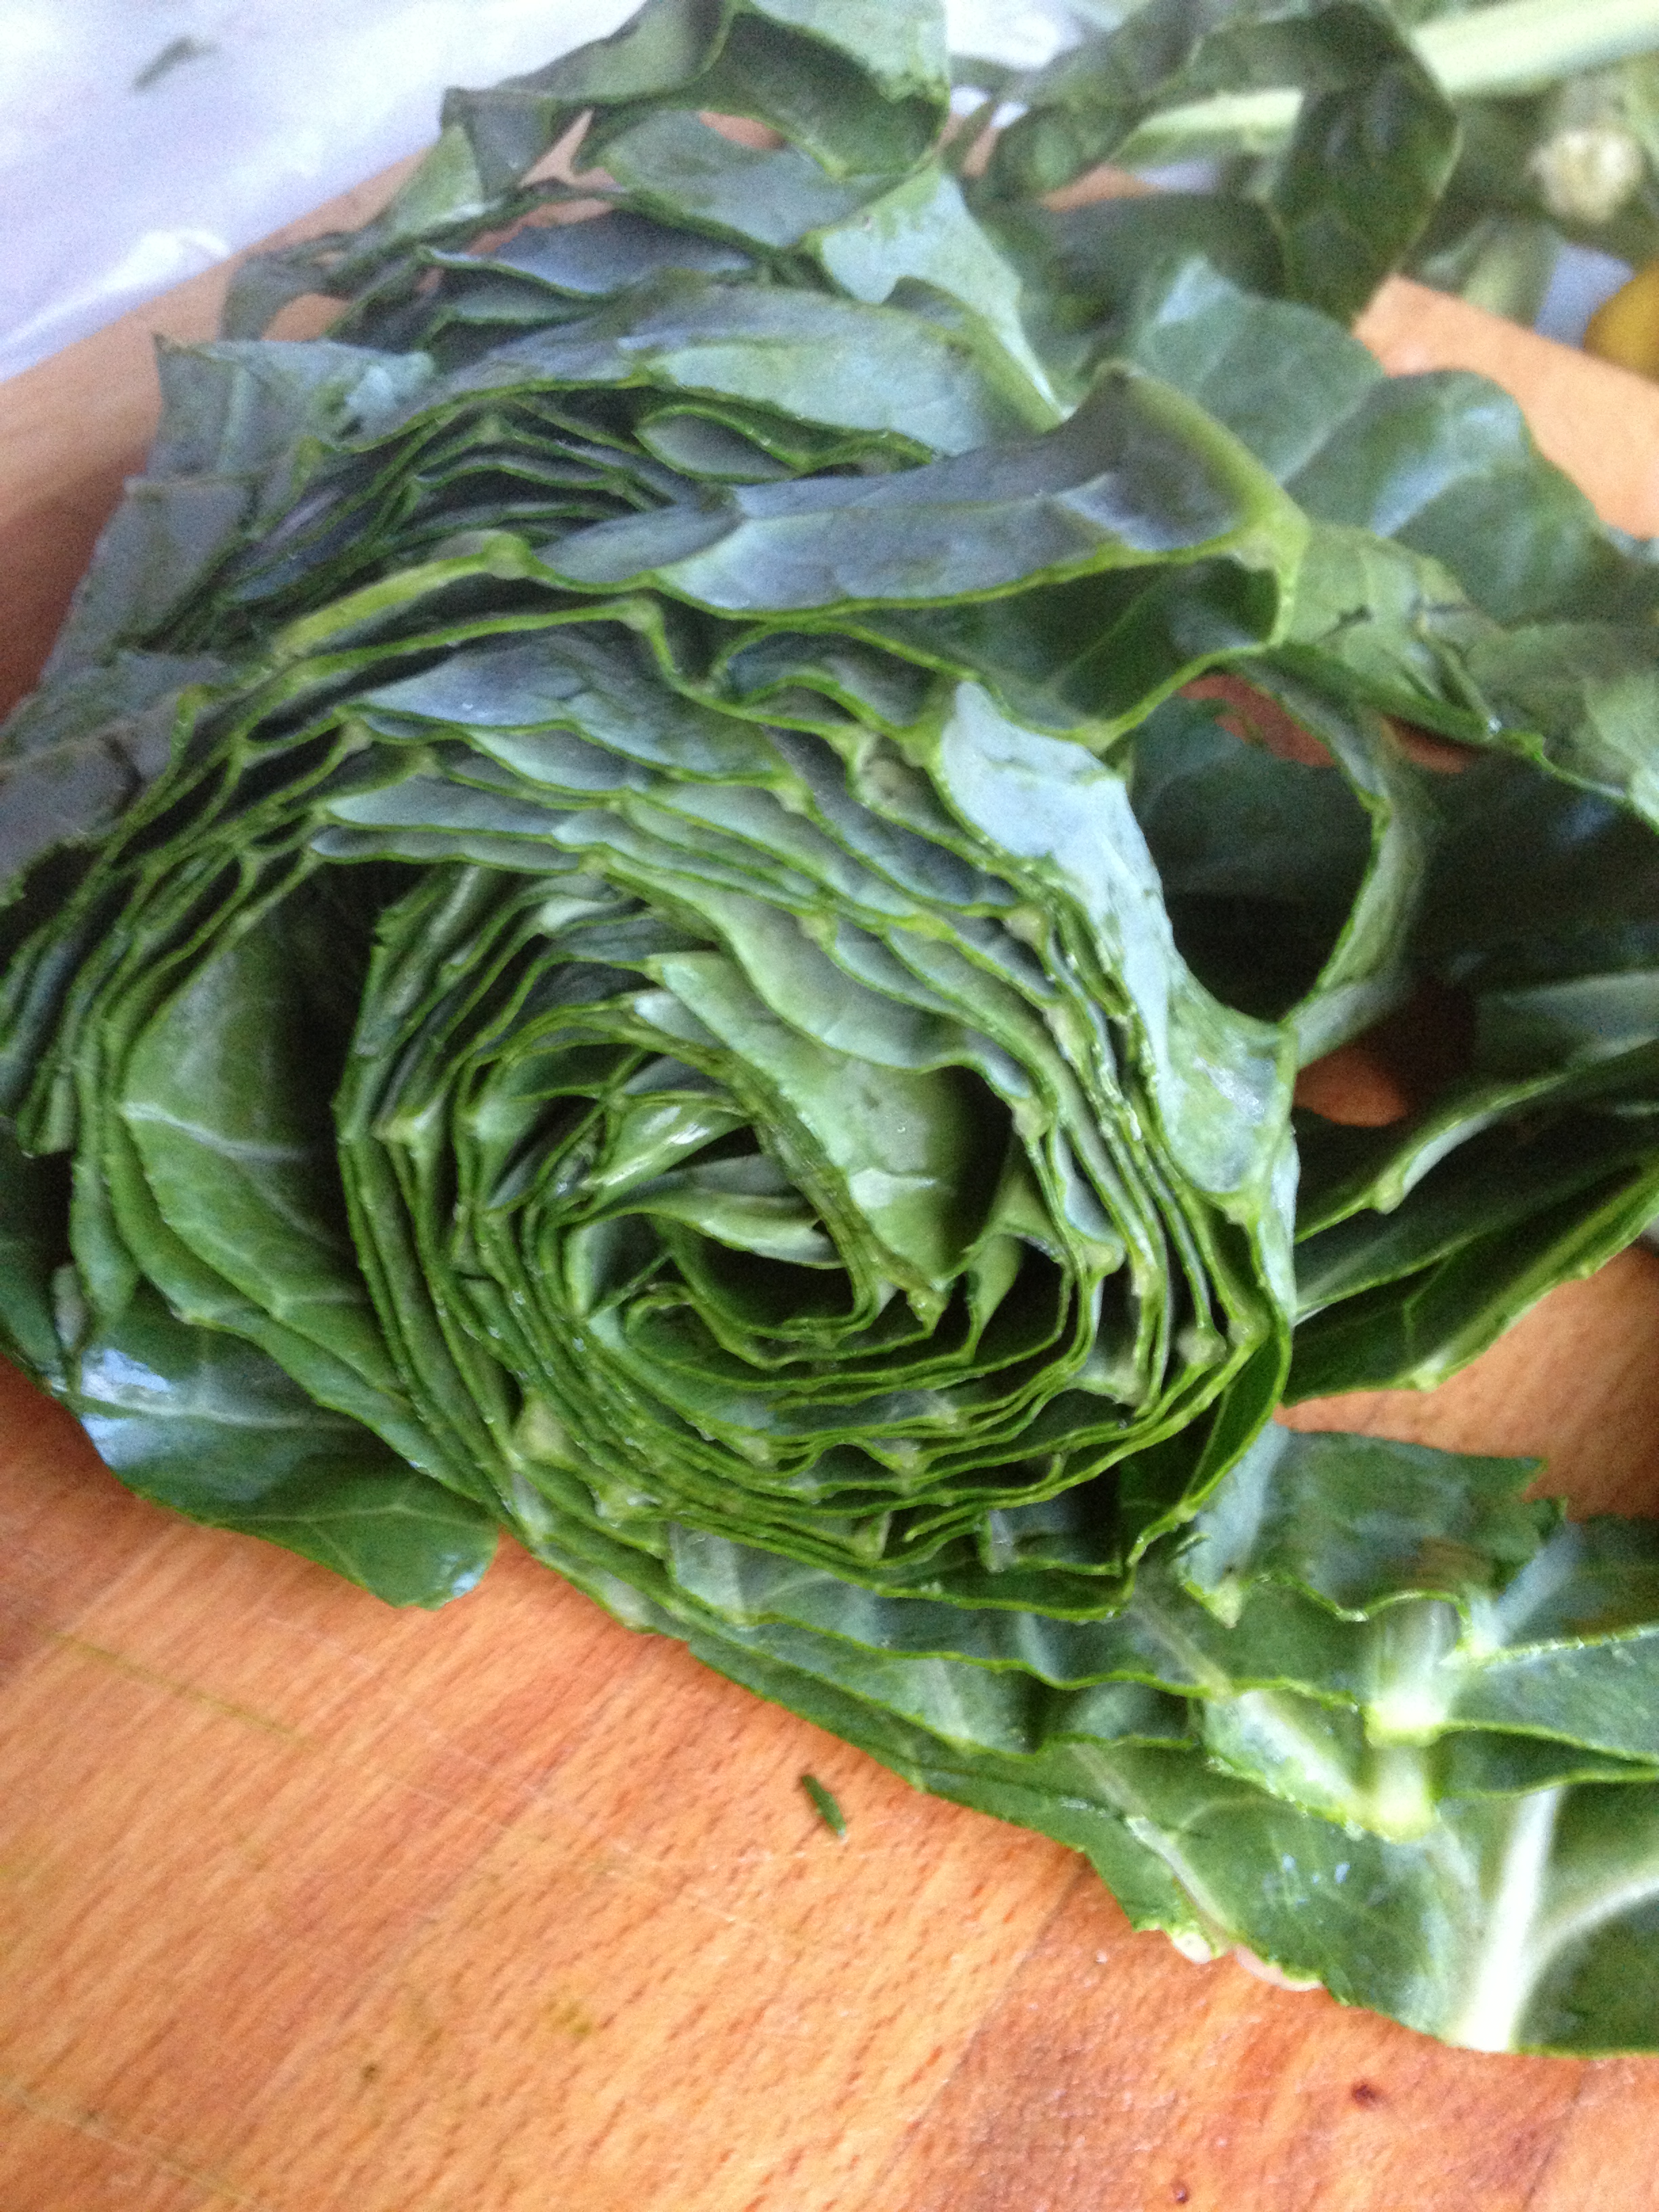
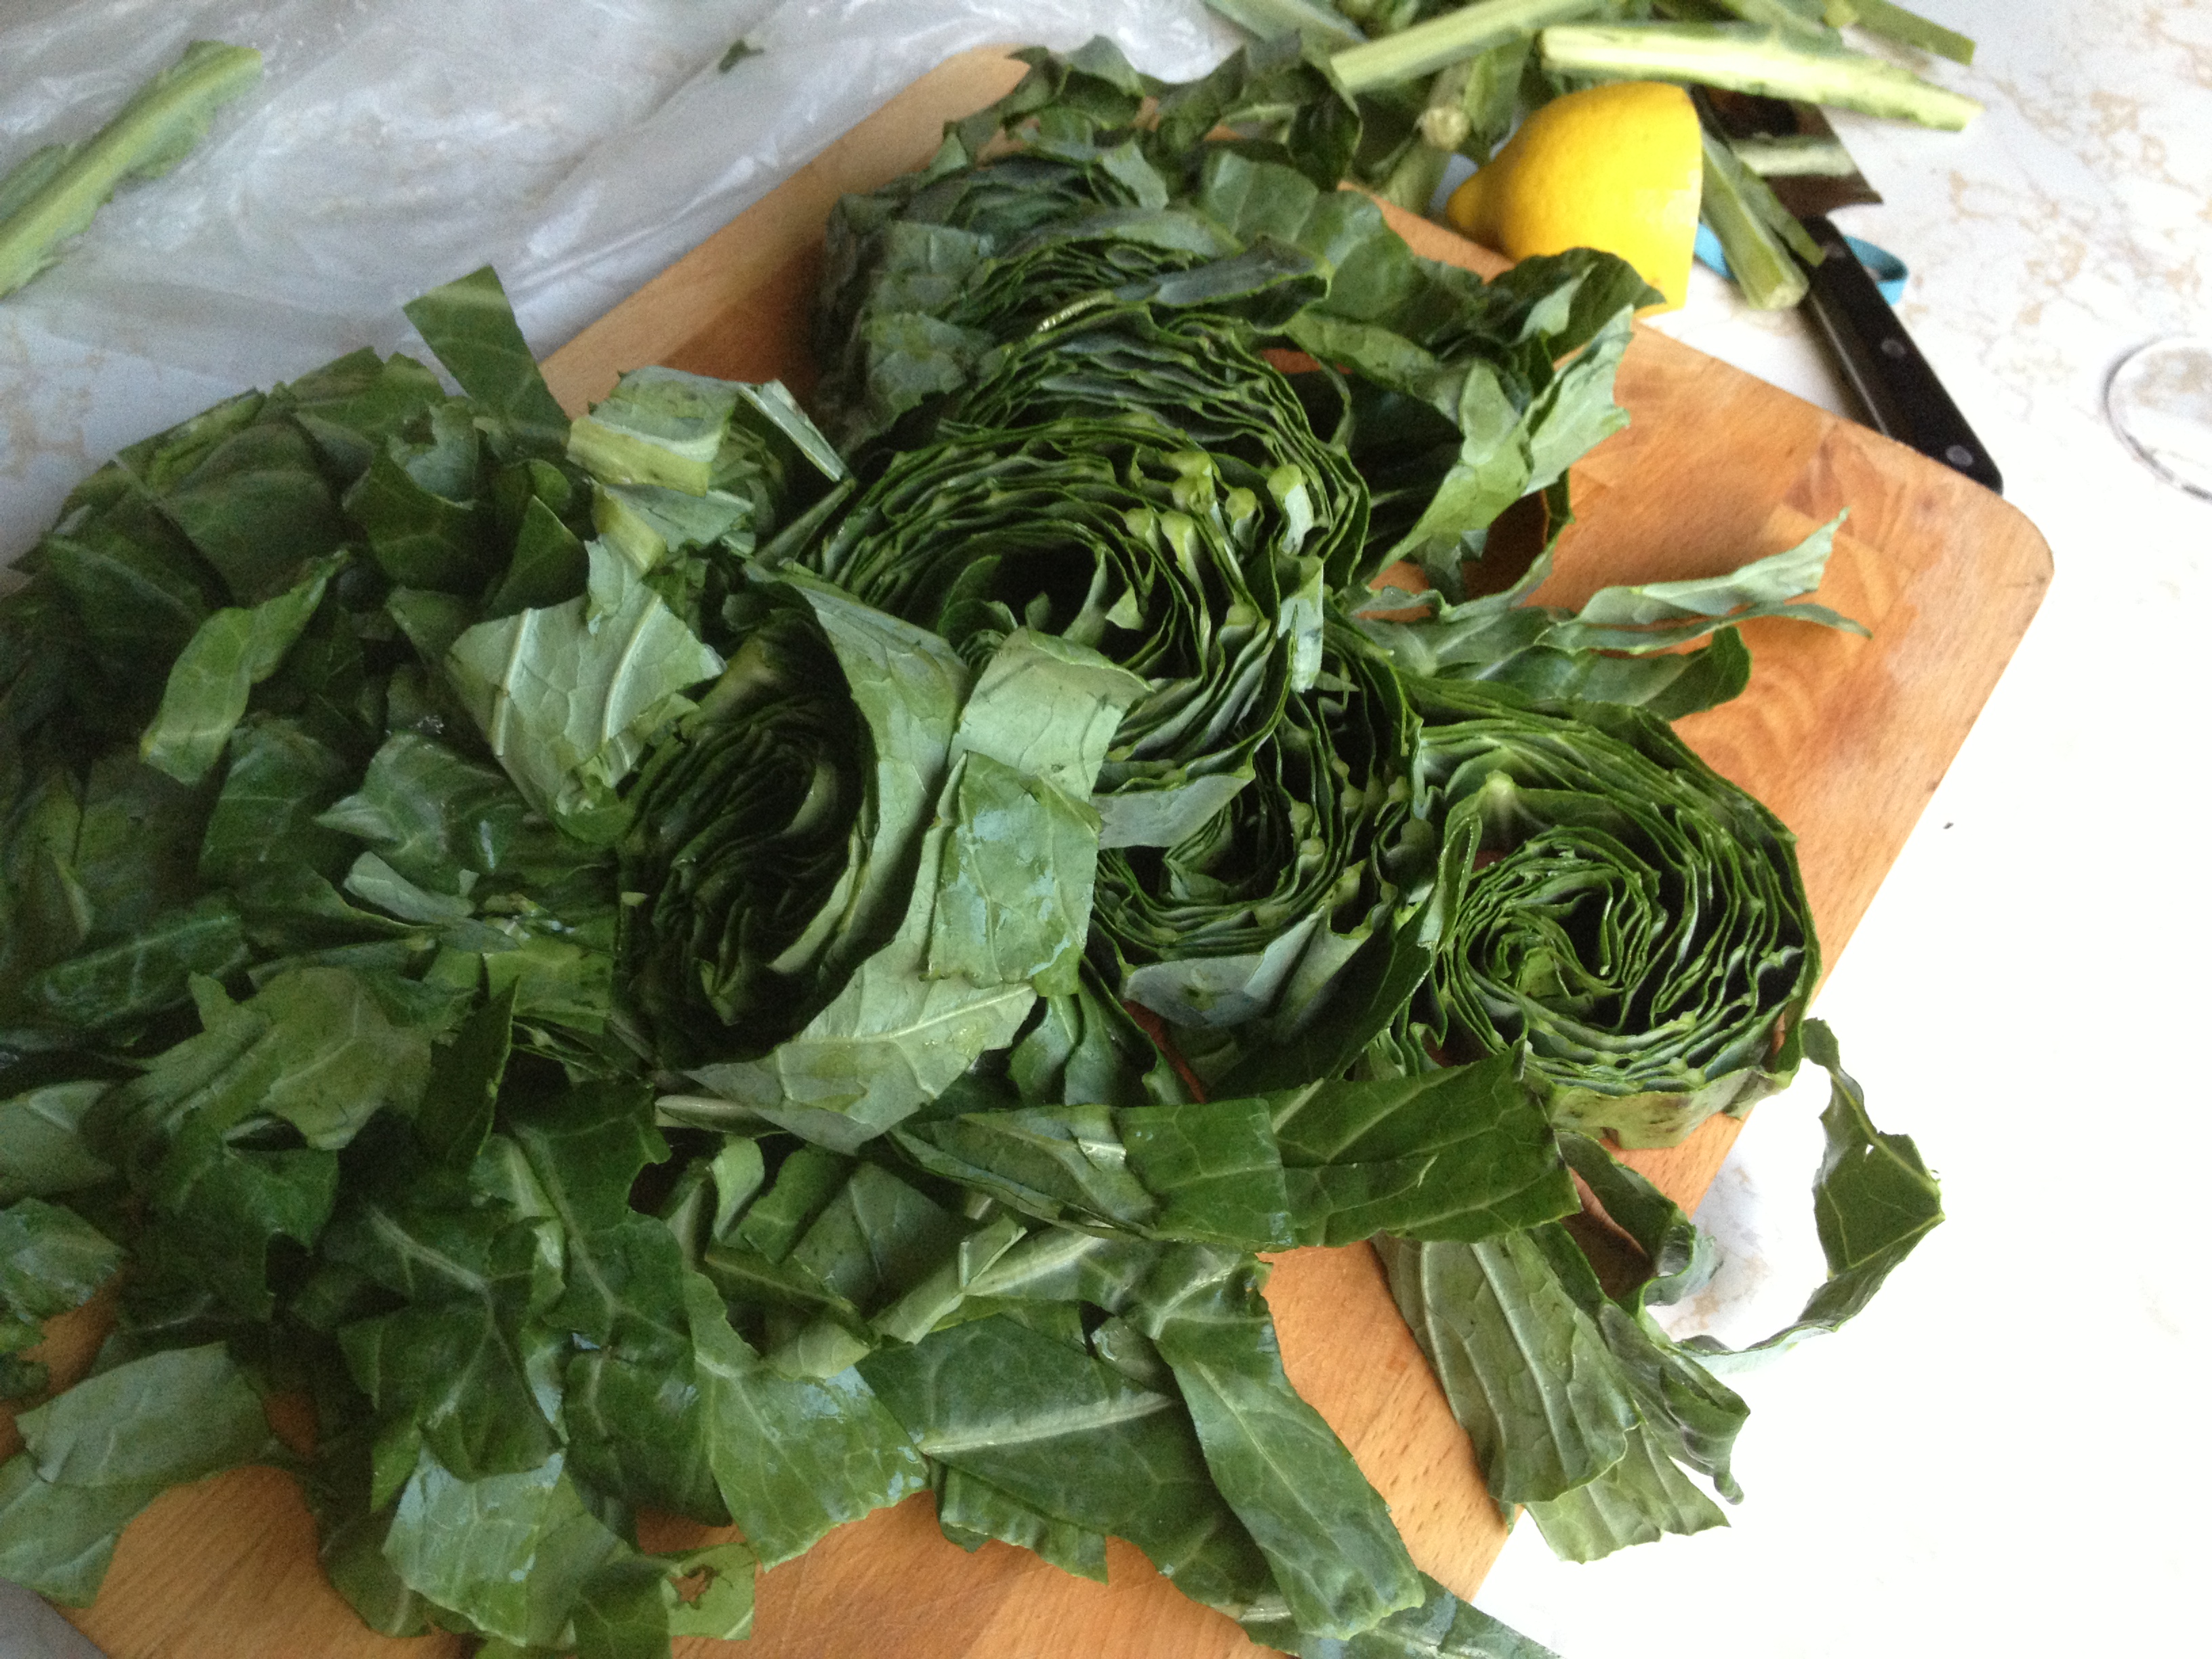
Step Four: Roll and Cut
Once all the stems have been removed, stack the leaves one on top of the other, with the top of the leaves lined up. Roll the leaves into a tight log.
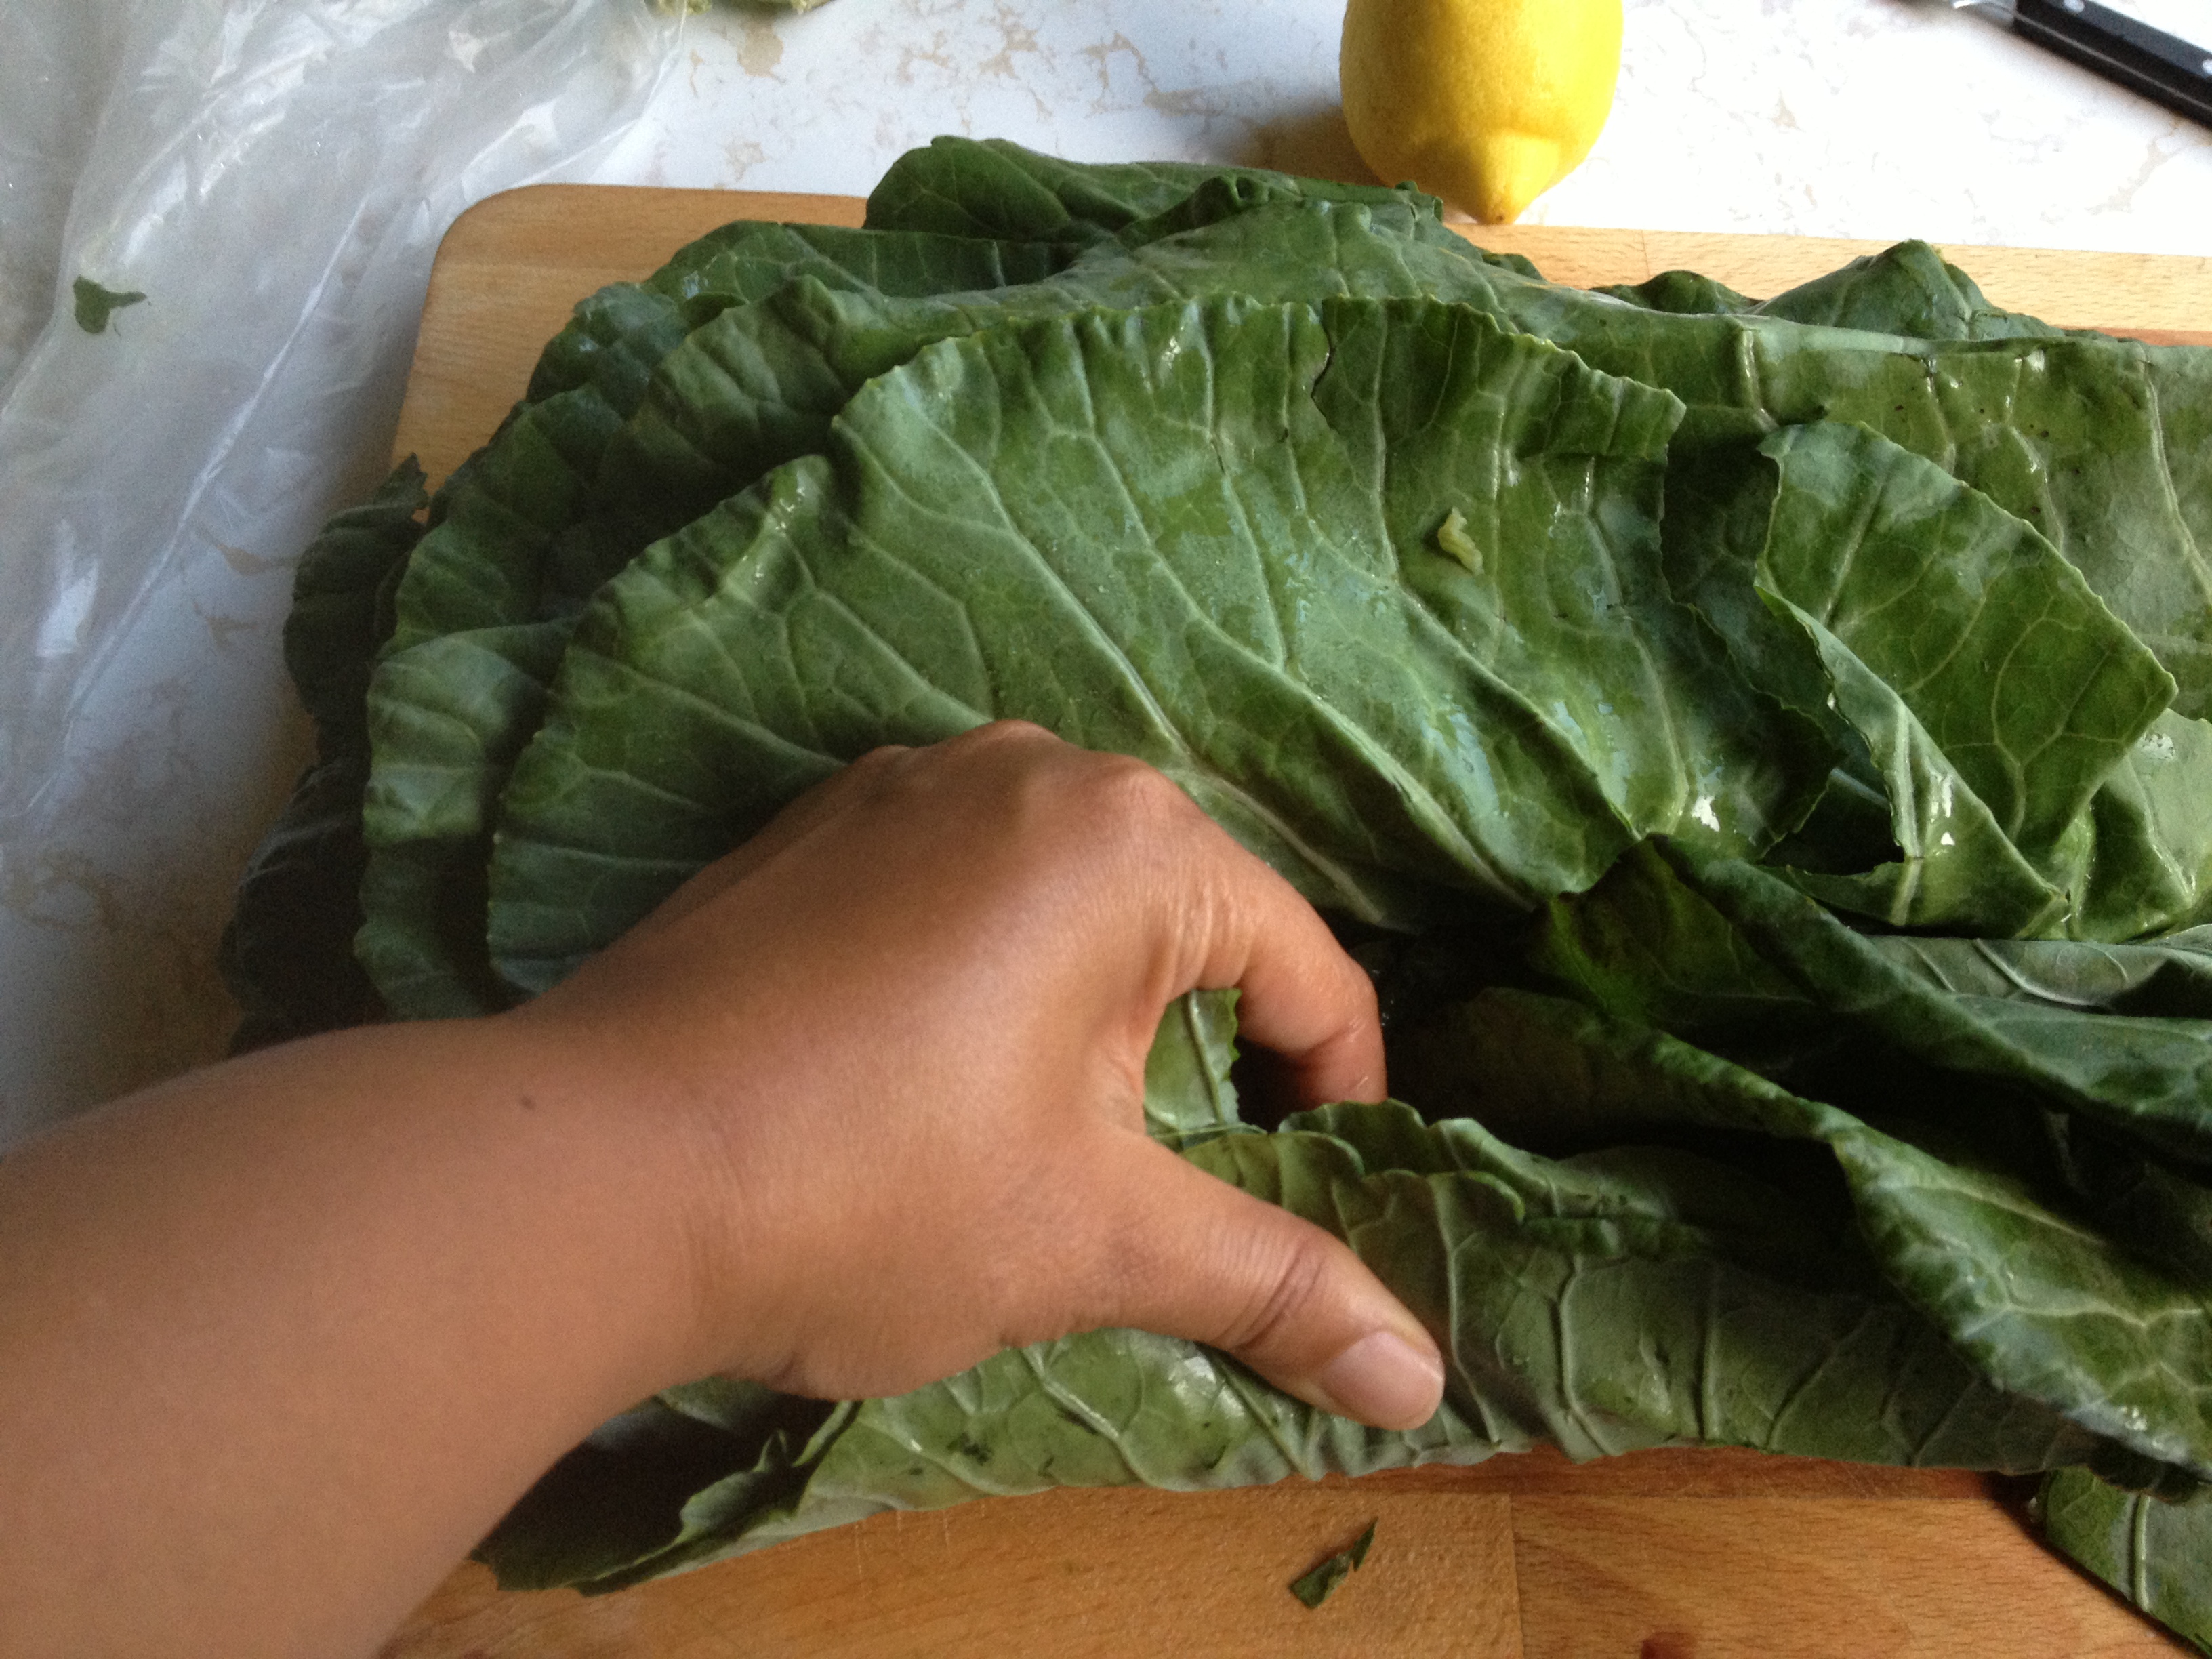

Slice. About 1″ sections are a good thickness.
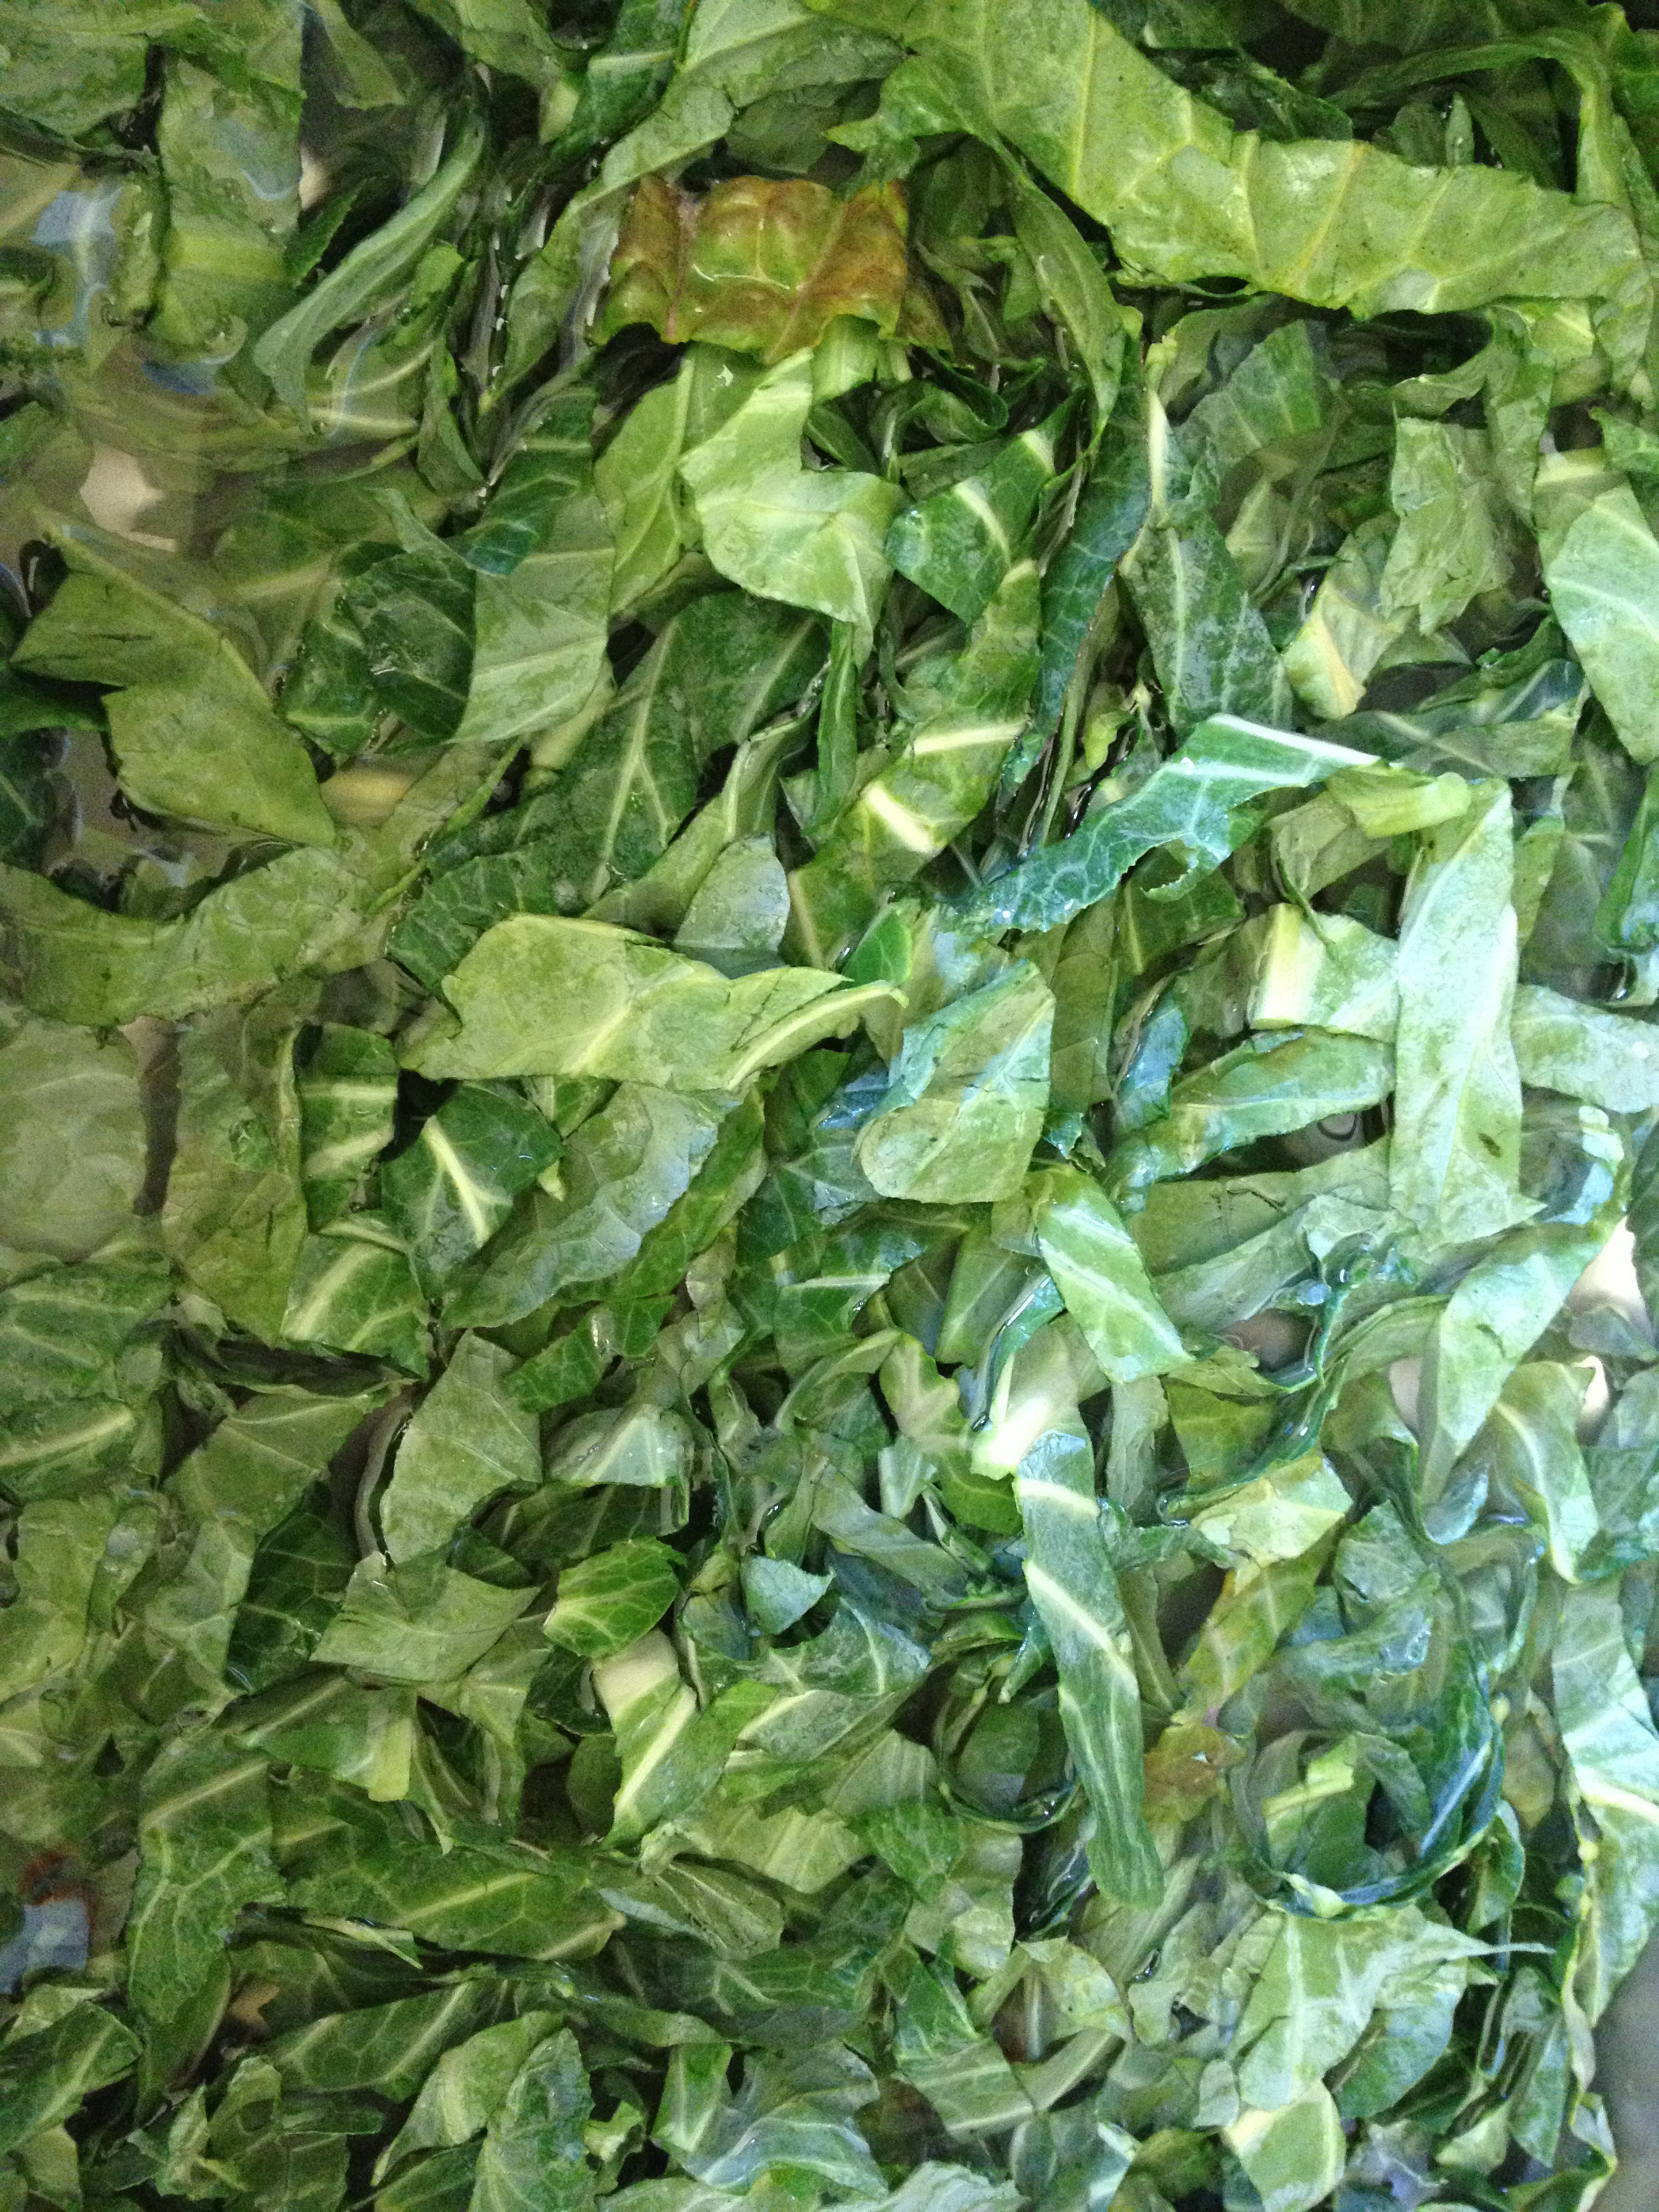
Step Five: Final Washes
Throw the cut leaves into a sink filled with lukewarm water, 2 Tbsp. salt and 1/4 cup white vinegar to remove any pesticides, bugs, dirt and debris from the leaves. Leave in the water for about 20 minutes, occasionally rubbing and turning the leaves in the water.
Fill a colander with greens. Rinse with cold water.
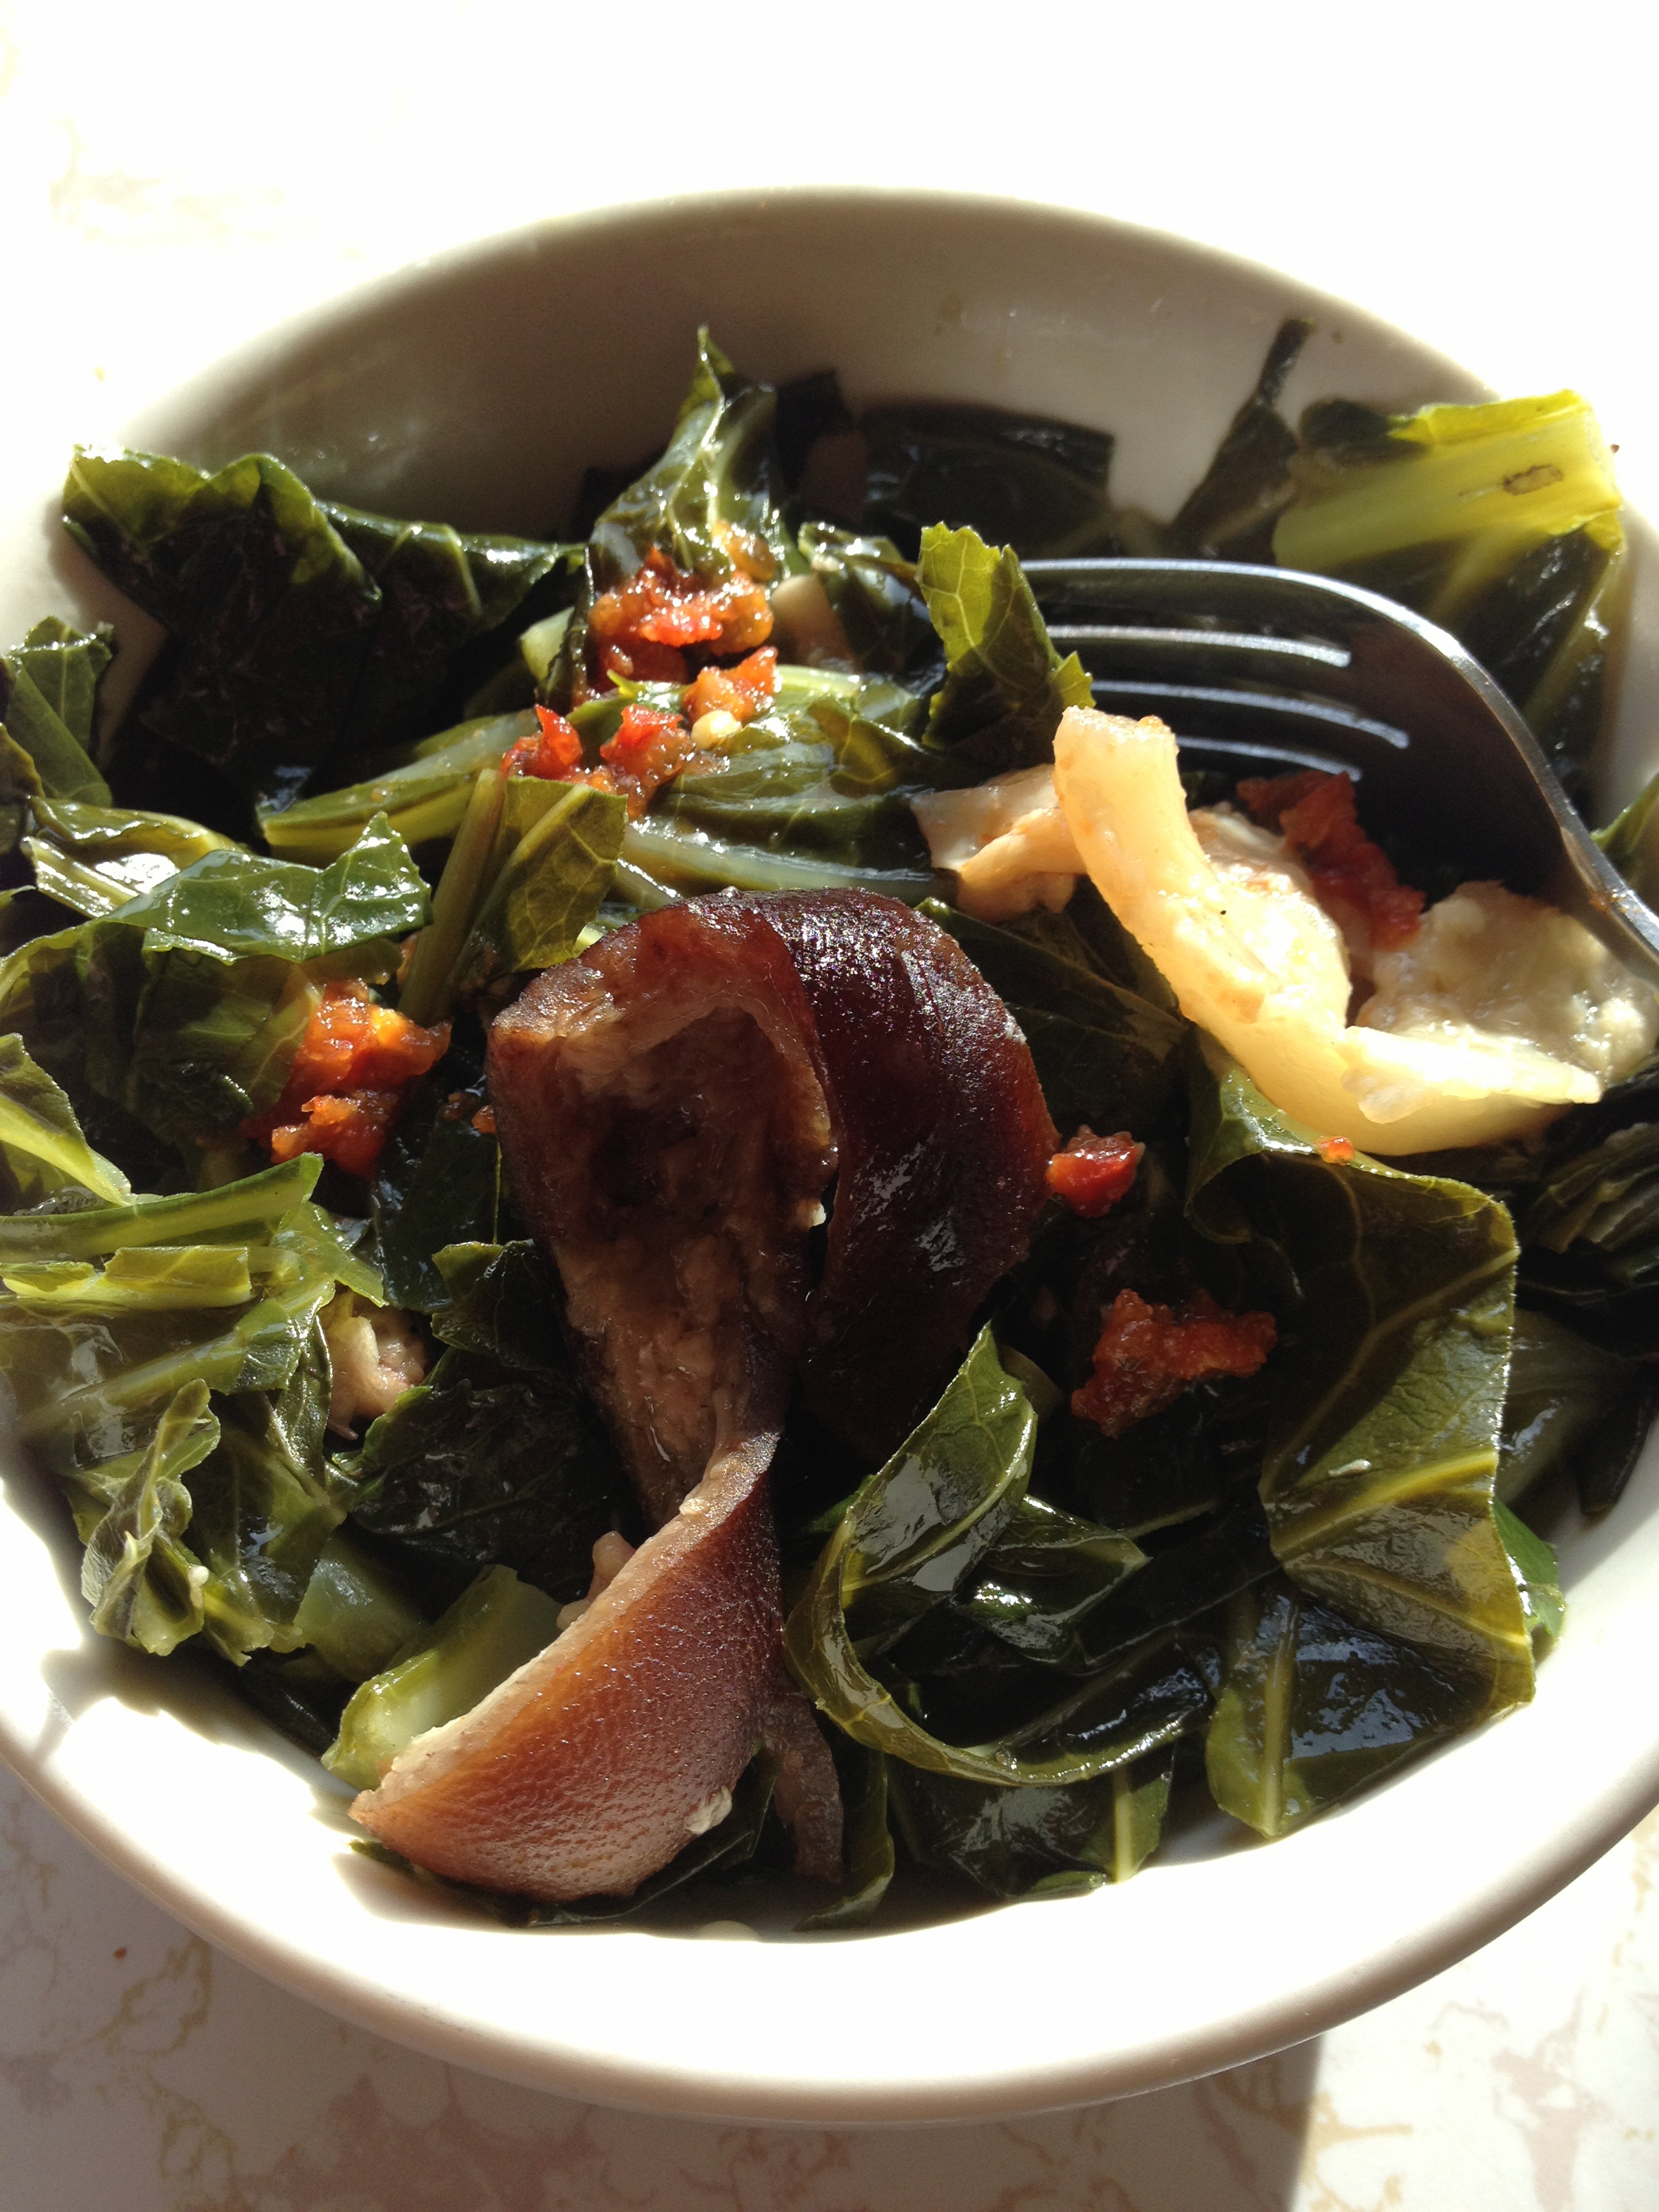
Step Six: Cook
Put the greens in the pot and cook until tender and delicious. Enjoy!
P.S.- For more frequent tasty foodie pics, check out my Instagram @Chrissy_Cooks 😉