I can’t even begin to dissect (nor do I want to) what is going on in Congress with the budget and blah blah blah. It does, however, remind me of a conversation I had with a friend recently about budget-saving meals. Whether you’re a college student on a ramen-noodle budget, a starving artist, a parent looking to tighten up on the household food bill, or…the United States government, we can all stand to save a little here or there! The great thing about food is that the range of possibilities are endless! With a few simple and inexpensive ingredients you can make countless delicious meals. And I bet all or most of those meals can be made with ingredients you already have on hand.
The above-mentioned friend had what seemed to her to be a few ingredients that amounted to not much of anything, but to me seemed to be the main ingredients for all her meals over the next couple of days: gluten-free flour, eggs, oil, milk. Why, crepes, of course! You can make a few at a time and add sweet or savory ingredients to the crepes for unlimited options for breakfast, lunch, dinner or dessert, I told her. In fact, most of the following meals are versatile enough for any meal of the day. That’s another great thing about cooking budget-saving meals: it forces you to break out the box a little and be more creative about what you eat. There’s nothing like a little pantry shopping to spice up your everyday monotonous meal schedule. Here are a few of my favorites. Happy budgeting and HAPPY EATING!
Oatmeal, Nuts ‘n Berries
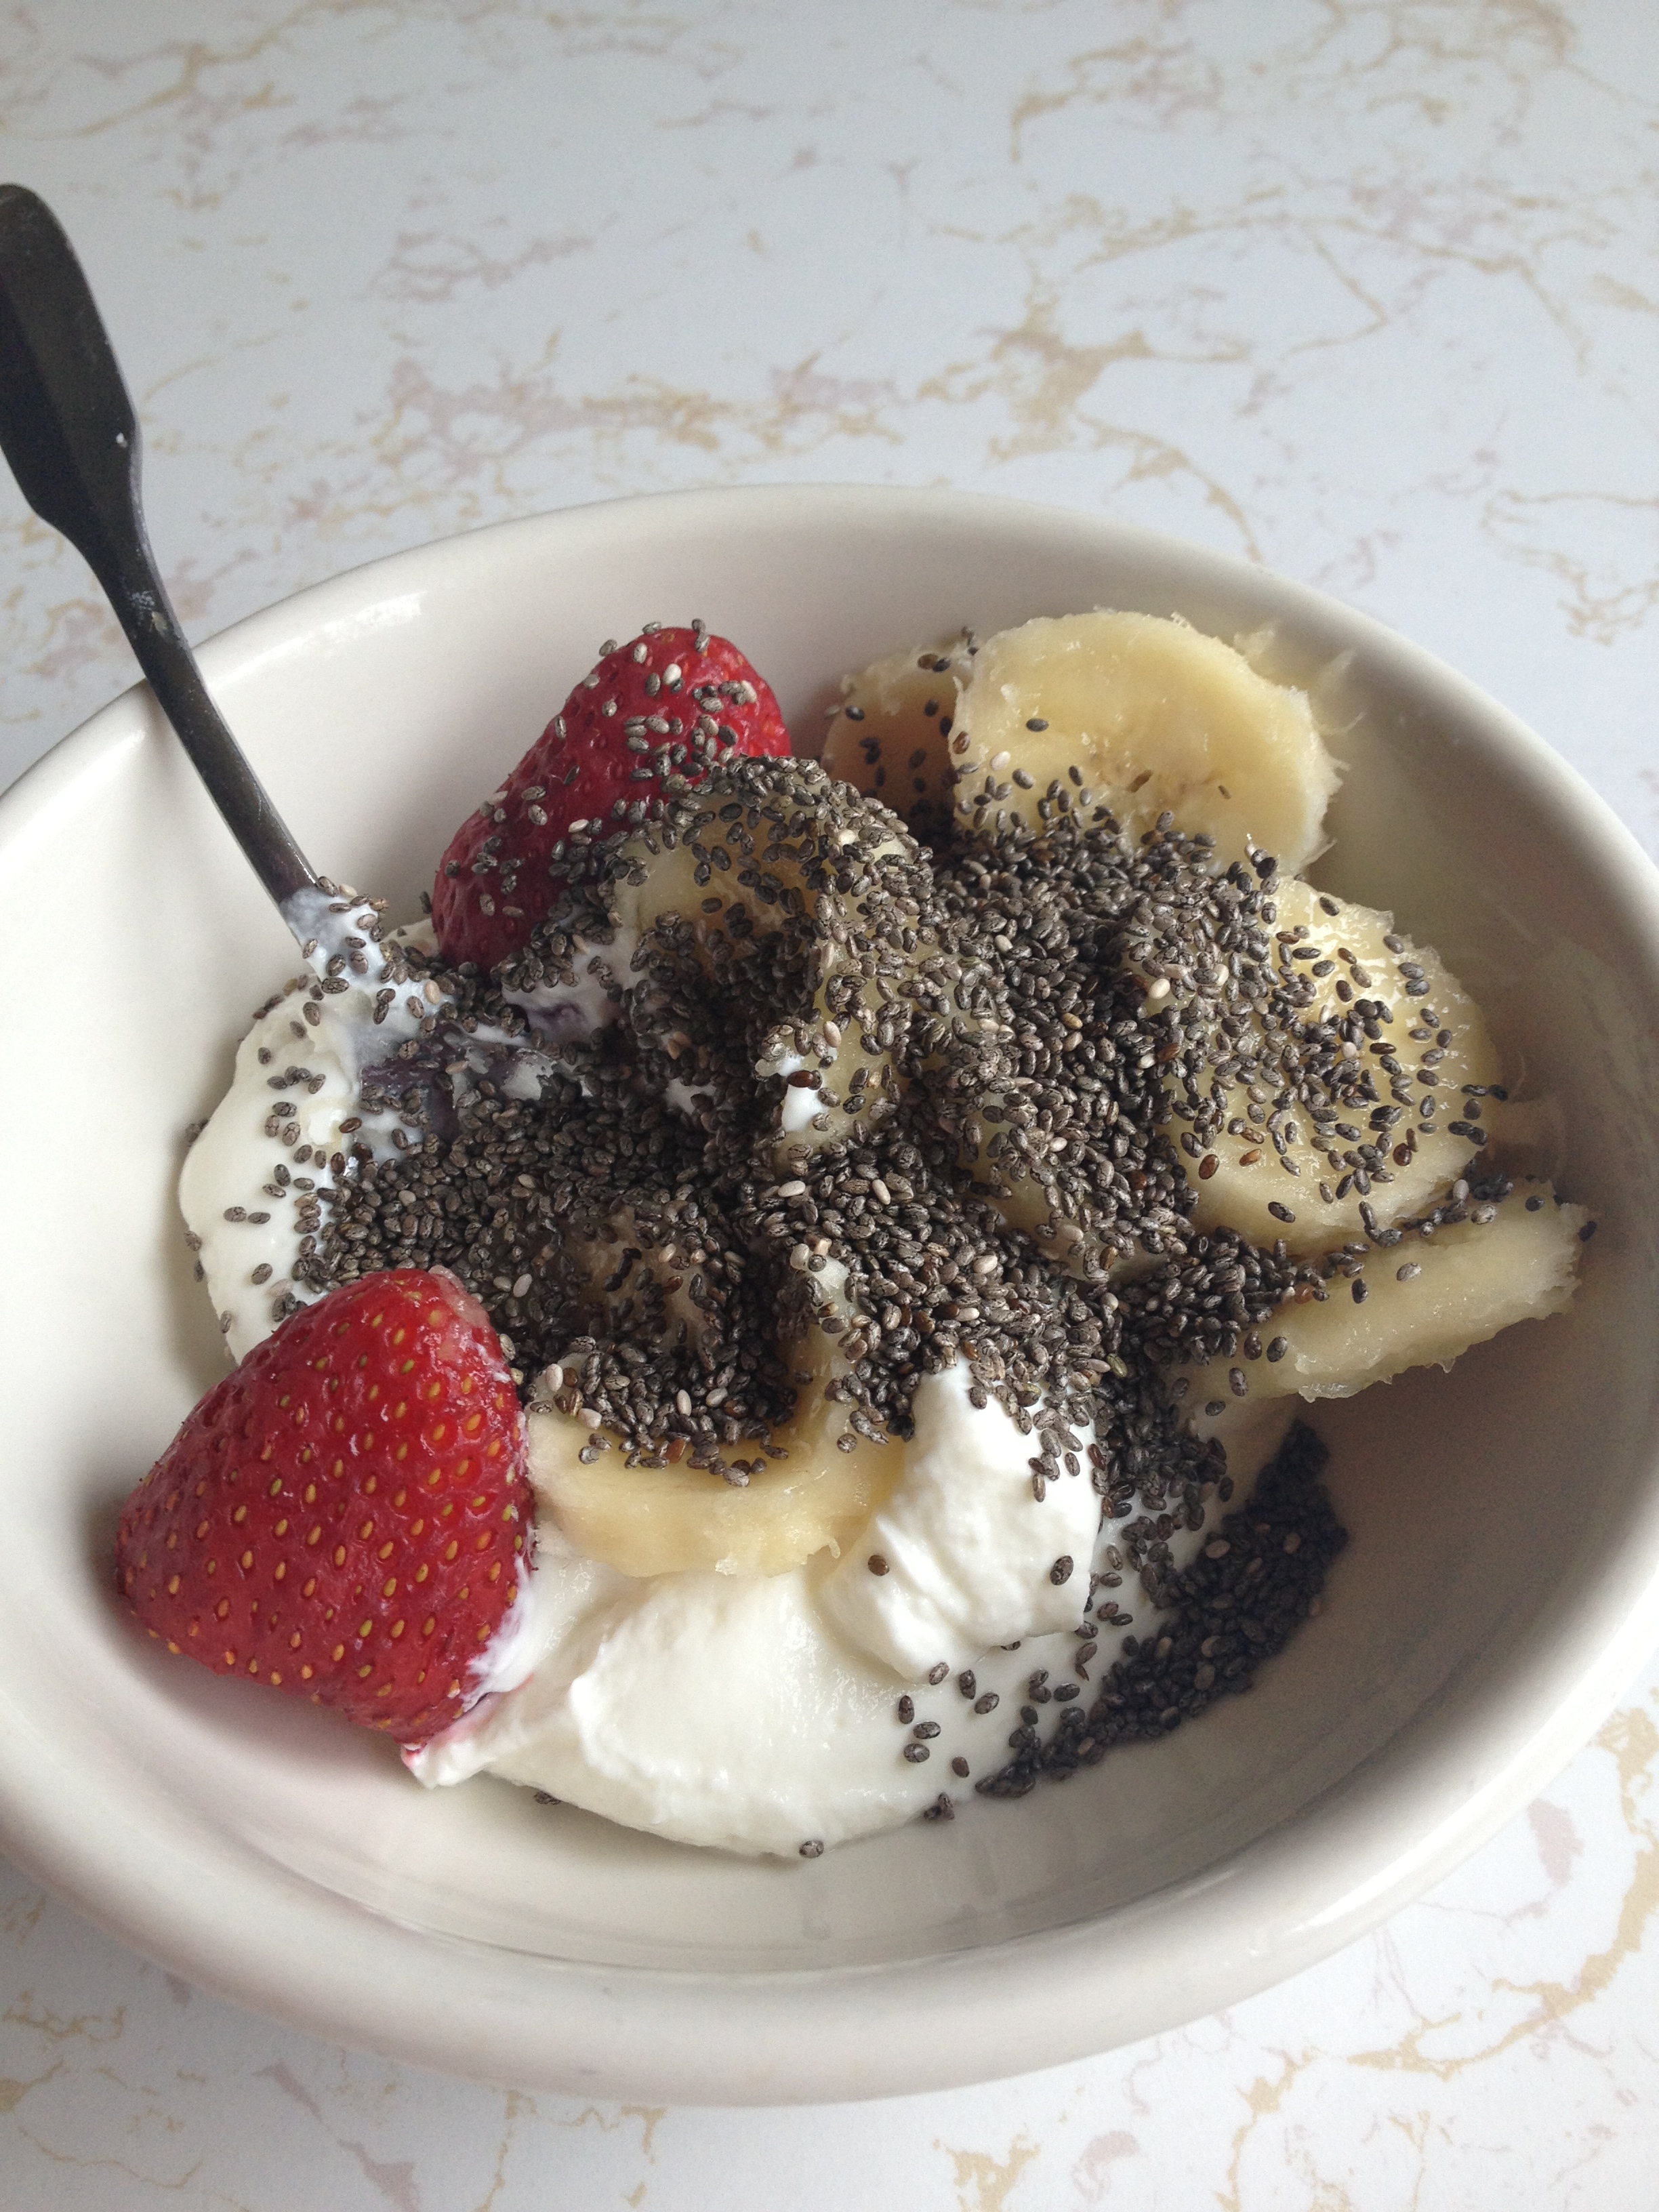
Mmmmm oatmeal! It’s one of those constants in my life, like Dove beauty bars and the beach in the summer time. They are so much a part of who I am that I refuse to part with them for too long. It used to be rolled oats, but now I’ve got a thing for crunchy steel cut oats, slow cooked for almost an hour then piled high with whatever topping suits my mood. I make a big pot about once a week then refrigerate and use as needed throughout the week. Blueberry/banana/quinoa/low-fat yogurt/chia seeds is one of my favorite combos. Add a hard boiled egg and you’ve got a quick and easy protein-packed breakfast to hold you for a few hours longer than plain old oats alone. A $3.29 carton of organic steel cut oats at Trader Joe’s could last a couple of weeks. Depending on your toppings, breakfast could run less than a dollar a day!

The oats are under there somewhere…
You Will Need:
Steel cut oats; Toppings: *SWEET-blueberries, blackberries, bananas, strawberries, cream, apples, cinnamon, nutmeg, honey, brown sugar, maple syrup, and/or agave nectar. *SAVORY-nuts, yogurt, flax seeds, chia seeds, quinoa, egg, crumbled sausage, spinach, kale, bell peppers, cheese, and/or chili garlic sauce.
To Prepare:
I usually eye about a 3:1 ratio of water to oats. I bring the water to a boil, add oats, reduce temp. to really low and constantly stir over the course of about 45 minutes.
Tortilla
This is one of my all time favorite go-to pantry-cleaners. It is a staple food over in Spain where I learned how to make my Madre’s version. All you need is five simple ingredients and a little time! It can be eaten at room temperature or heated to bring some of the caramelized onion flavor out. Added to an arugula and tomato salad with balsamic, it can serve as a delicious lunch. With a glass of red wine and a partner to share them with, it could be an end to the perfect day.
You Will Need:
Large white potatoes; sweet onions; eggs; salt; vegetable oil
To Prepare:
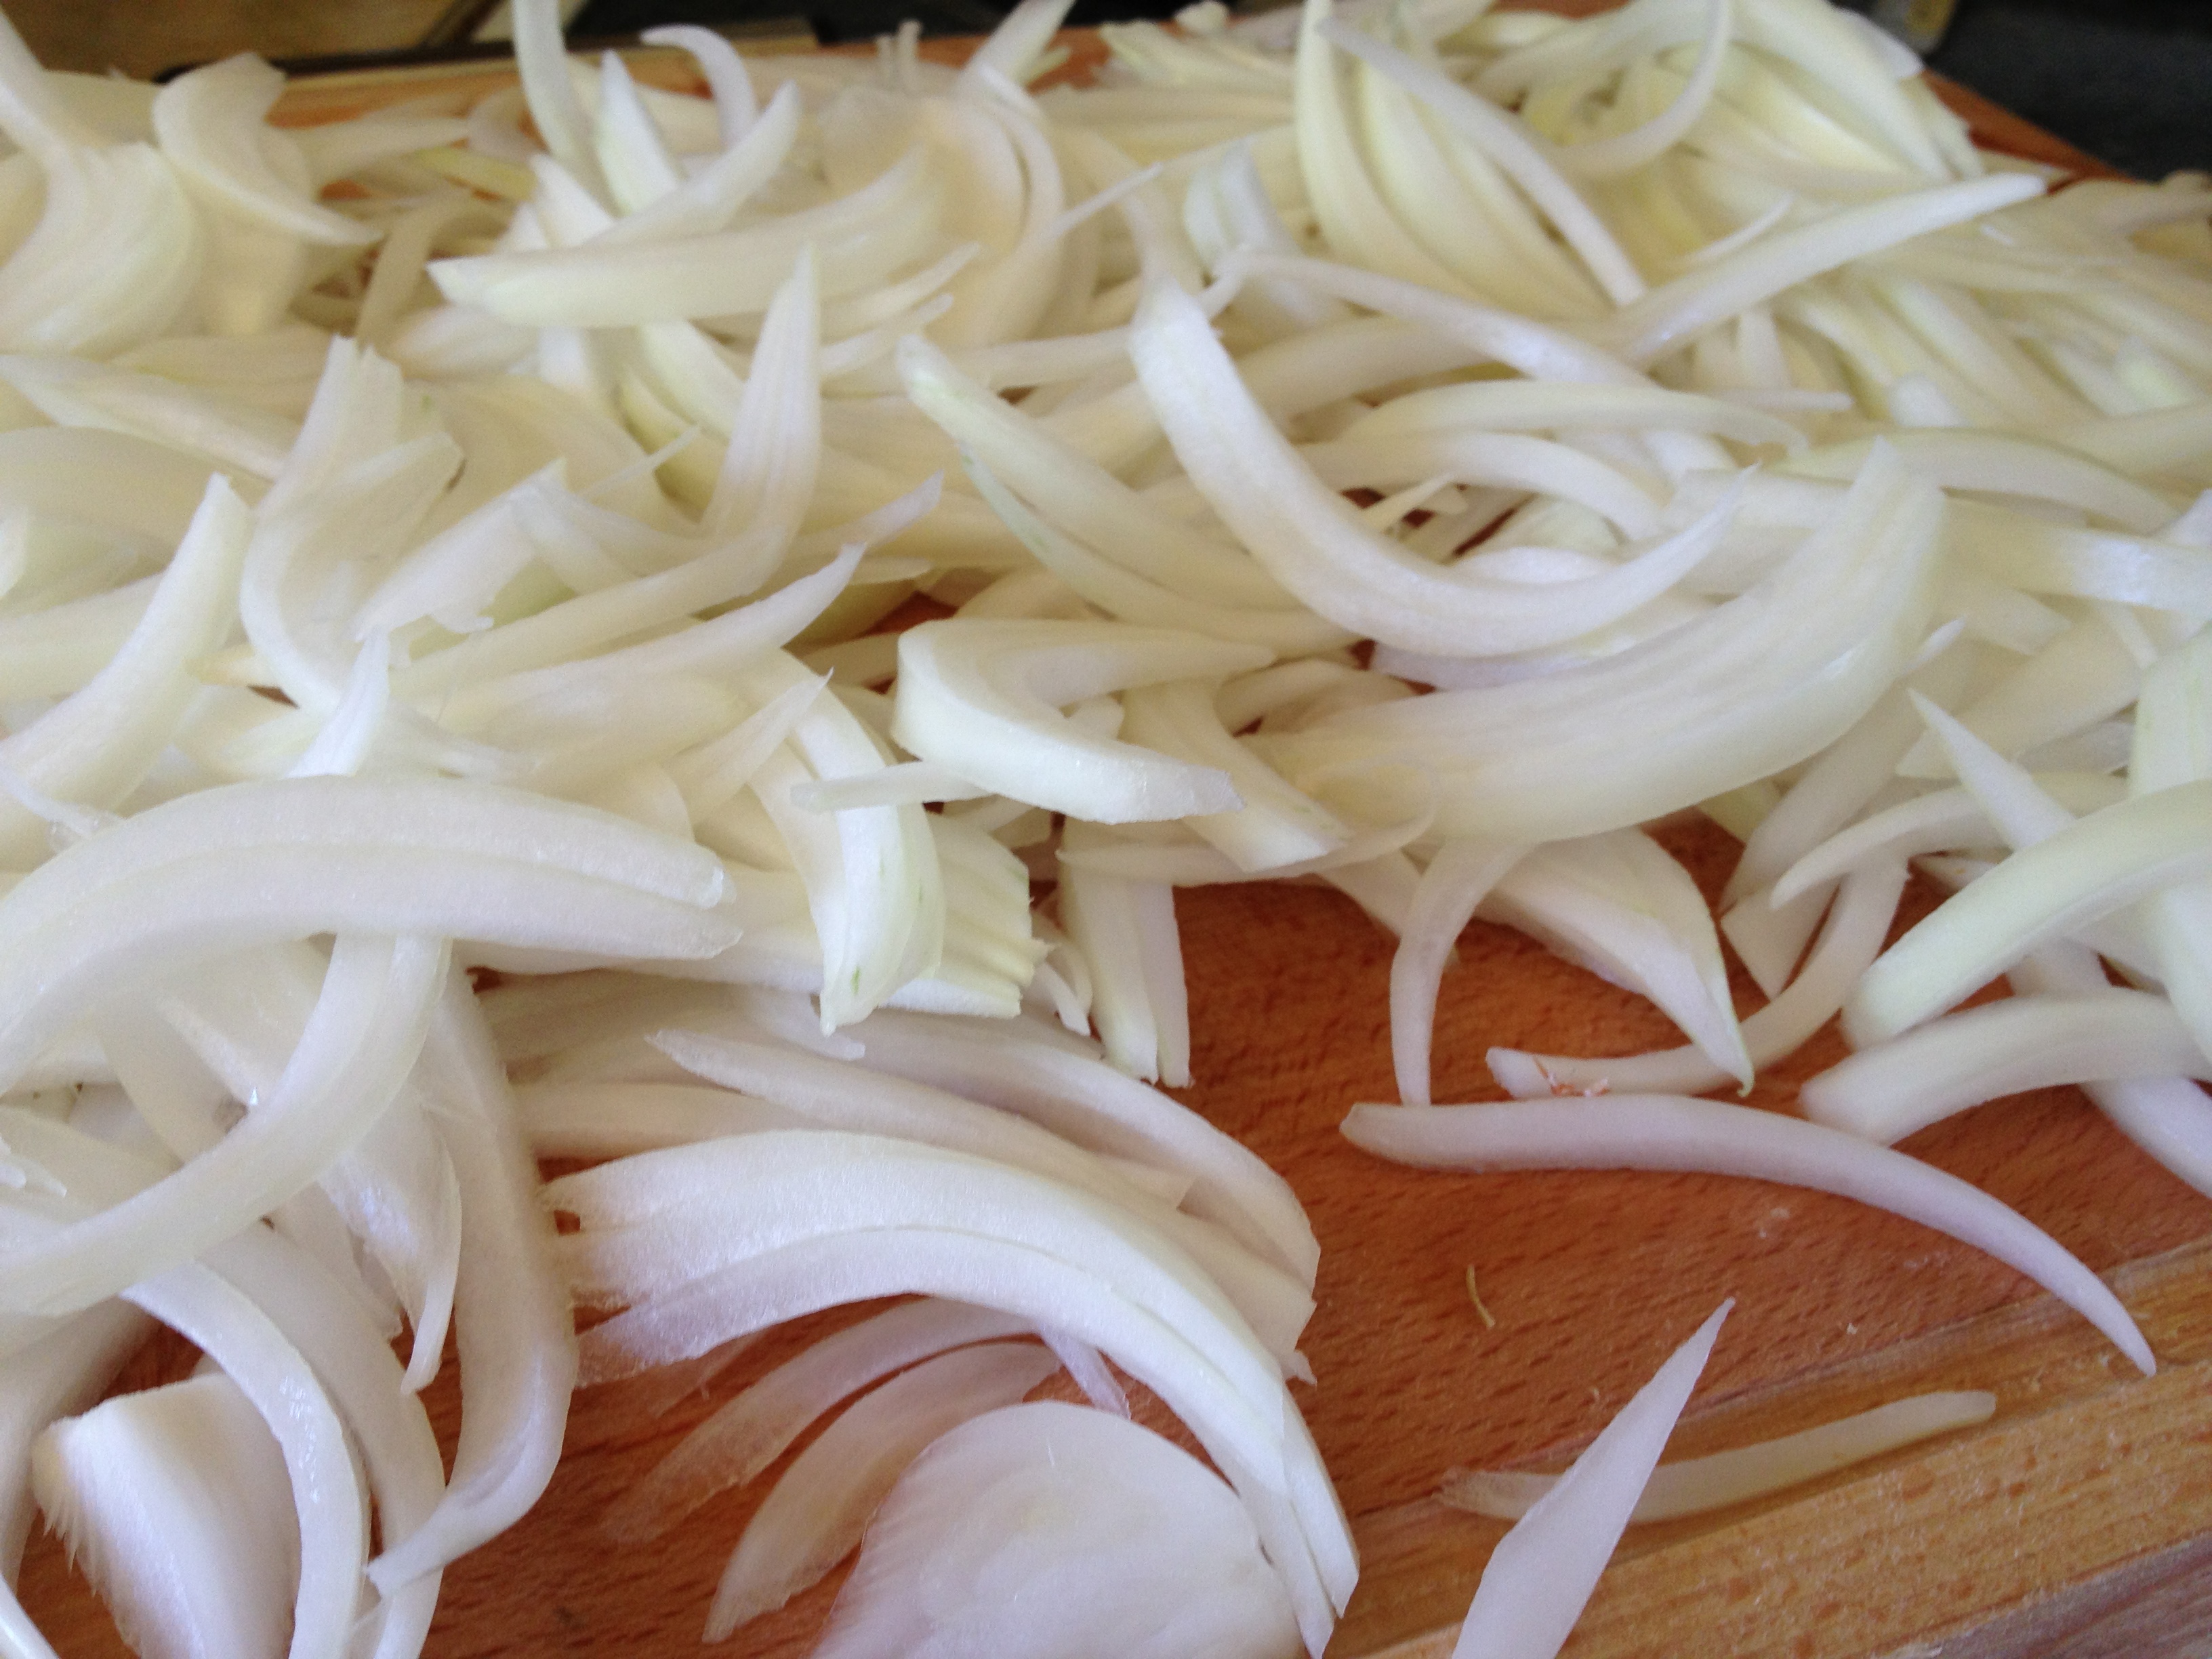
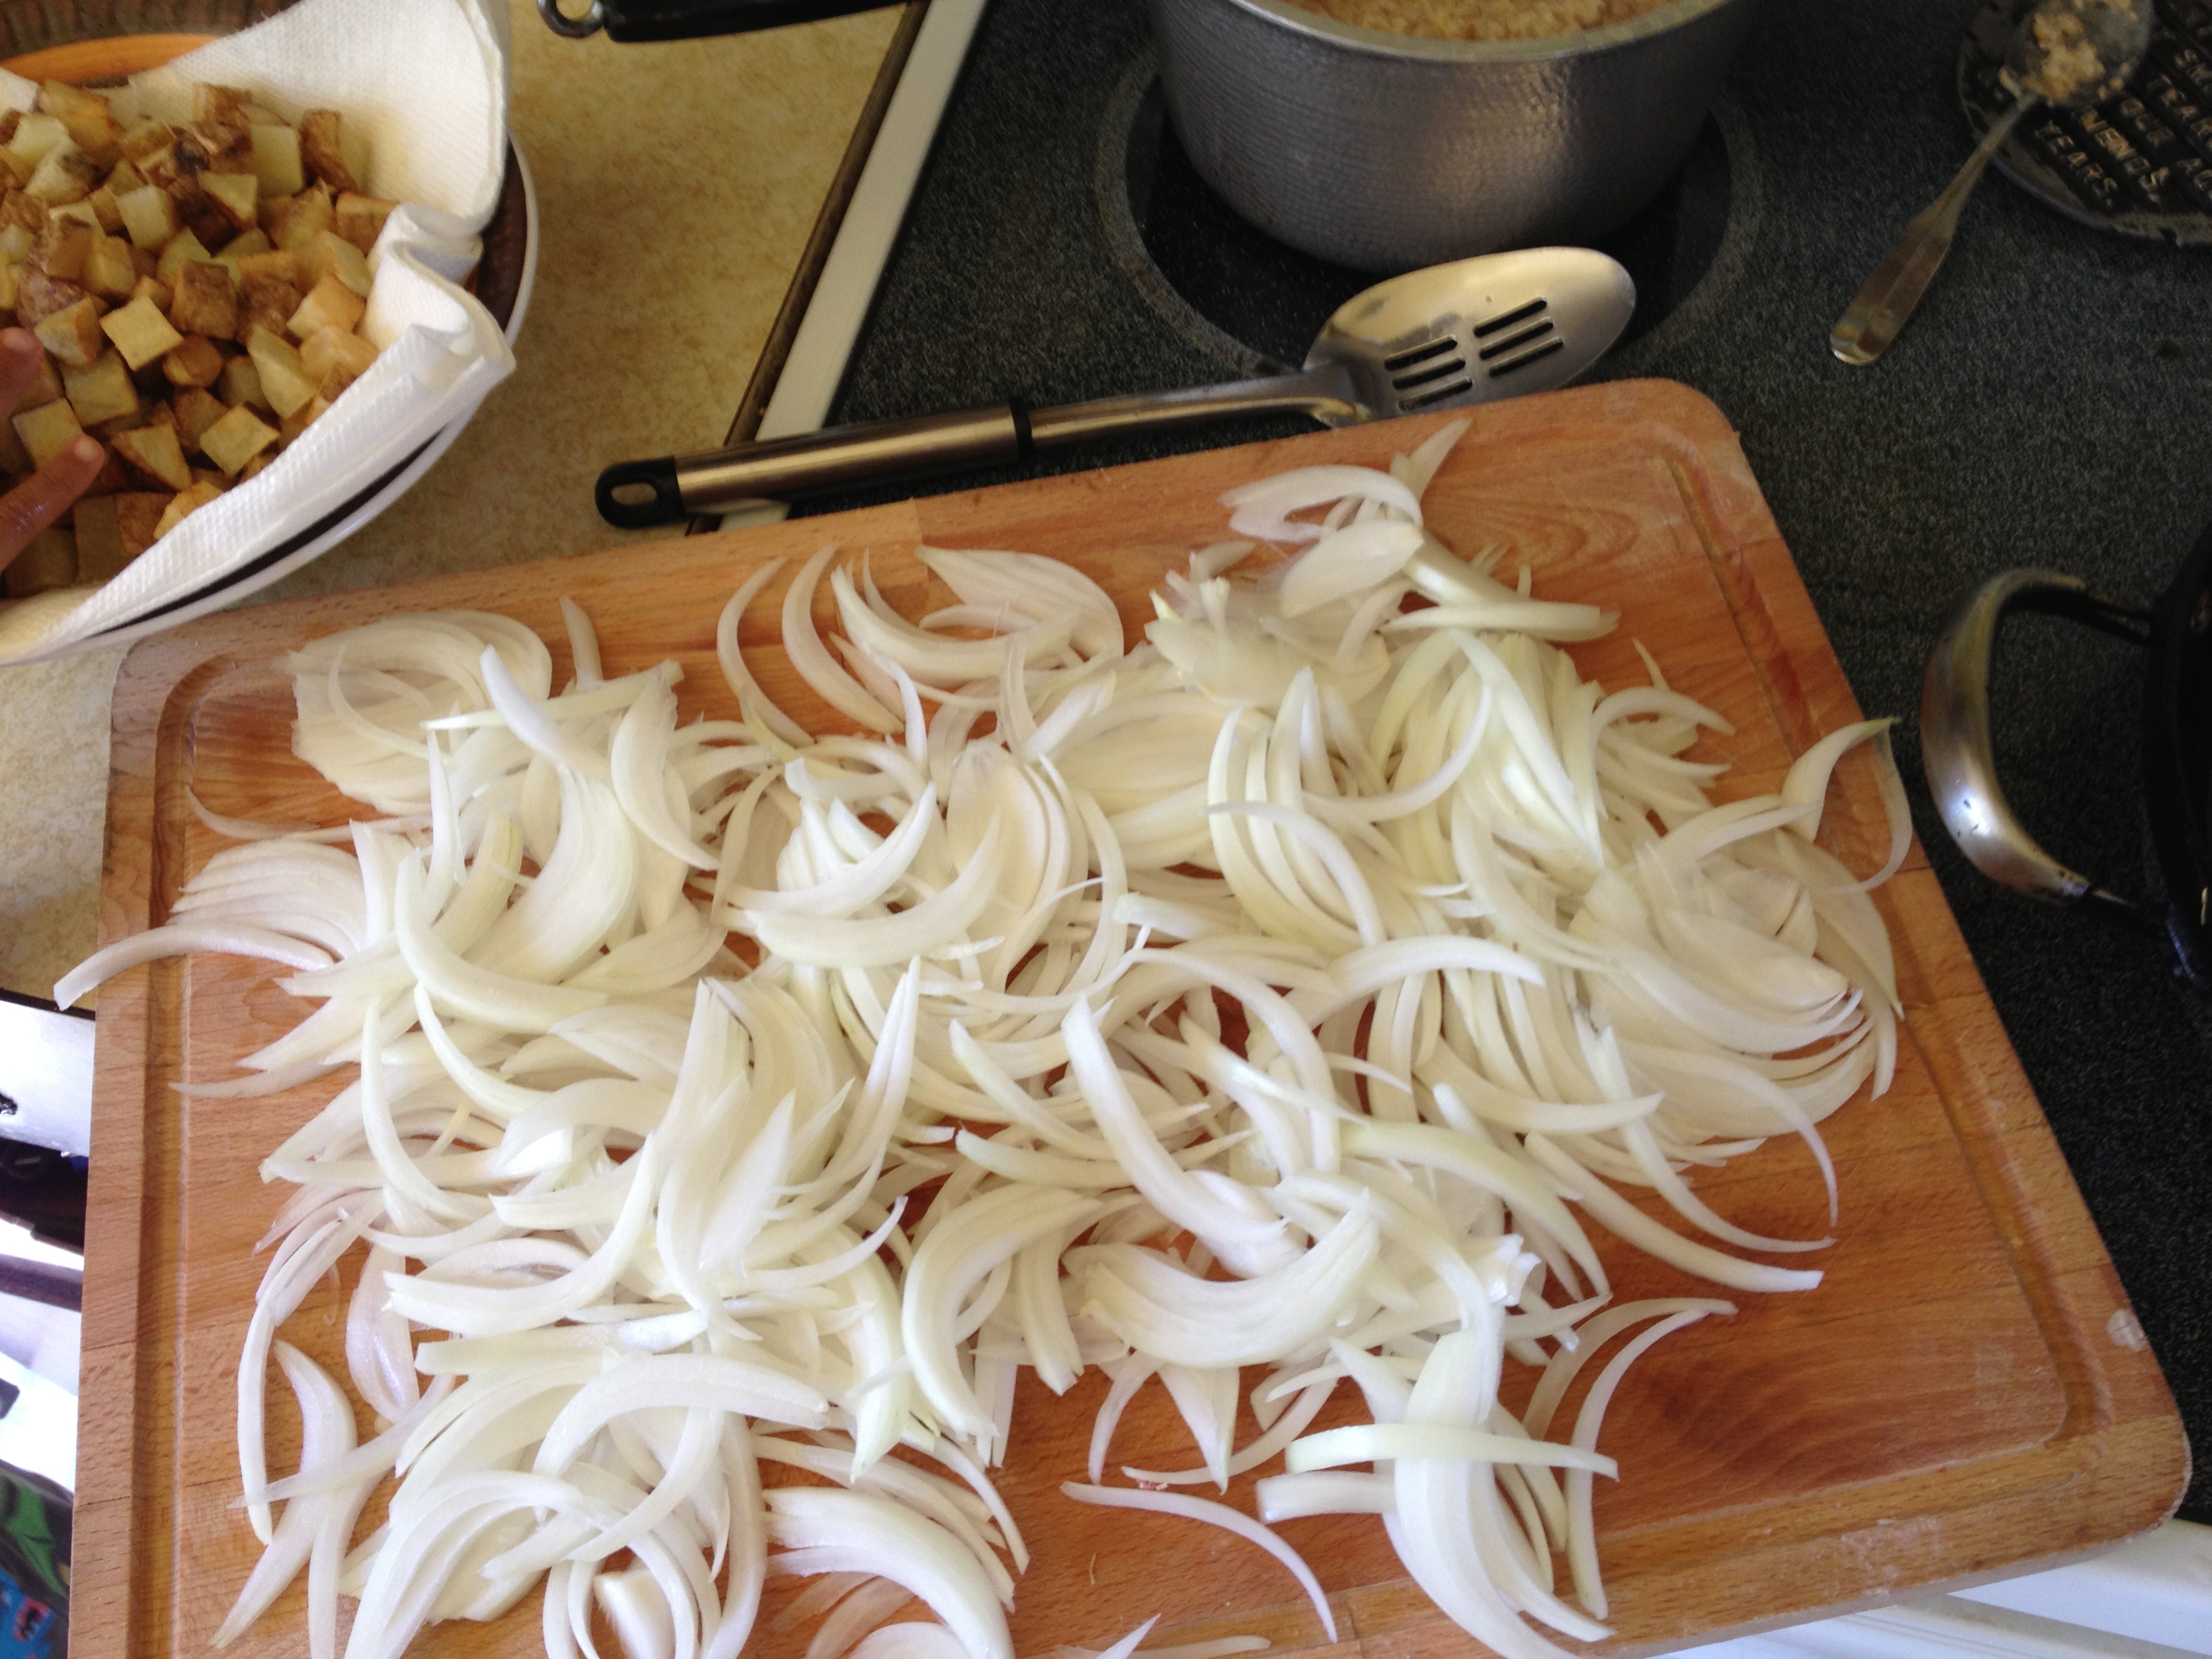
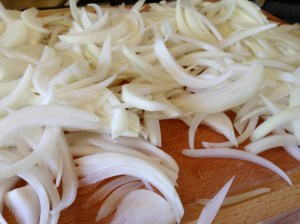
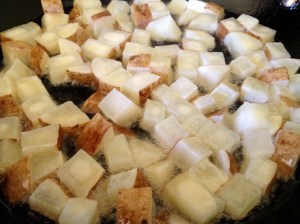
Chop potatoes into about 1/2″ cube size then soak in a bowl of water.Cut onions into very thin slivers.
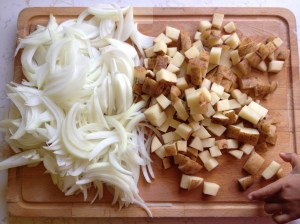
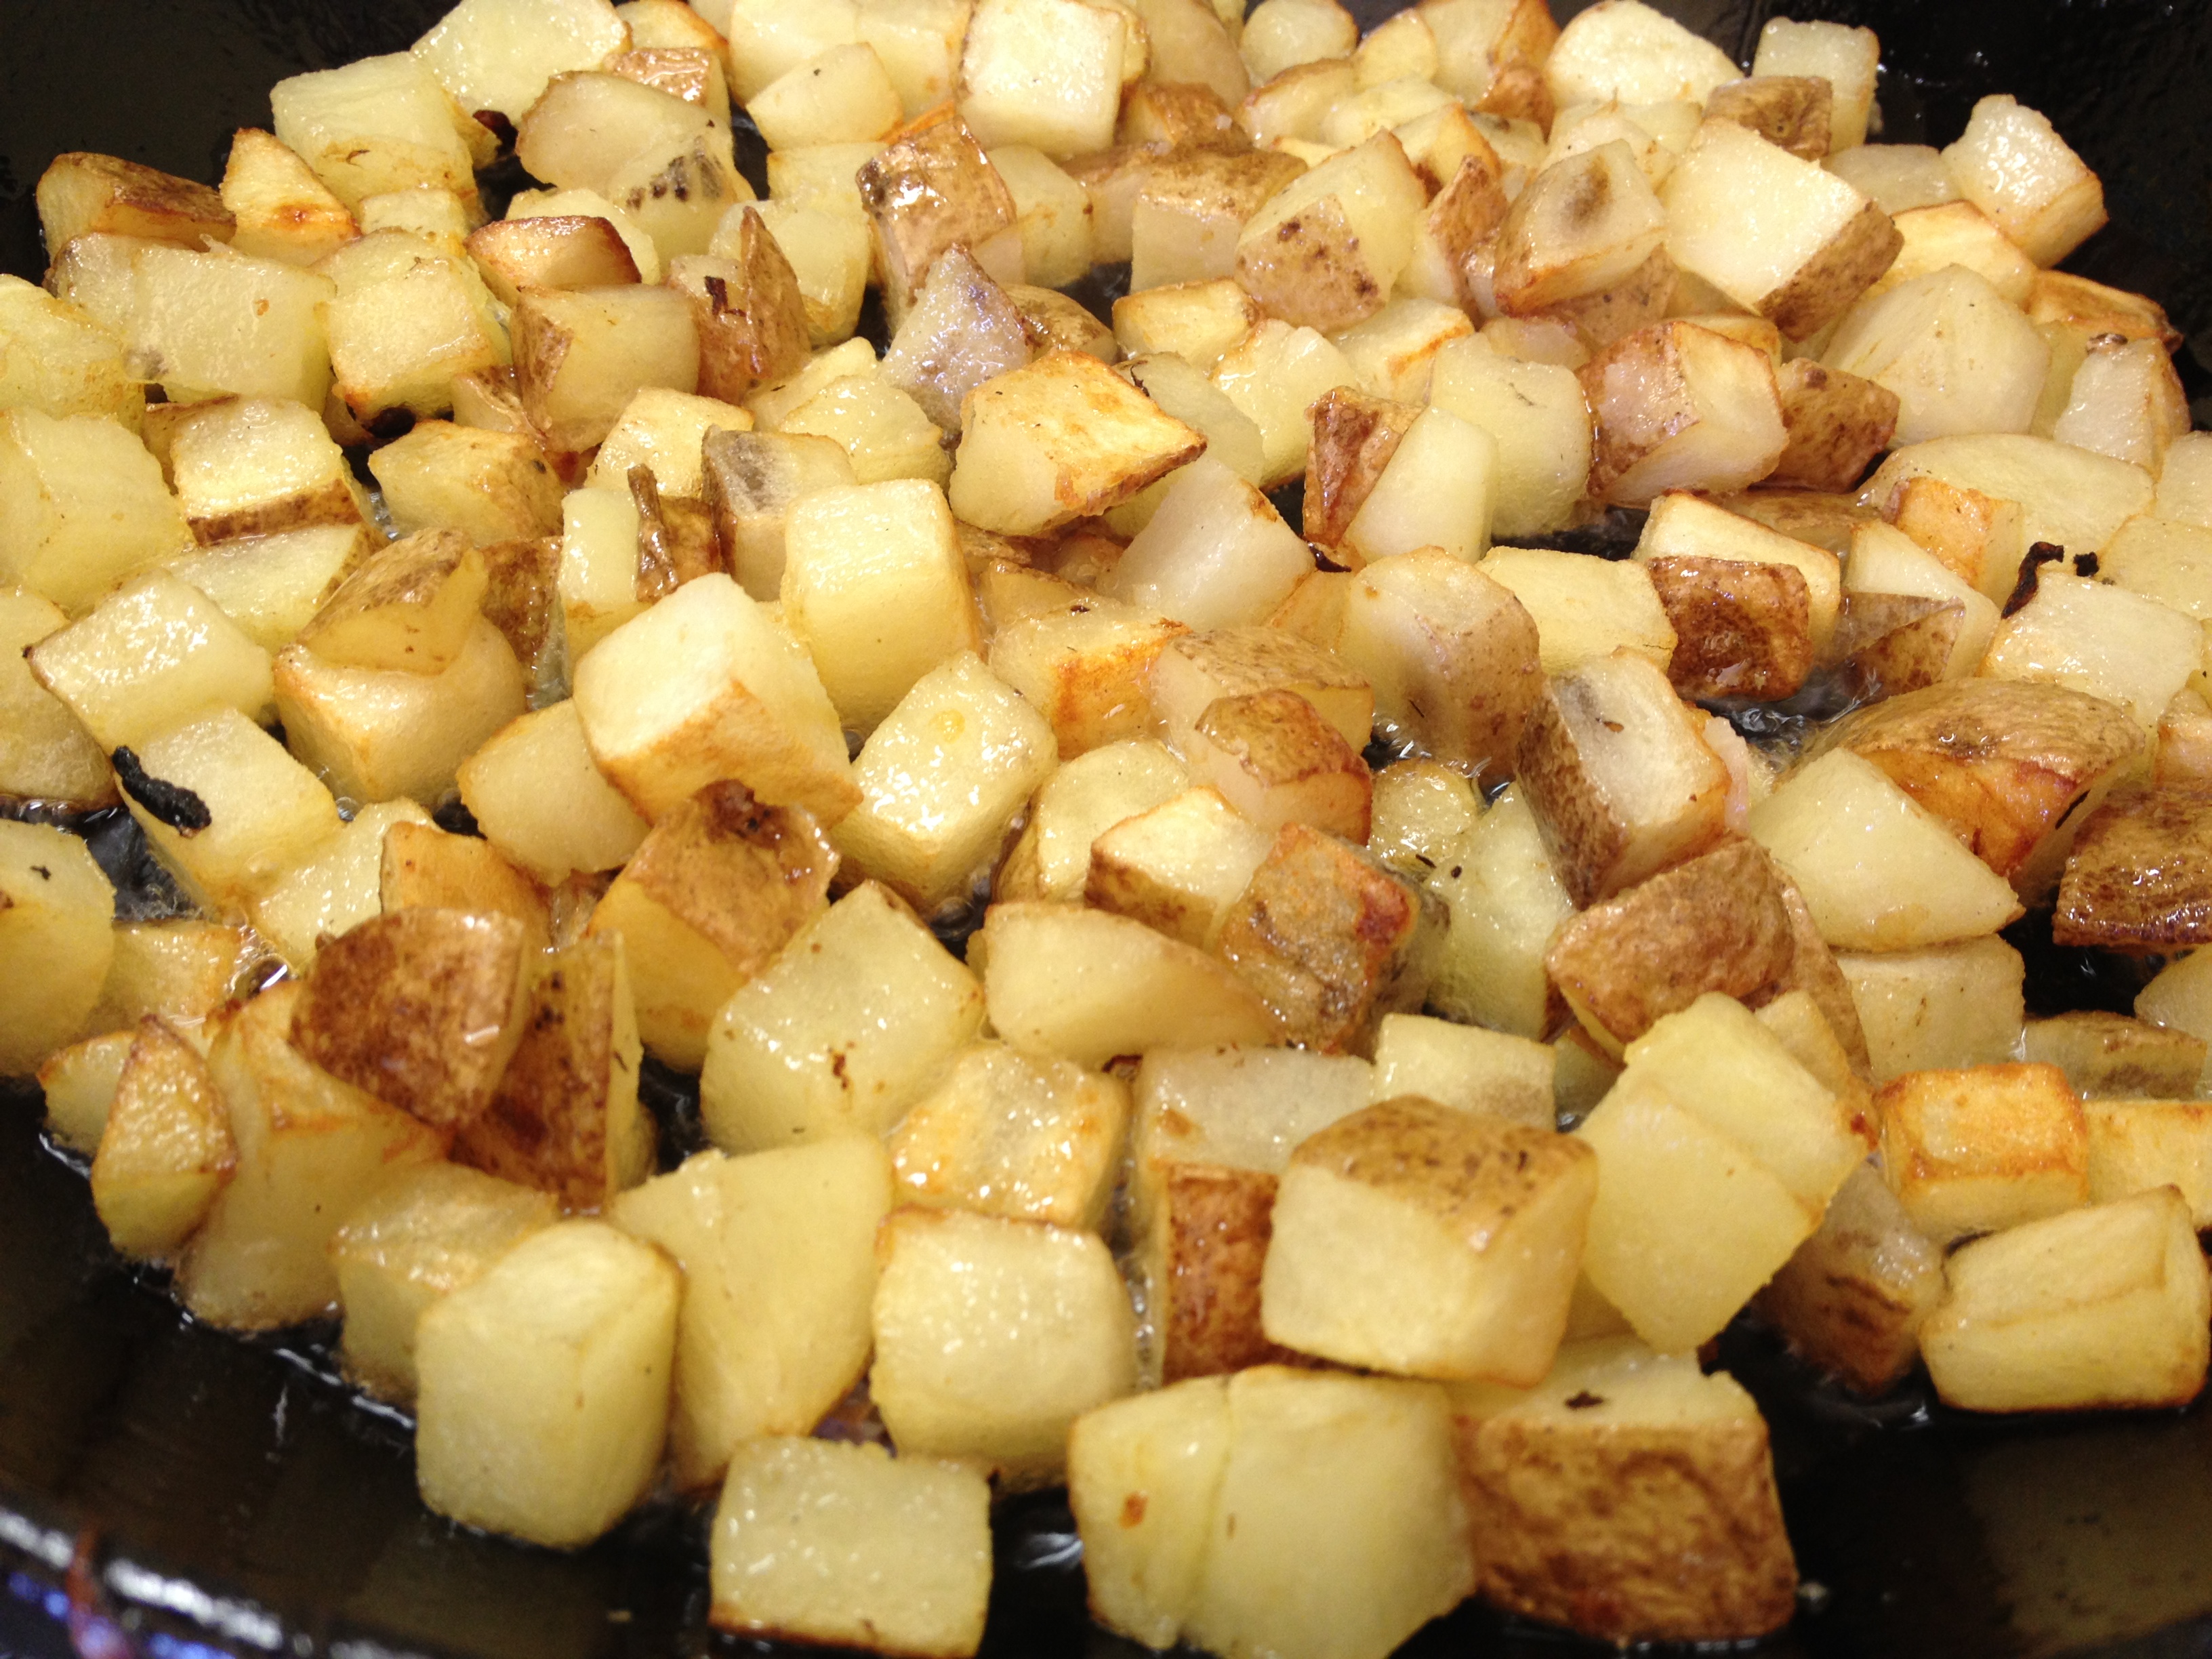
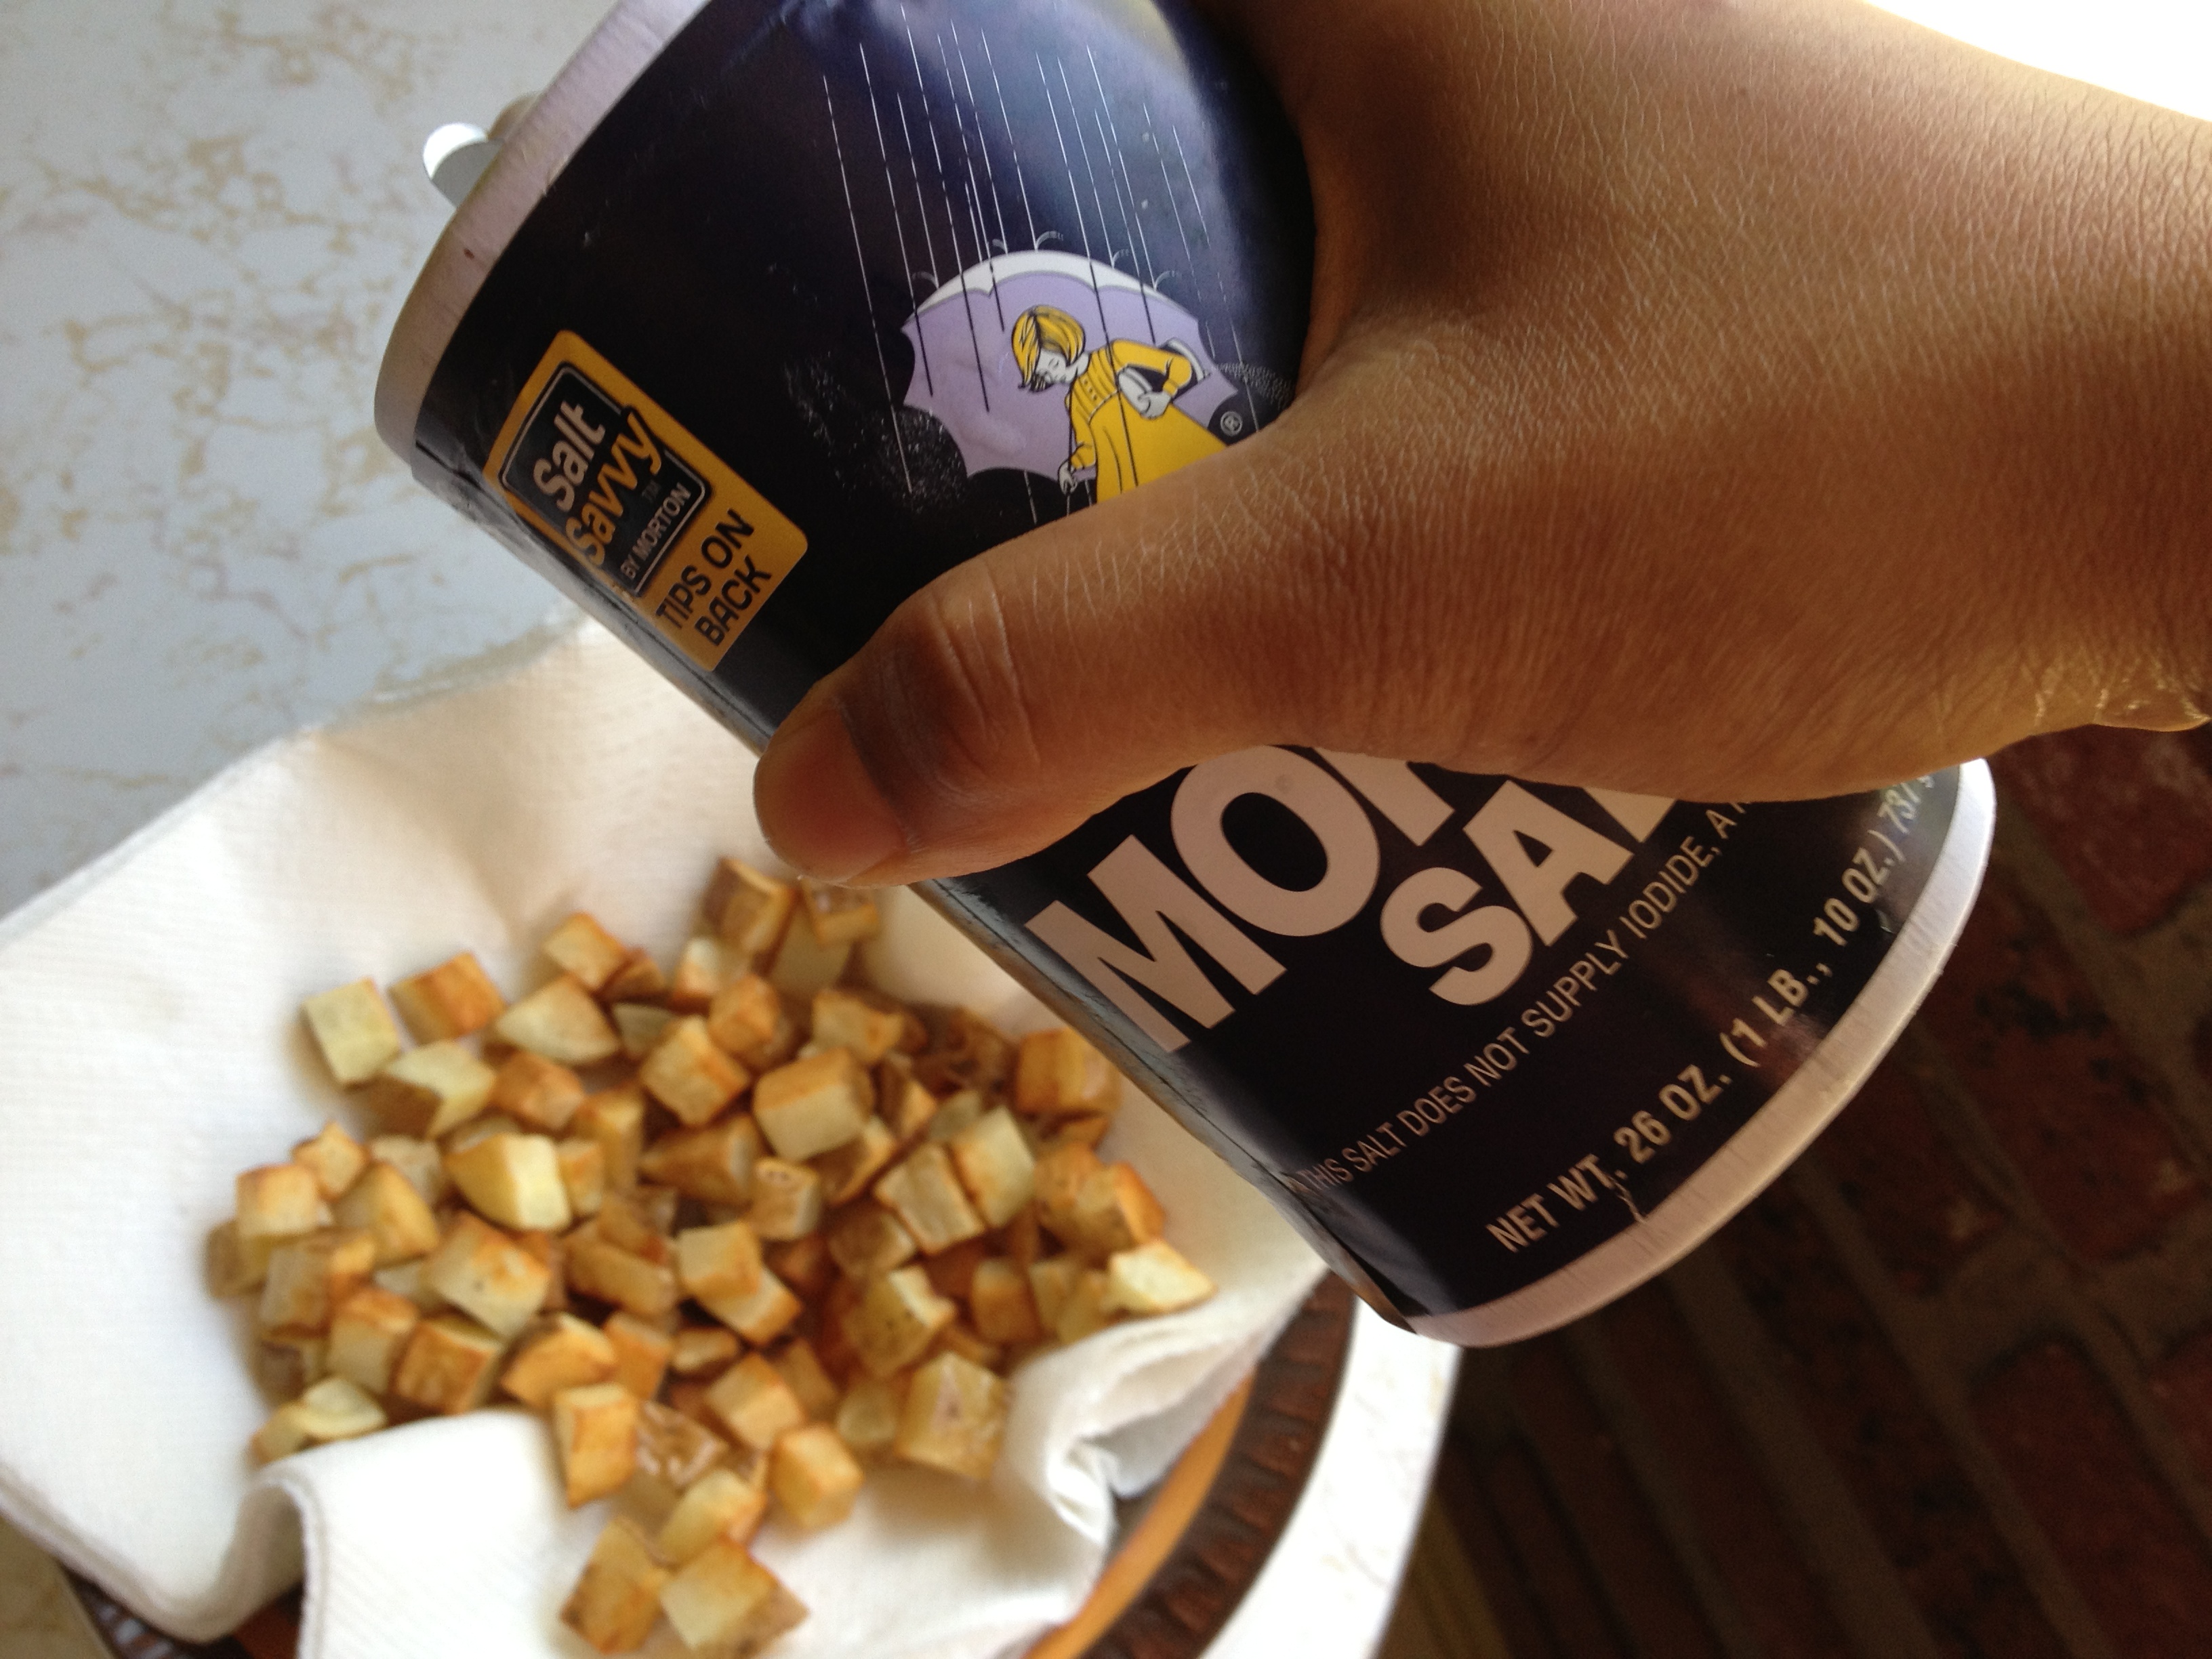
Heat about 1″ of oil in large pan, preferably cast iron, to medium high heat. *Make sure the pan and oil are hot when you add the potatoes so they don’t stick to the pan and fall apart.* Transfer cubed potatoes to a towel and blot dry. Add to oil and cook to golden brown, but not so cooked that they start to crumble.

Remove from oil and immediately sprinkle with salt.

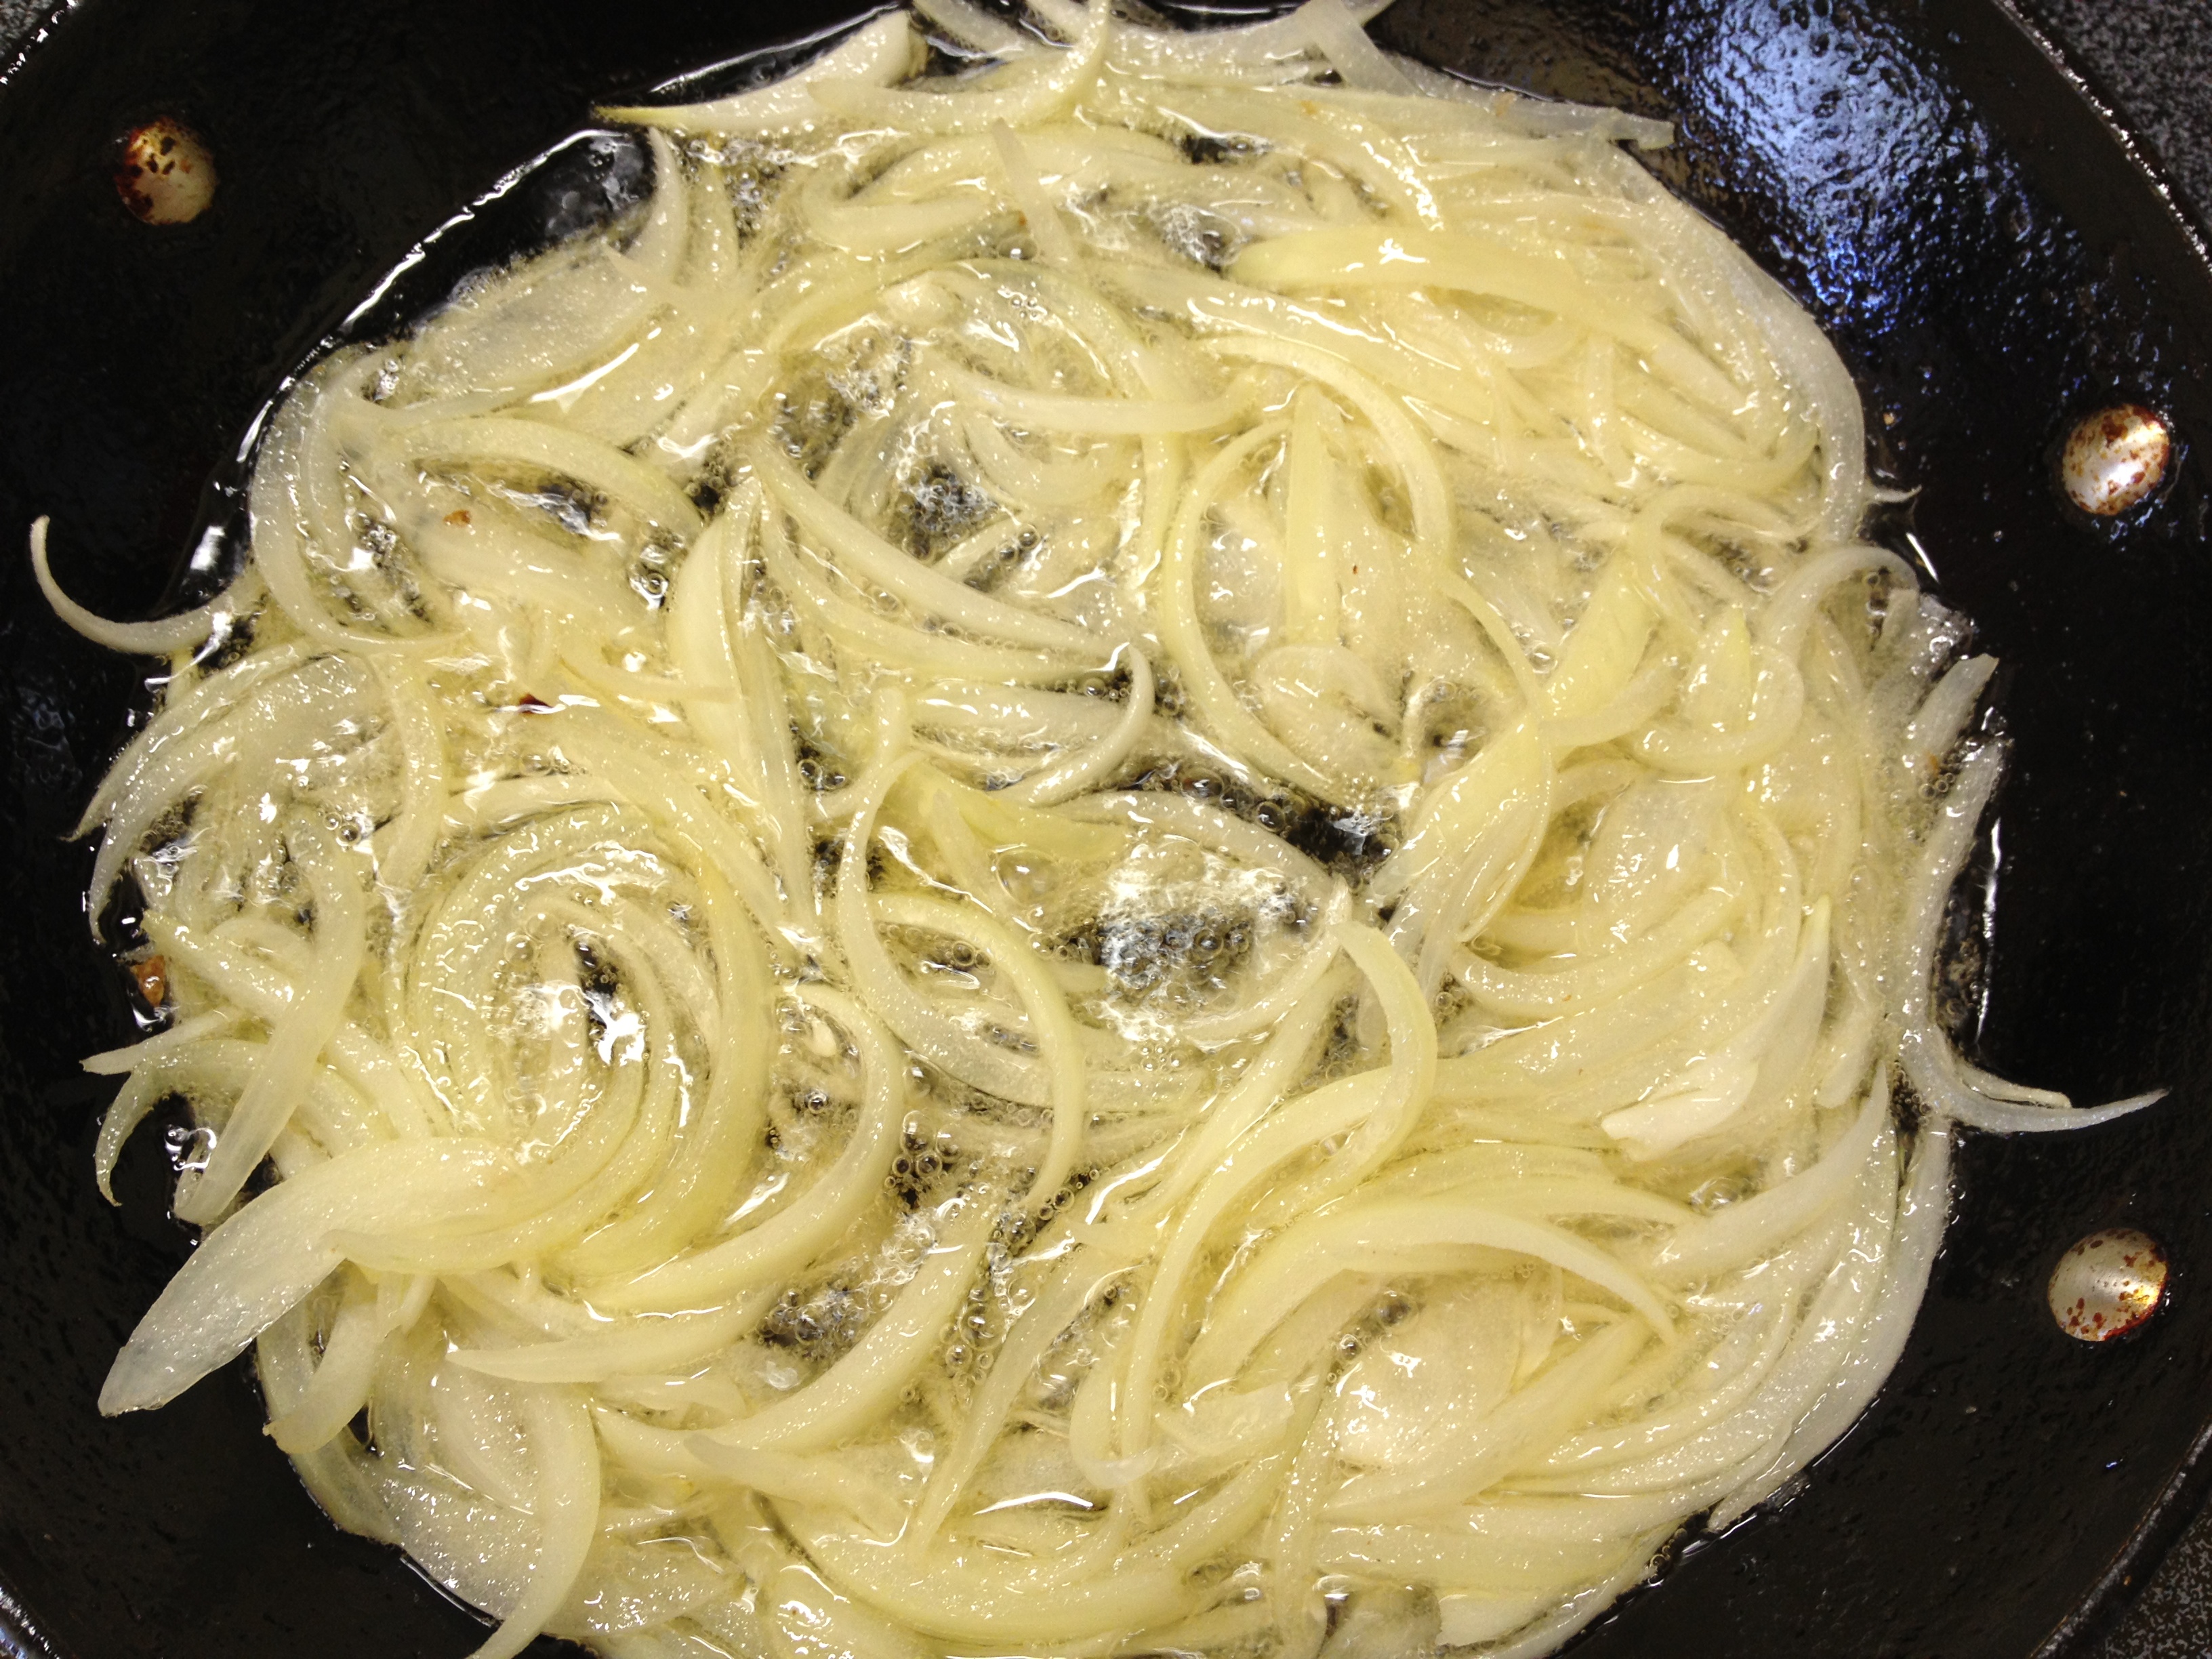
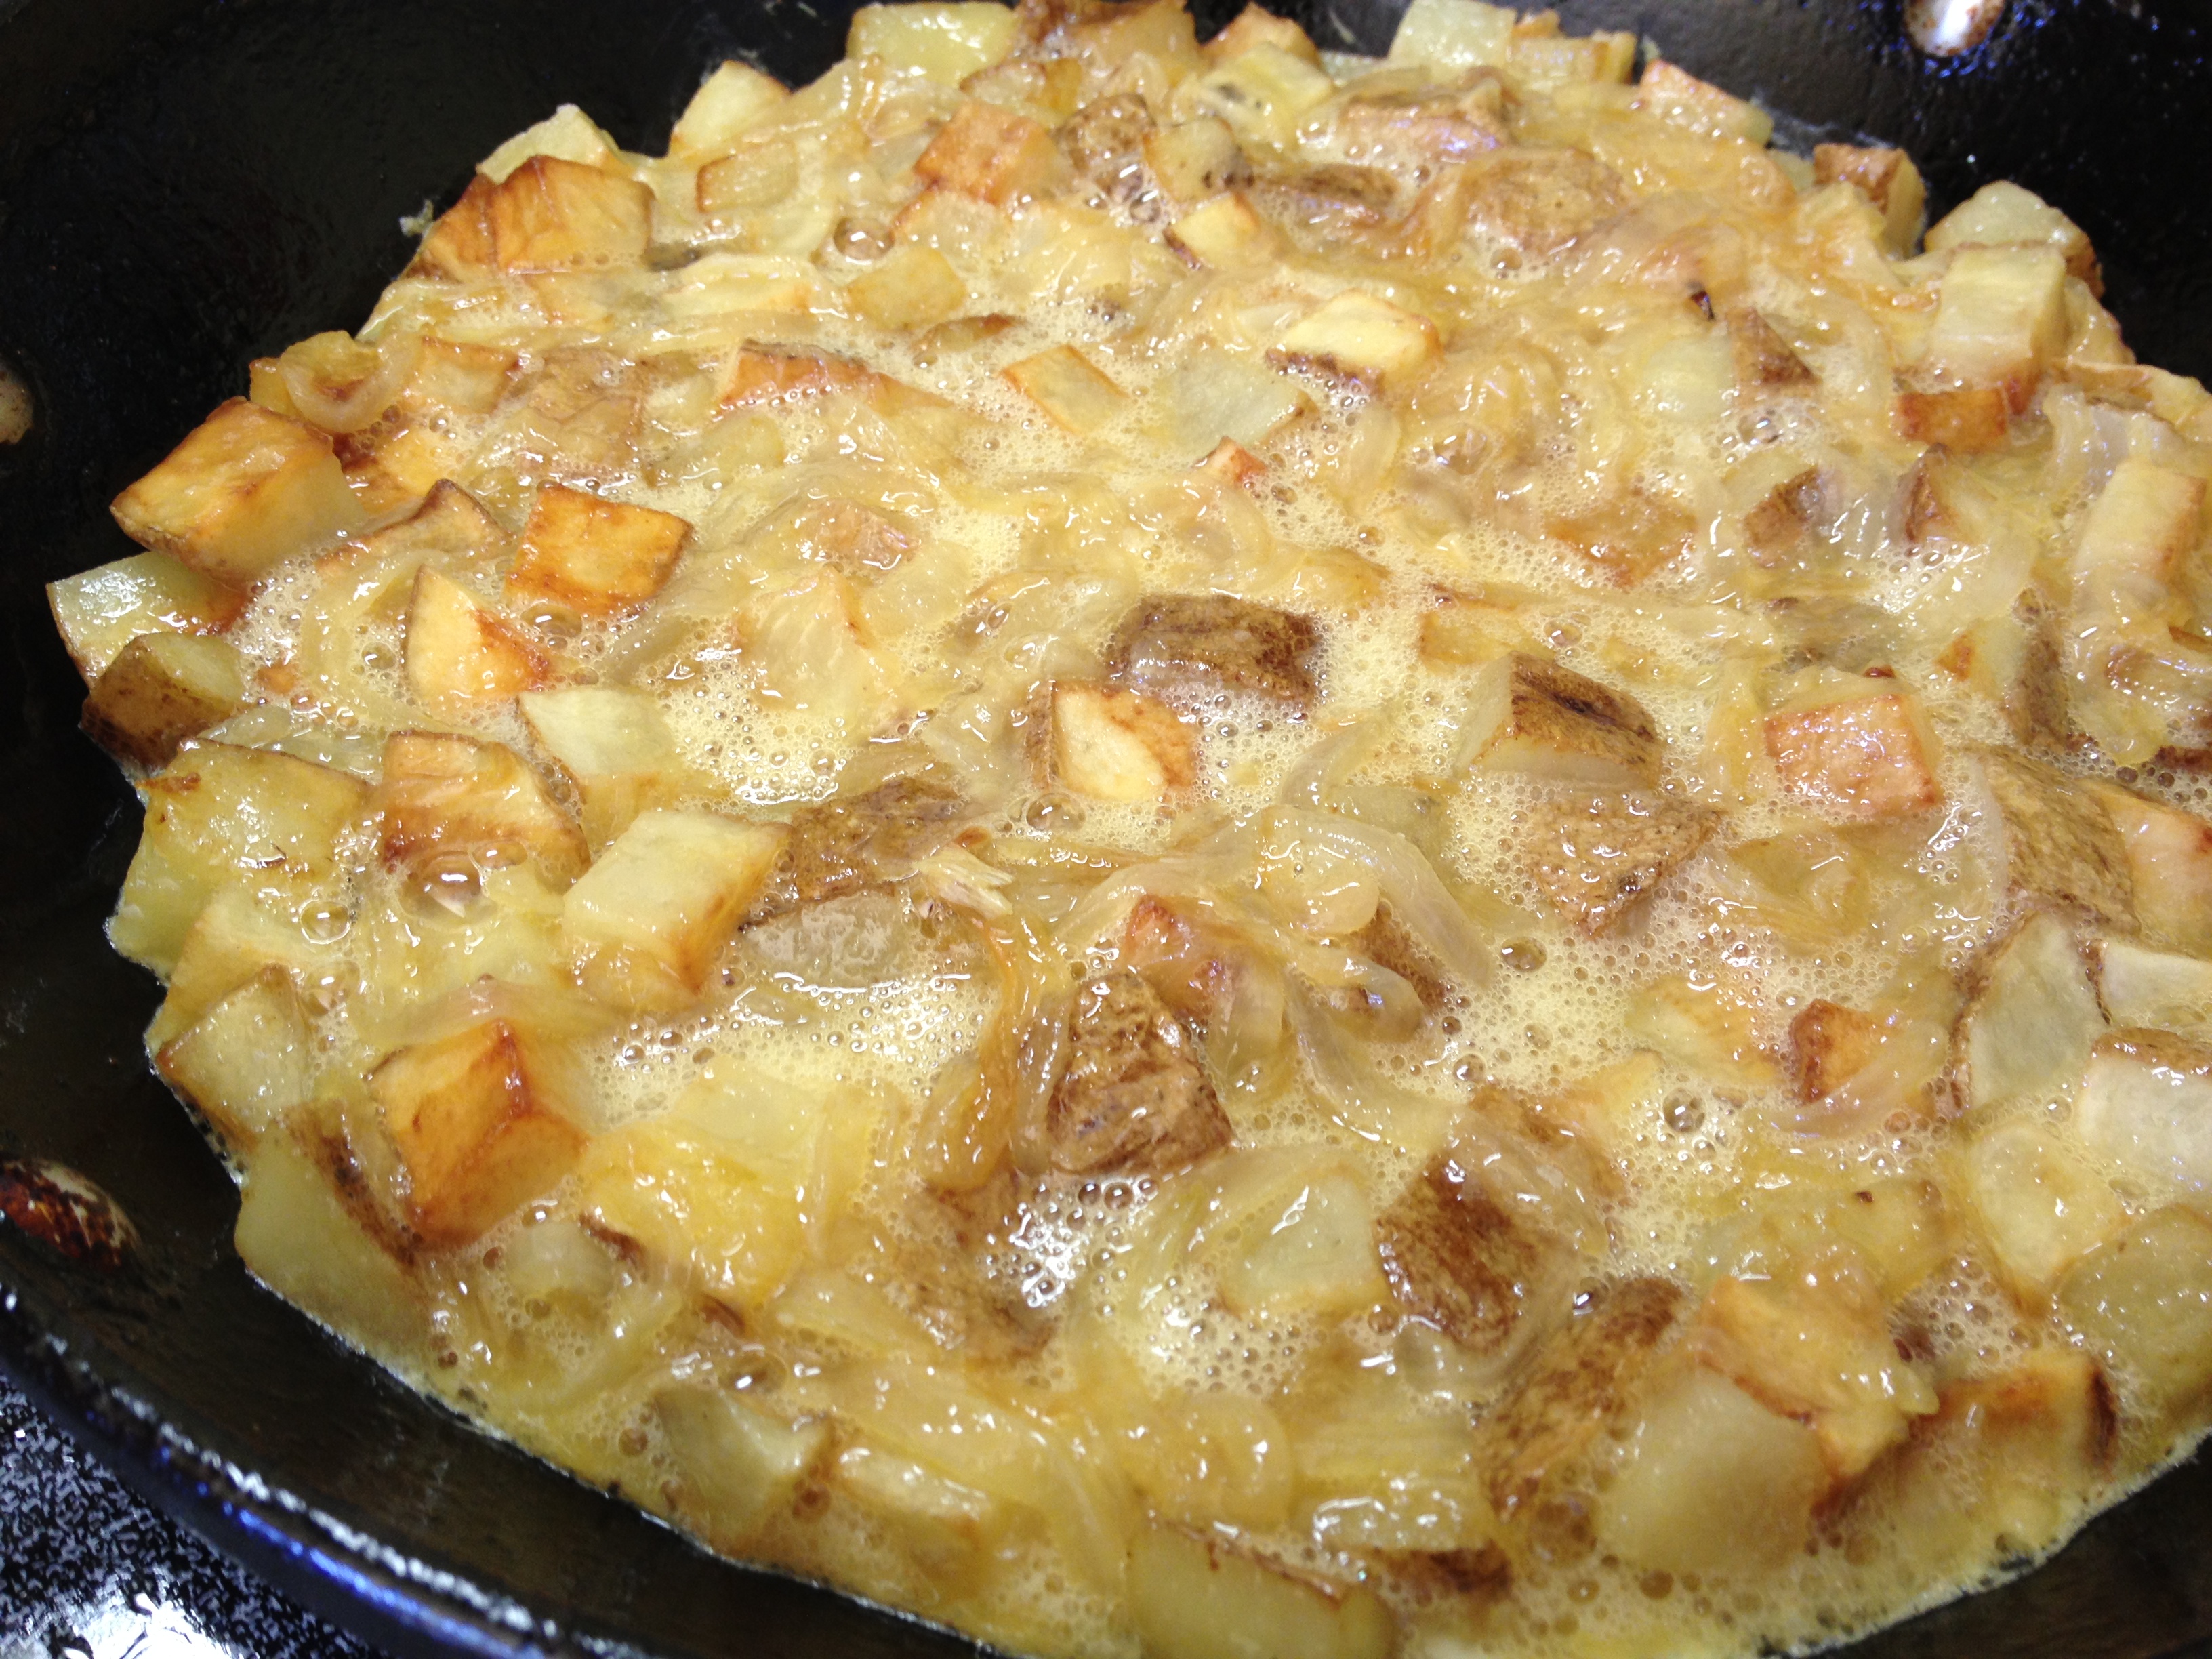
After all the potatoes have cooked there should be a slight coating of oil in pan. Turn heat to medium and slowly sauté onions and a pinch of salt until caramelized and golden brown, about 20 minutes.


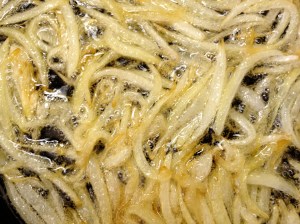
Almost there…

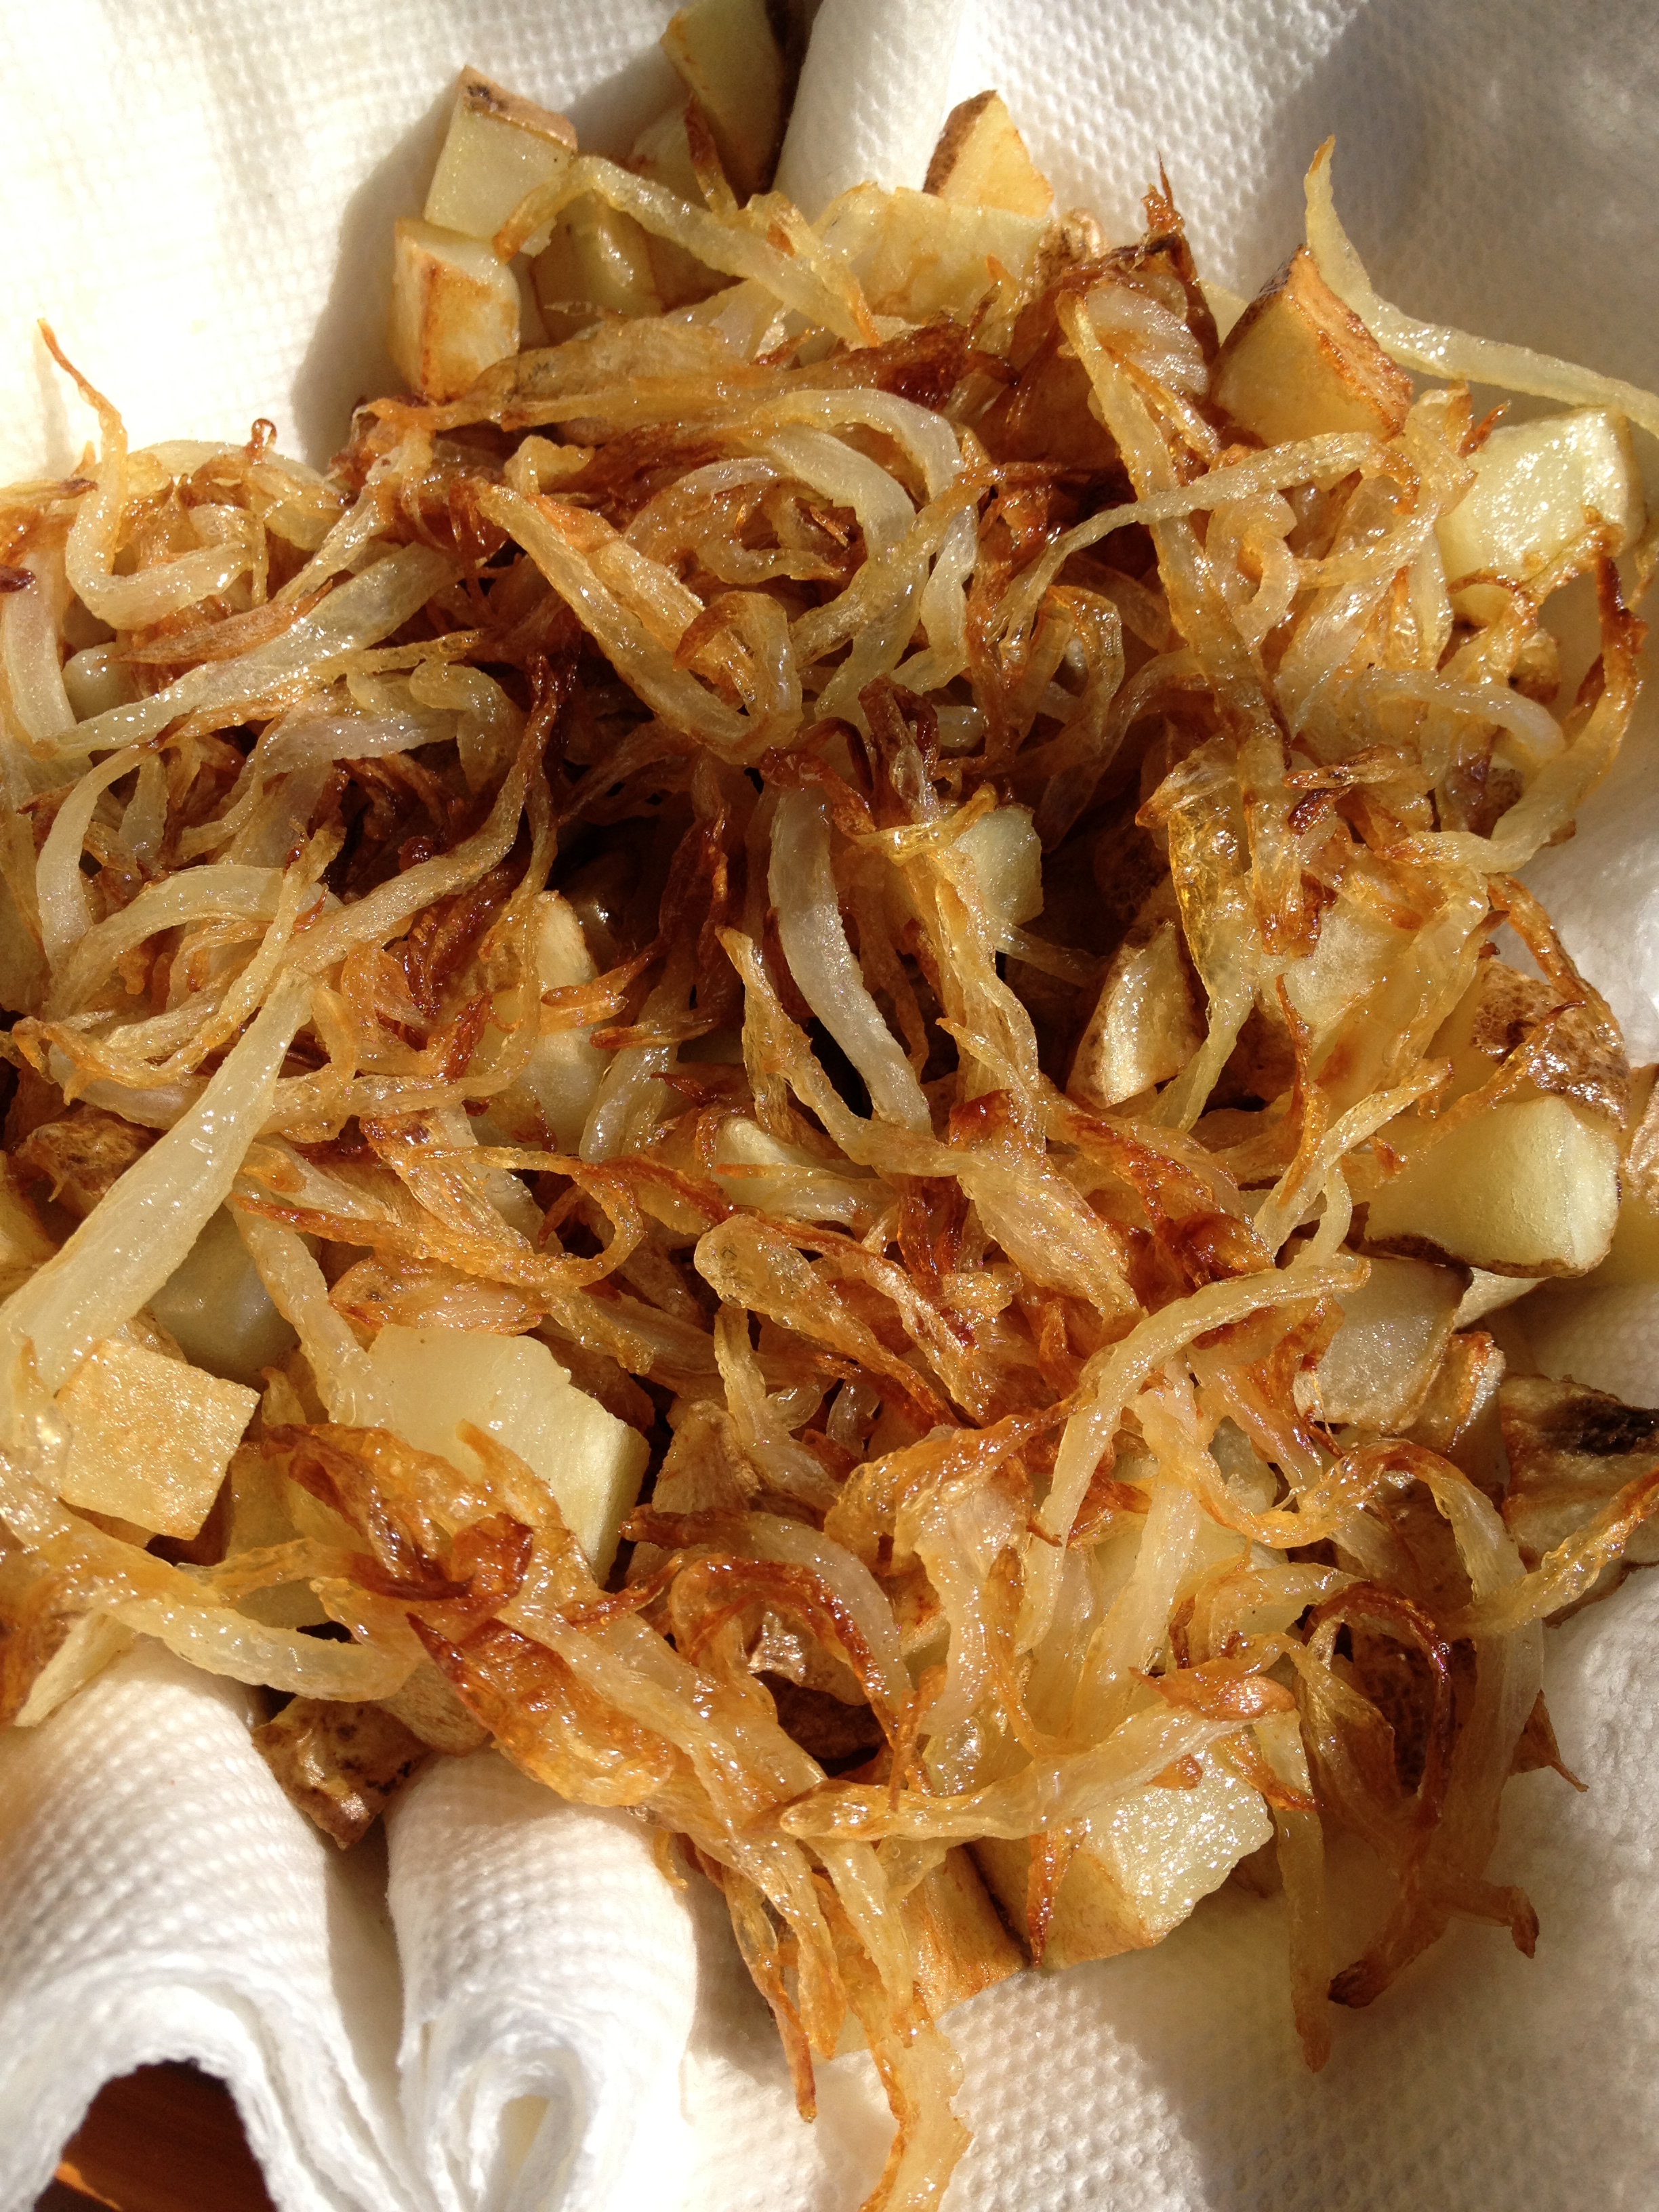
Just right. Caramelization station!
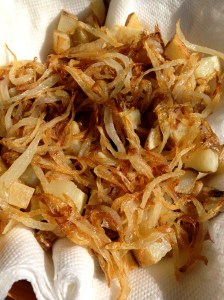
Then transfer to paper towel. Taste potatoes and onions for salt content. When potatoes and onions have cooled to room temperature, crack three eggs in a bowl, add onions and potatoes and more salt, if needed. *As the only spice in the whole dish, salt is very important. You don’t want it to be too salty, but not enough salt will render a very bland heap of fancy potatoes. If the potatoes and onions taste like they have almost too much salt then you shouldn’t need to add anymore.*
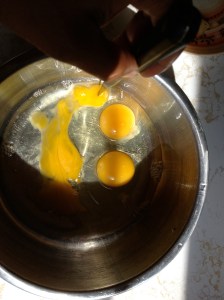
(:

Heat the same pan to a low medium. It should still have a decent coating of oil, if not then add more. Pour mixture into pan and allow to cook until egg is slightly giggly in middle.

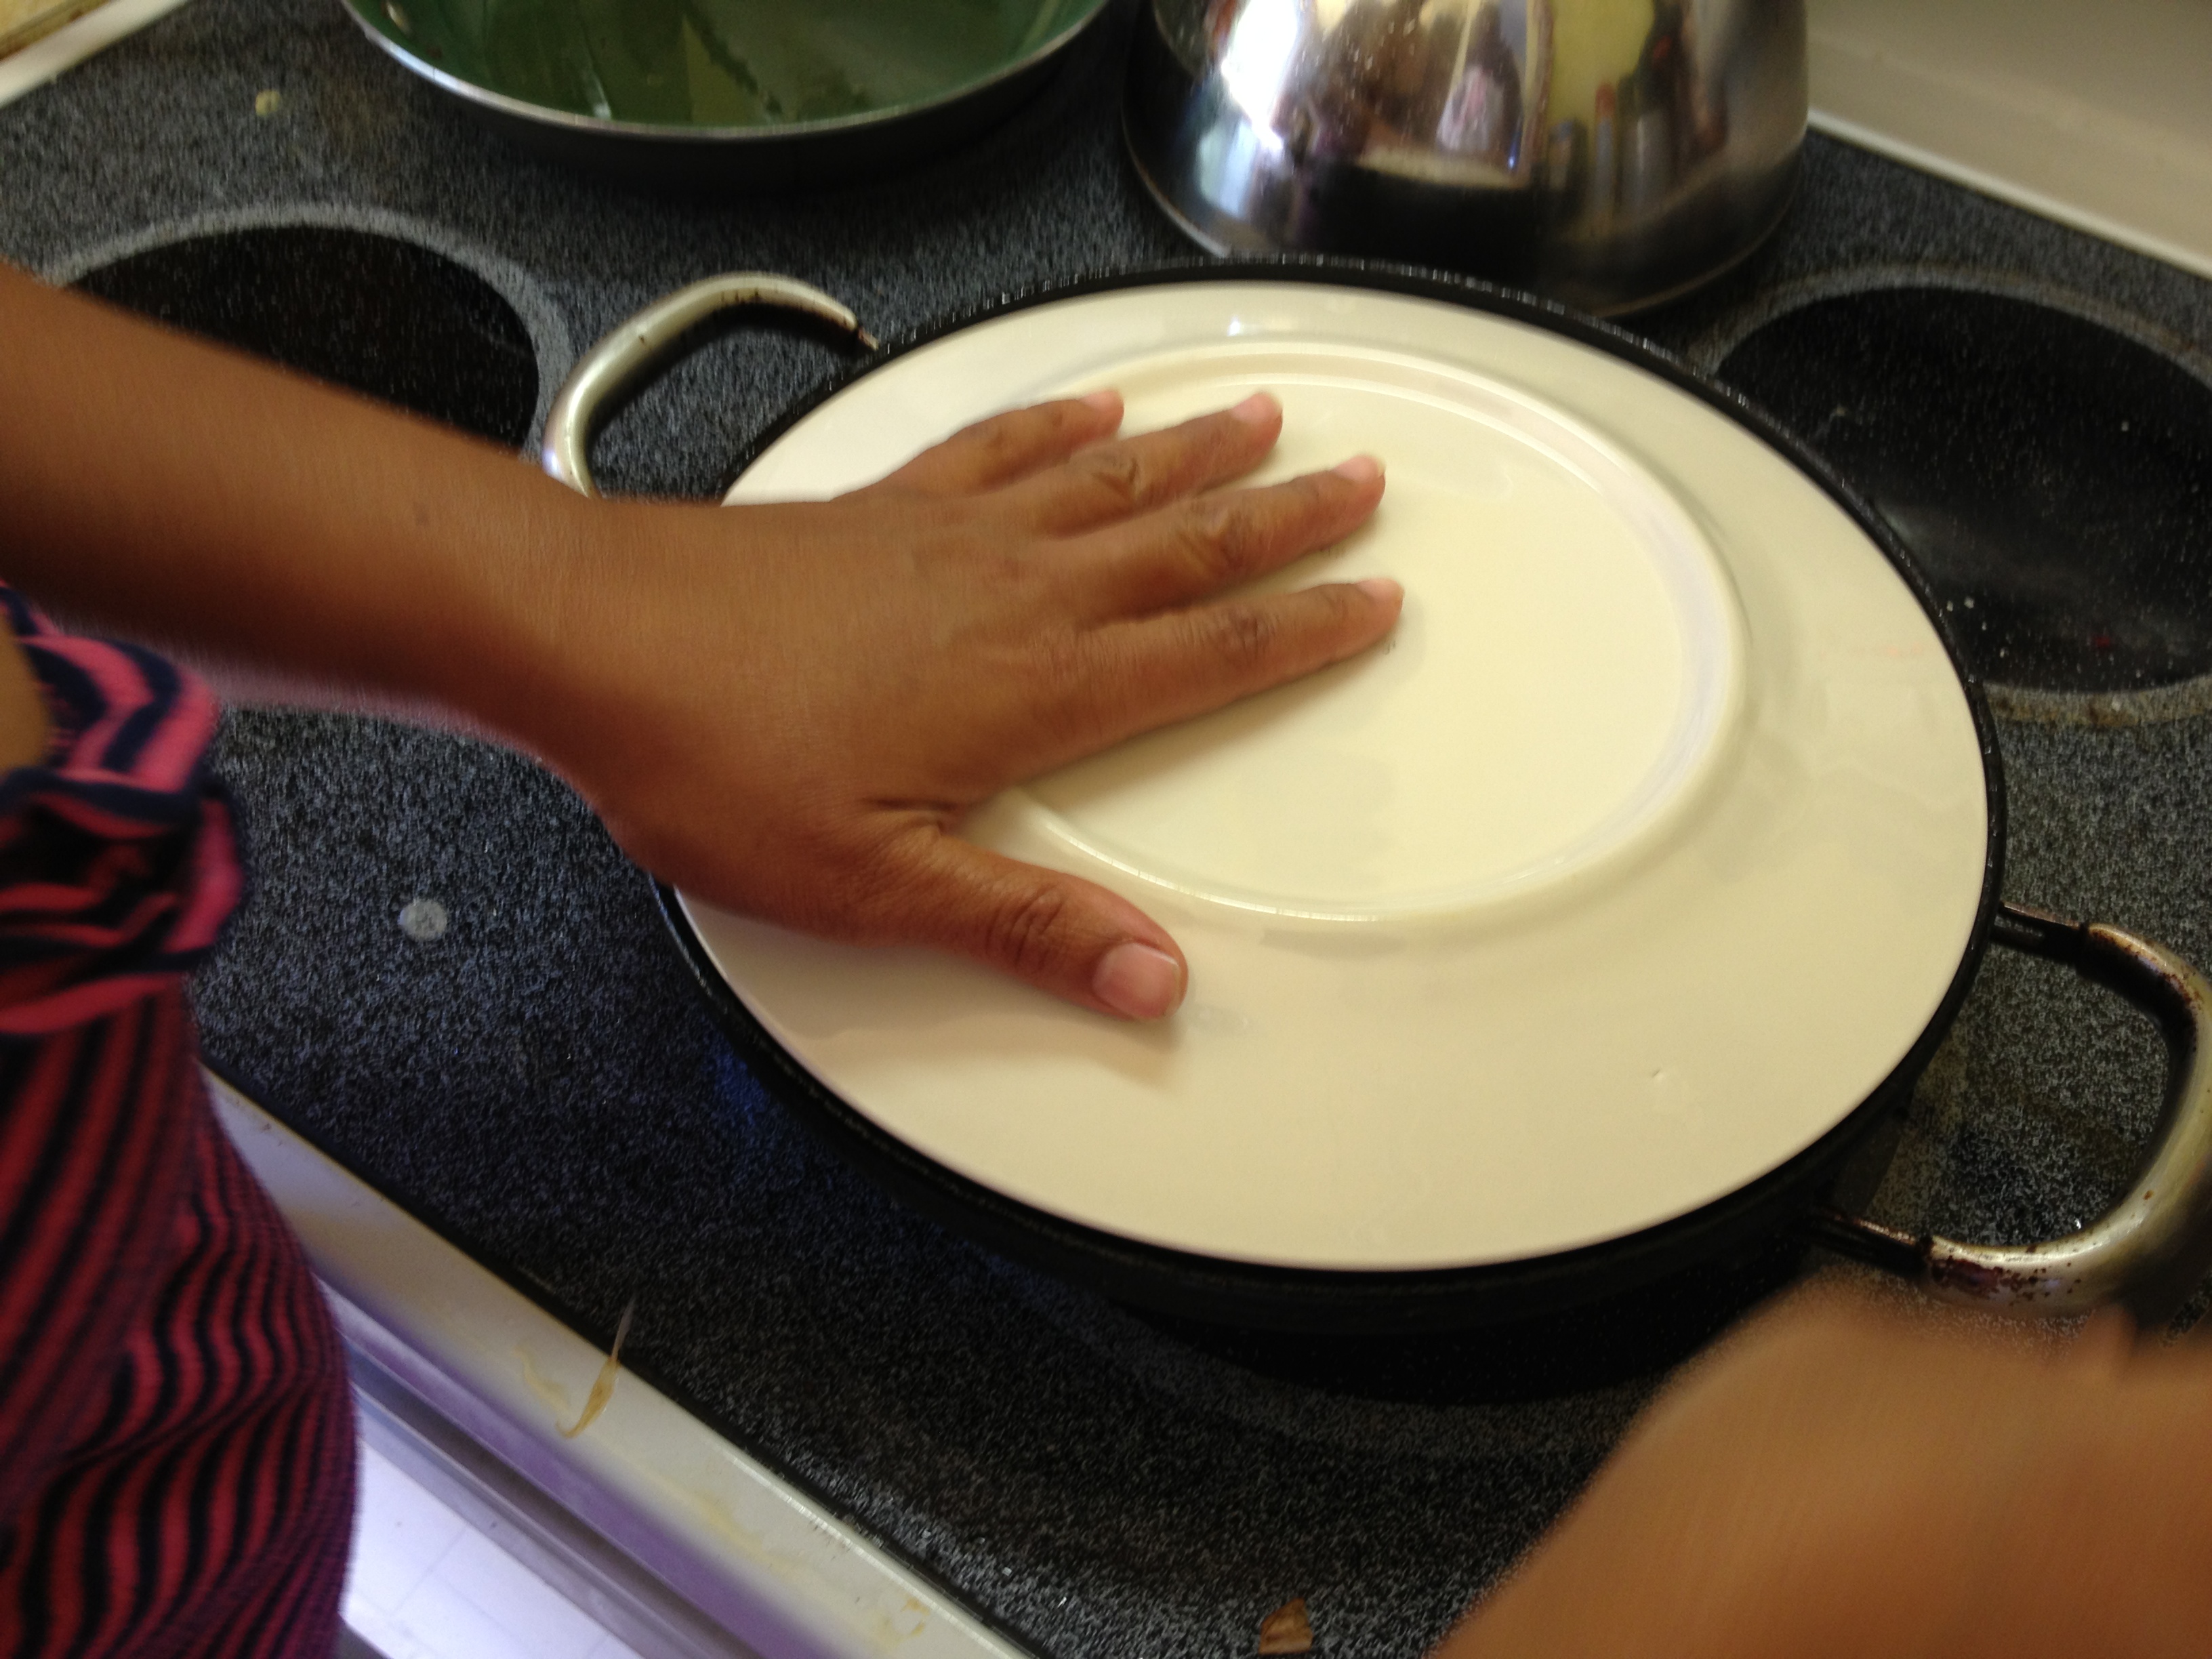
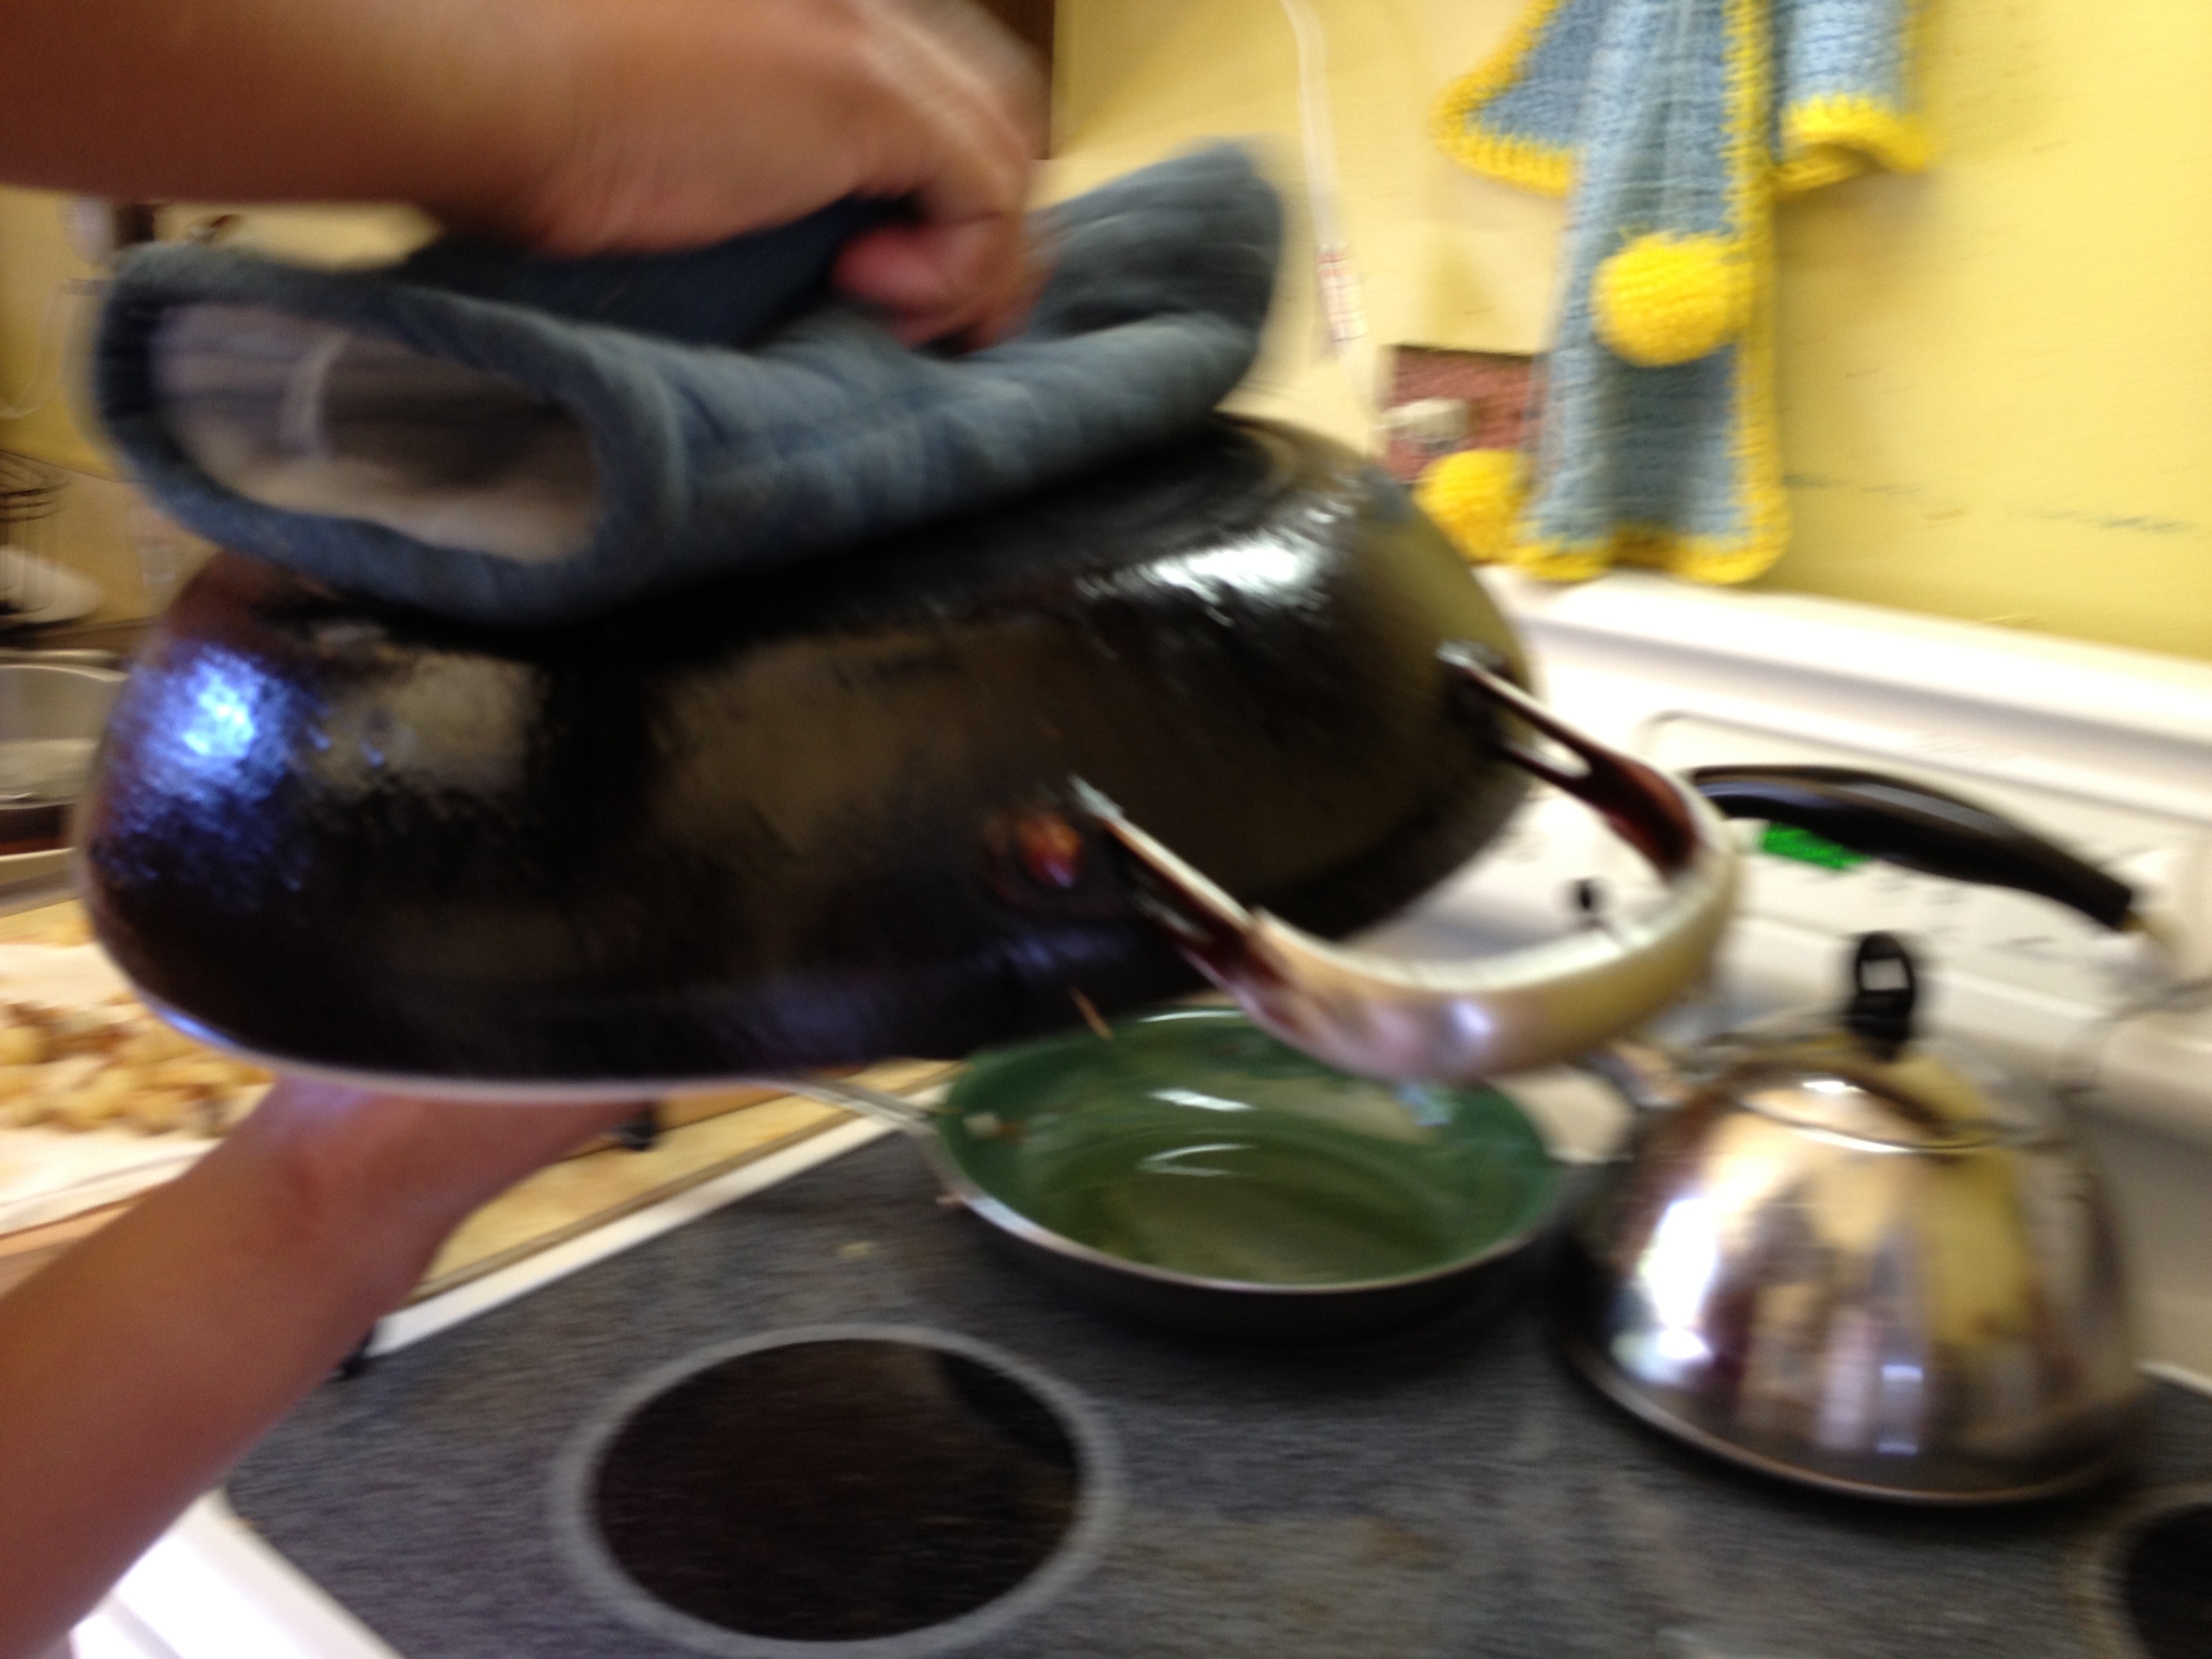
Separate tortilla perimeter from sides of the pan. Flip onto a plate then back into the pan on the other side.
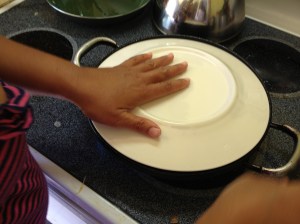

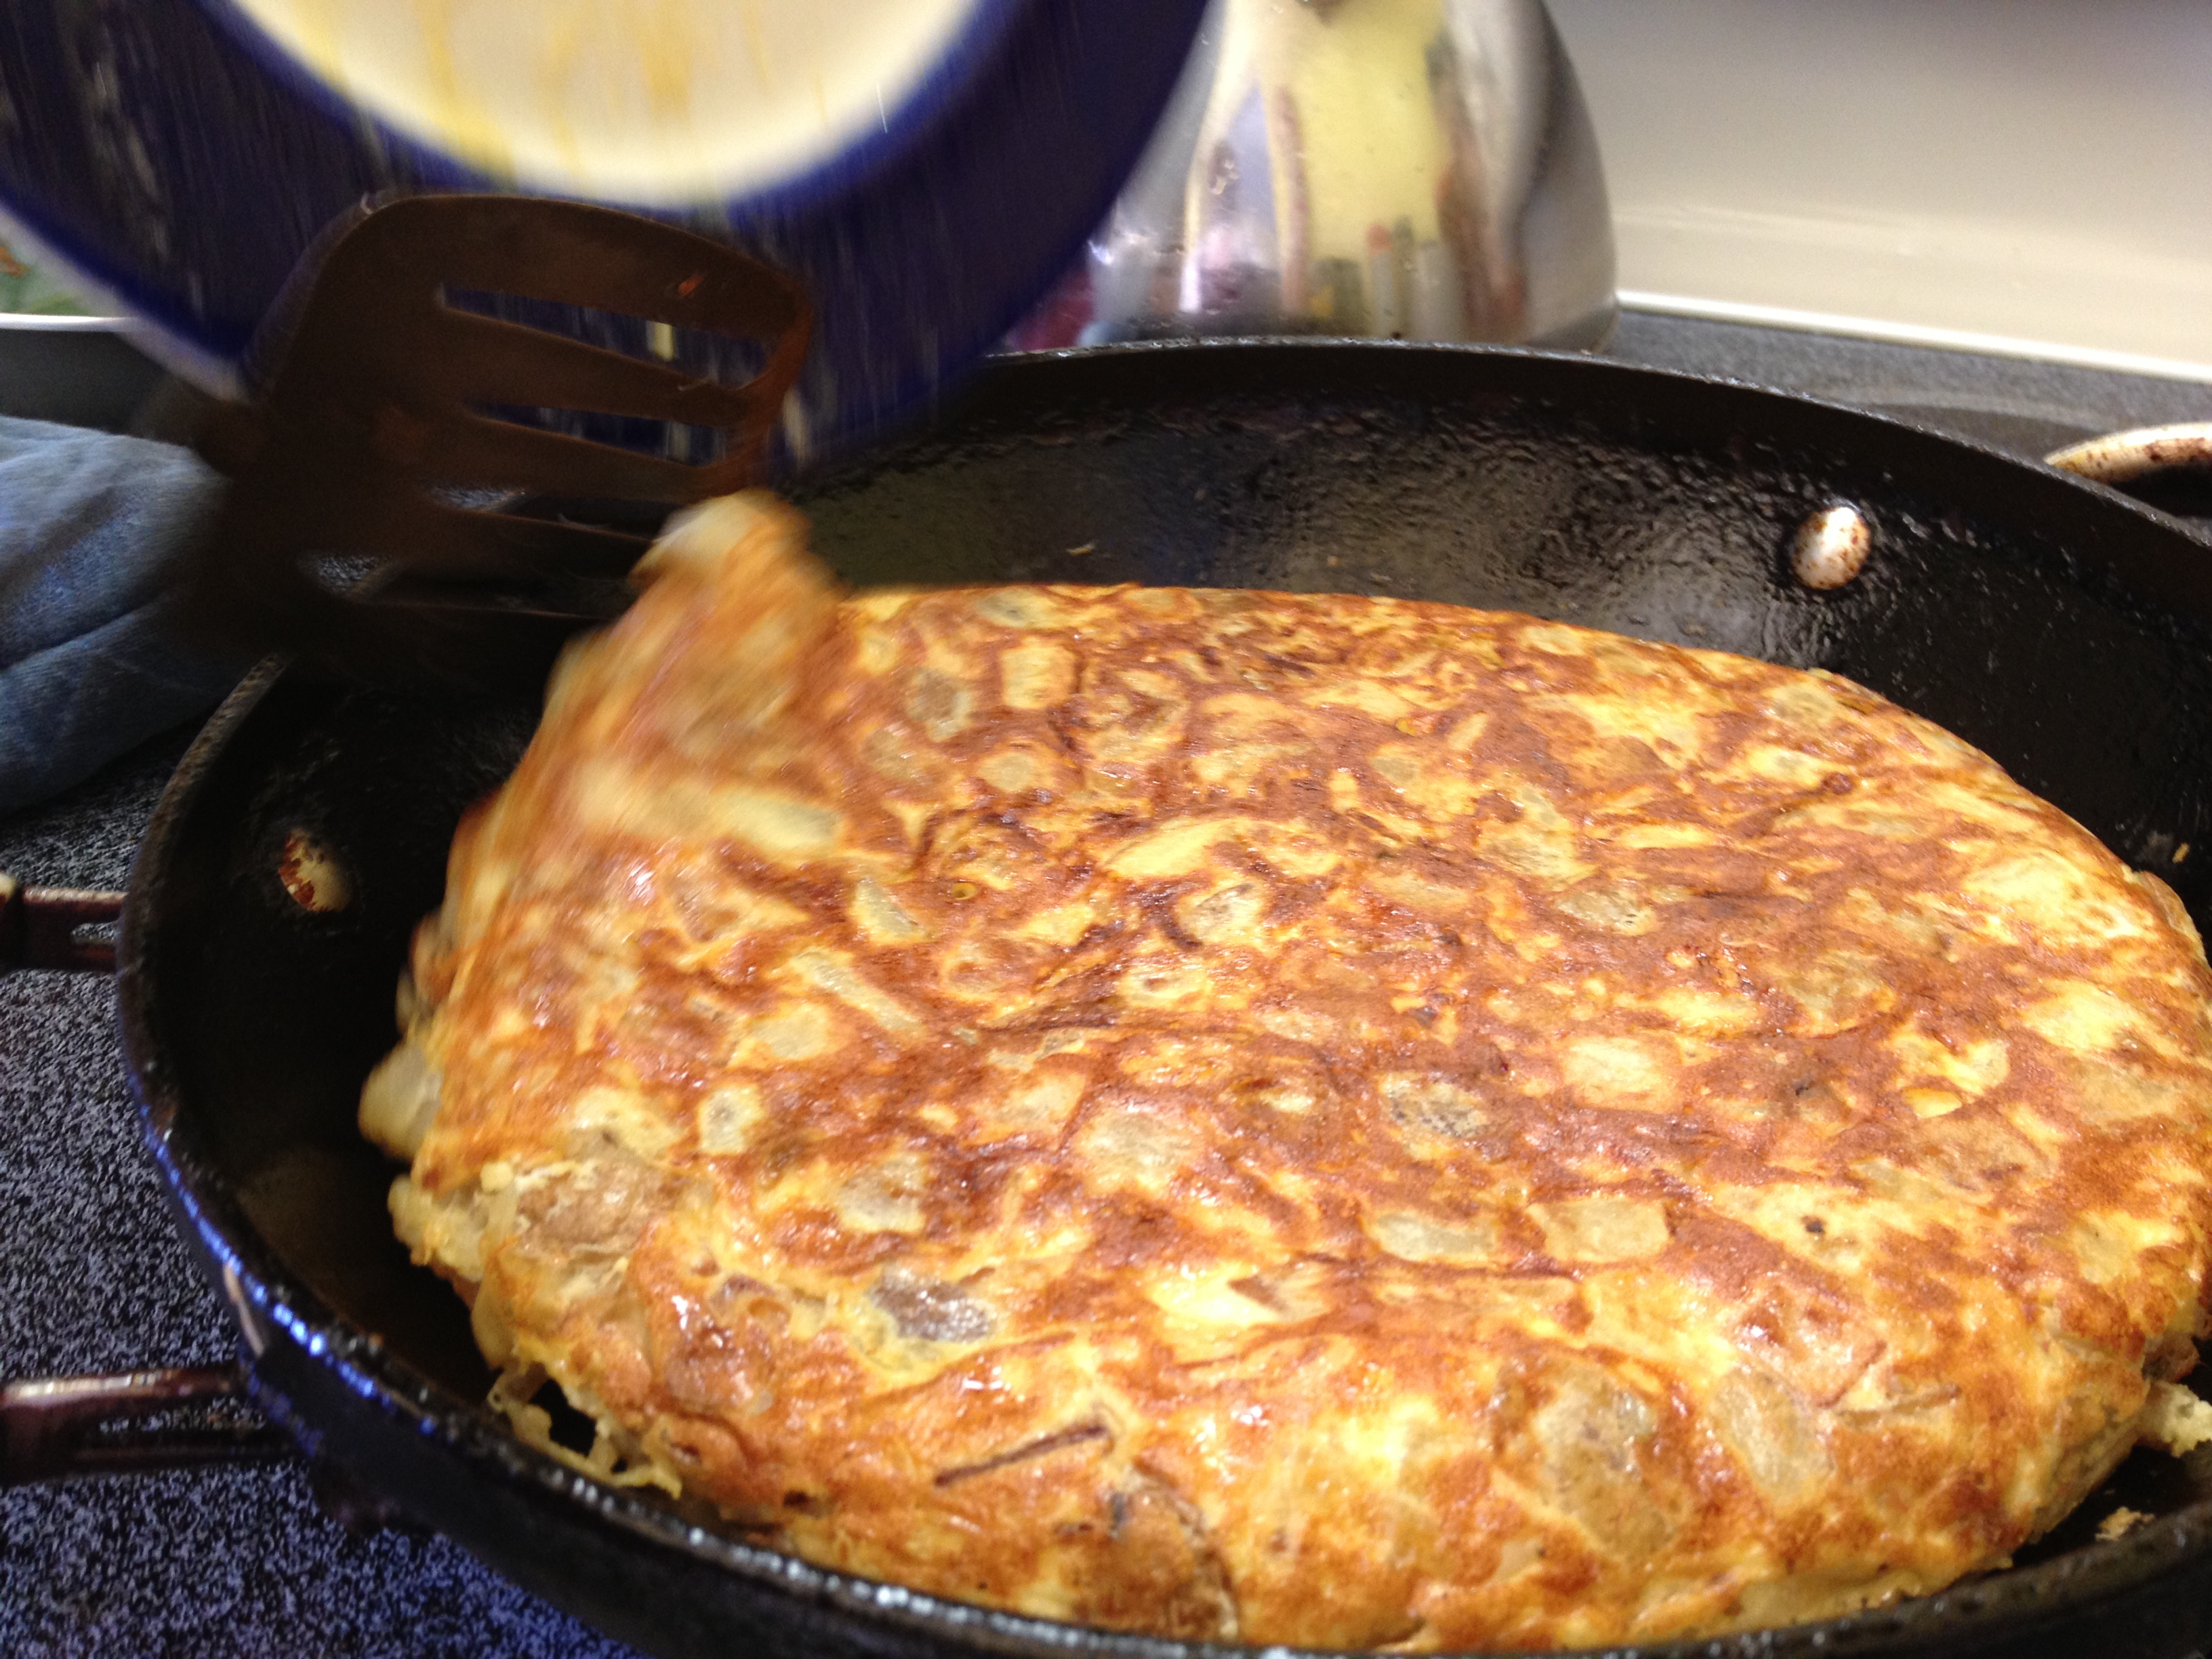
Allow to cook just until edges are set and golden brown.
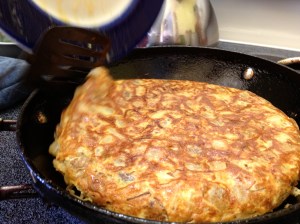
Slide onto clean plate. This is not an omelette, therefore, it is not going to look like one. Spanish tortilla is mostly potato. The egg and onions act as a binder and flavor enhancer. The perfect tortilla should be able to be sliced and picked up like a slice of pizza, with barely any egg yellow in-between.

Buen Provecho.
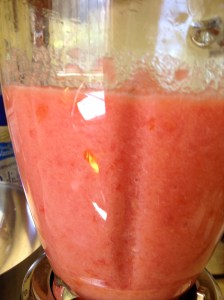
Gazpacho
Another Spanish staple, this versatile cold soup can be made with just about any garden vegetable you can find, as long as tomatoes are the main ingredient! It can also be heated up and eaten with a grilled cheese for a comforting cold weather meal. I like to pour a little over beans and rice for a fresh and hearty side dish or meal in itself.
You Will Need:
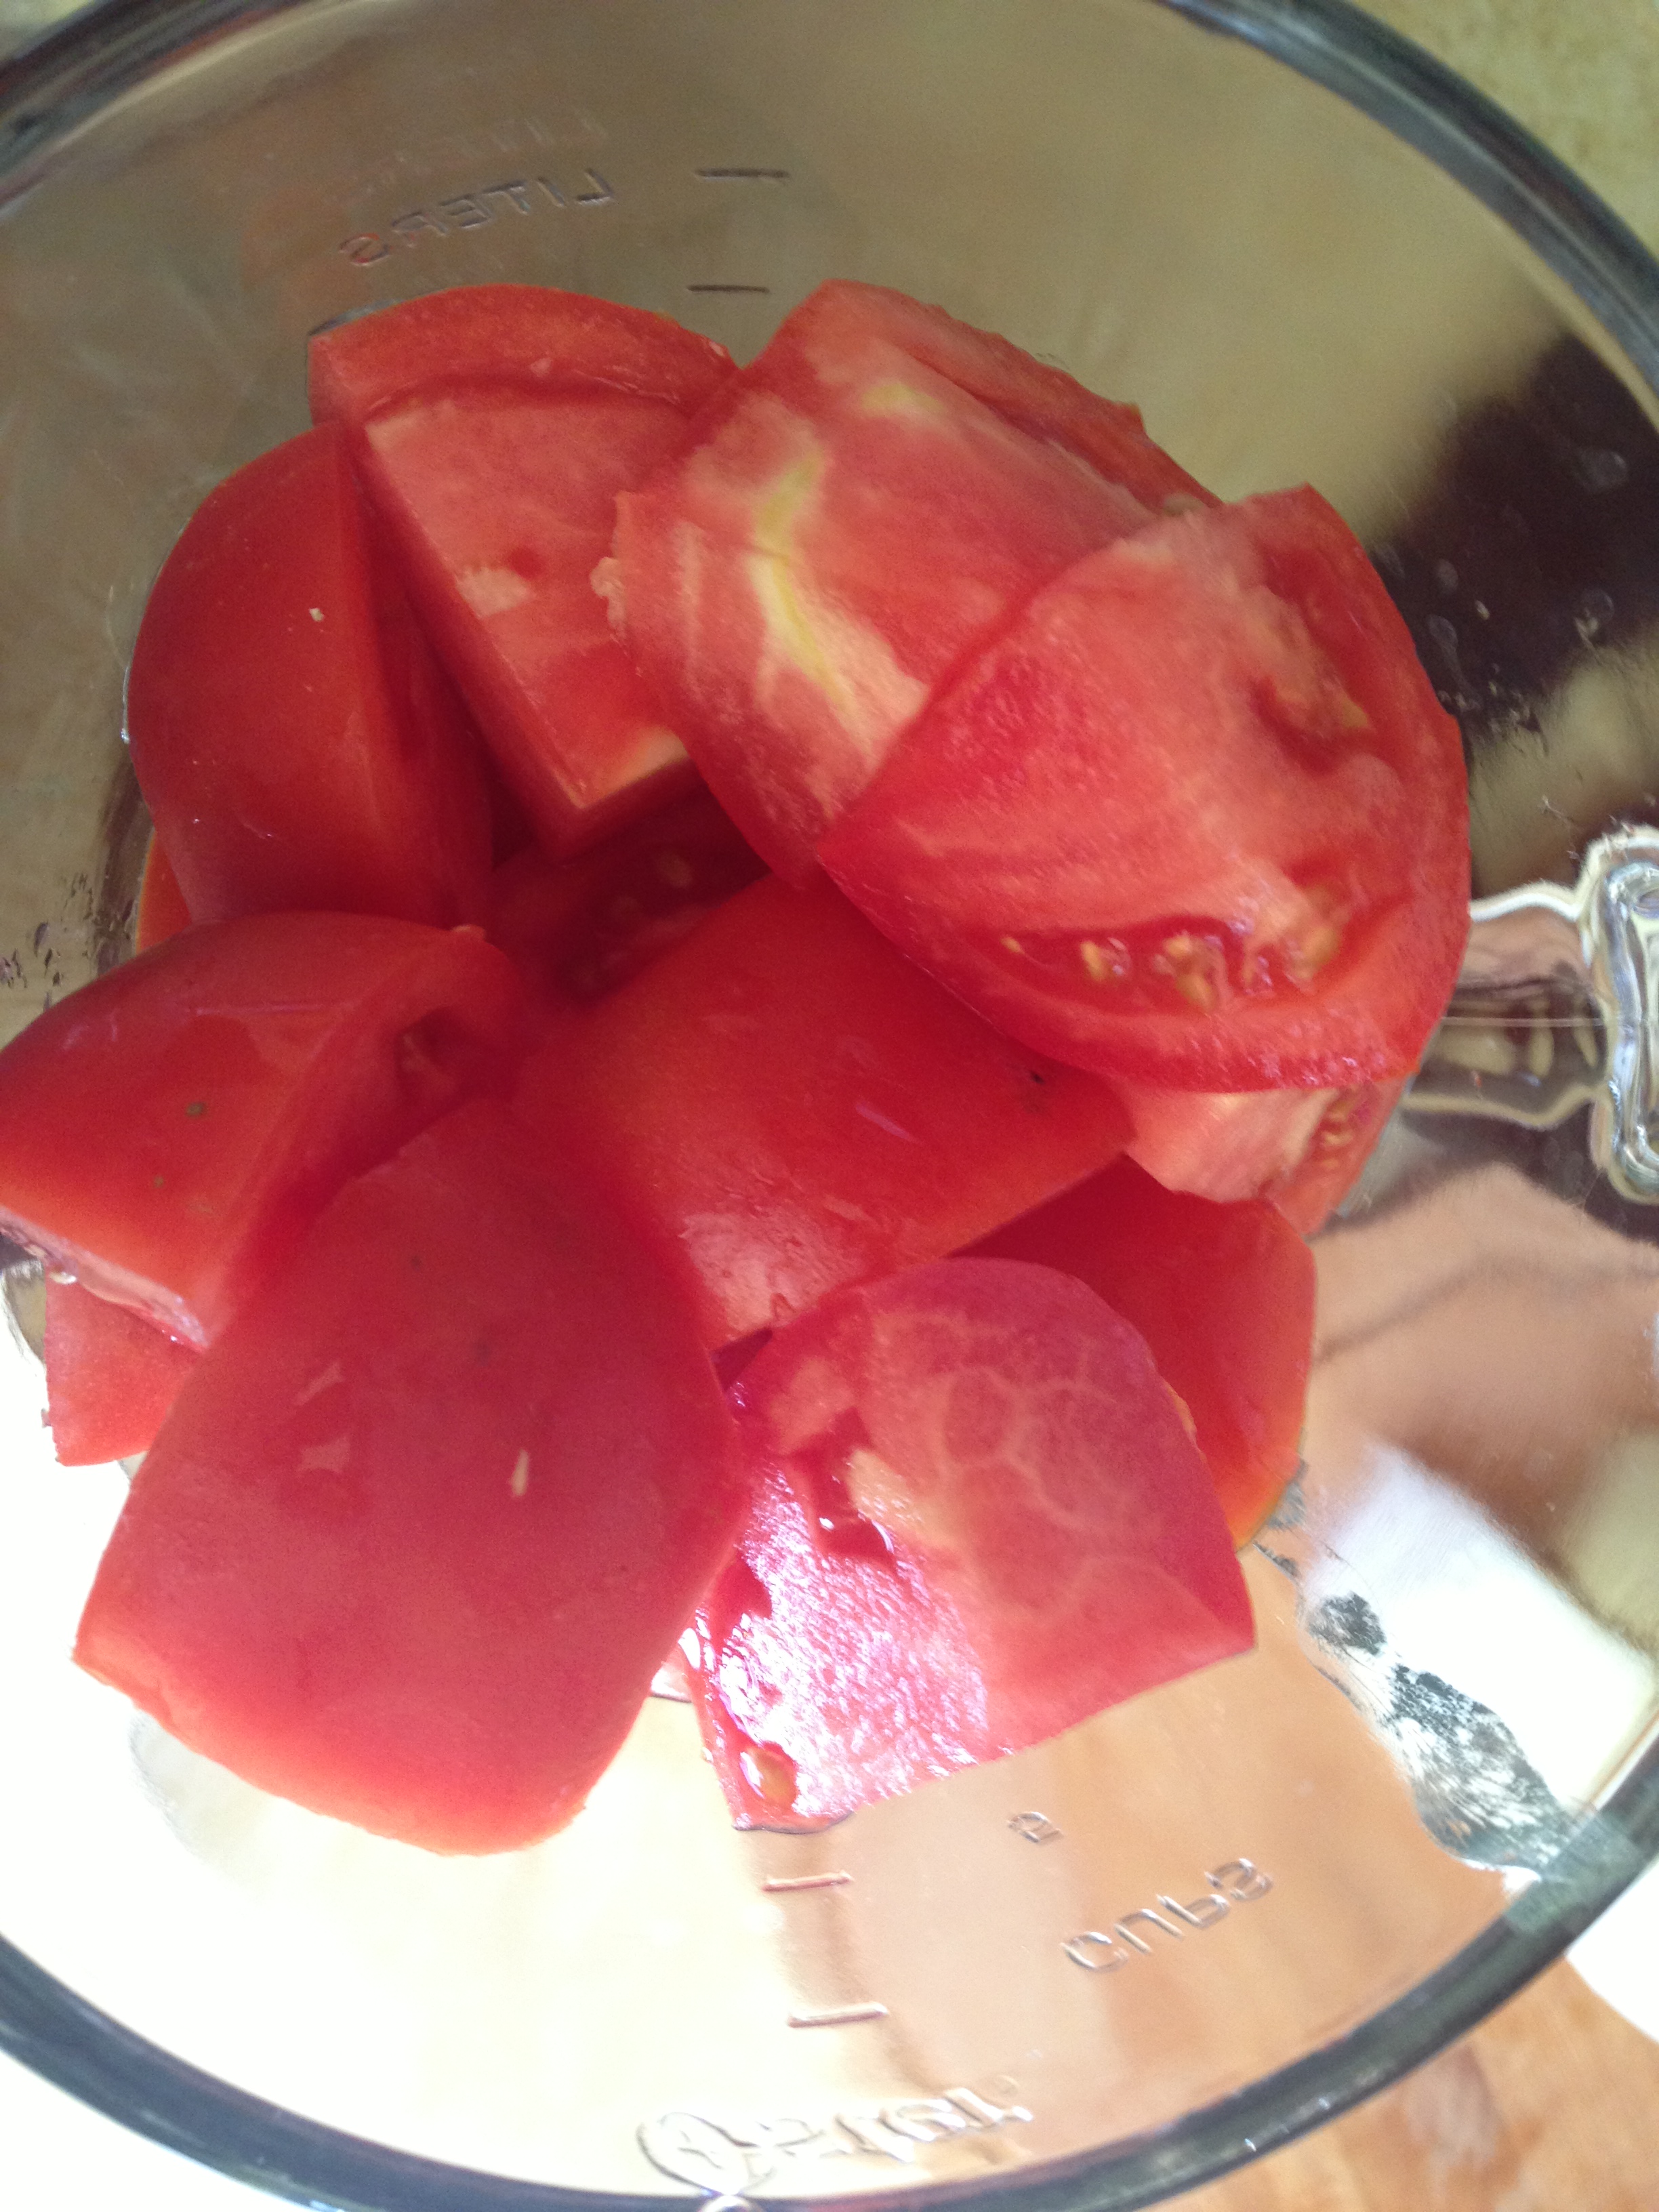
Tomatoes, bell peppers, onion, cucumbers, red wine vinegar, stale bread, salt, pepper, cumin, olive oil, Worcestershire sauce, blender or food processor.
To Prepare:
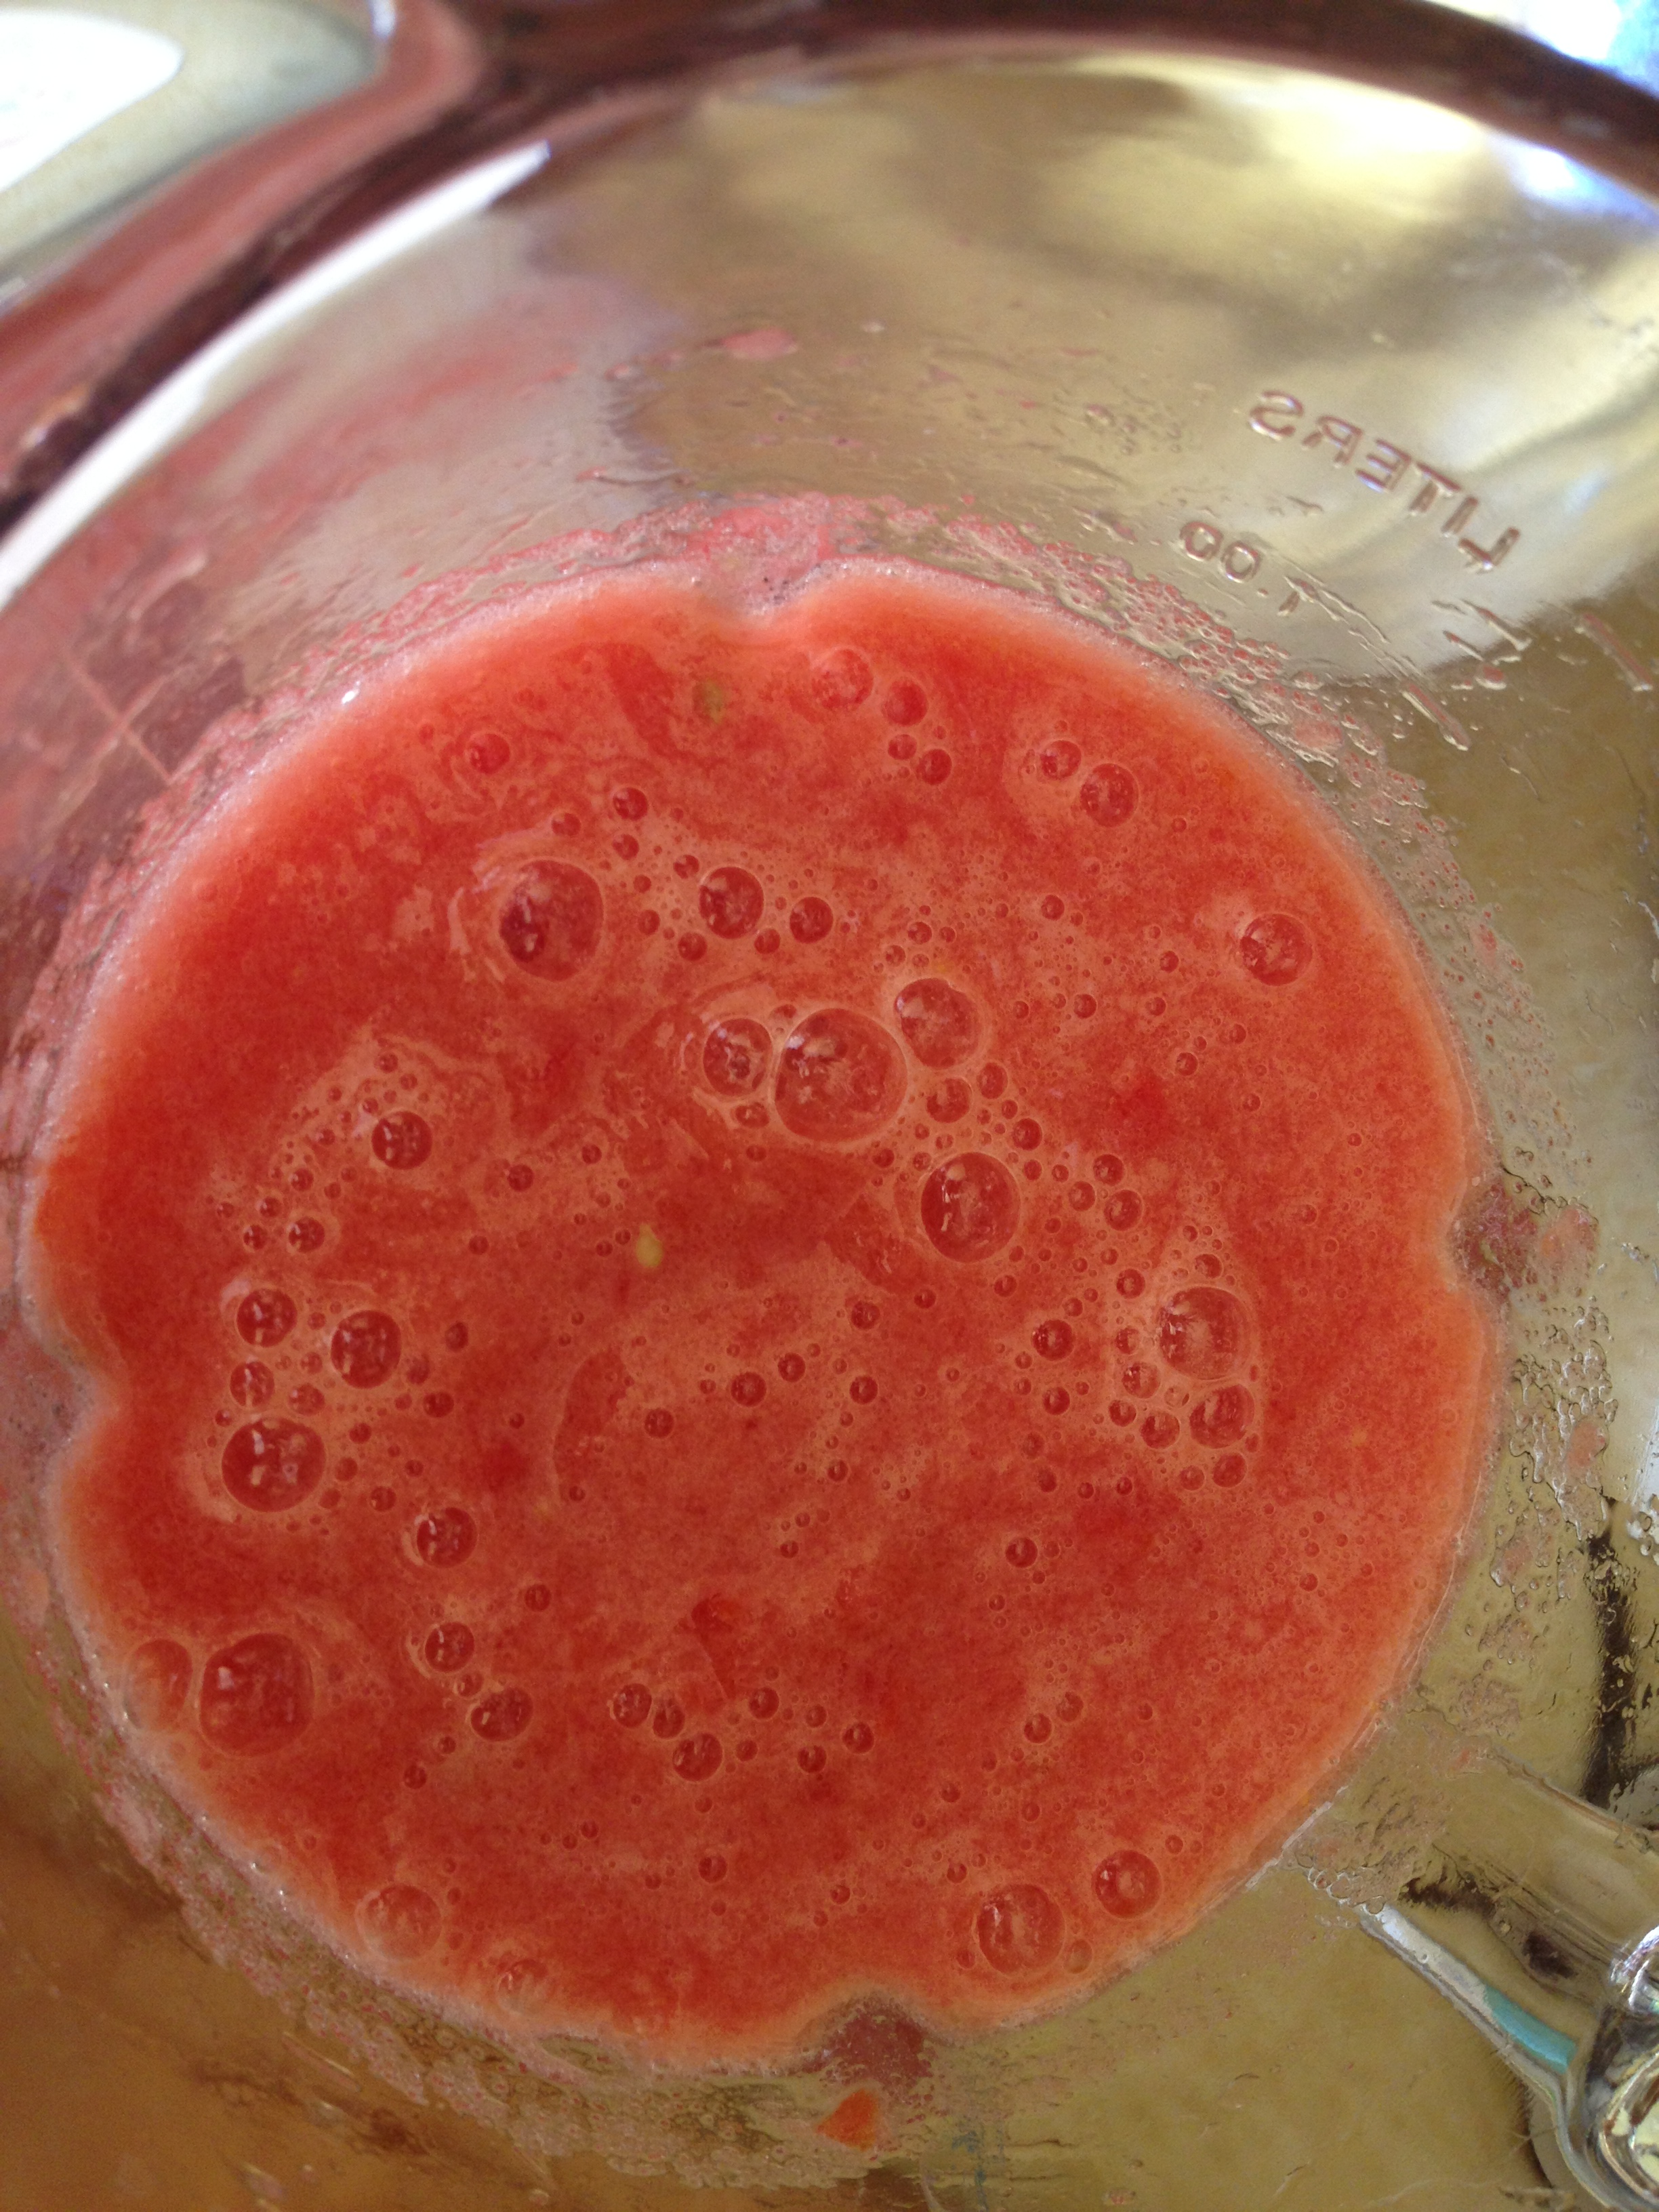
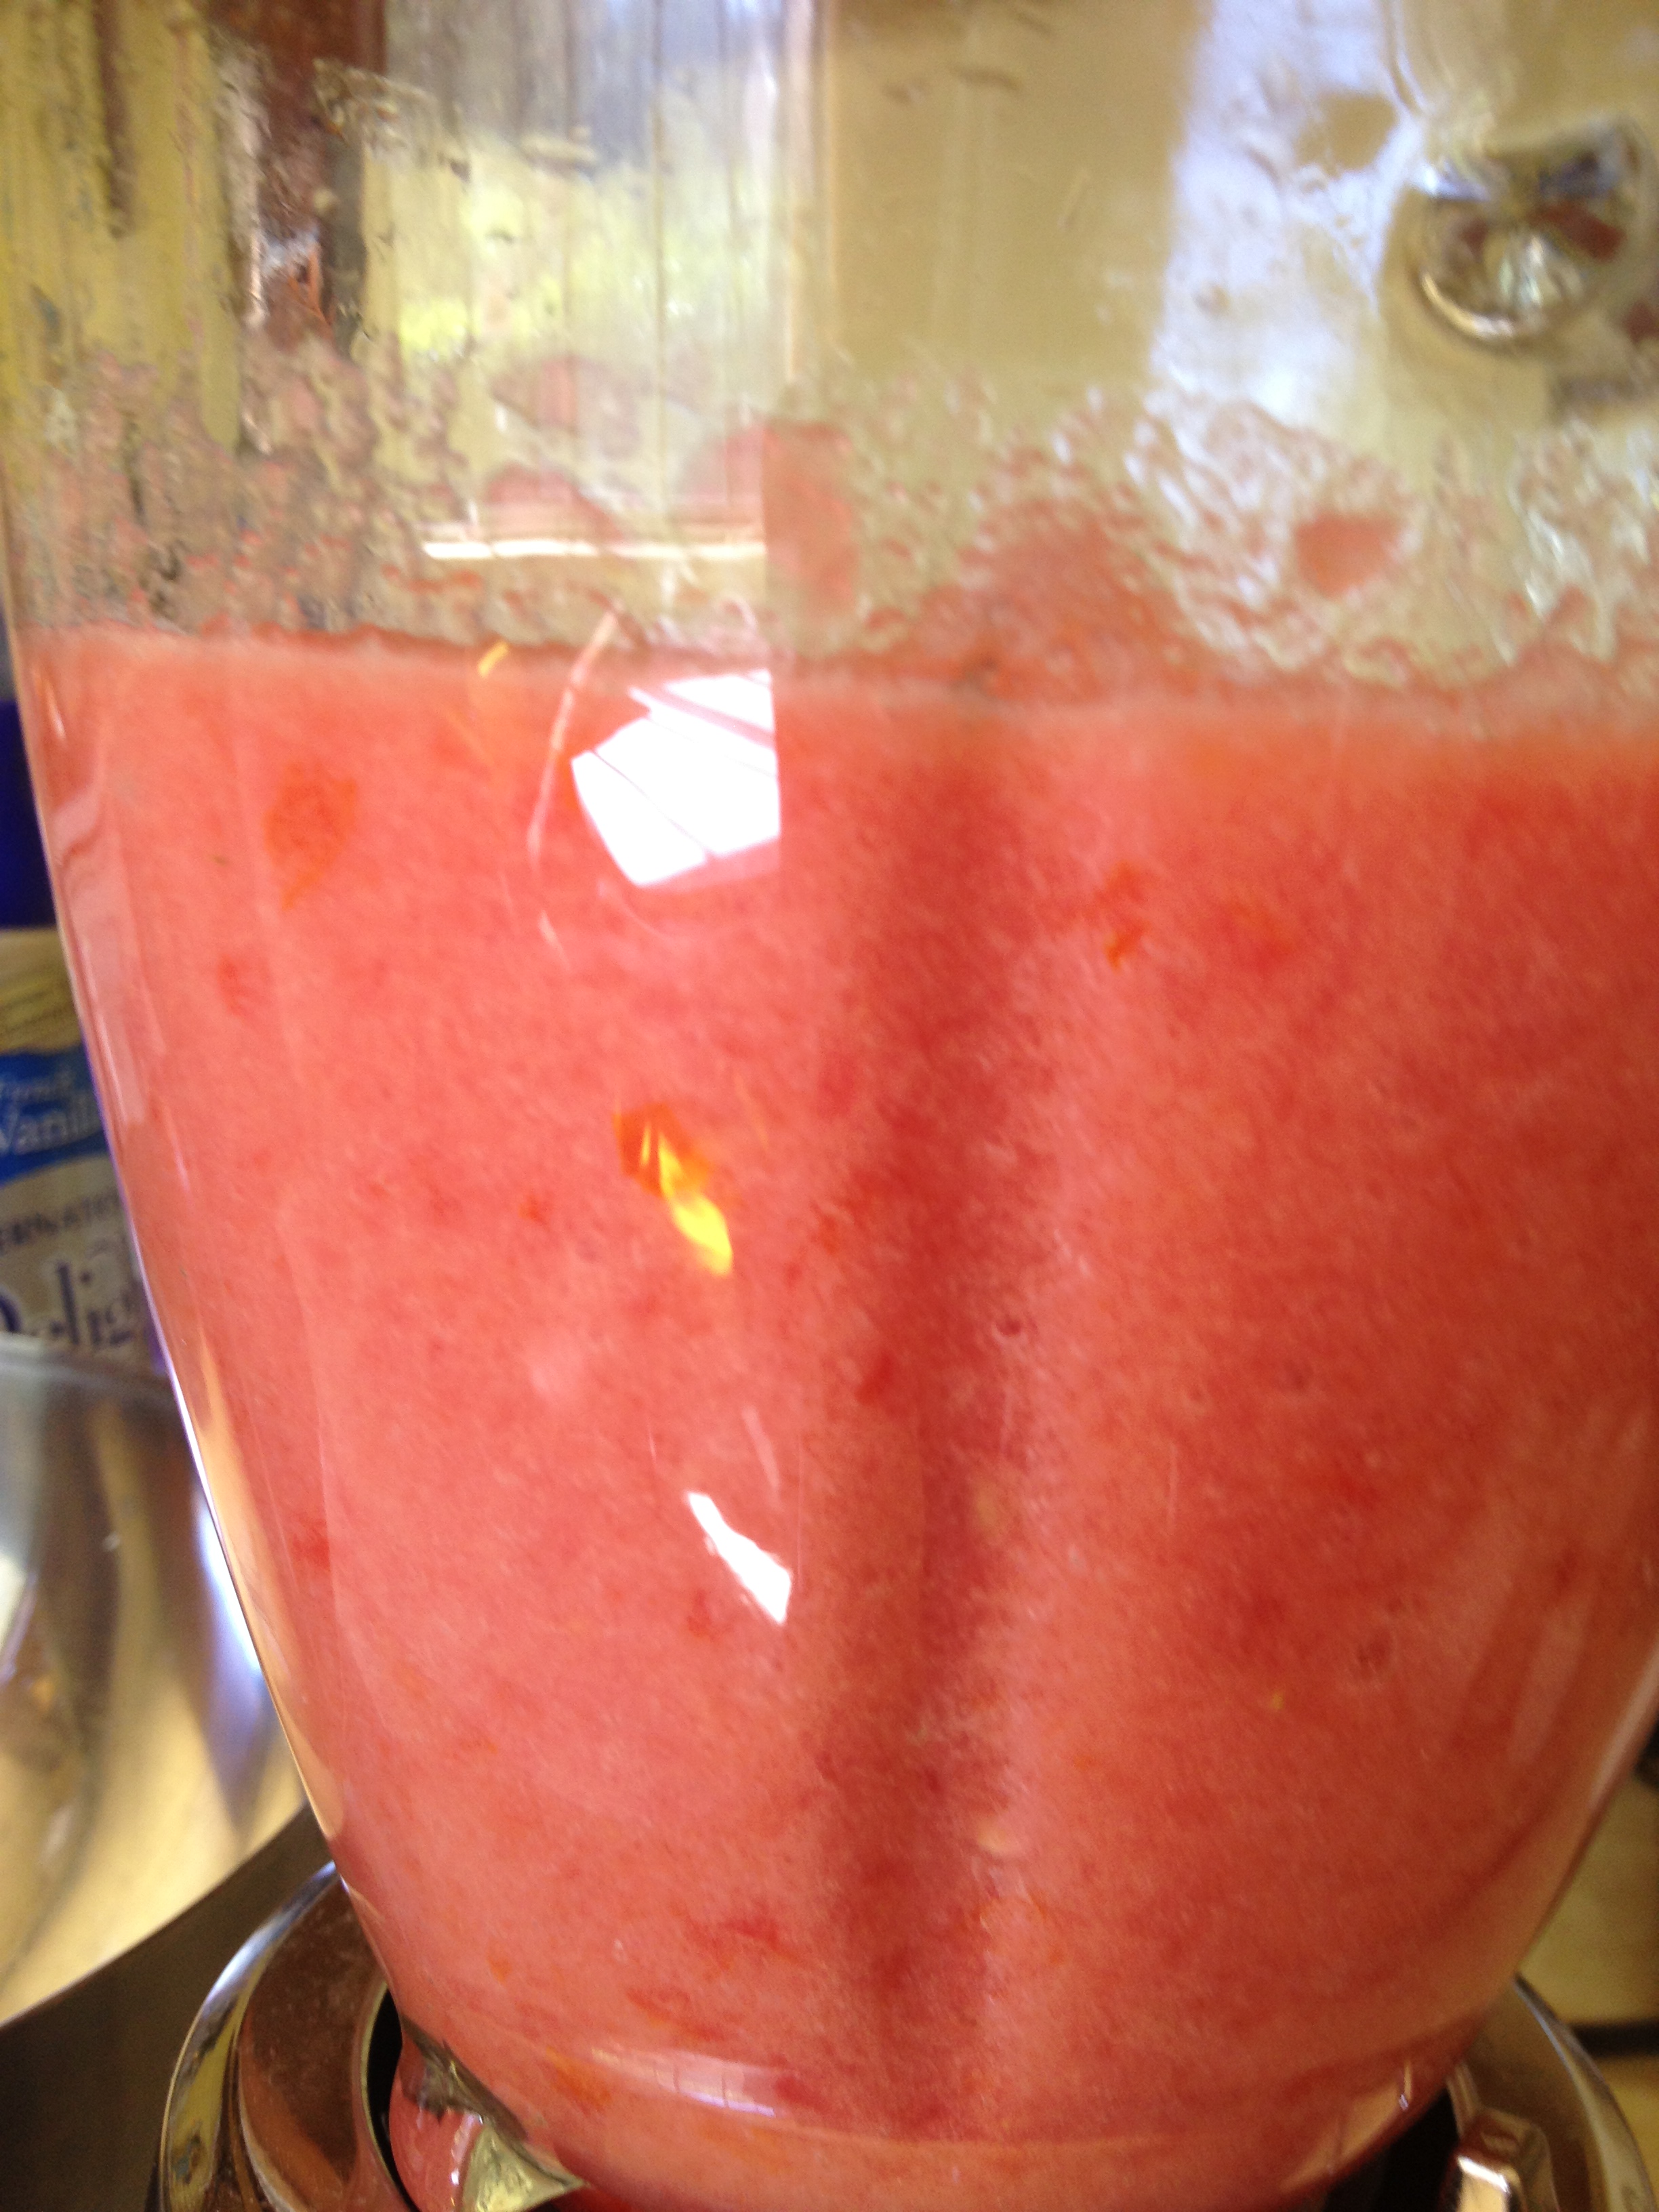
Blend each of the vegetables separately to desired thickness (i.e. I like my tomatoes blended really well, but my bell peppers and cucumbers slightly chunky).
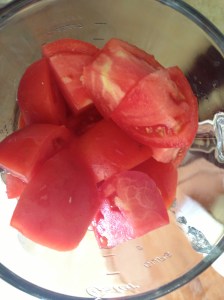
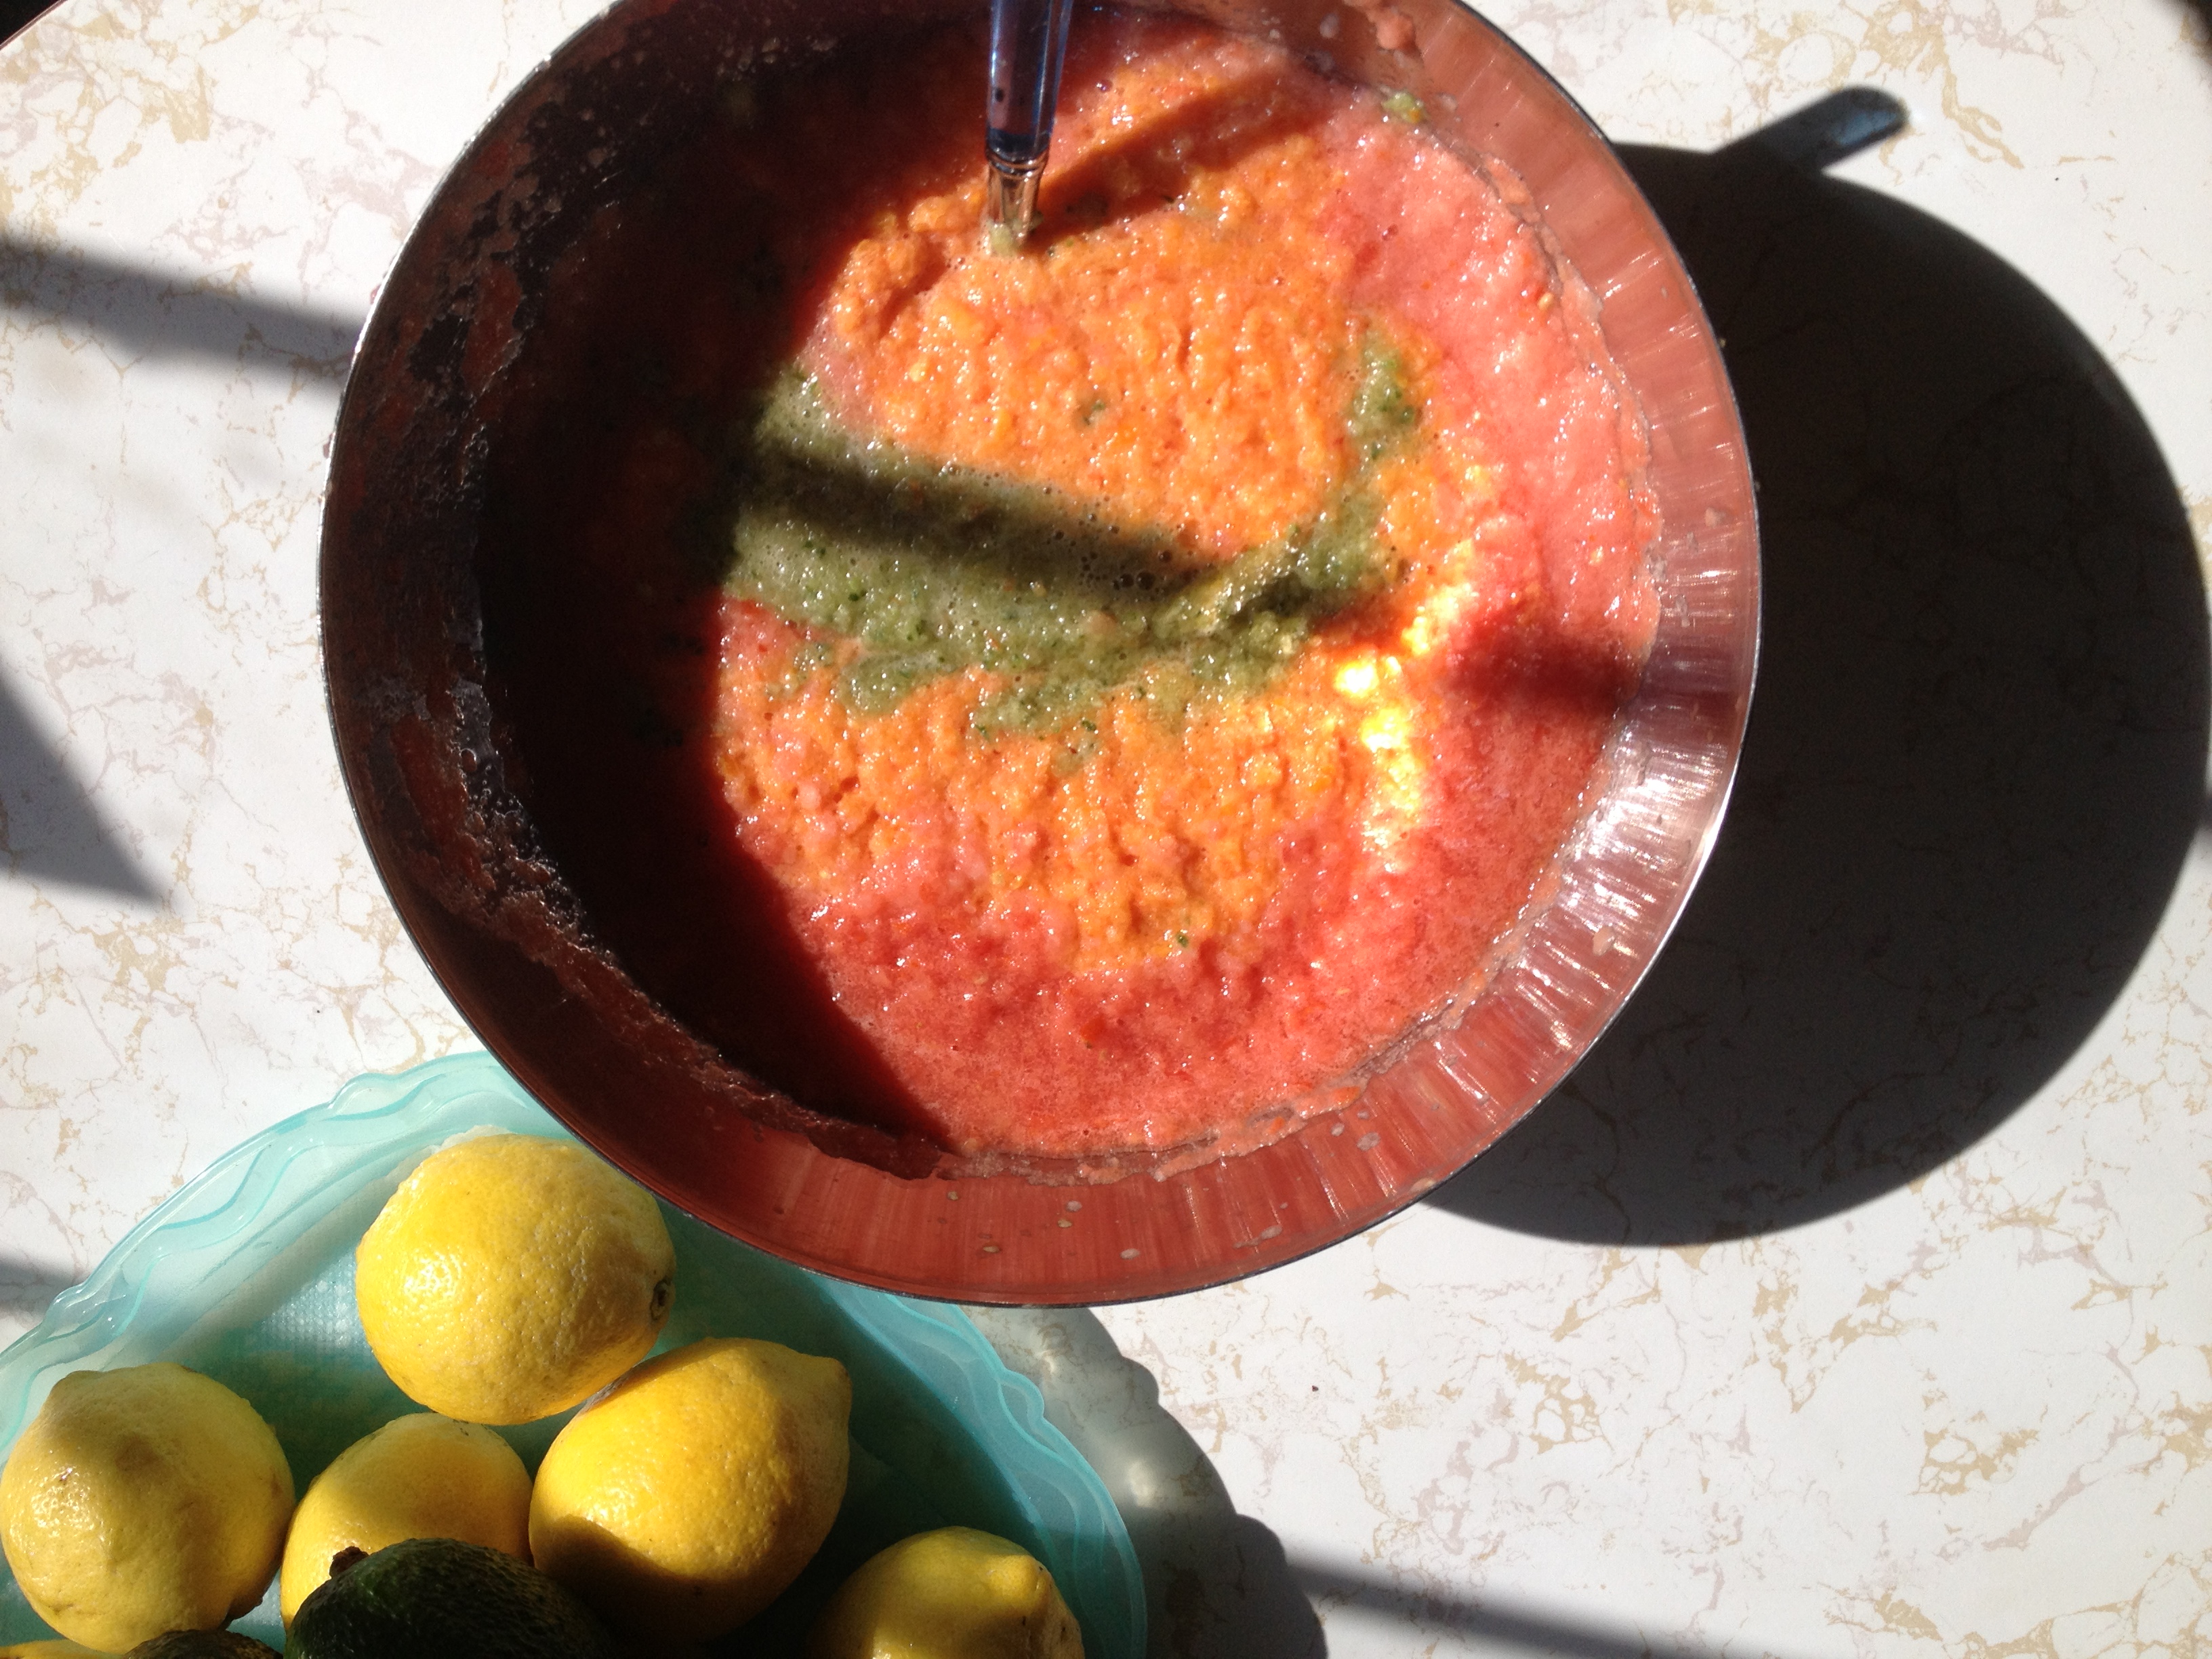
Blend bread in with tomatoes then pour all the vegetables together in a bowl.

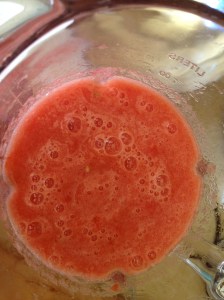
Pretty colors.
Add vinegar and other seasonings to taste. Chill until ready to serve. Garnish with cilantro and olive oil, if desired

Gazpacho.
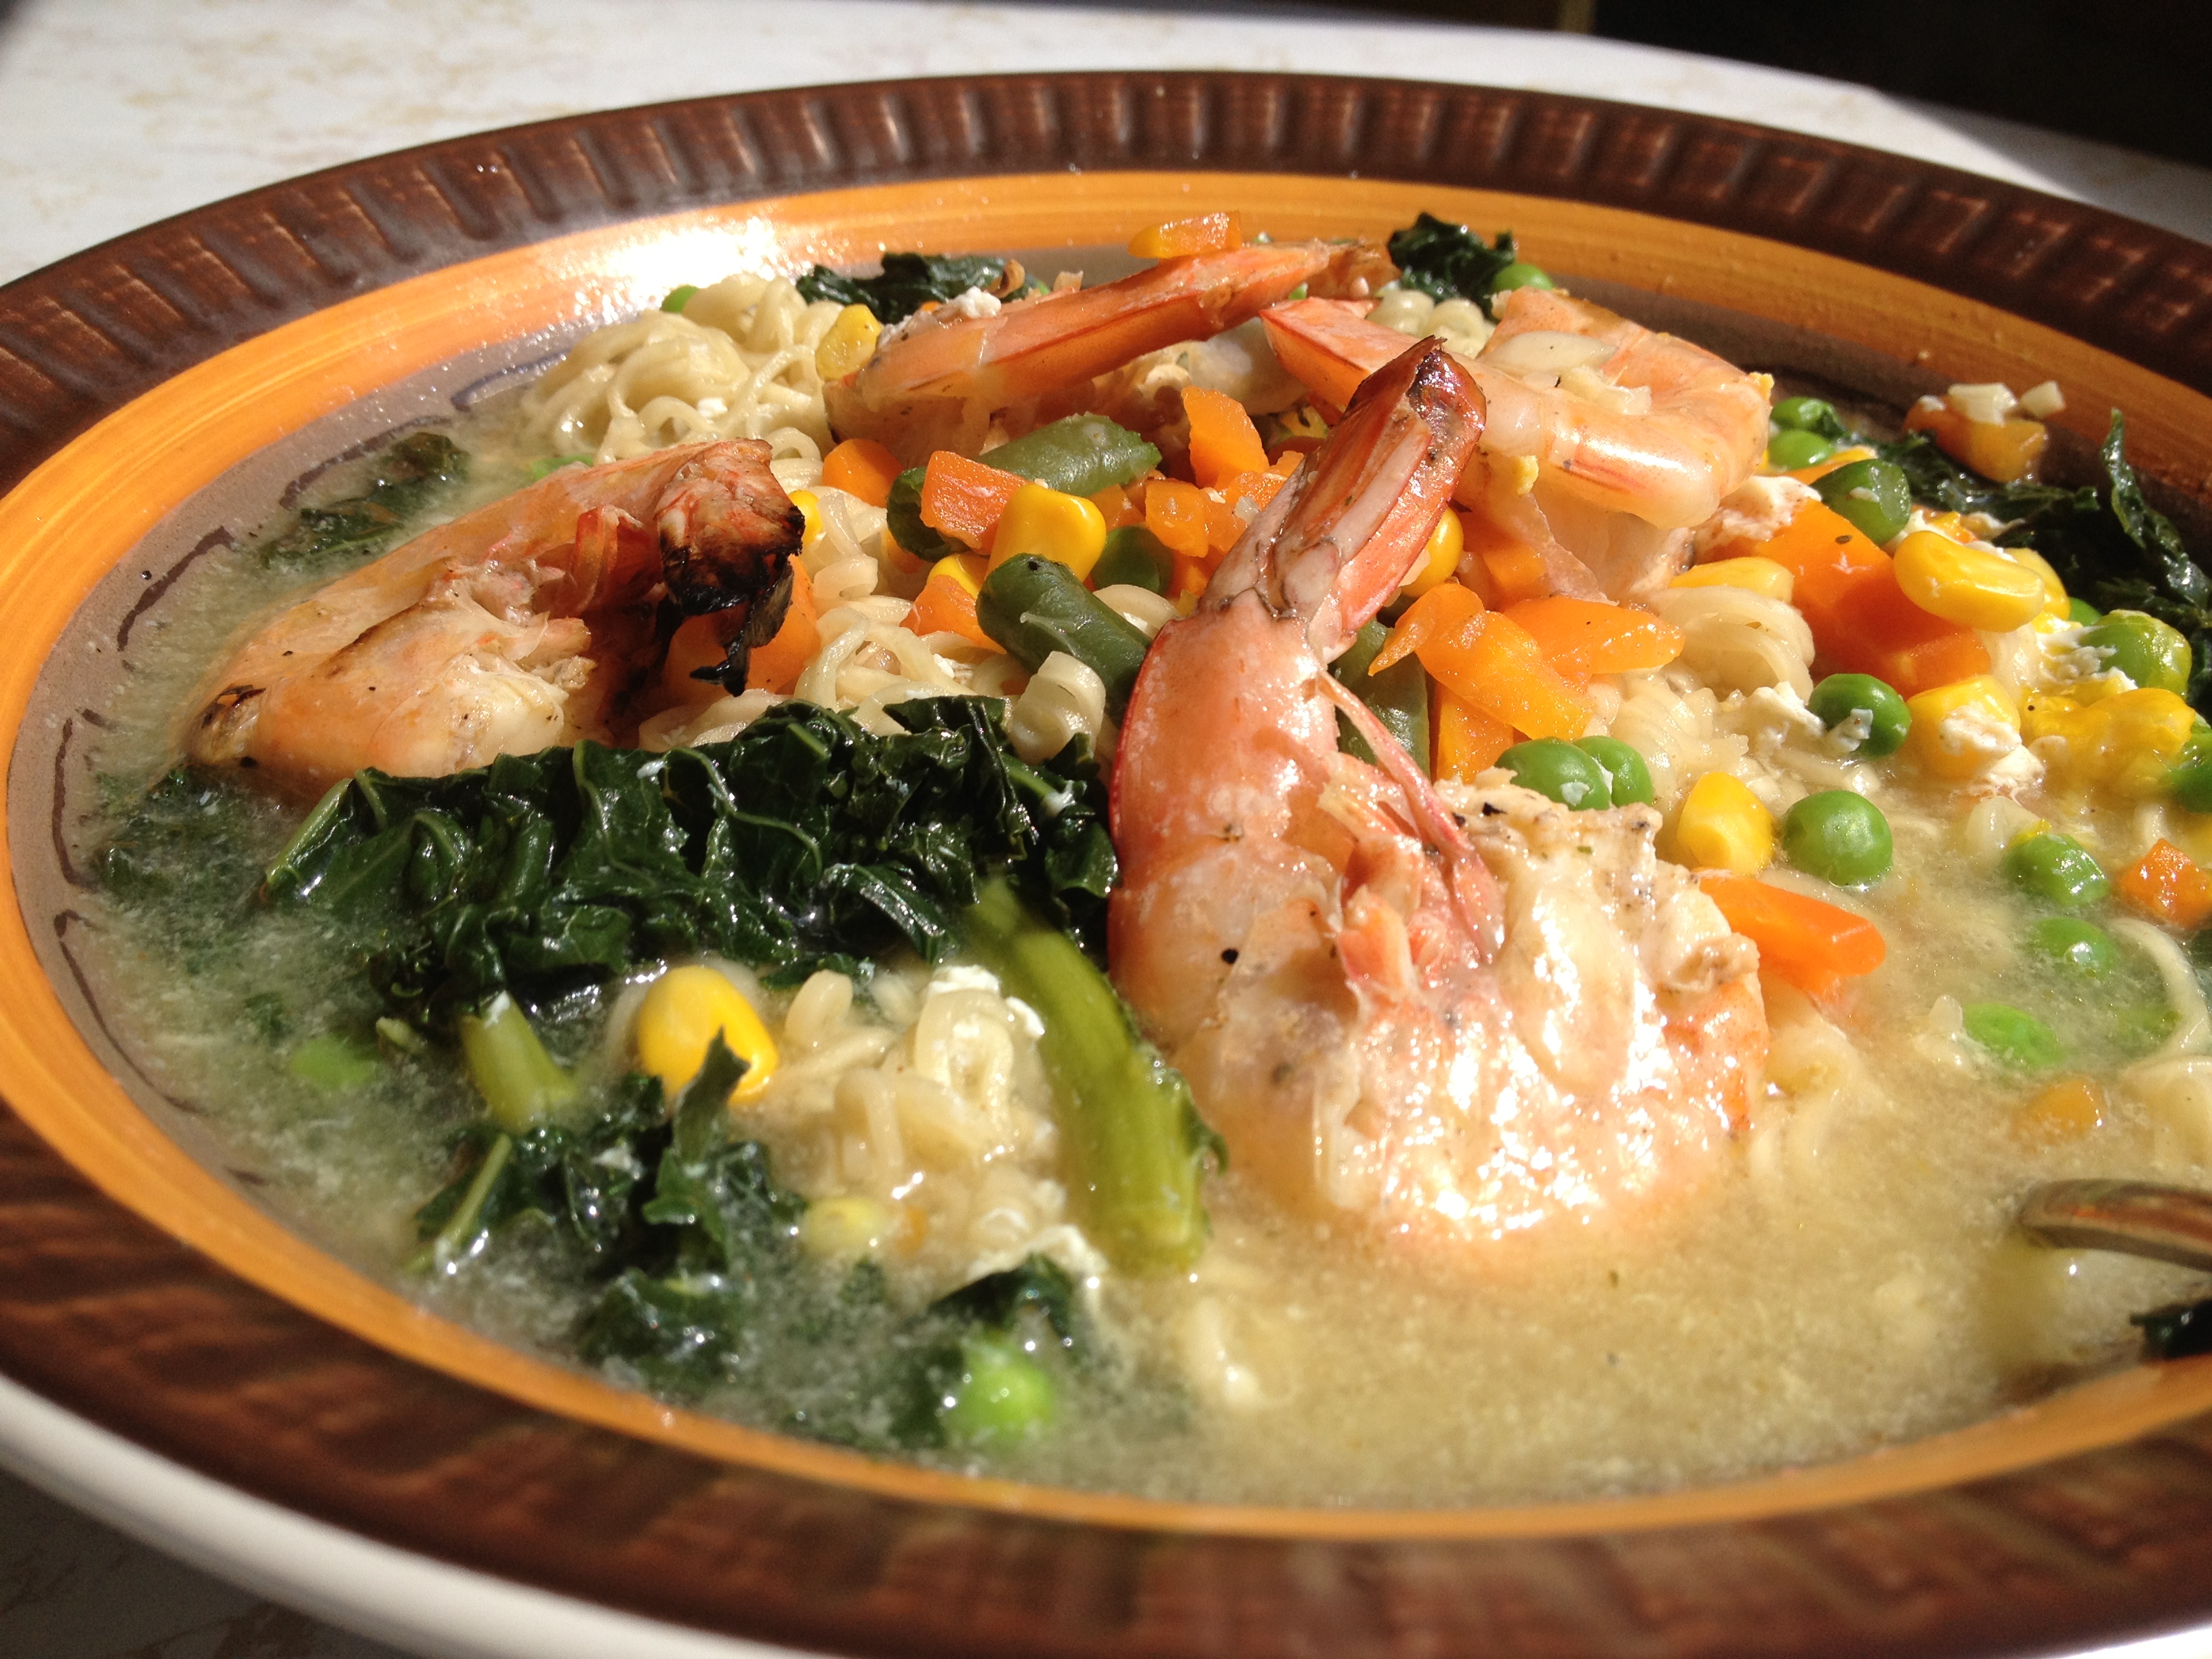
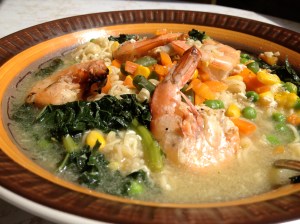
Gourmet Oodles of Noodles
They’re not just for college students anymore! There’s something about those curly little noodles that draws kids and adults alike. And because my kids (big and little) like them so much I have been forced to find a way to make them remotely healthy. If you scrap the seasoning packet and add in some protein, mixed vegetables and your own (most likely MSG-free) seasoning–or even chicken/beef/vegetable broth instead of water–then they’re not half bad…dare I say really good, rivaling some pho or Asian restaurant-style soups?!
You Will Need:
Packet oodles of noodles/ramen; soy sauce; onion, carrot, broccoli, mushrooms, and/or bean sprouts; egg; shrimp, chicken, pork or beef; toasted sesame seed oil; chili garlic sauce; kimchi
To Prepare:
Put sliced onions in medium sauce pan with water/broth and bring to a boil. When onions are translucent add heartier vegetables, soy sauce and chili garlic sauce. If you’re adding uncooked pork or beef add now; if you’re adding uncooked seafood, wait until vegetables are cooked. When vegetables are brightly colored add noodles and only cook about another 1 and 1/2 minutes. Turn off the heat and add egg and any other already cooked ingredients. Stir immediately to break up the egg then add bean sprouts, oil, kimchi and any other seasoning to taste.
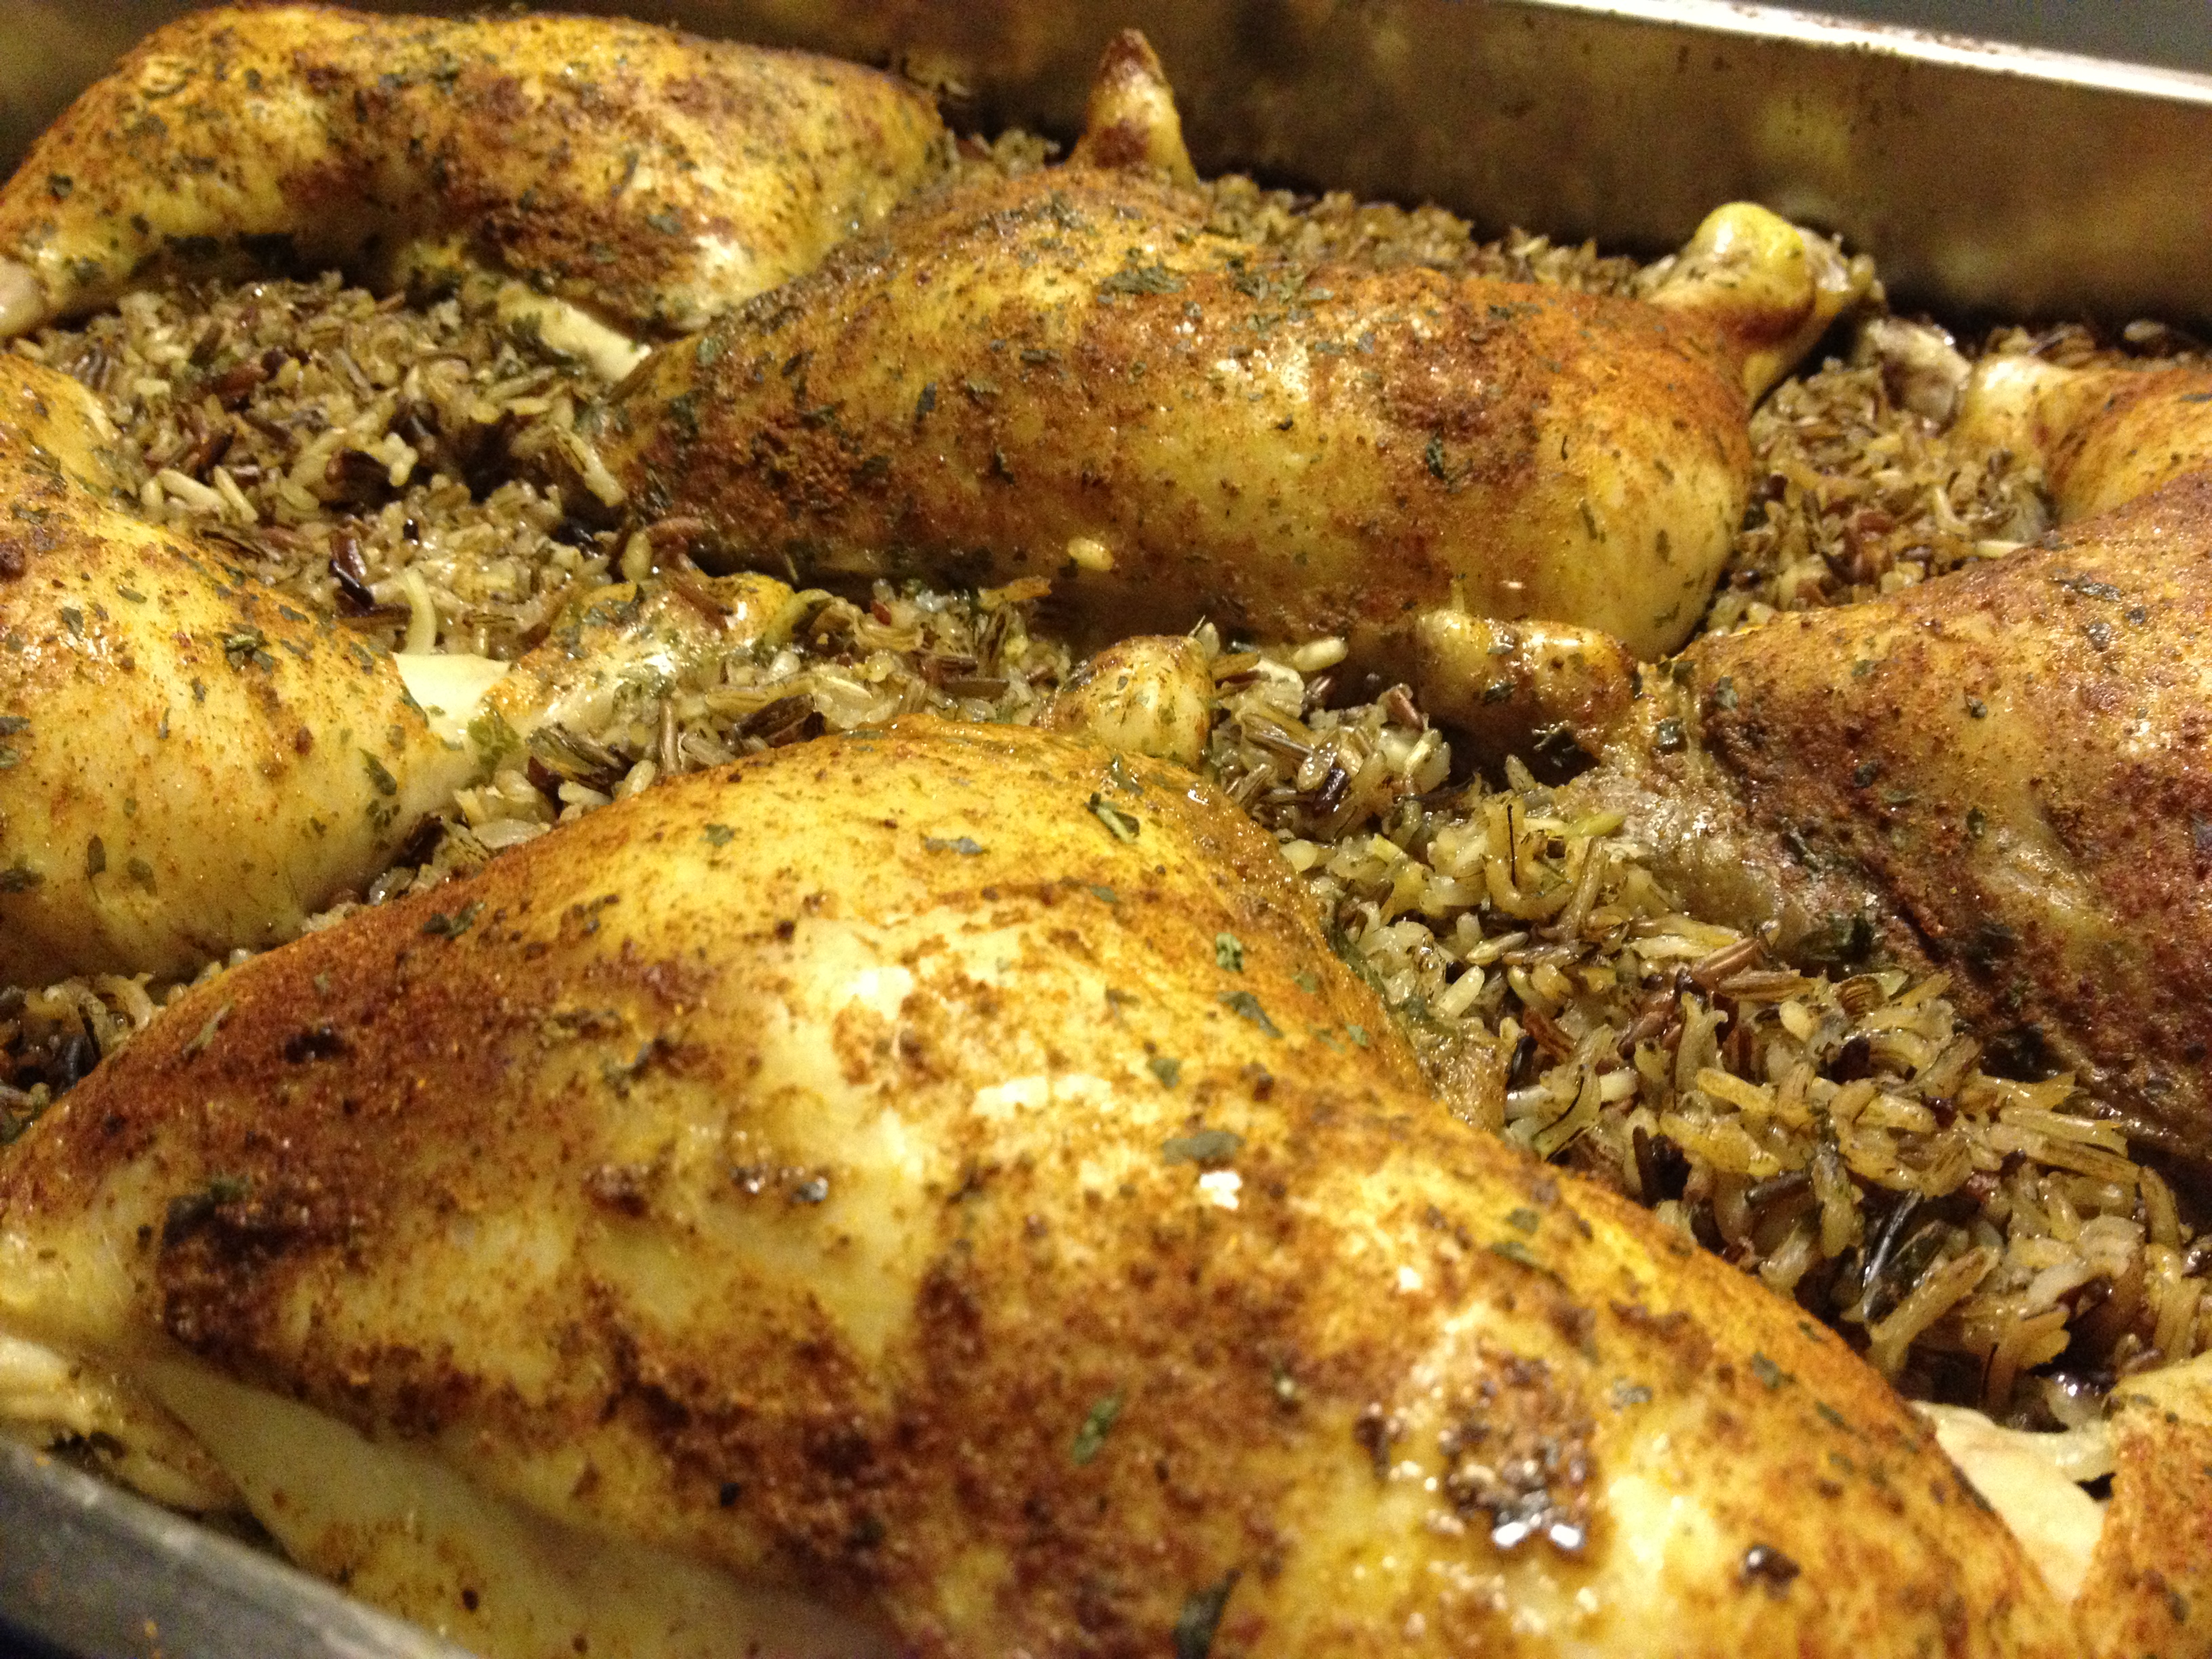
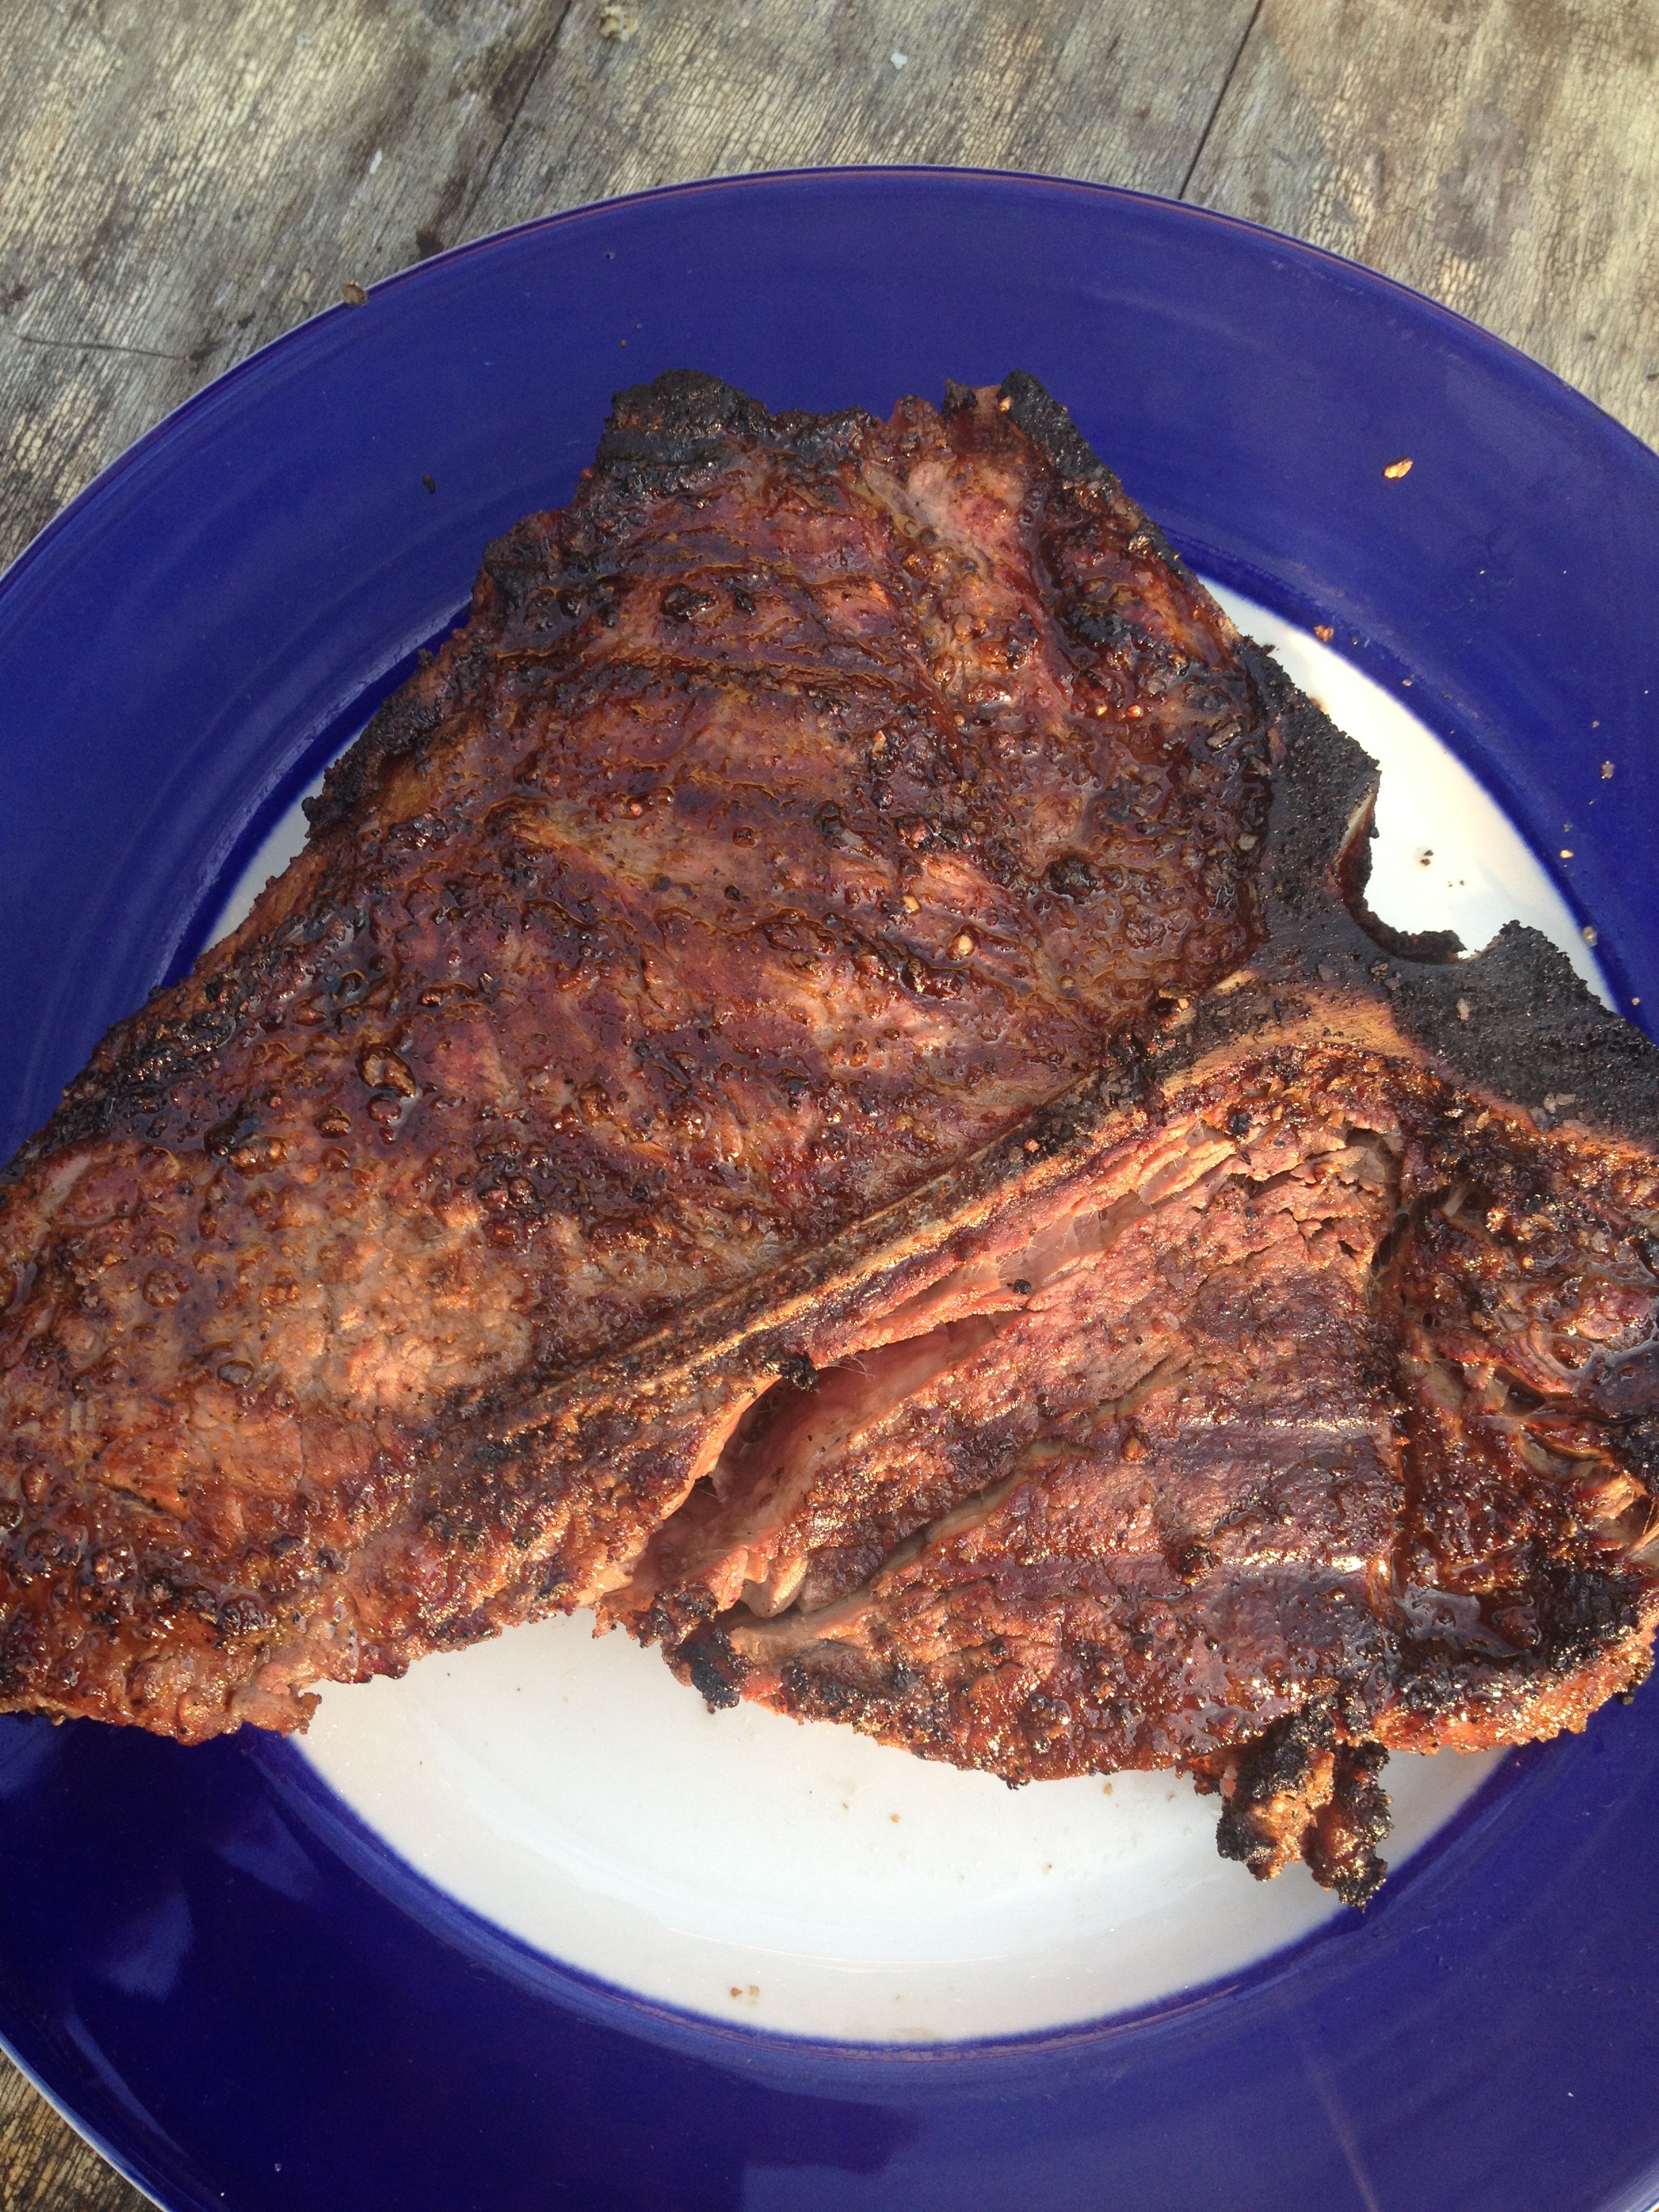
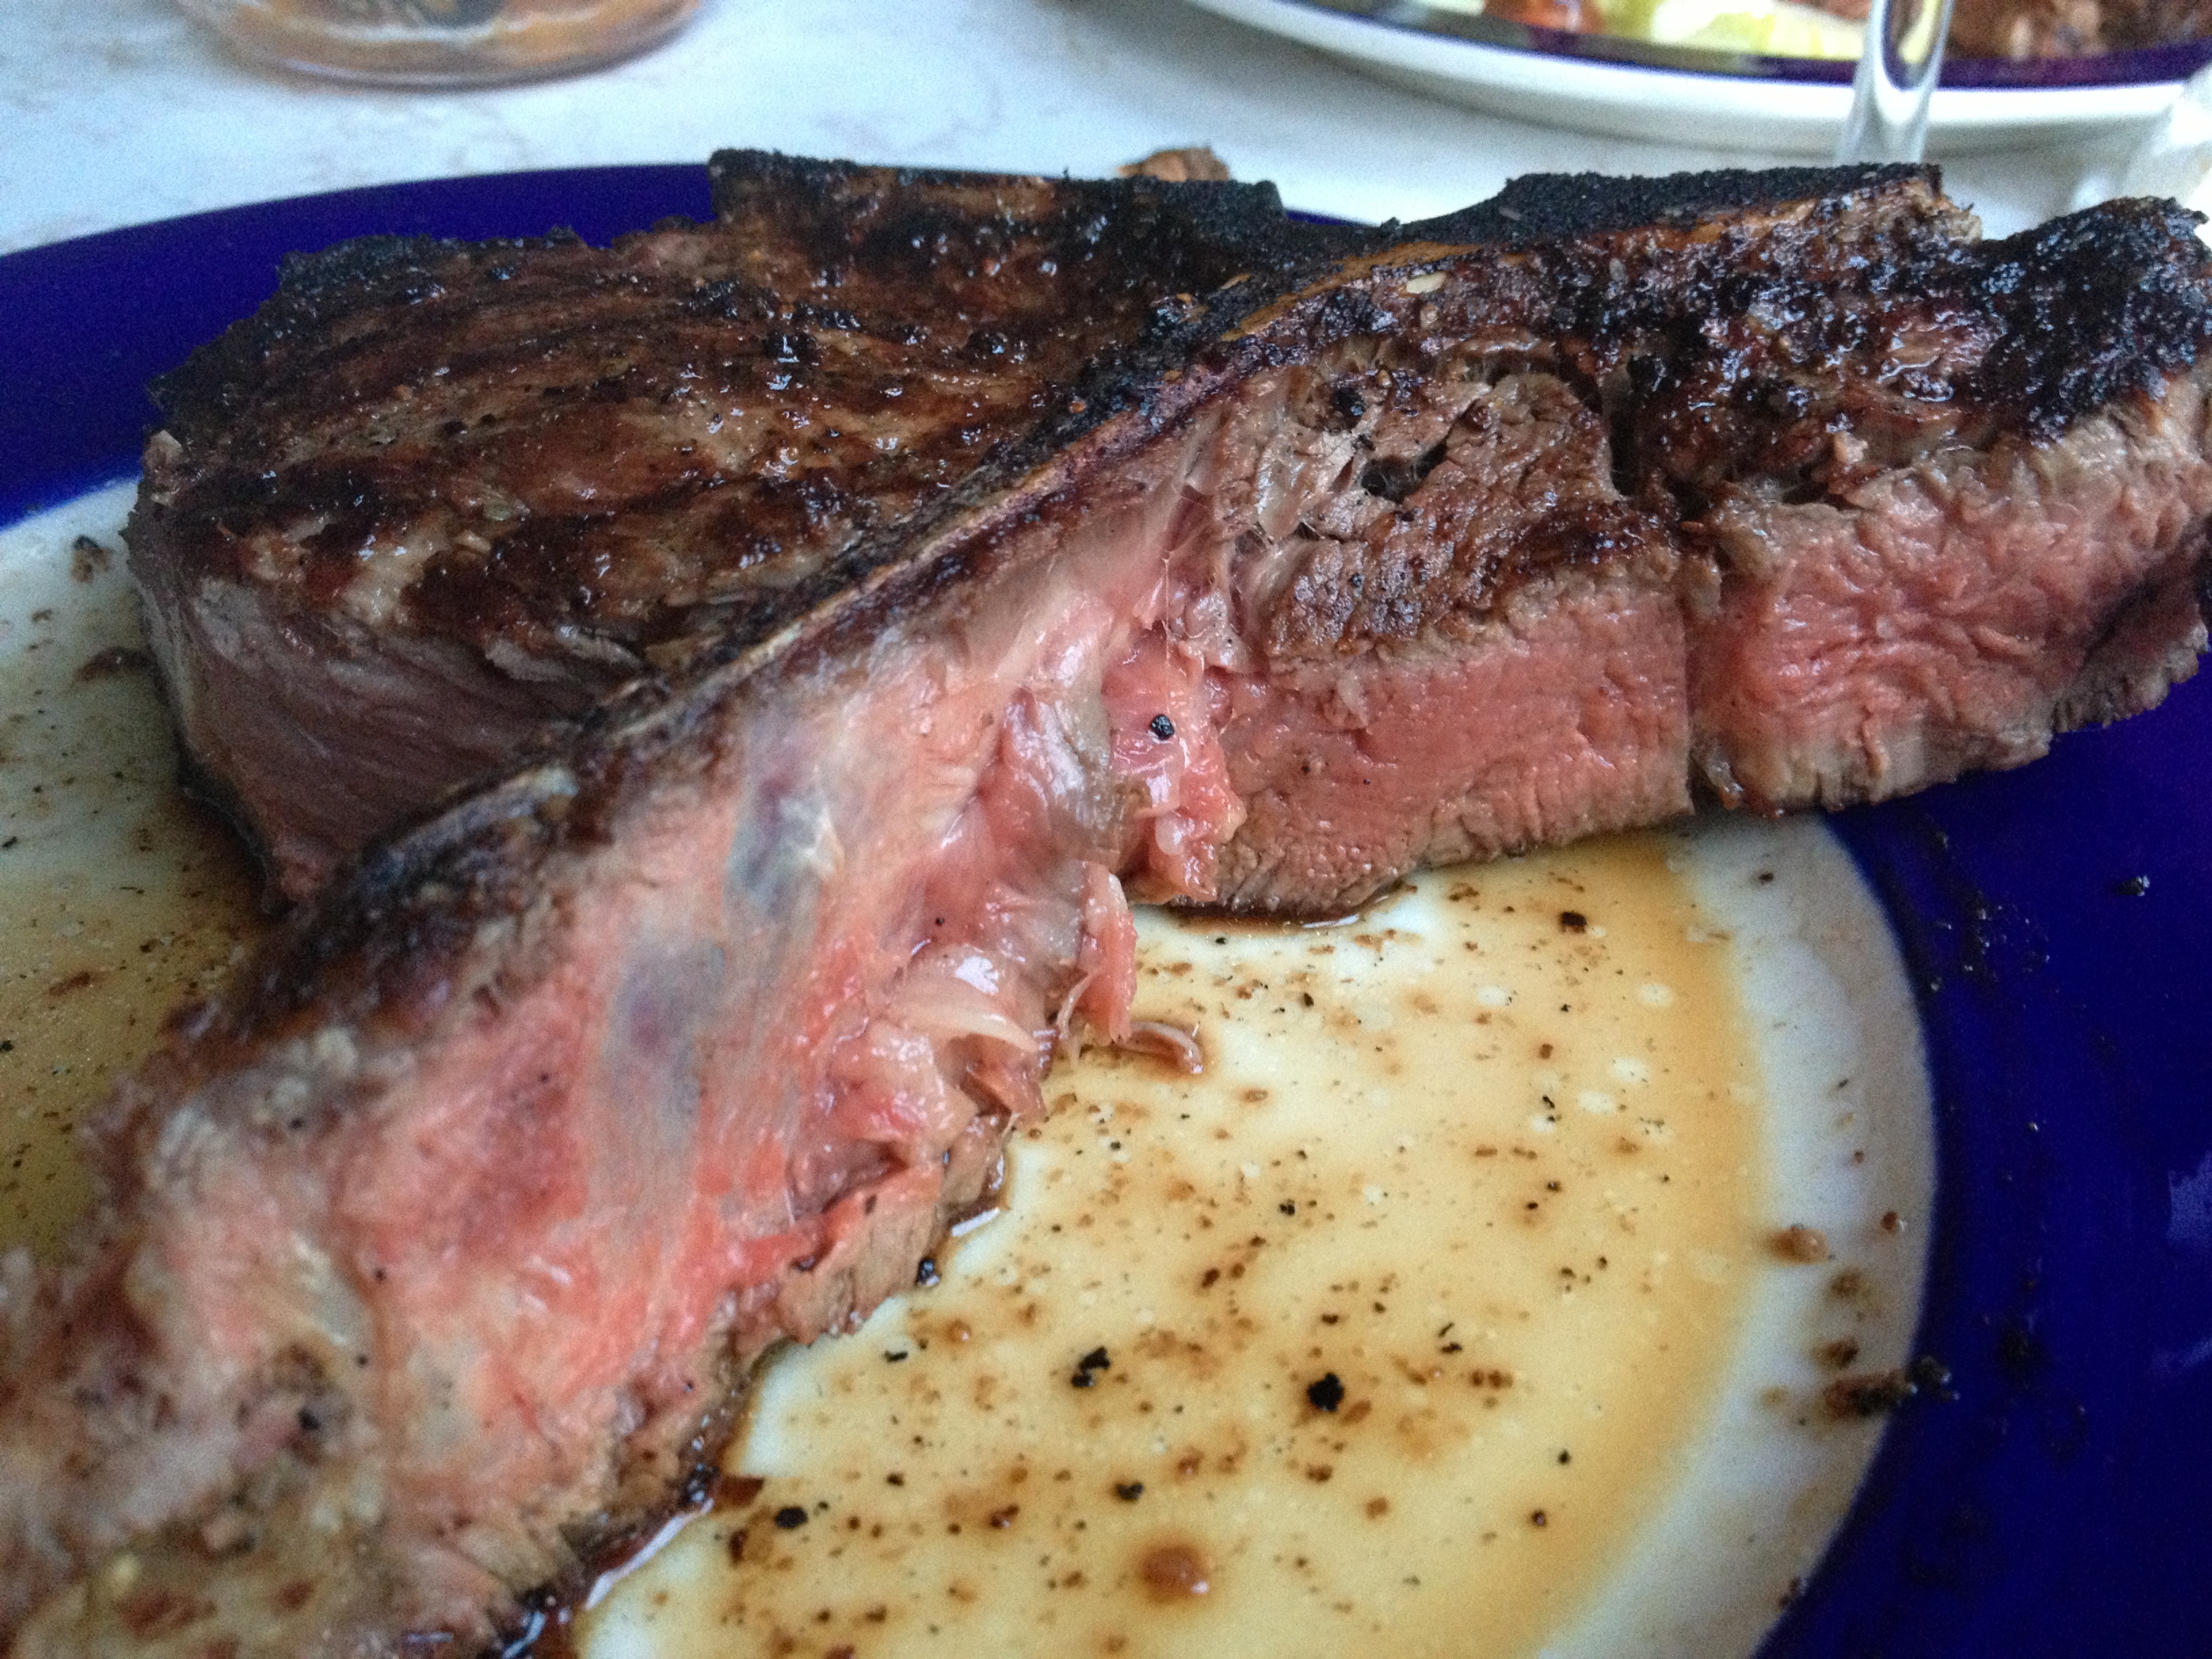
Chicken
Duh, right? Chicken is one of the cheapest and most readily available proteins around. Who doesn’t like chicken?! Plus, you don’t have to scrimp on price for quality either. Whole Foods, Trader Joe’s and Safeway, just to name a few, all carry organic, free-range, vegetarian-fed and all natural varieties starting at $0.99/pound if you catch them on sale! Don’t get me naming all the ways you can cook chicken in my Bubba voice. Grilled chicken, broiled chicken, jerk chicken, BBQ chicken, curry chicken…you get the point. Once you’ve prepared it one way you can chop it up or pull it apart, add it to other ingredients and prepare it another way. Chicken nuggets, kabobs, salad, enchiladas, club sandwiches, omelets, pot pie…

Grilled chicken

Chicken & rice with mushroom sauce.

Fried chicken
Check out my Instagram @chrissy_cooks 😉
<a href=”http://www.bloglovin.com/blog/10999659/?claim=9yv5uknzfn2″>Follow my blog with Bloglovin</a>