I know it’s been a while, but I didn’t want the year to pass without me writing a post about the HOILDAYS–my favorite time of year! For me, the holidays are like a renewal of sorts. I can’t remember a time where the self-imposed merriment of the holidays wasn’t needed in my life. There is always a relationship that could use a little improvement, a family situation that requires a living room dance along in order to jump start a move in a more positive direction. In lieu of sounding too vague or revealing my whole life story, I will say that some of my deepest, darkest times have been around the holidays; and, by contrast, the most glorious turnarounds have also happened during this time. Who doesn’t love a good comeback story, right? I, for one, live for them. I’ve been on this earth too long not to know that life is all about ebb and flow, ups and downs, highs and lows. But I choose to rejoice in these chances to enjoy life to the fullest with the people I love the most because what else is there, really?
And what better way to physically express this merriment than with plate after plate of the most delectable food anyone could ever imagine?! In my book, food is the ultimate love language. So I try to love the hell out of any and everyone I come in contact with. Cakes, cookies, pies, on-demand pancake breakfasts, extravagant weekend meals any day of the week…this is what fills my heart and occupies my hours of the day. There is no joy like seeing someone’s face light up at the sight of an unexpected holiday feast. And feast we certainly did on Thanksgiving!
It all started when my newly widowed grandmother(Mama) decided that she wanted to treat everyone in the family to a grand Thanksgiving meal…at a restaurant?! Being the obedient grandchild that I am, I searched around for such a place for all 30+ relatives who would be attending said dinner, but there always seemed to be something missing. A grand buffet…only for brunch. A soul food dinner…only for a 2-hour block of time. A traditional turkey dinner…with no leftovers!?! Everything we wanted…but cost two to three times what Mama was planning on paying. But oh, could I picture this meal in my head! It had multiple courses. It pleased pescatarians, vegetarians and carnivores alike. Basically, I wanted to do it myself and that is just what happened. This menu was the compilation of all the Thanksgiving foodie dreams I have ever had, come to life. So I say, indulge in good food and each other! And leave the self-loathing and gym visits for next year. Here’s to continued Happy Holidays, and at the very least HAPPY EATING!
(Instead of posting every single recipe of our Thanksgiving feast, I’ll tease you with just the menu and give you the full recipe for my favorite go-to holiday dish–OYSTER STUFFING!)
Thanksgiving Menu 2013
Appetizers
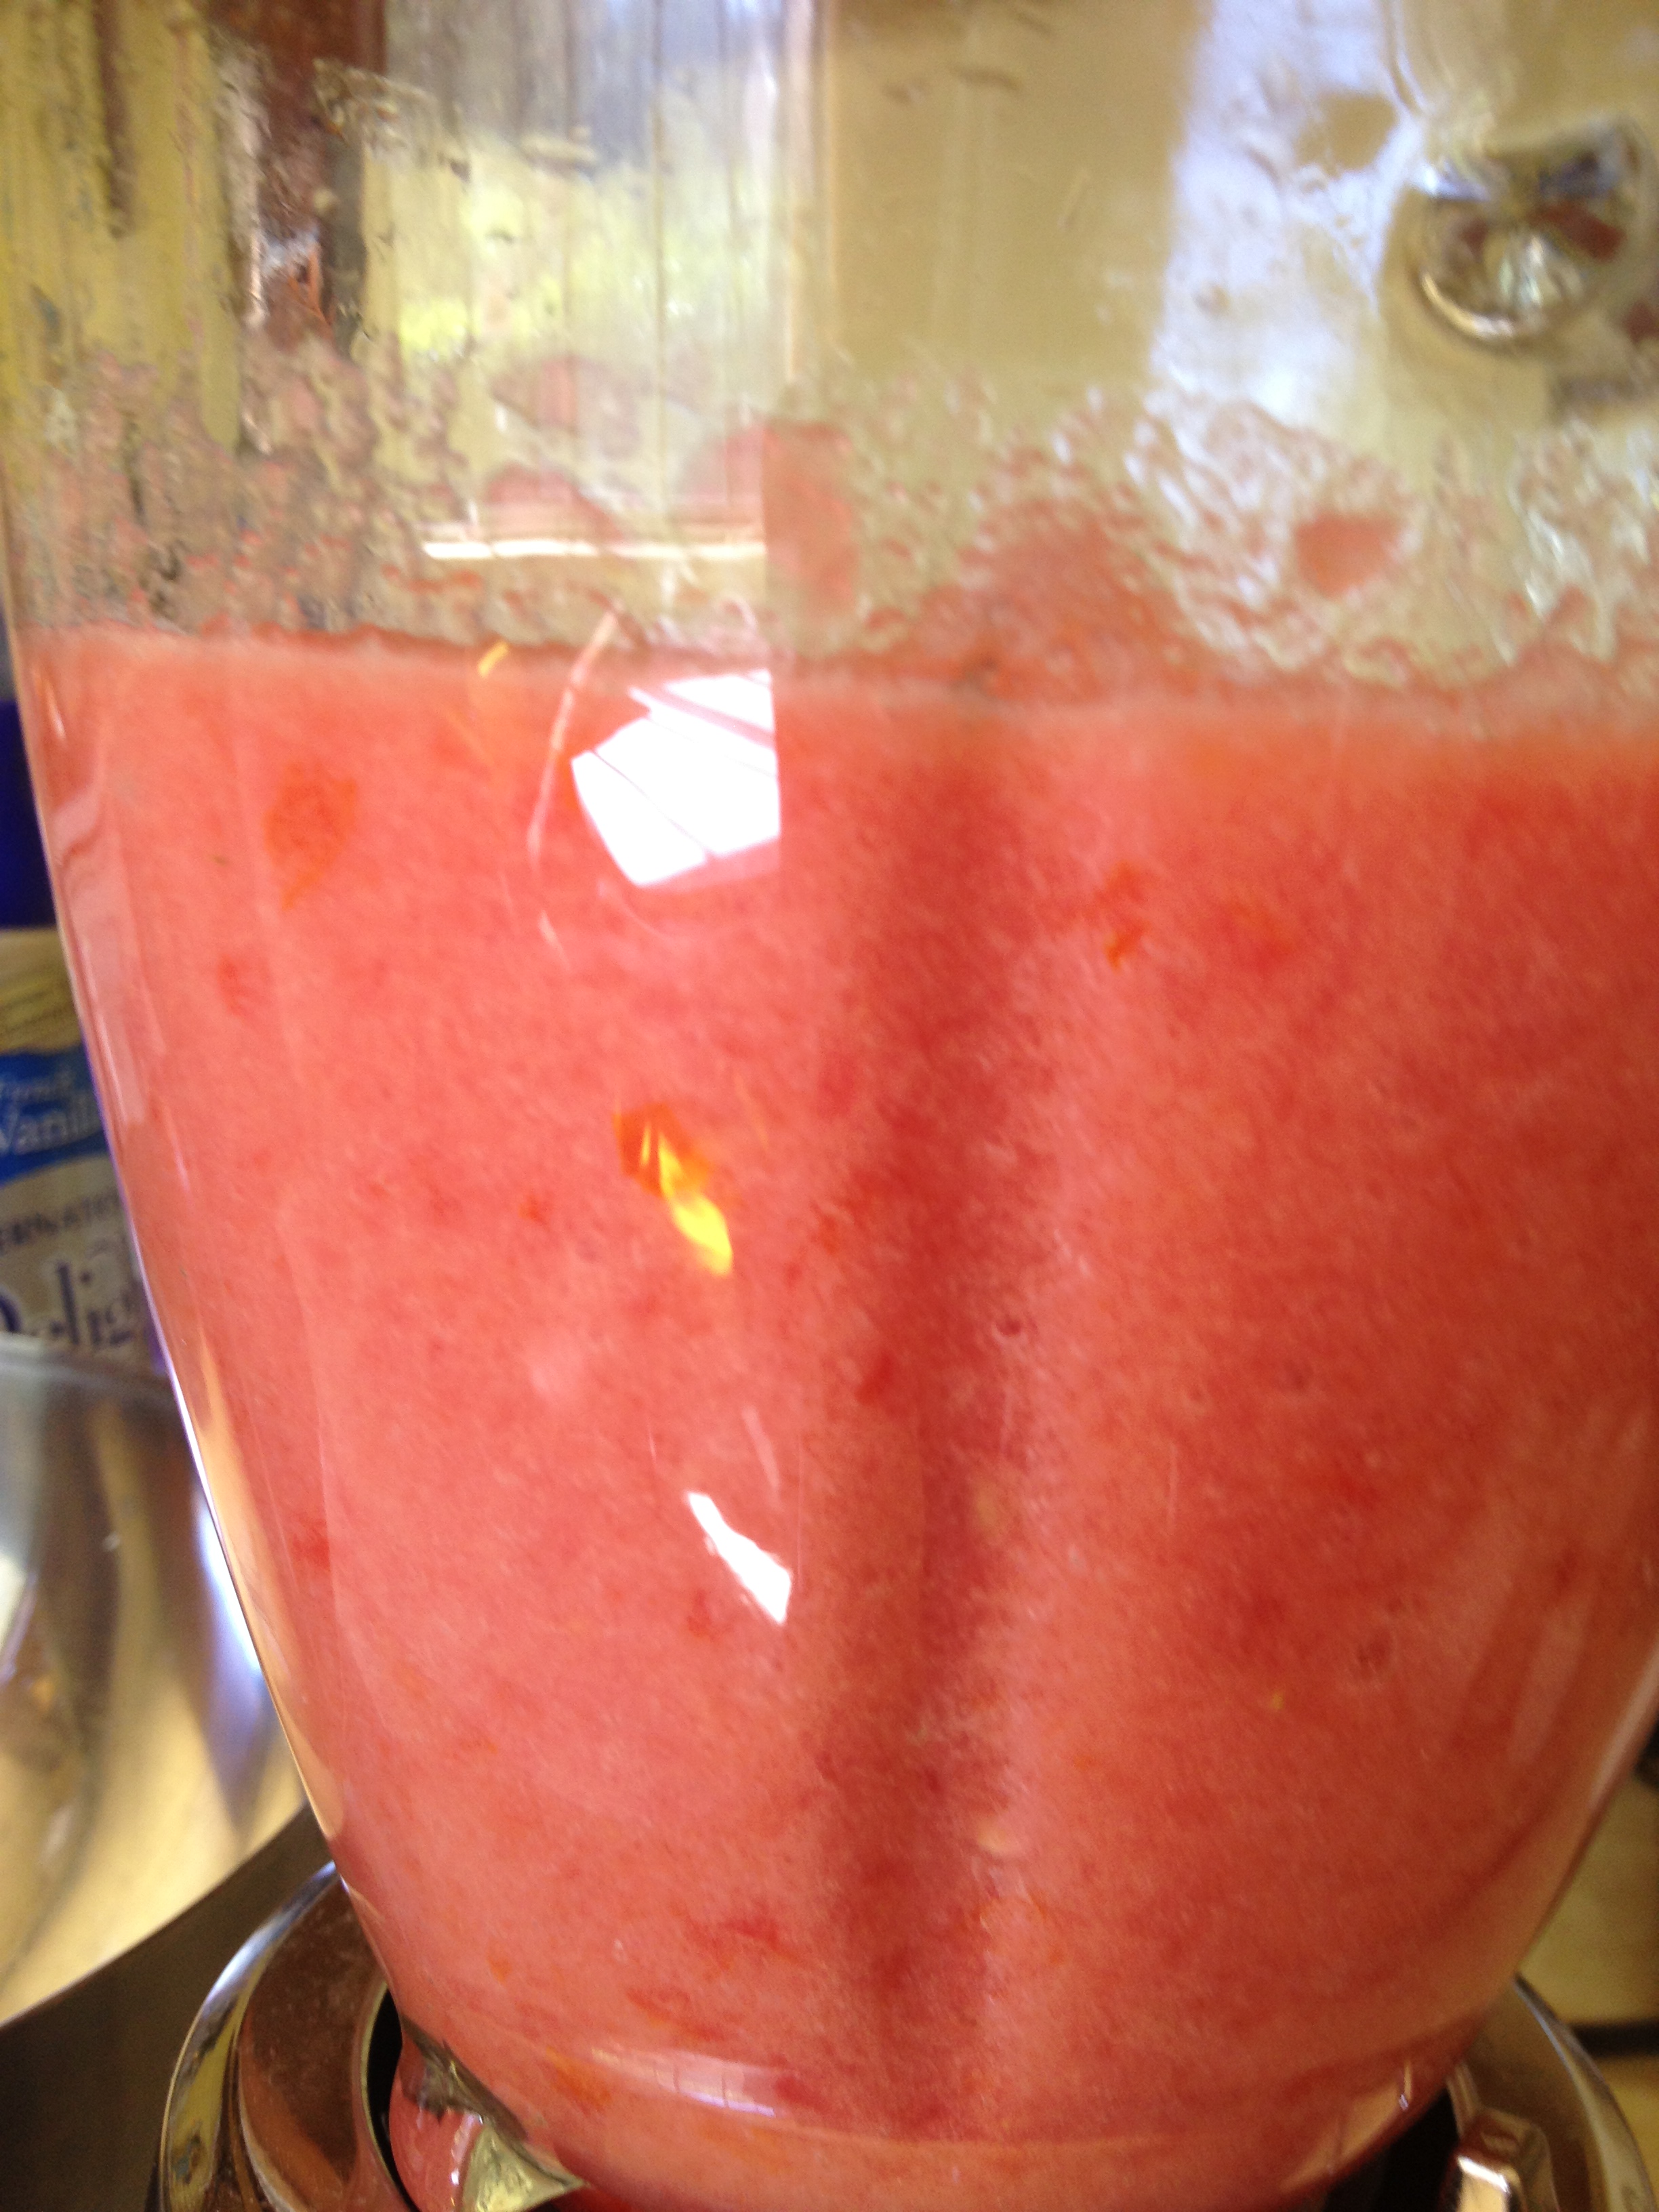
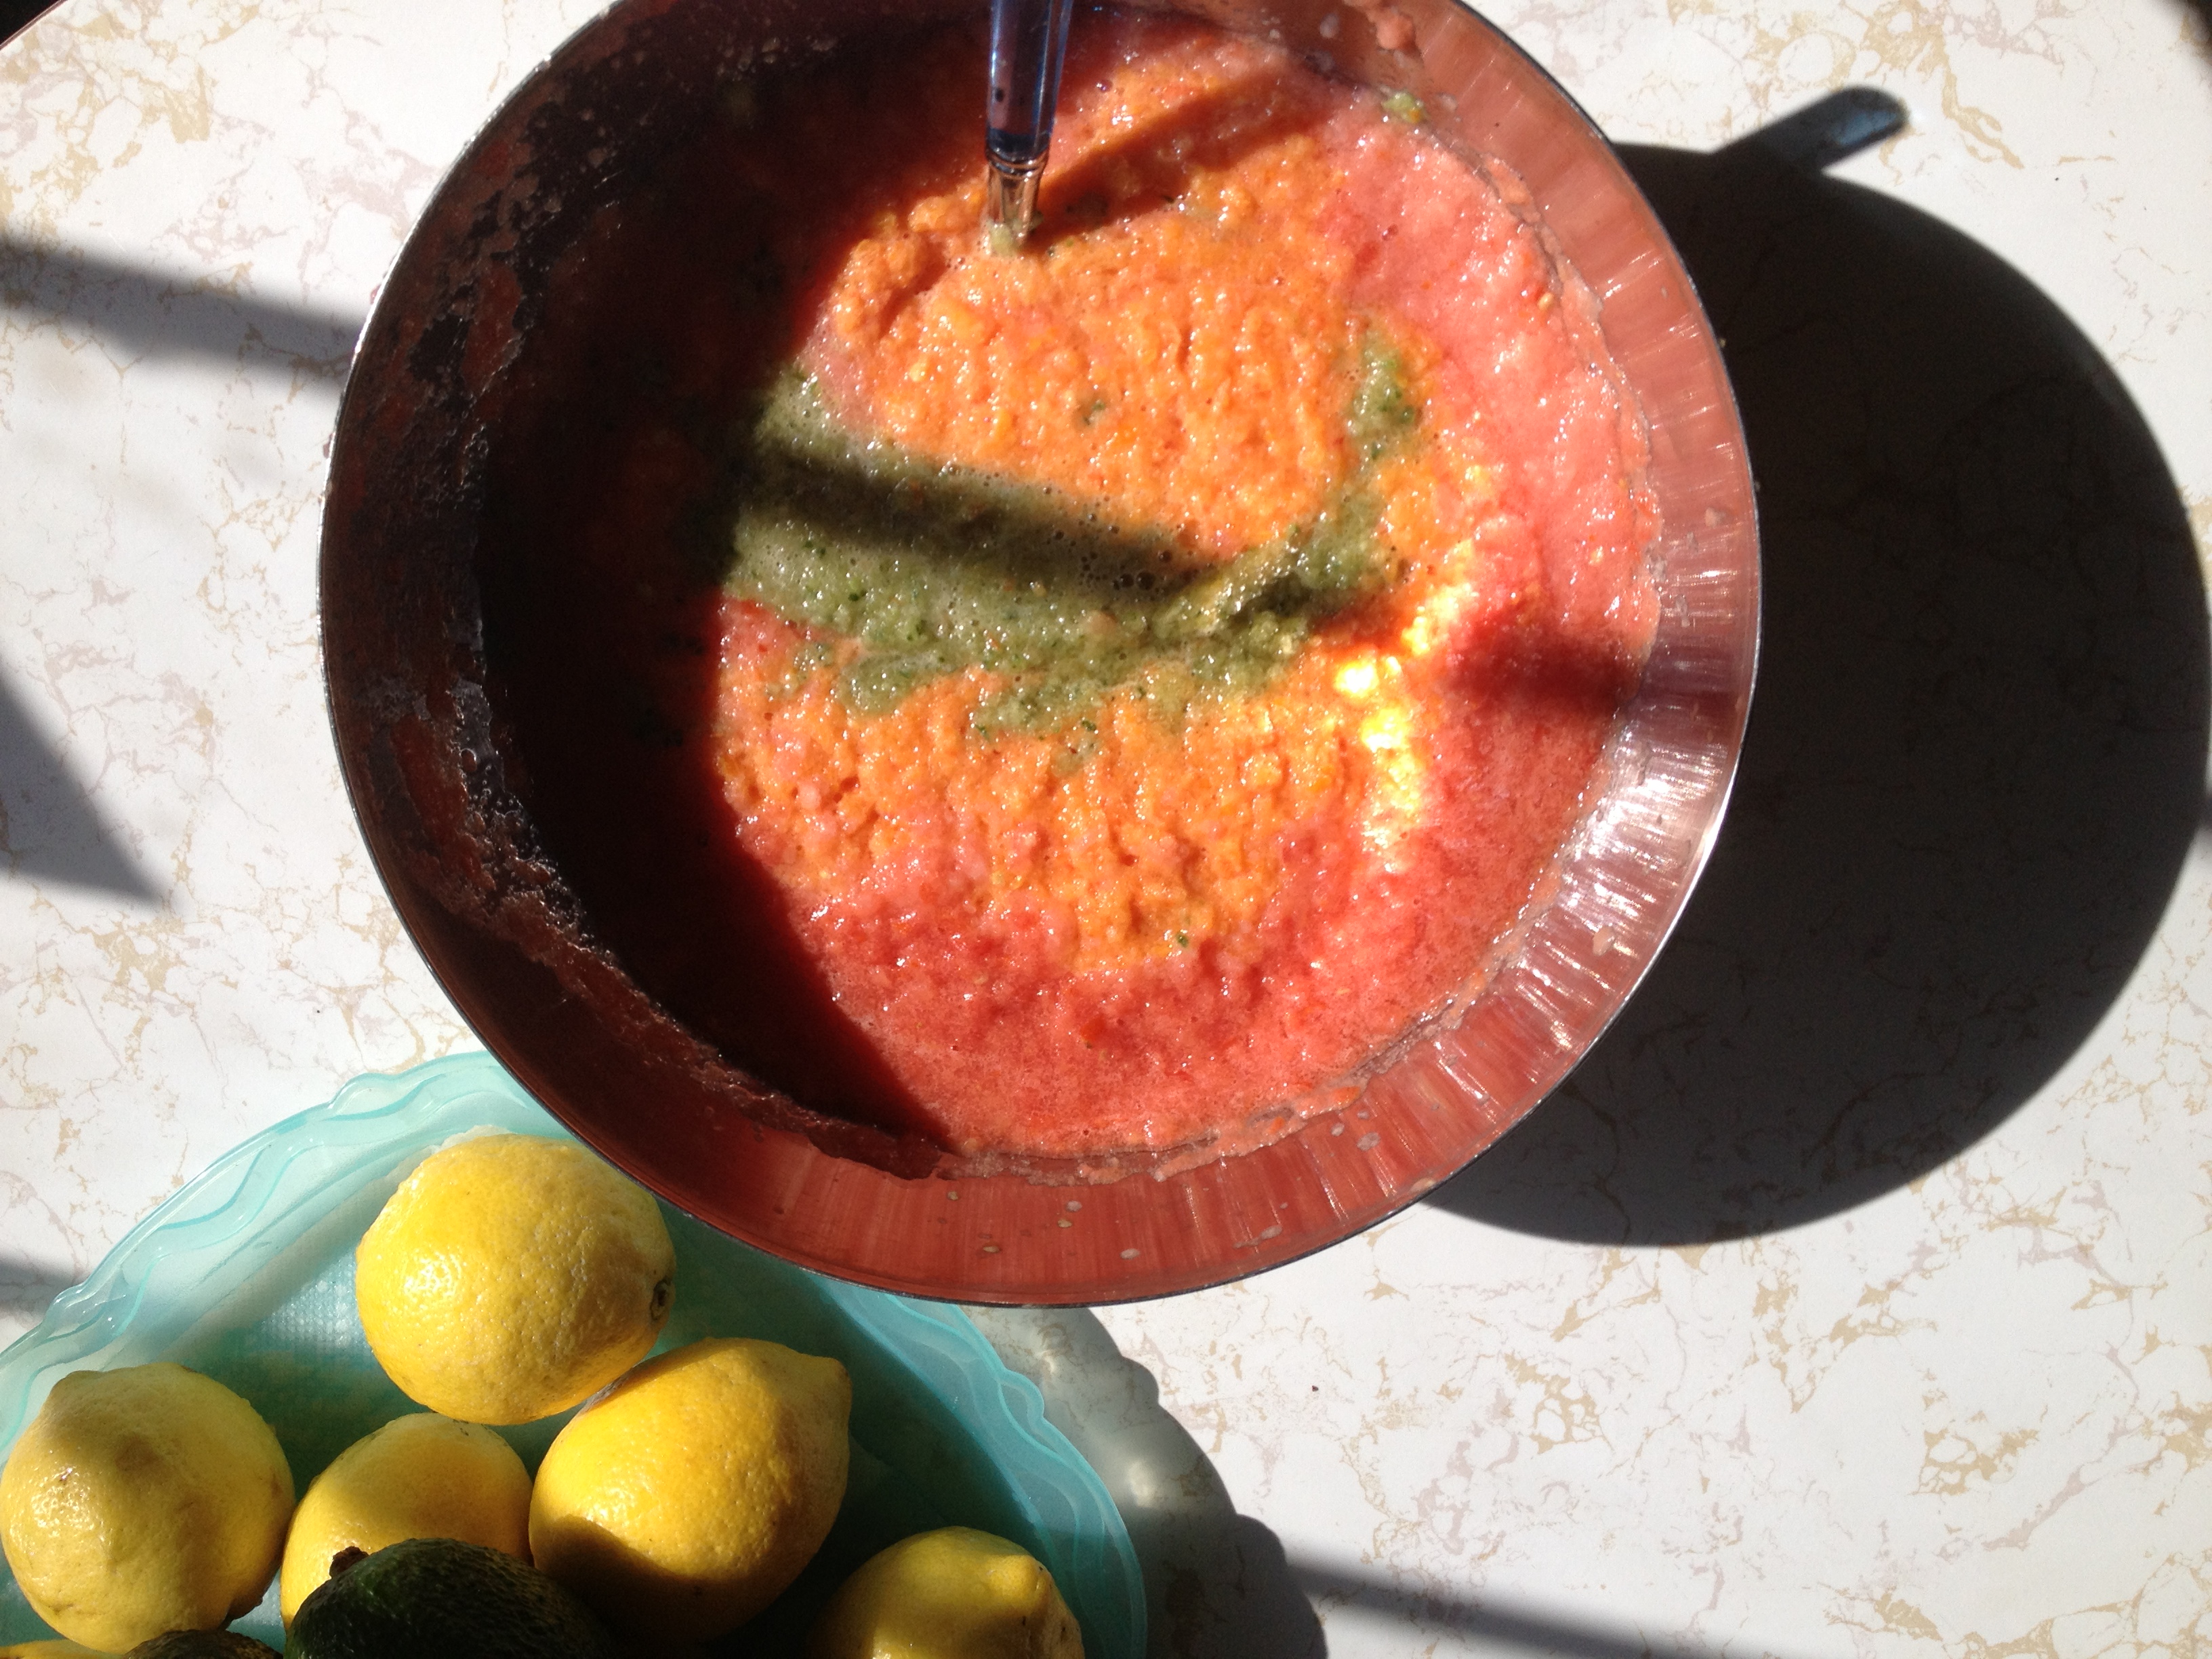
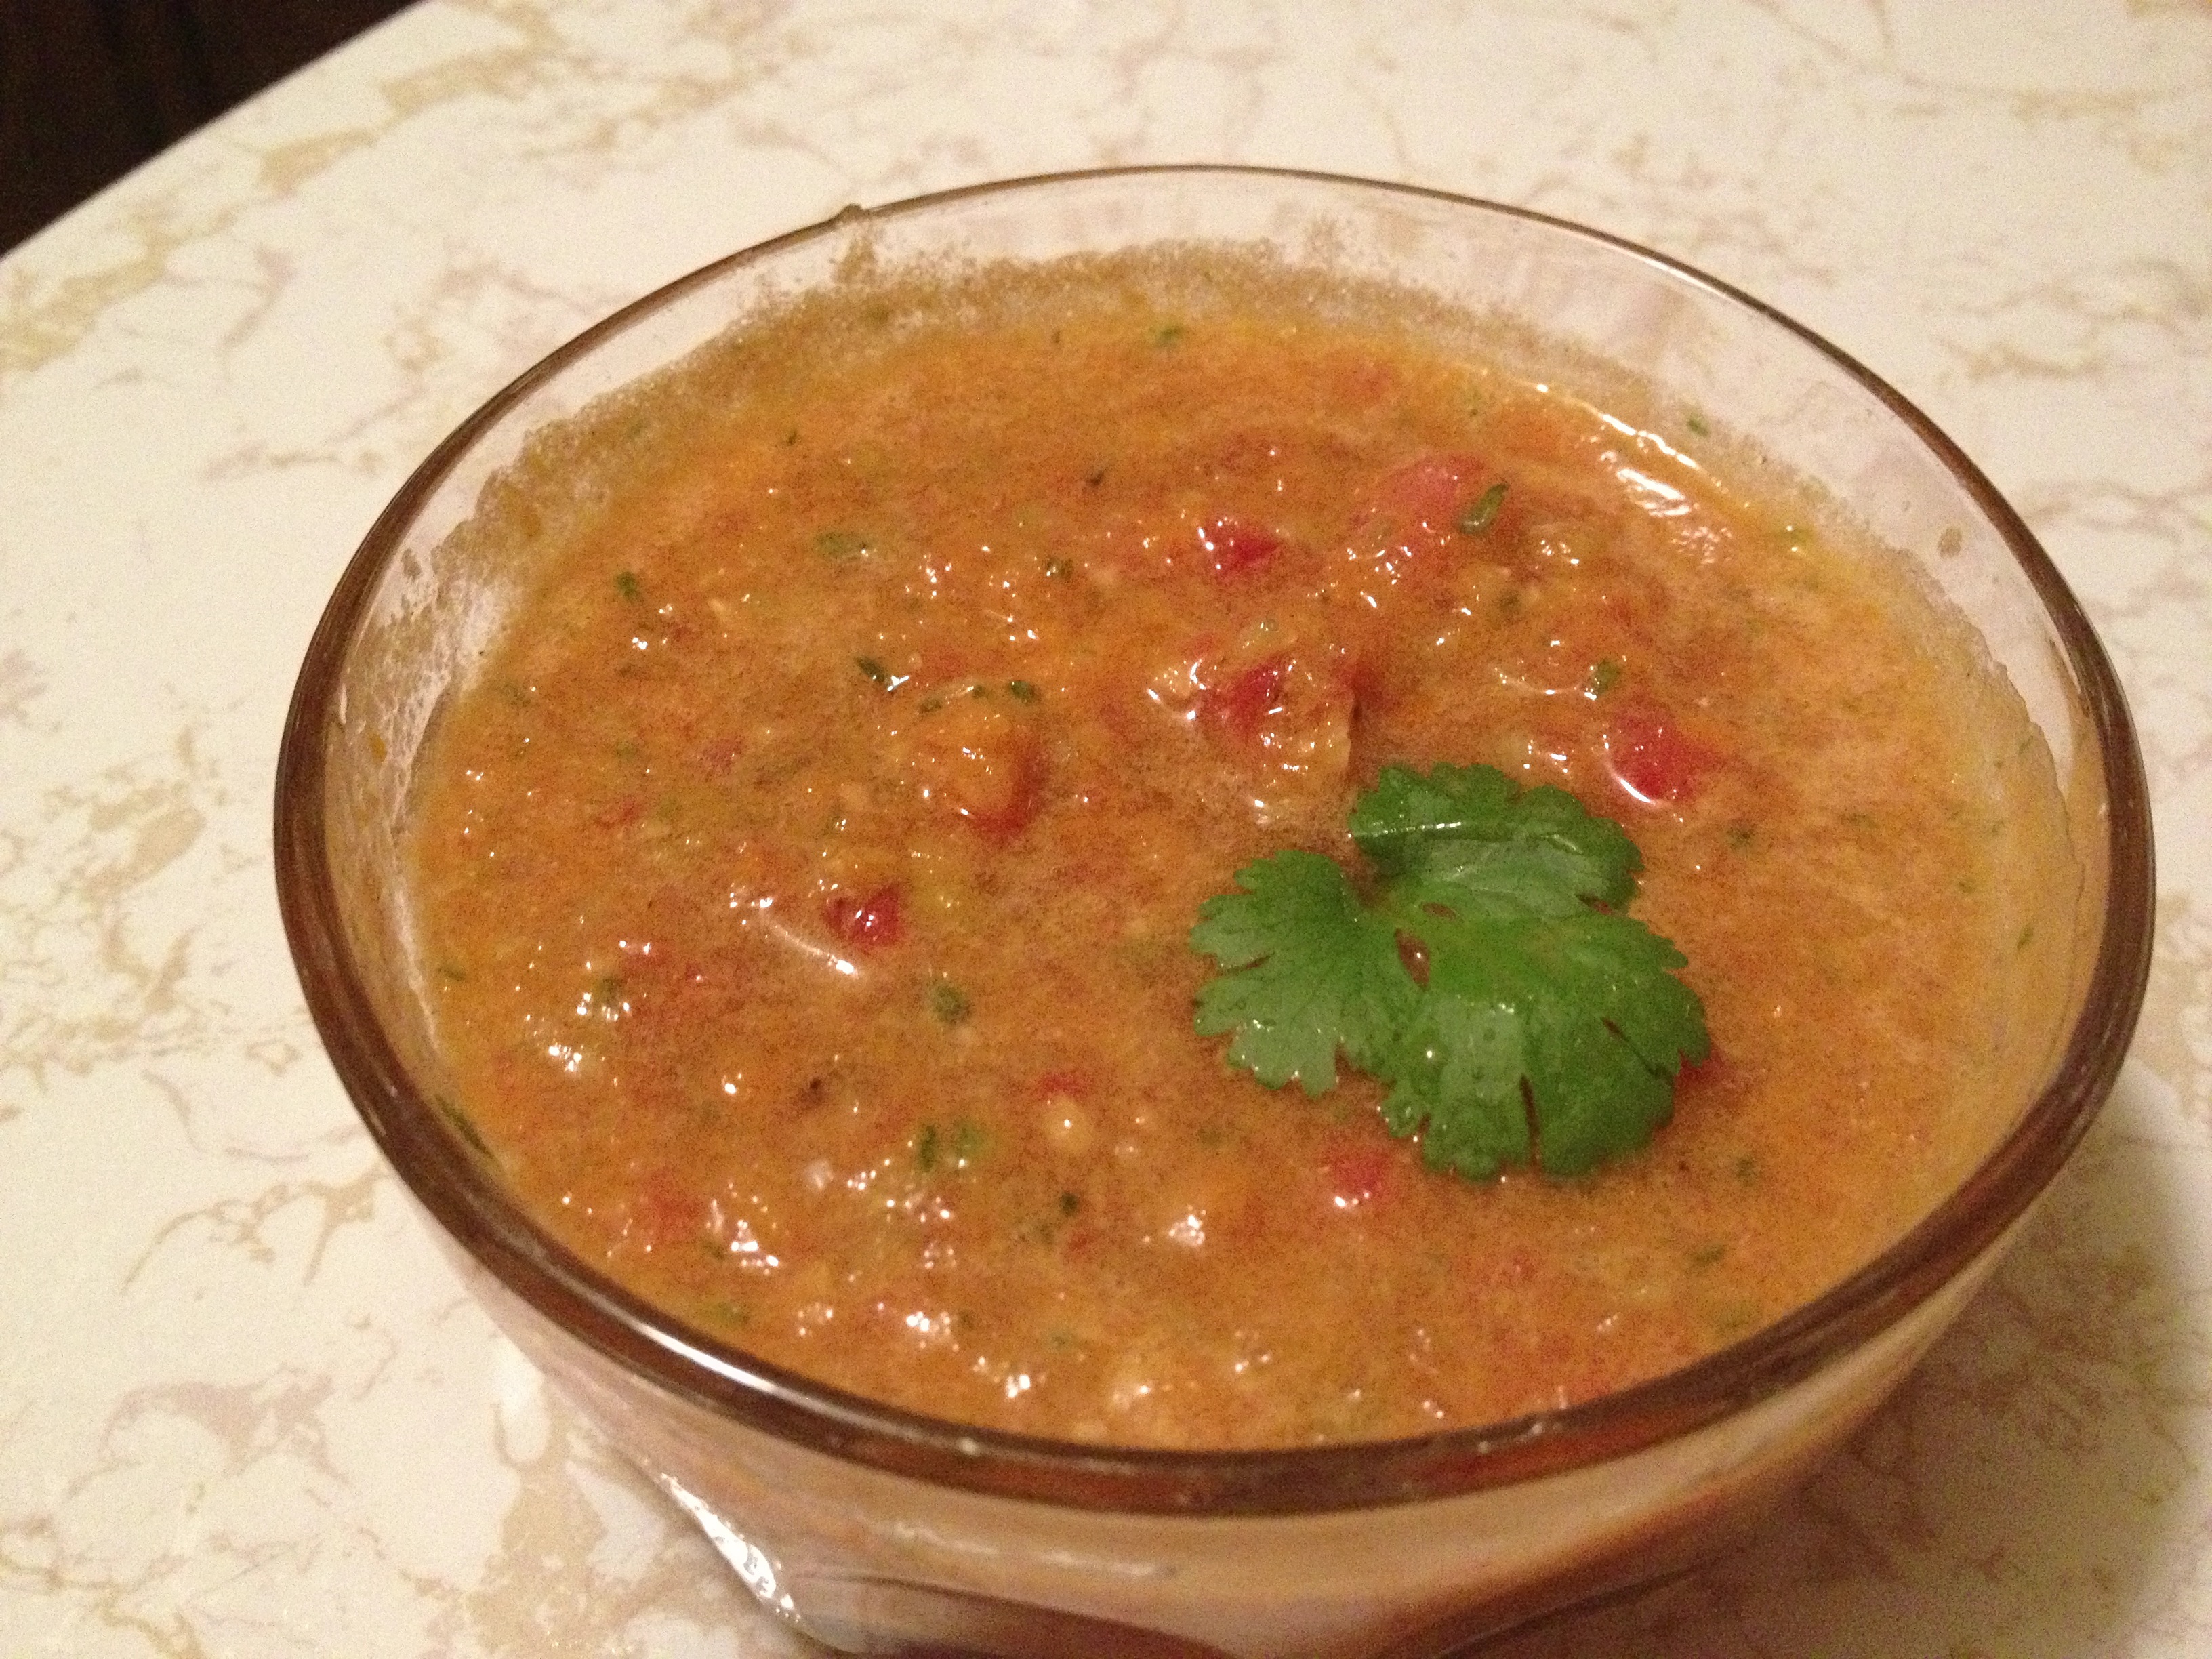
Homemade Butternut Squash Soup
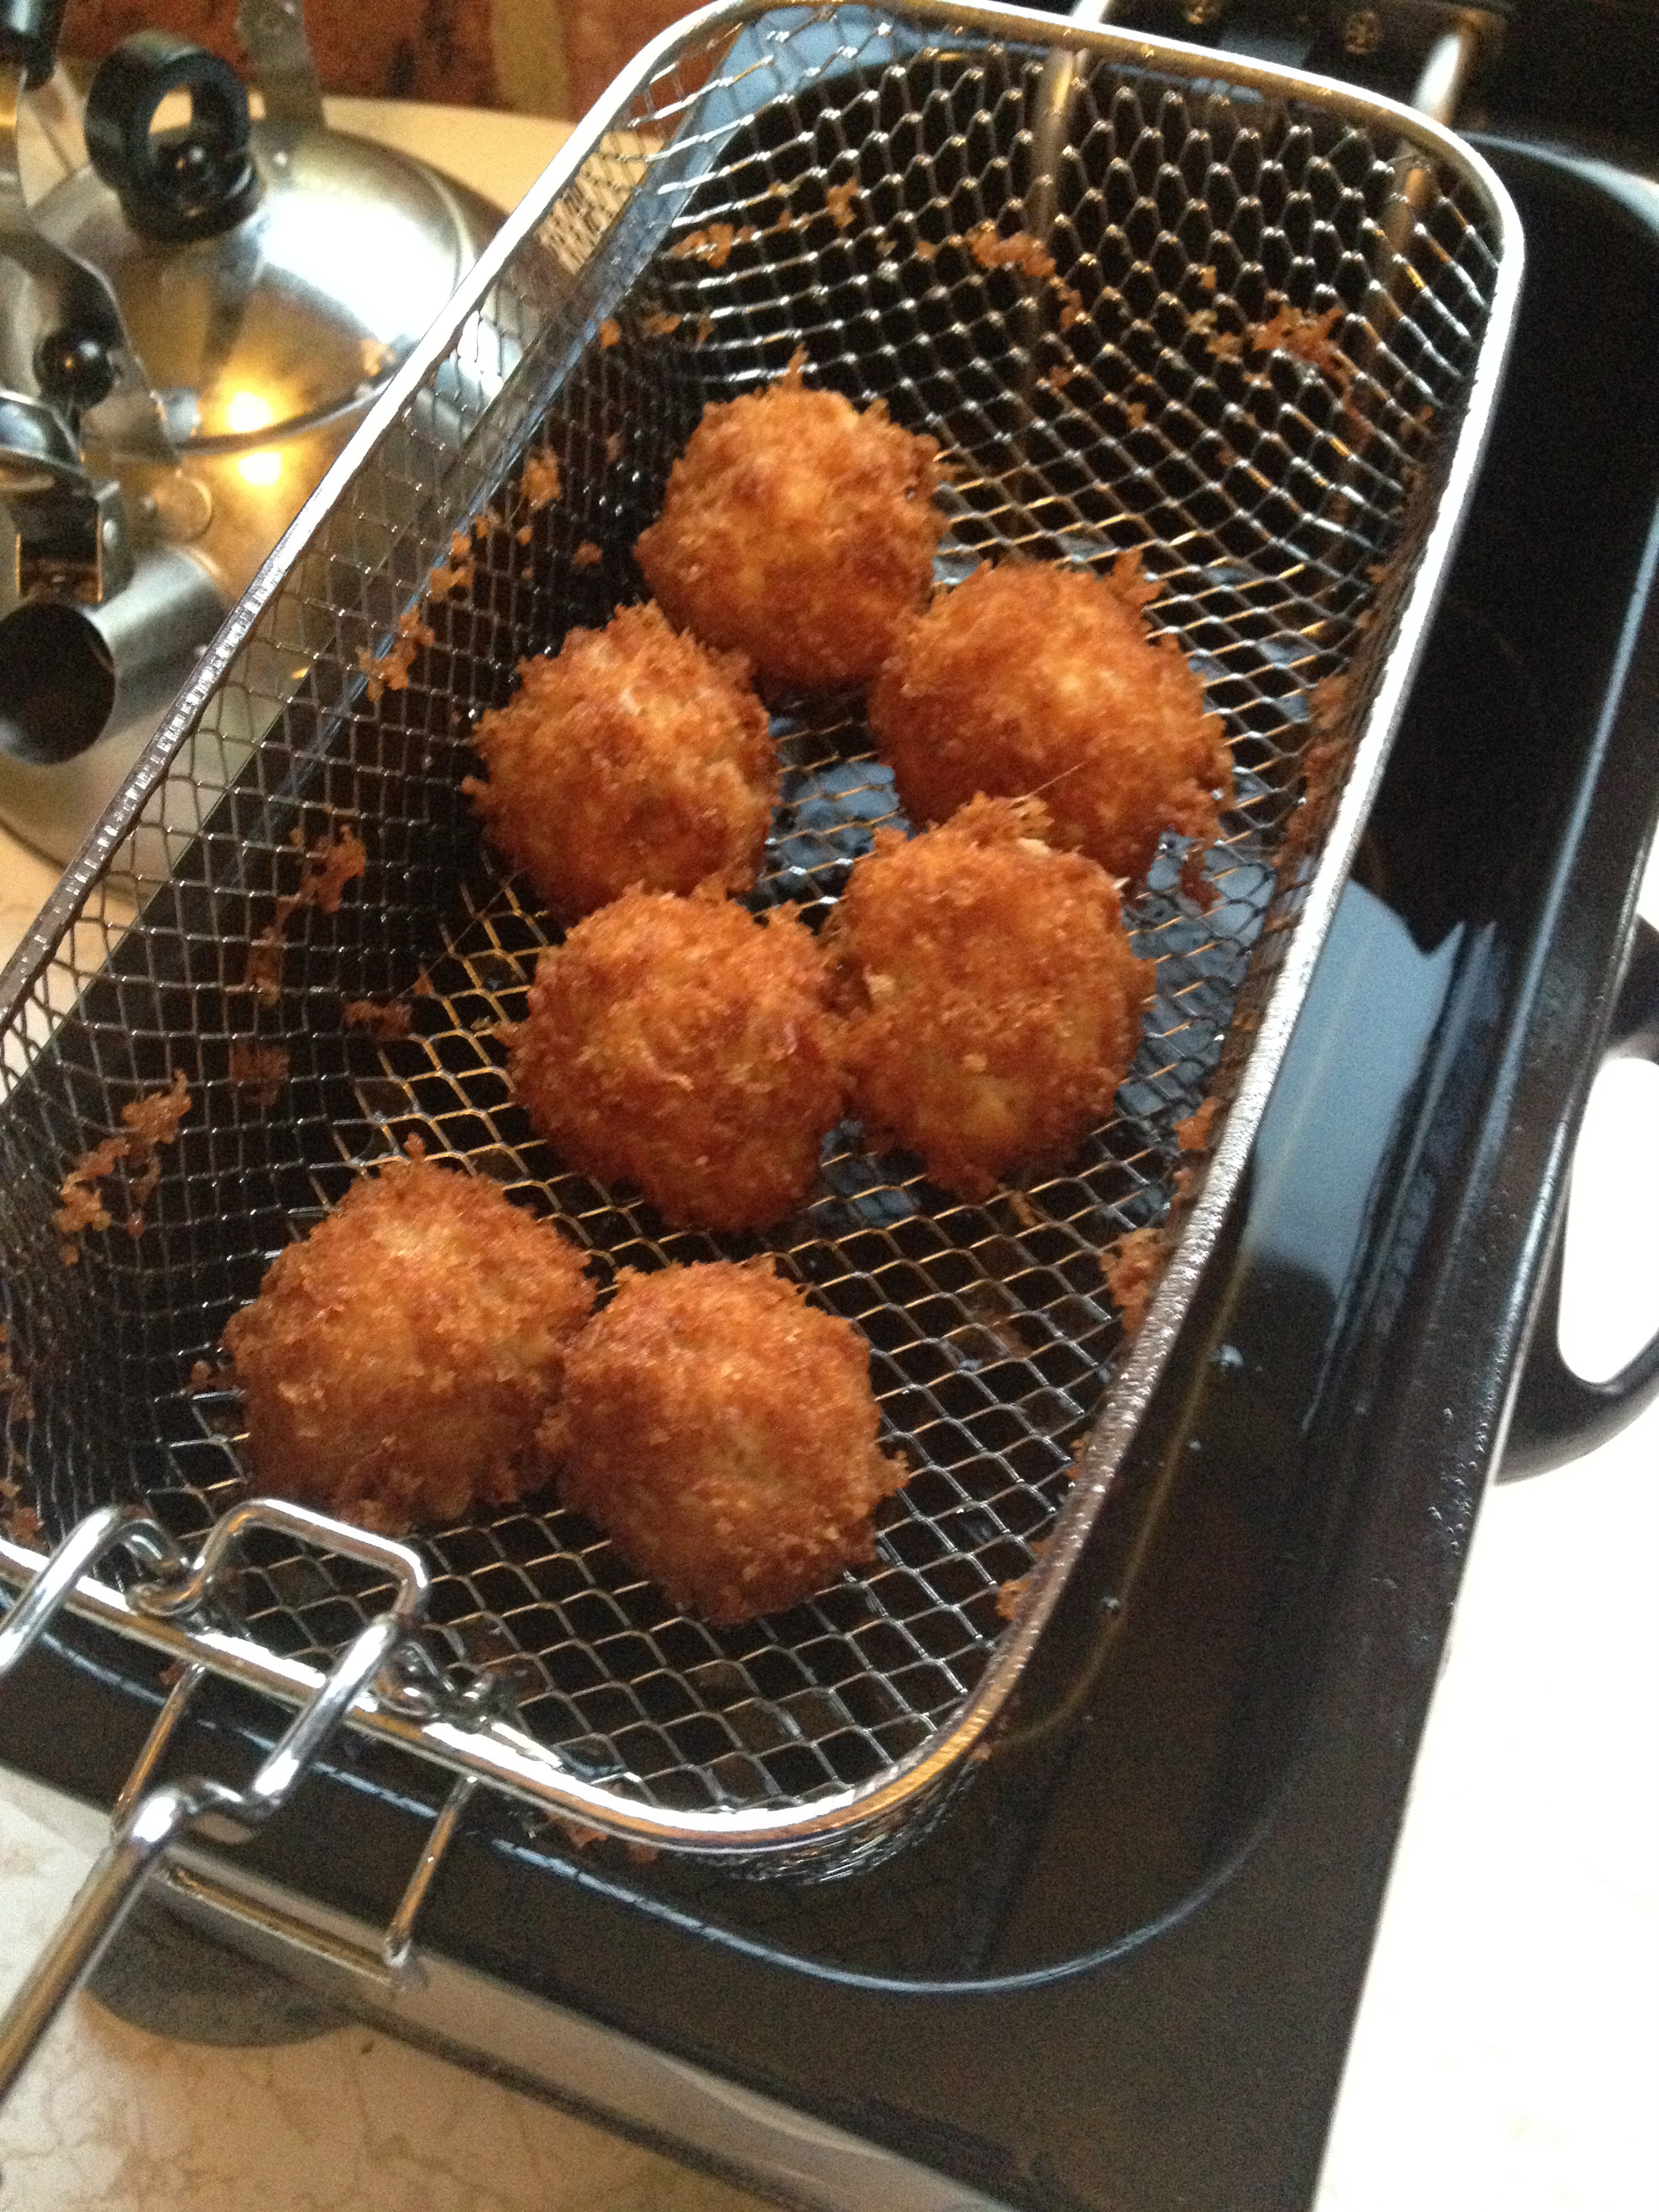
Mini Crab Cake Balls
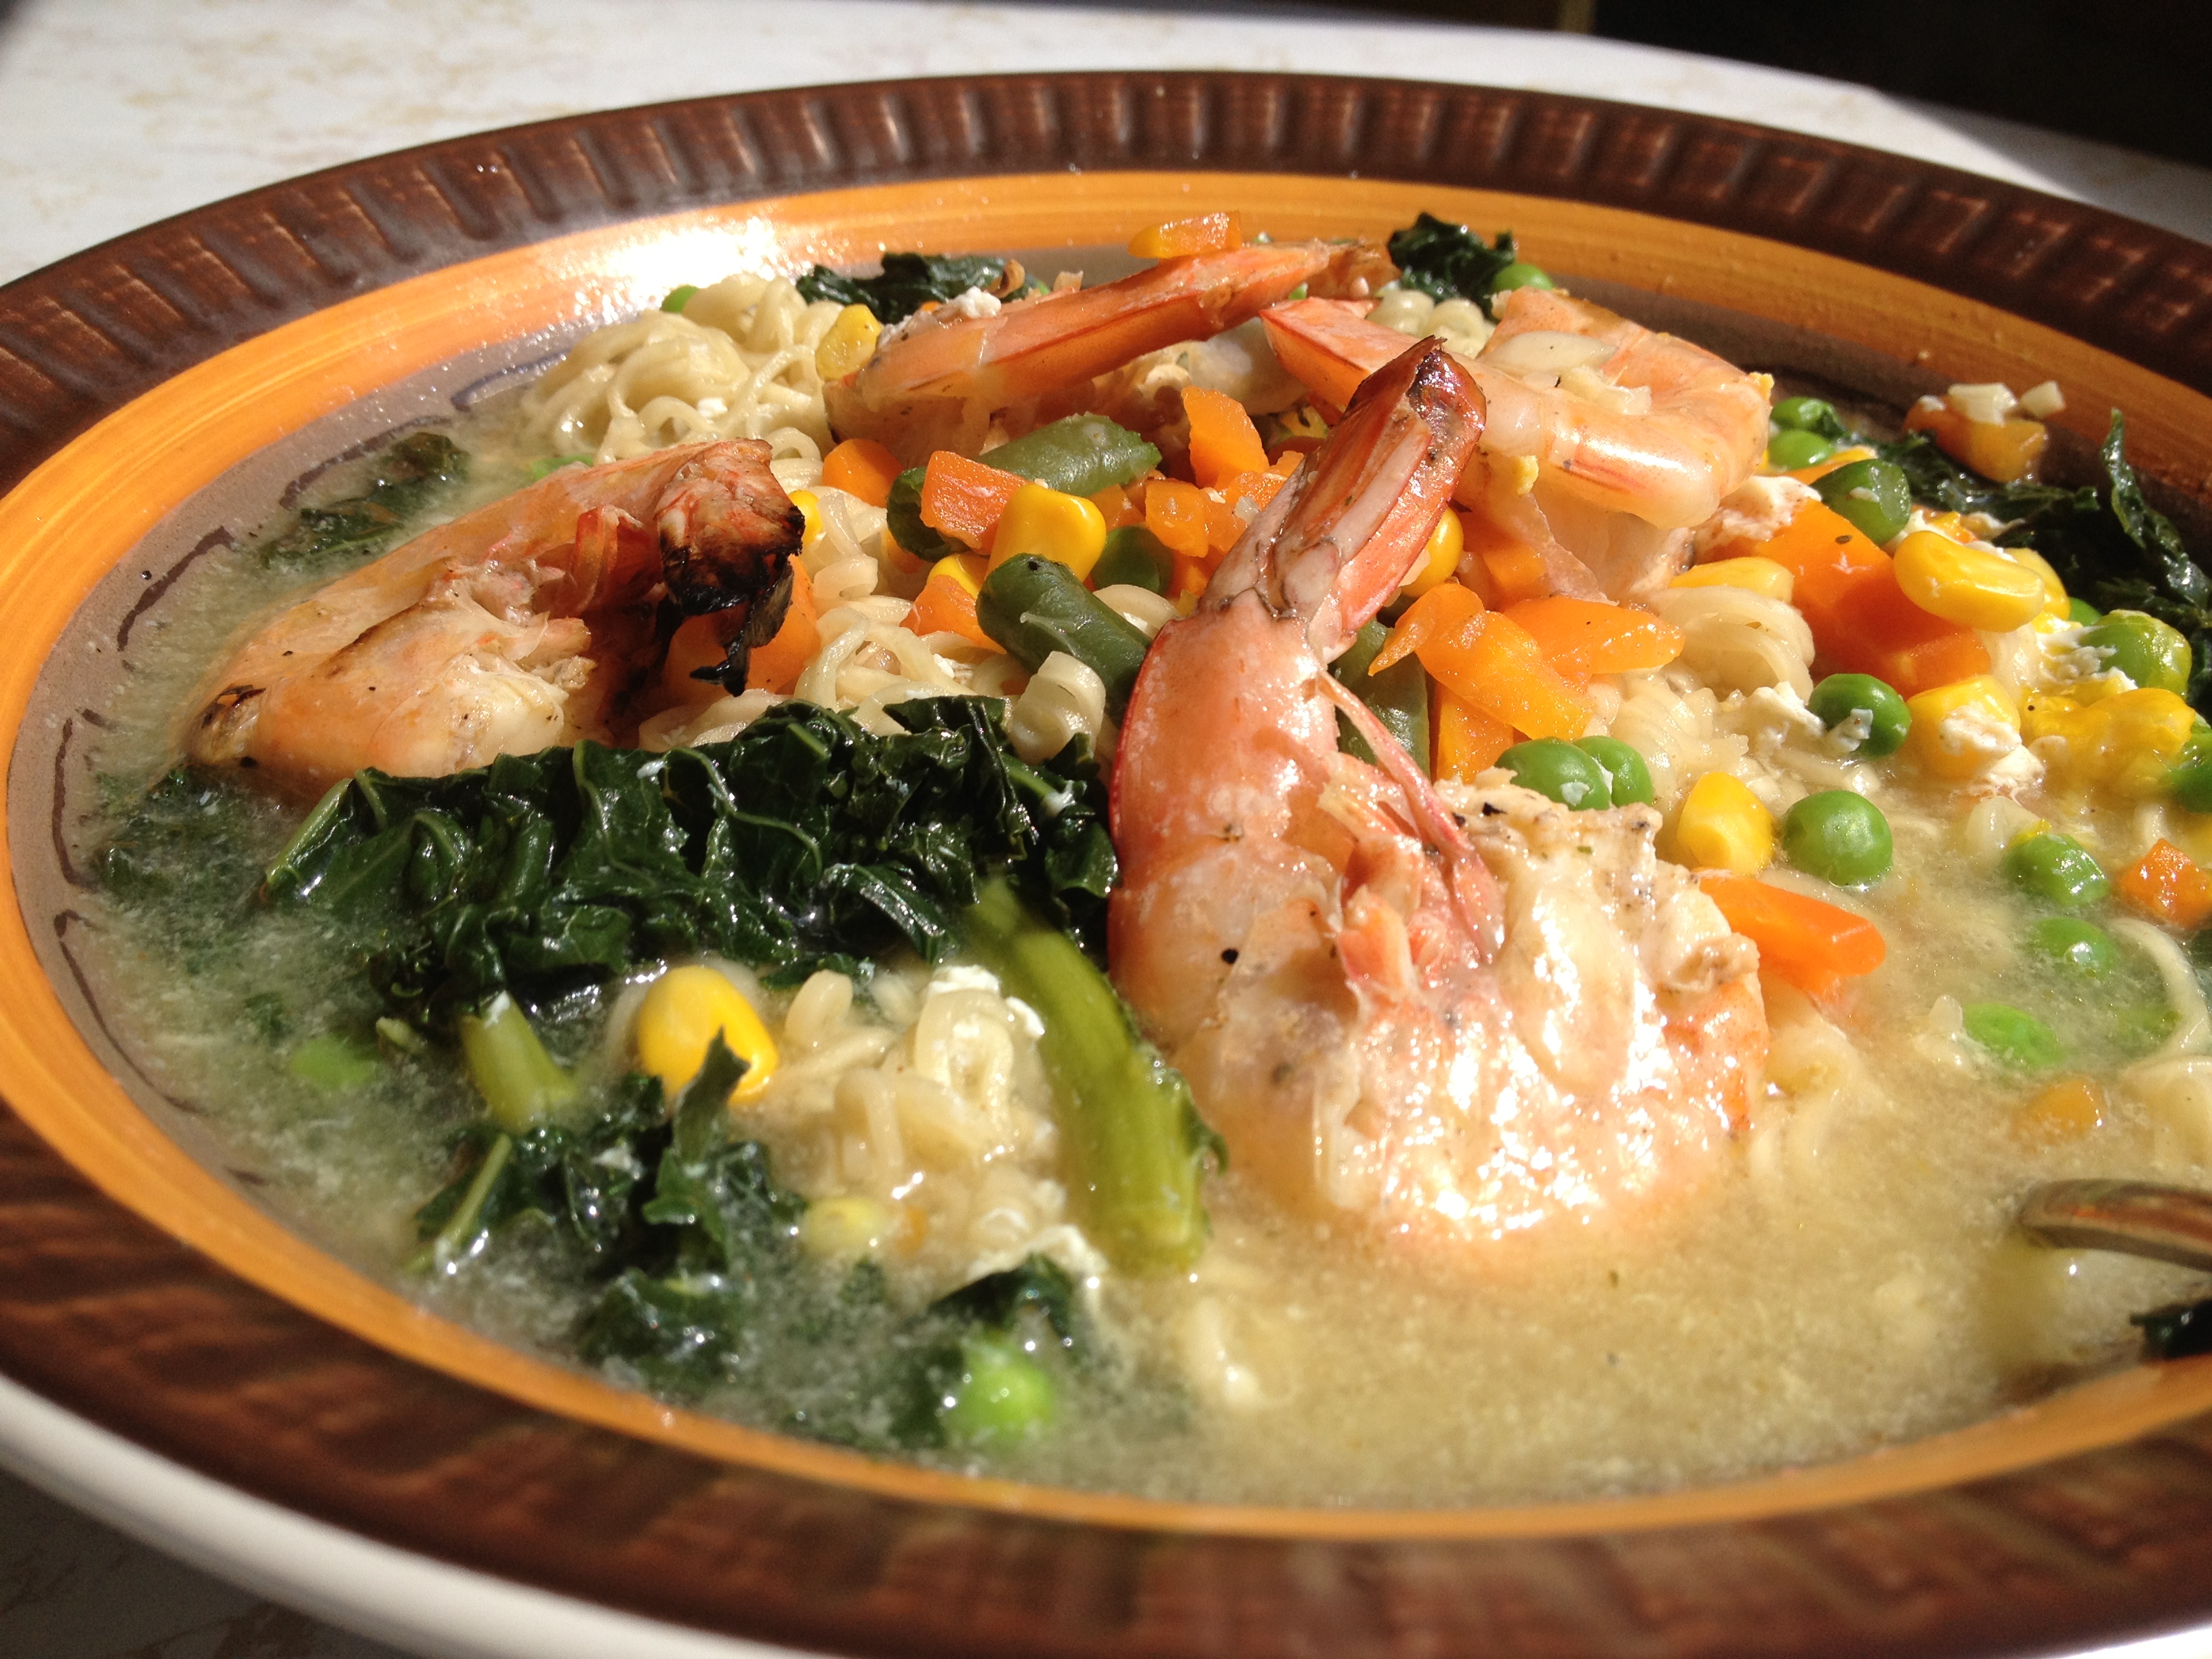
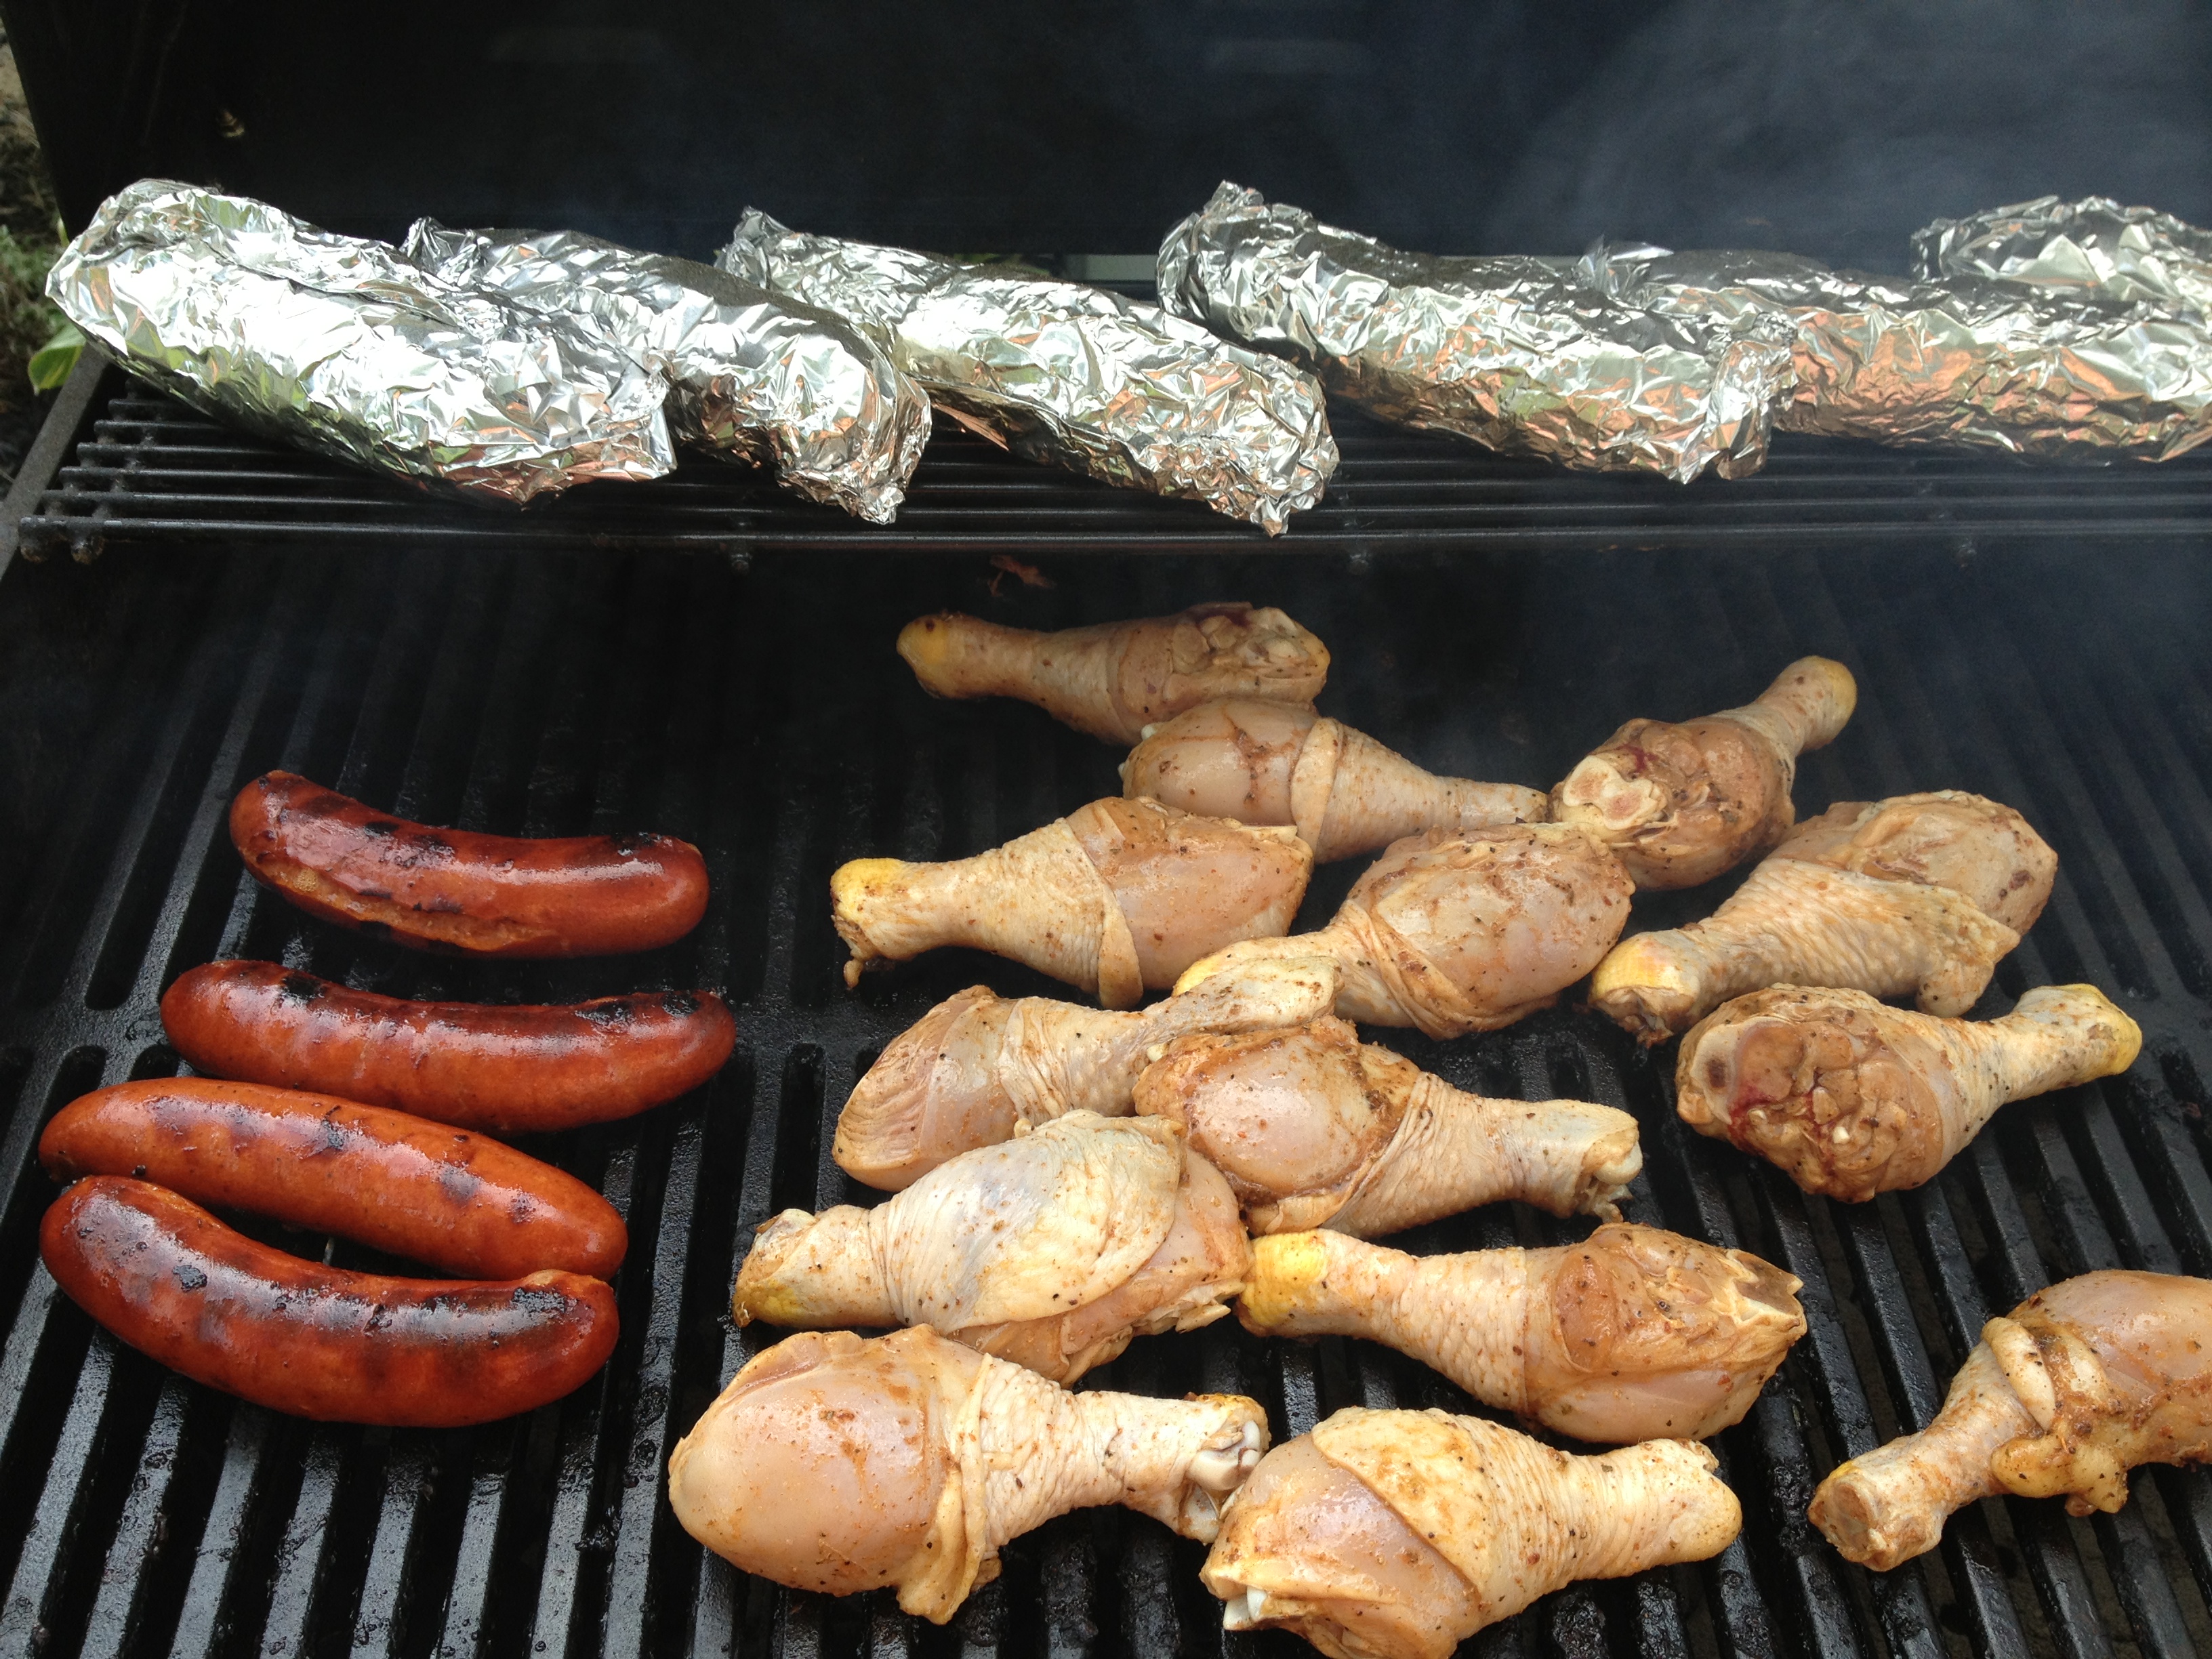
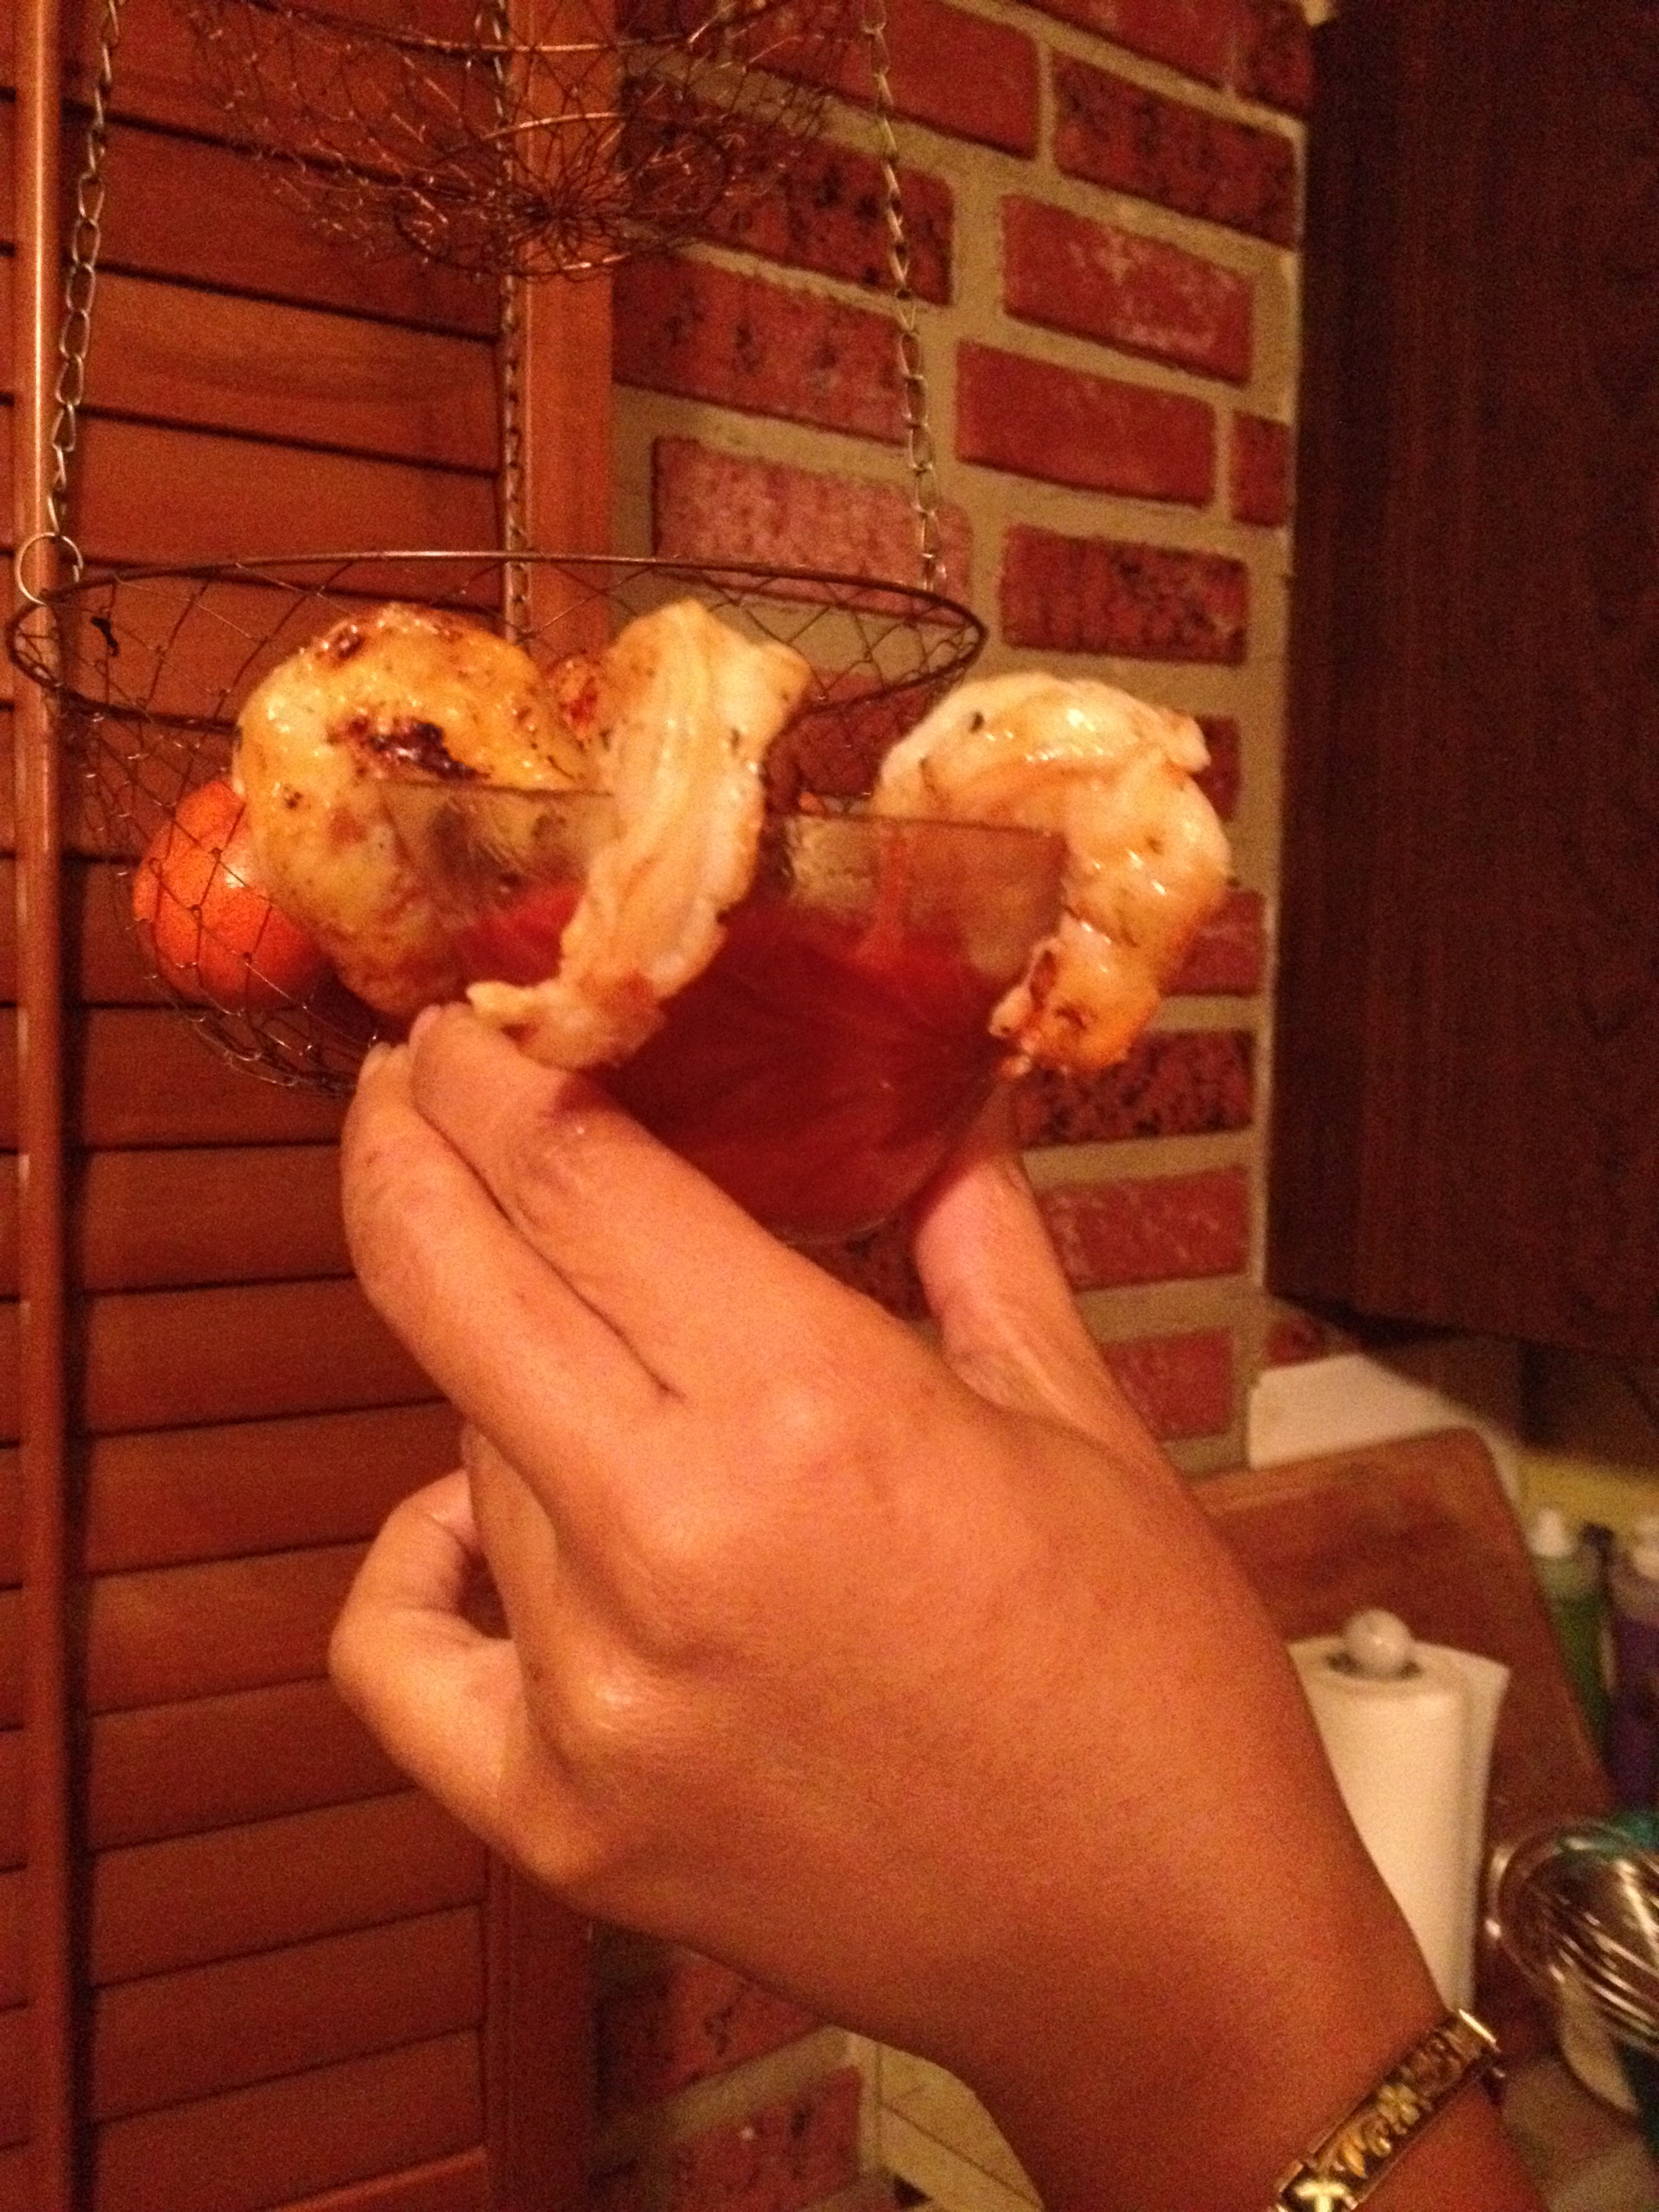
Grilled Shrimp Cocktail
Grilled Whole Lobsters
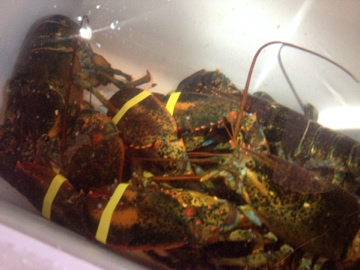
Thought I got a pic of them grilled but guess not…believe me, they were GOOOOD;)
Butter-Poached Lobster Claws
Main Course
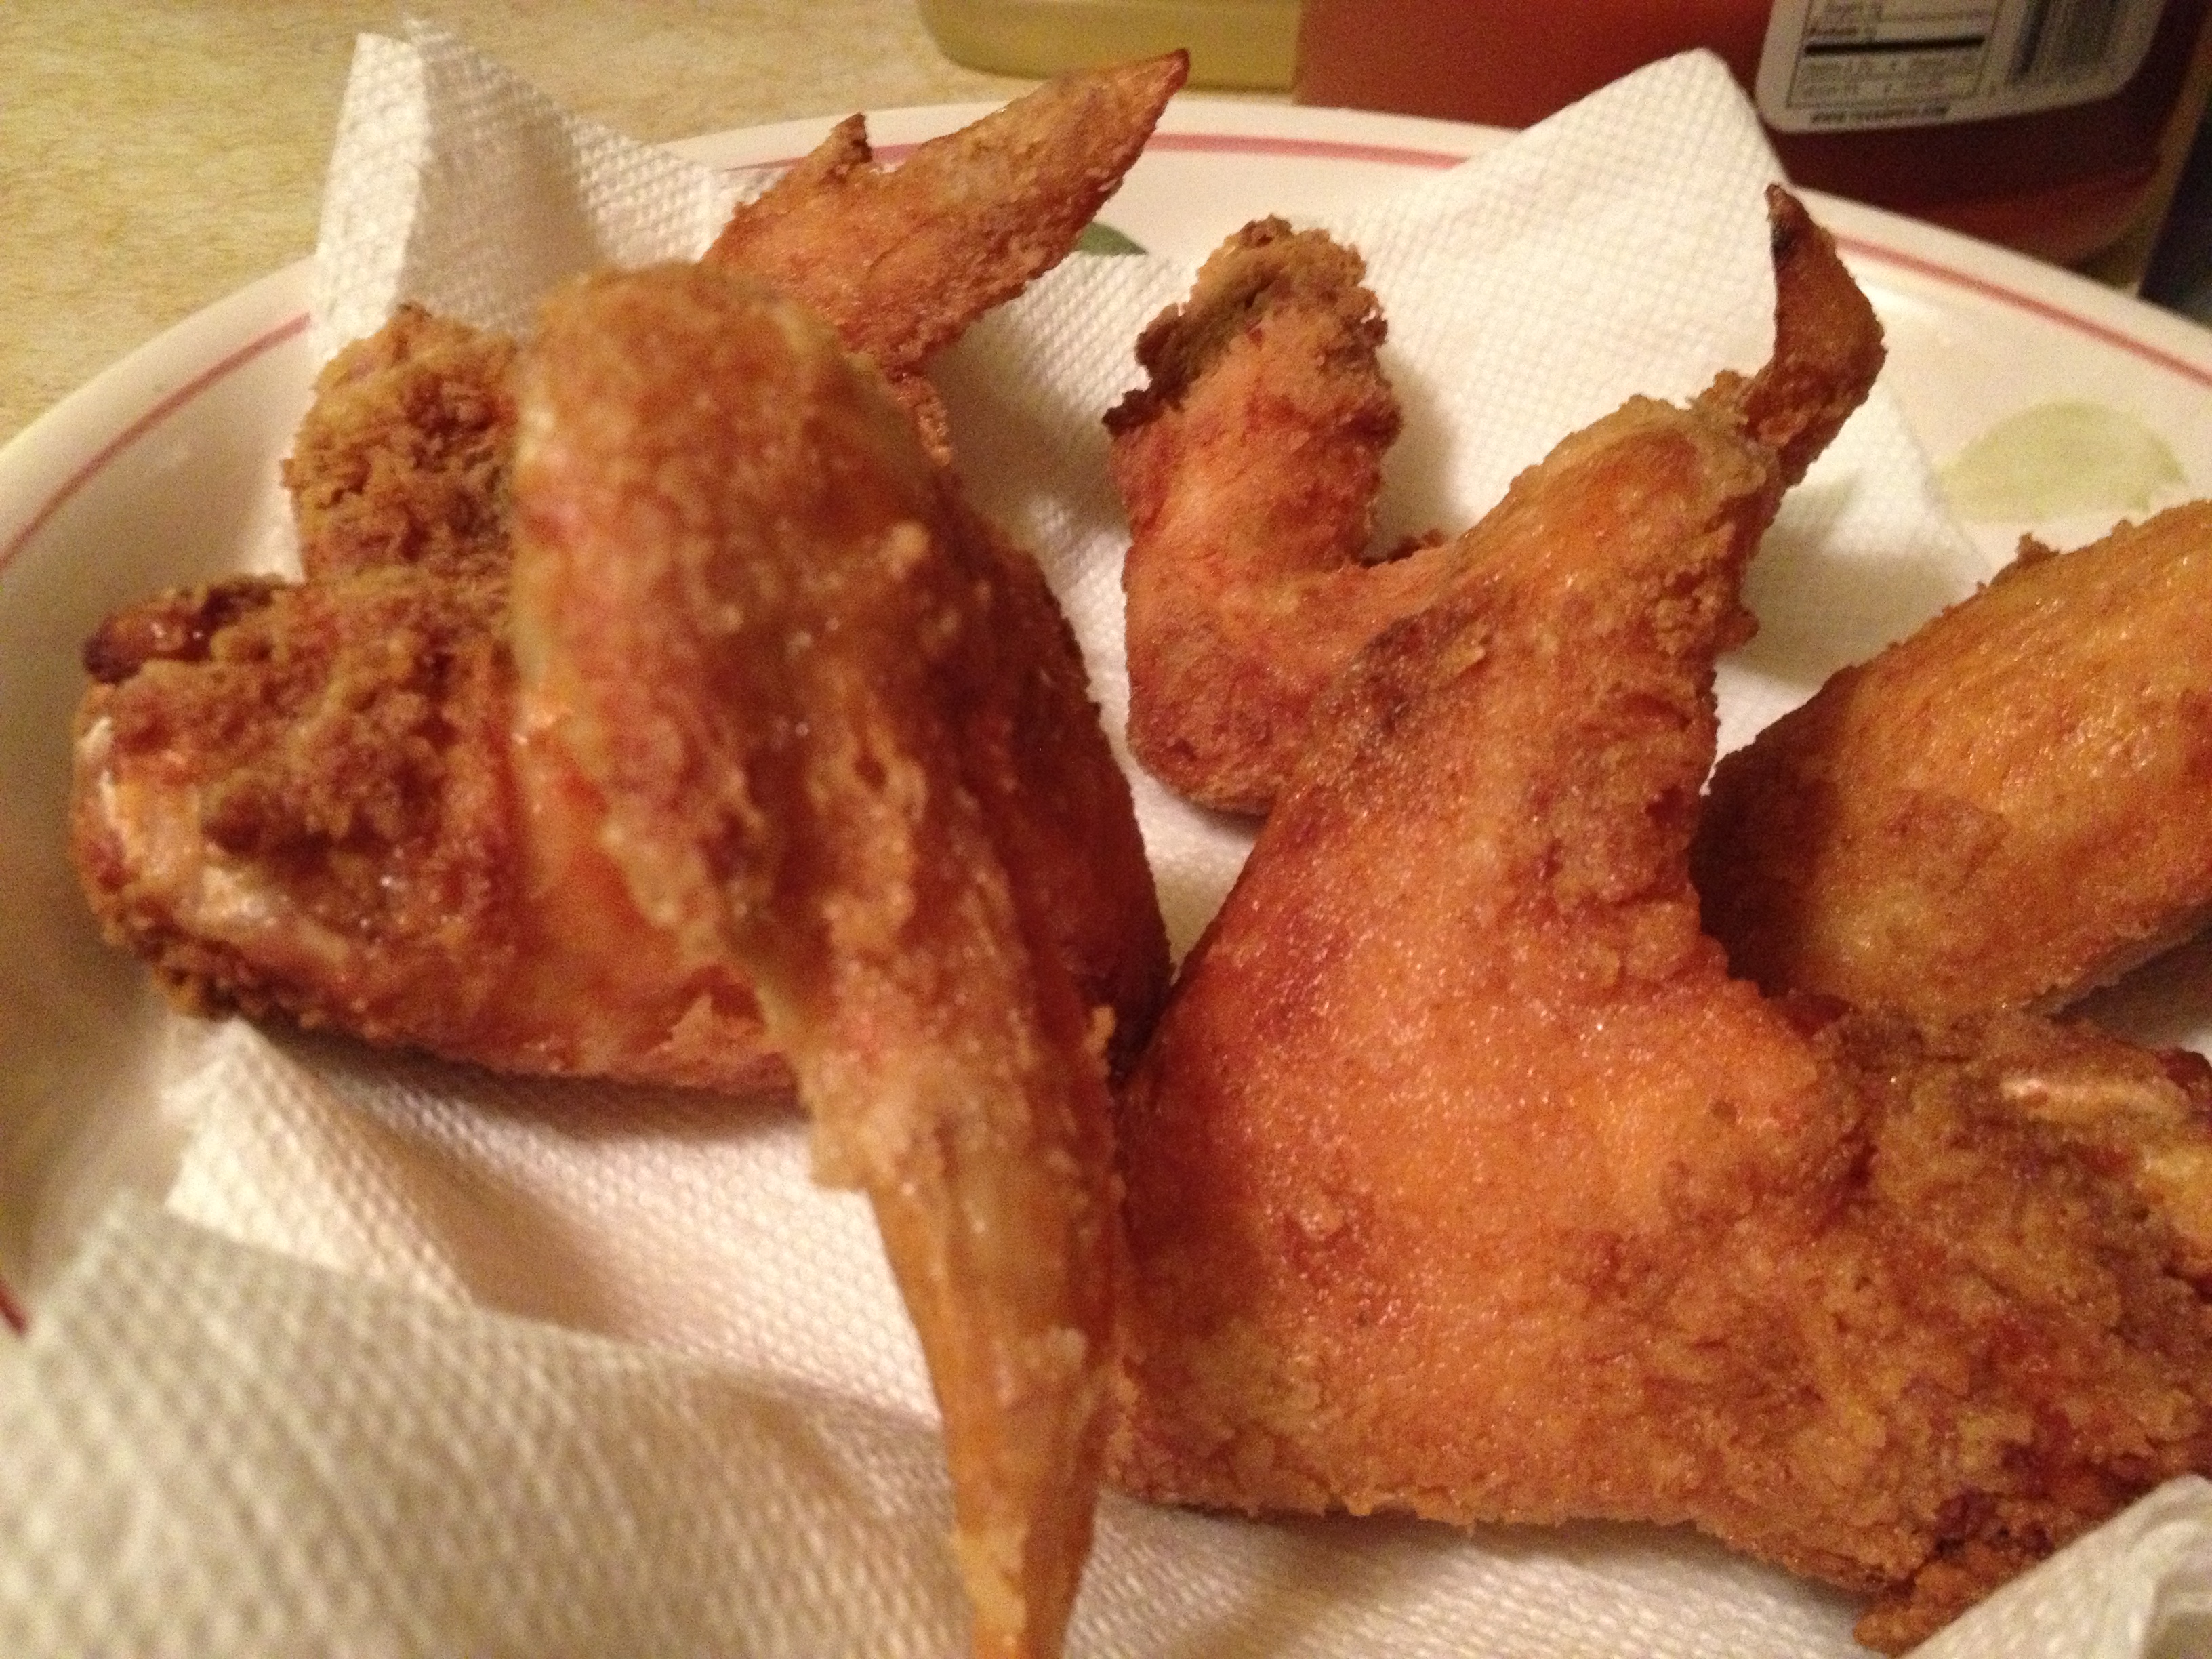
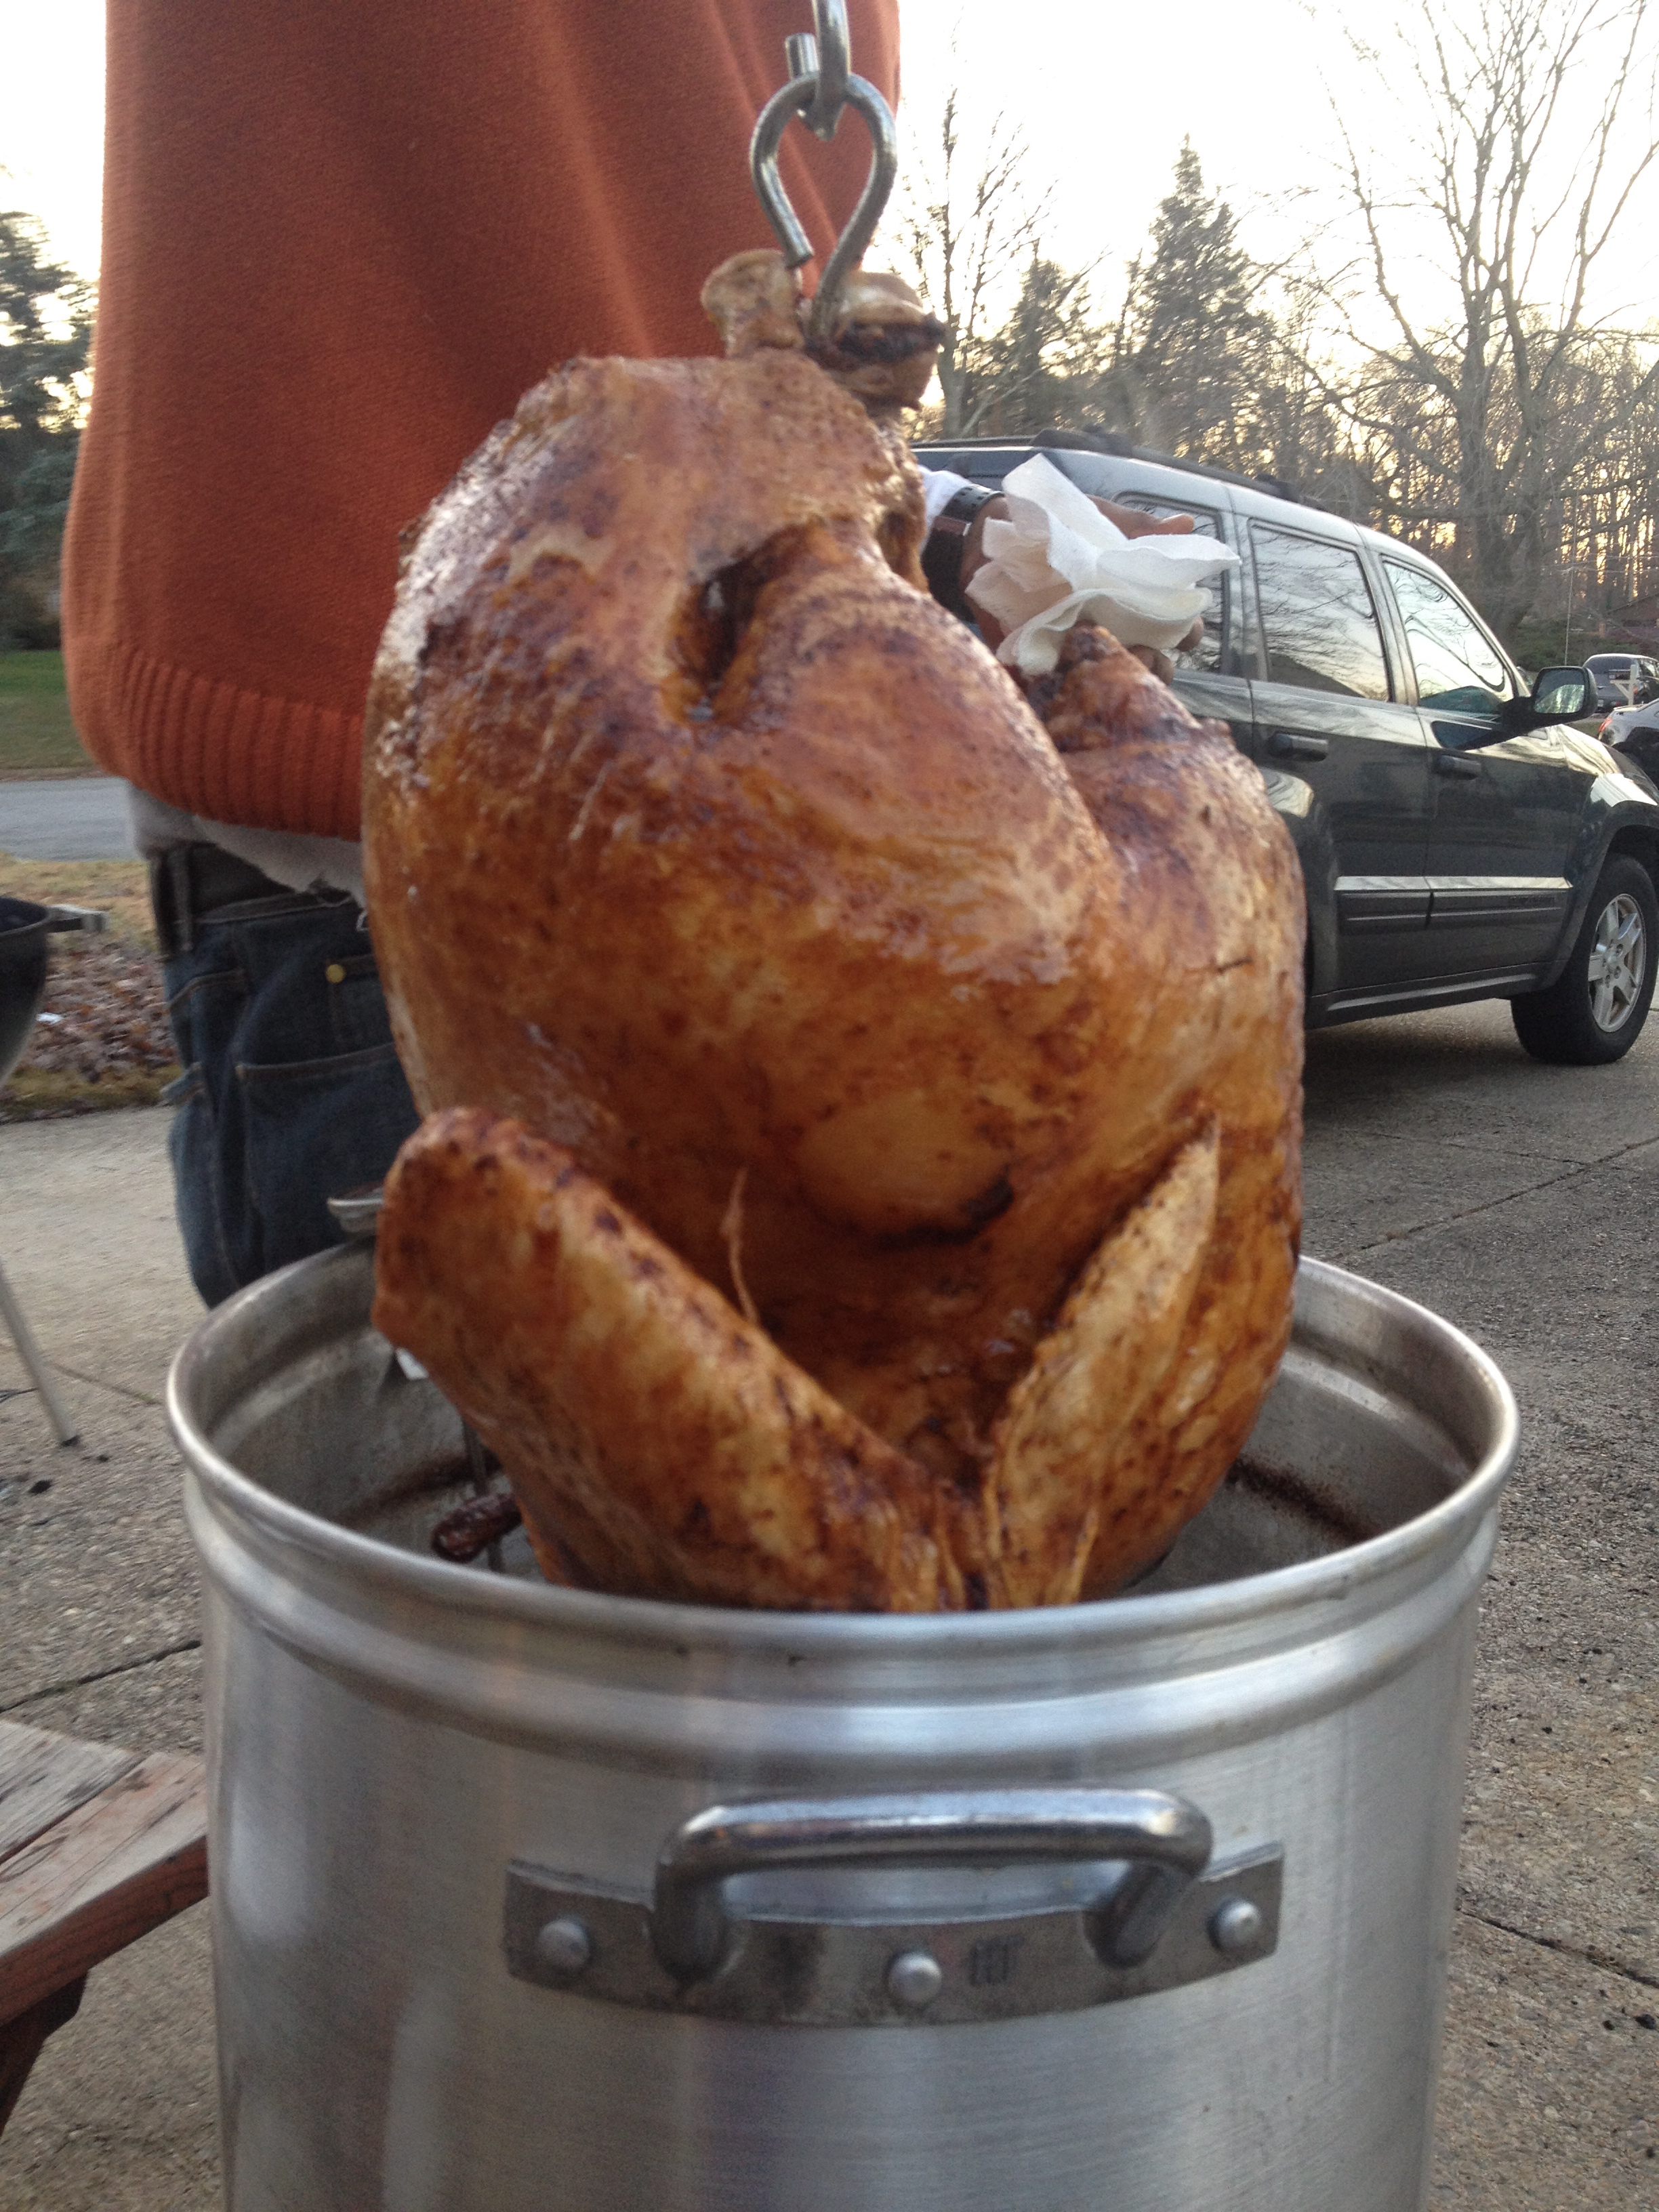
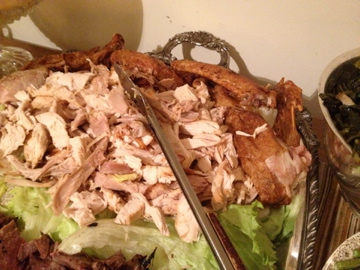
Fried Turkey
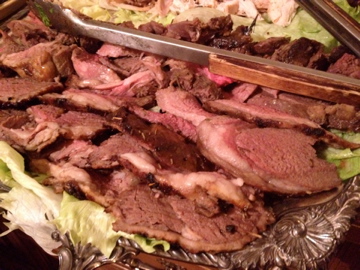
Roast Leg of Lamb w/Rosemary & Honey
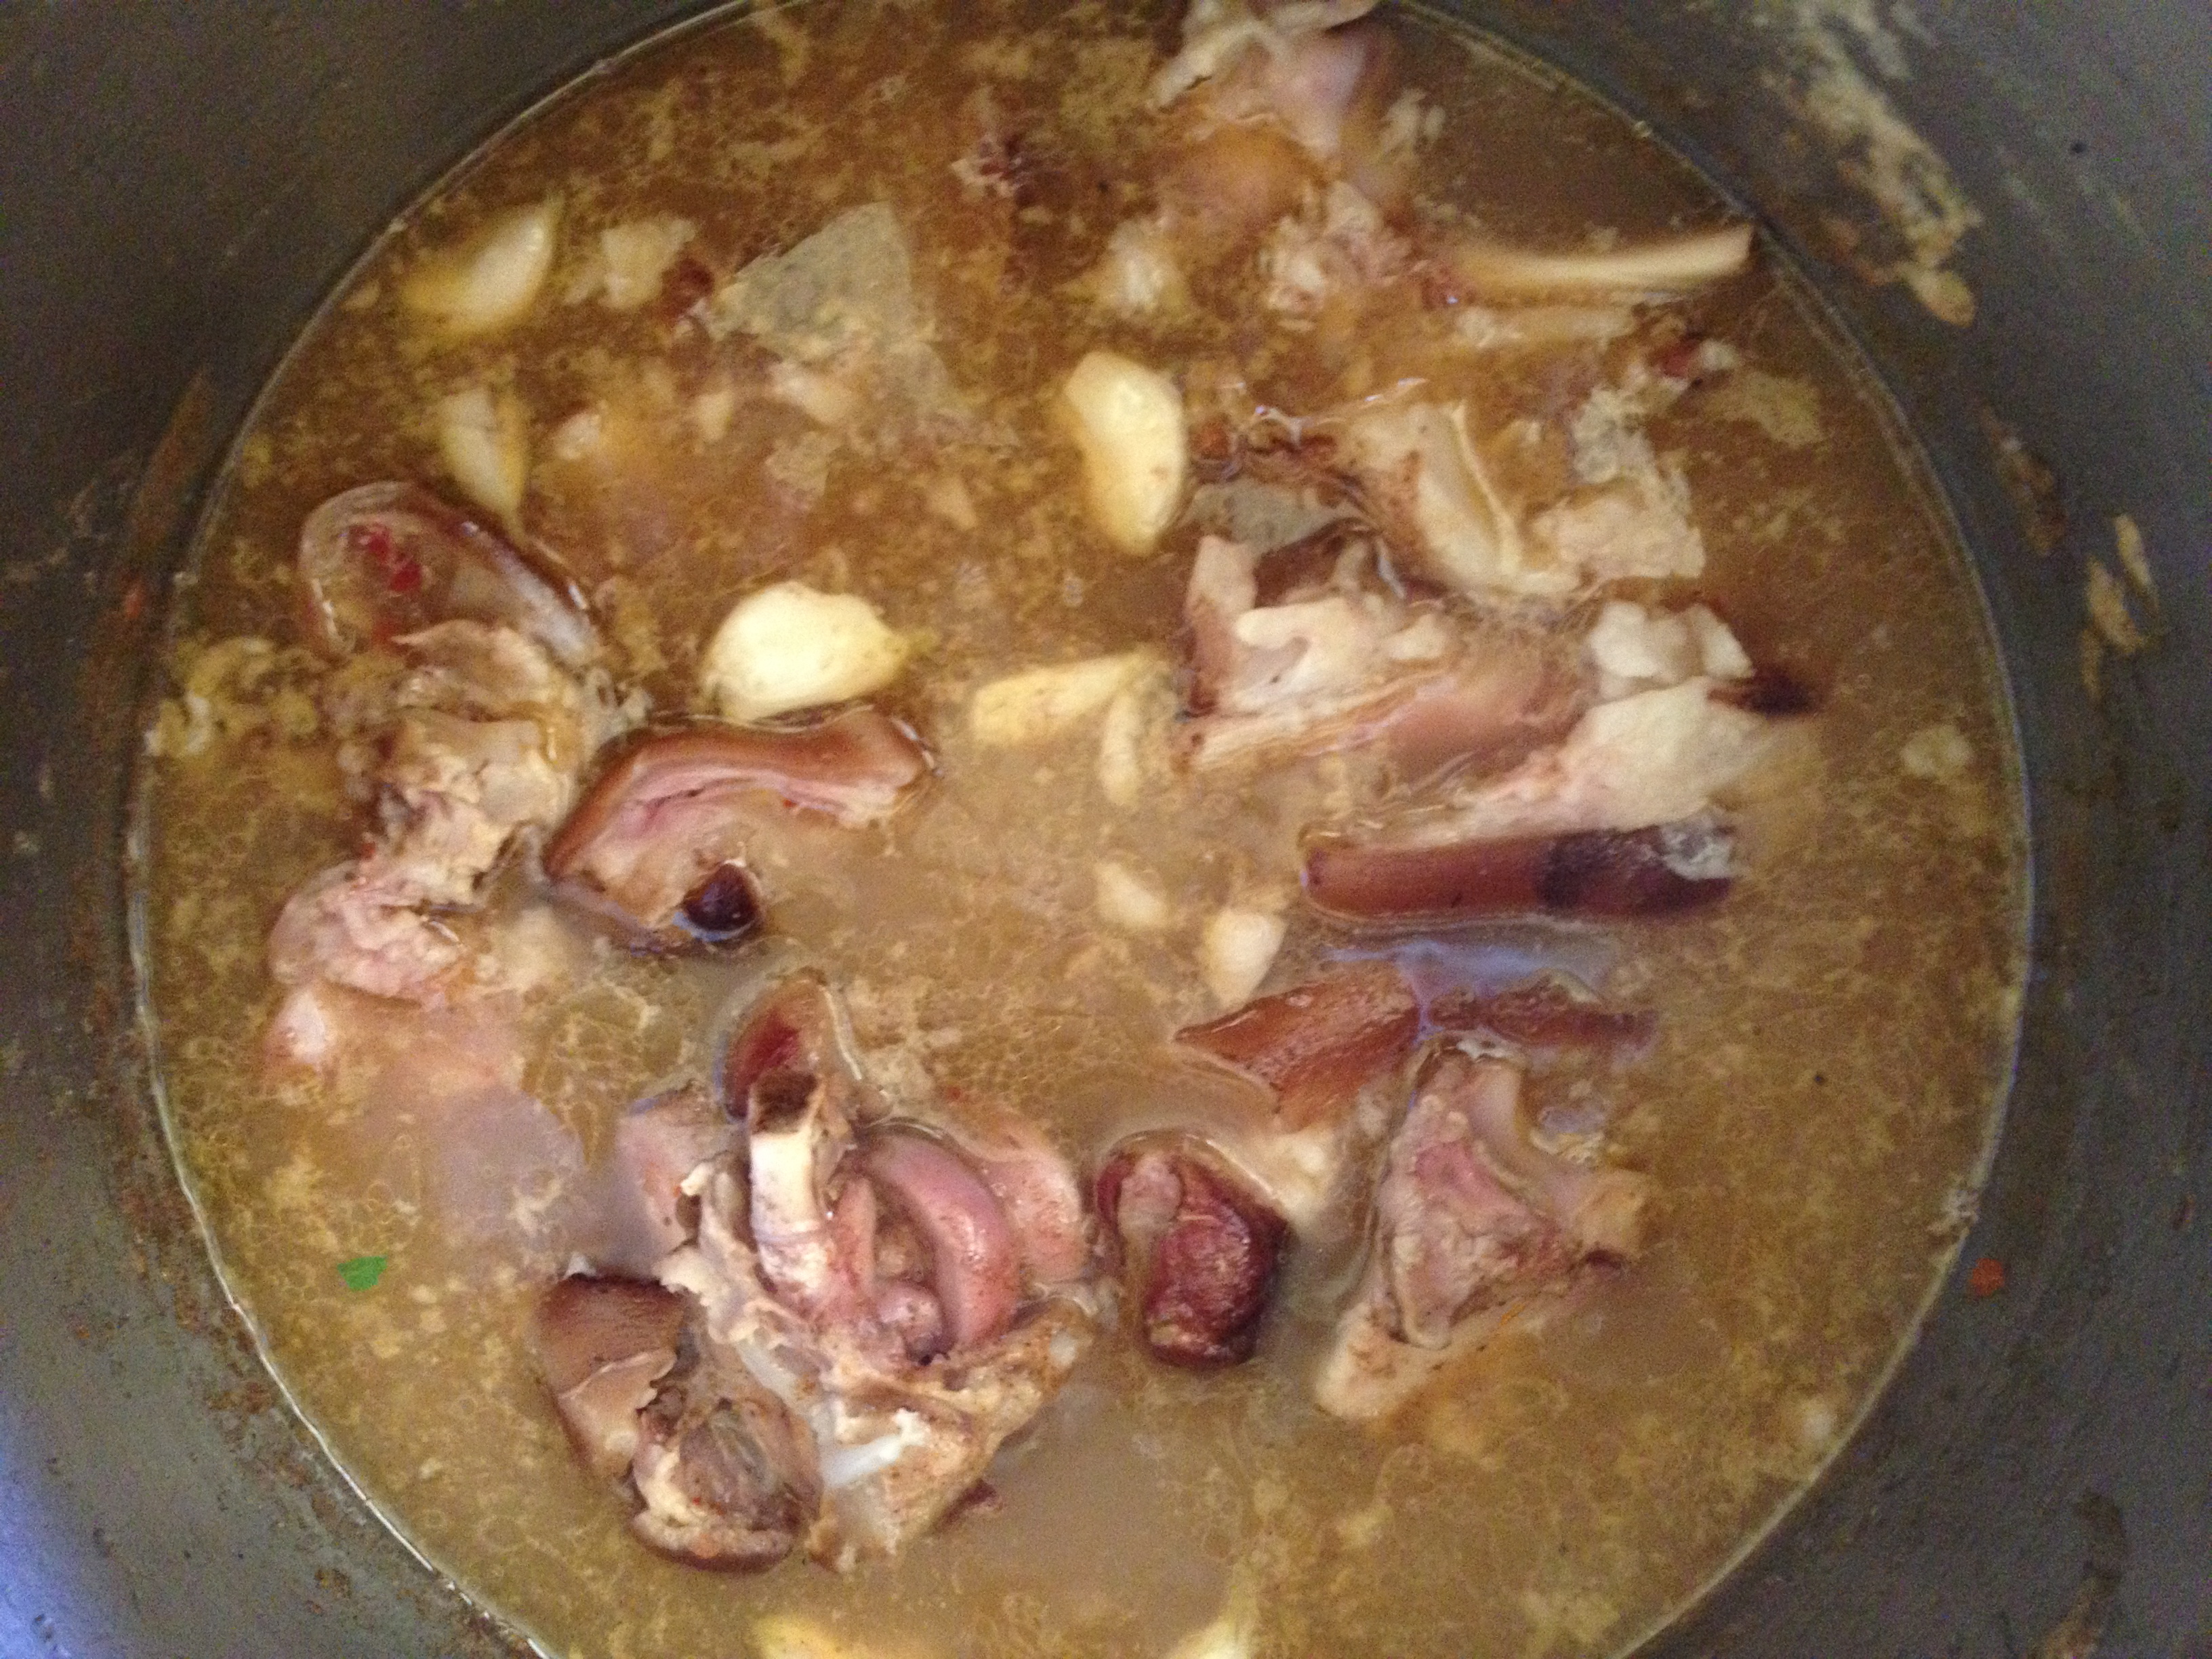
Braised Pig Feet; BBQ Pig Feet

Chitterlings
Corn Pudding
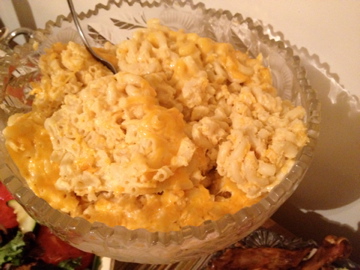
Macaroni and Cheese
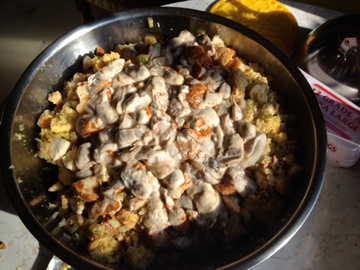
Oyster Stuffing
Potato Salad
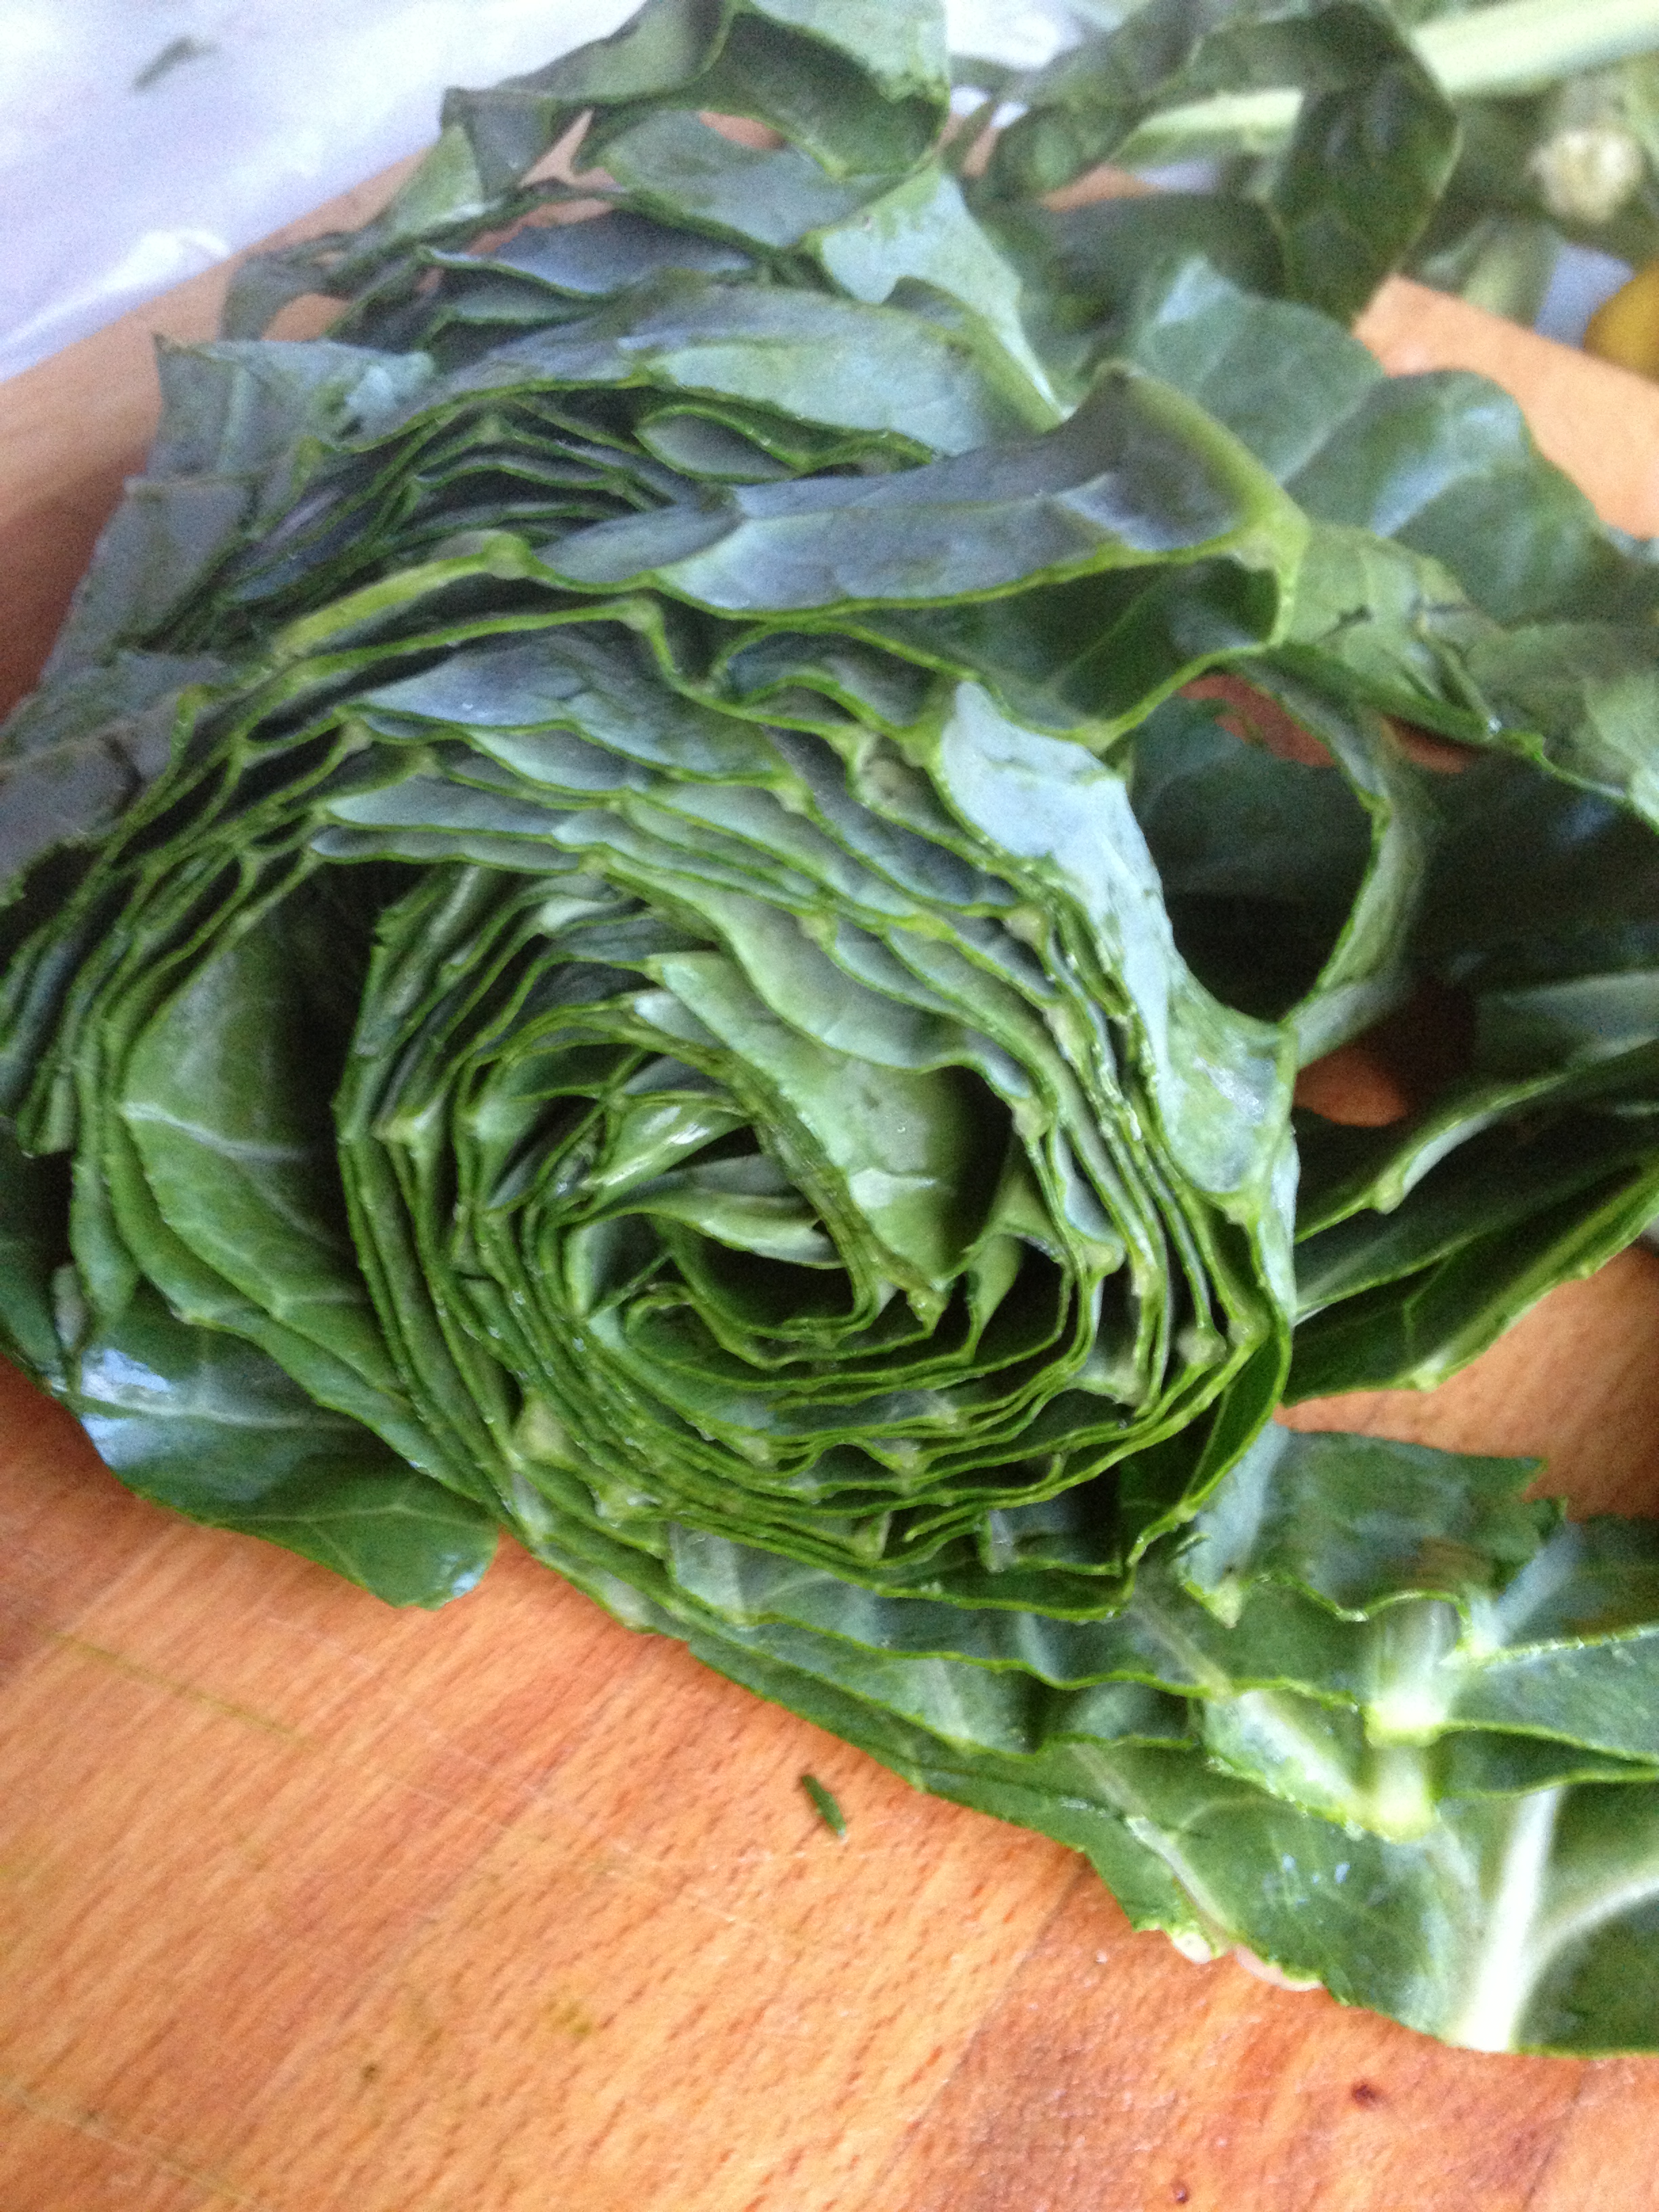
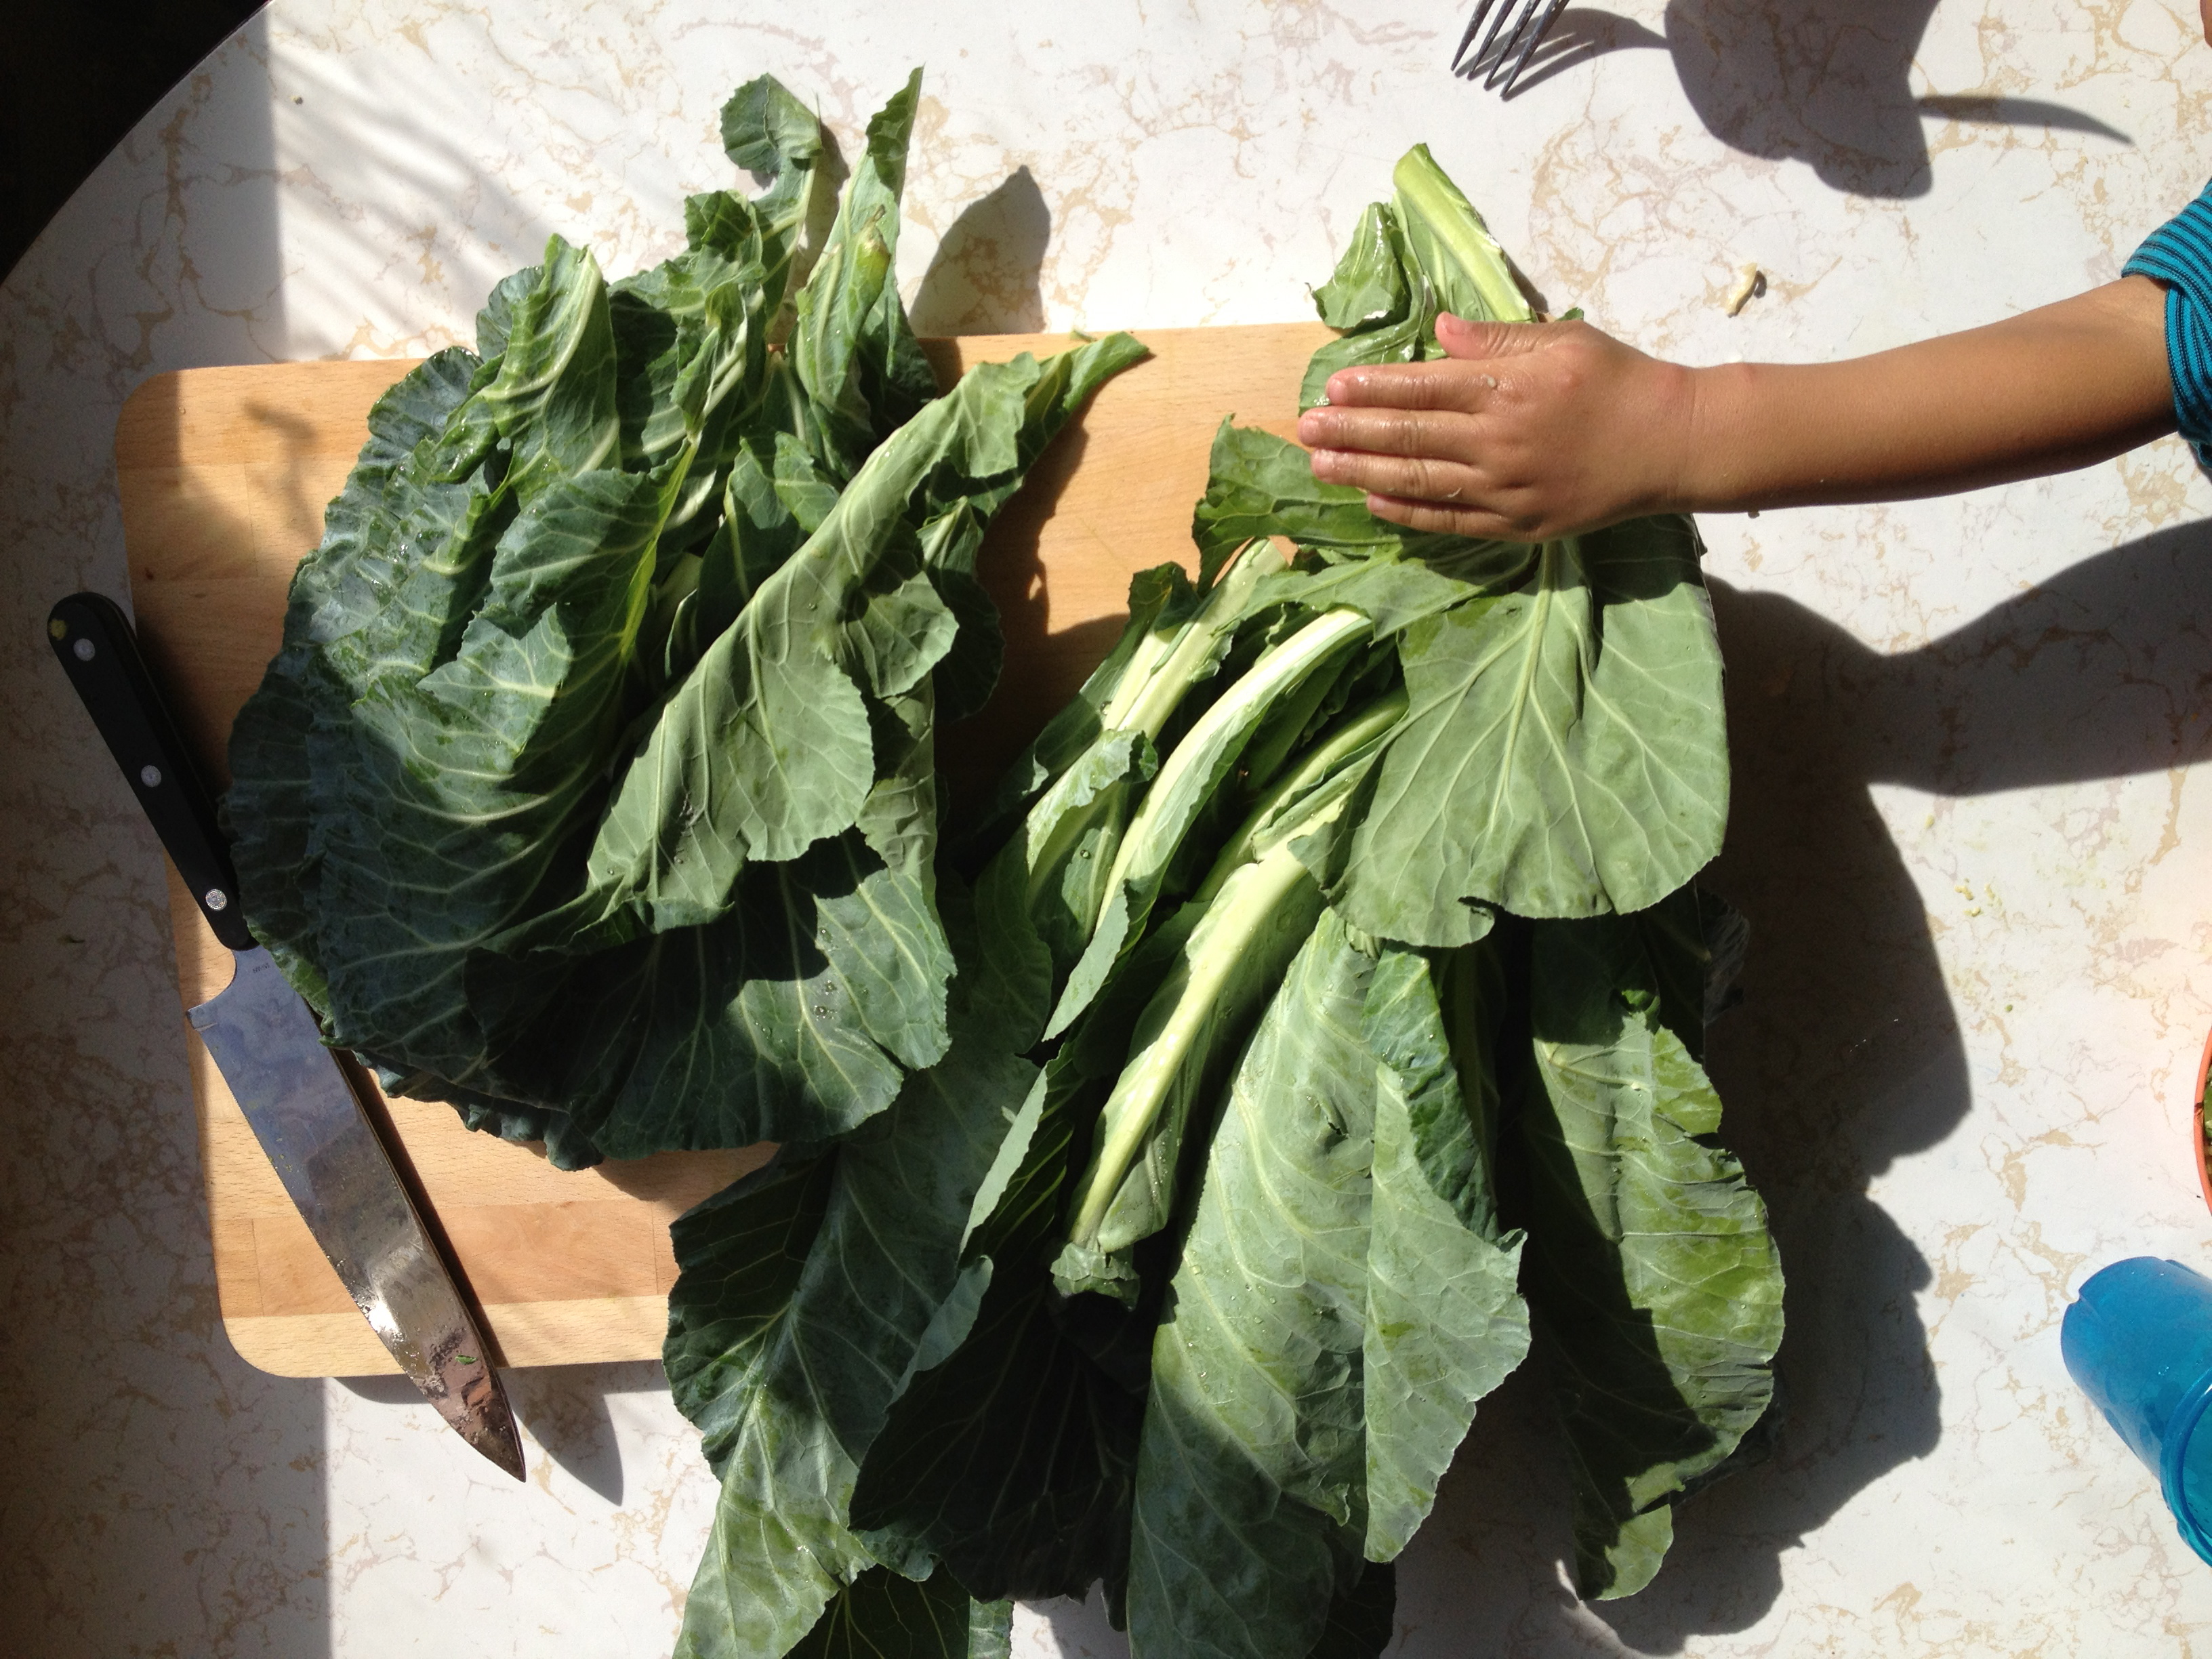
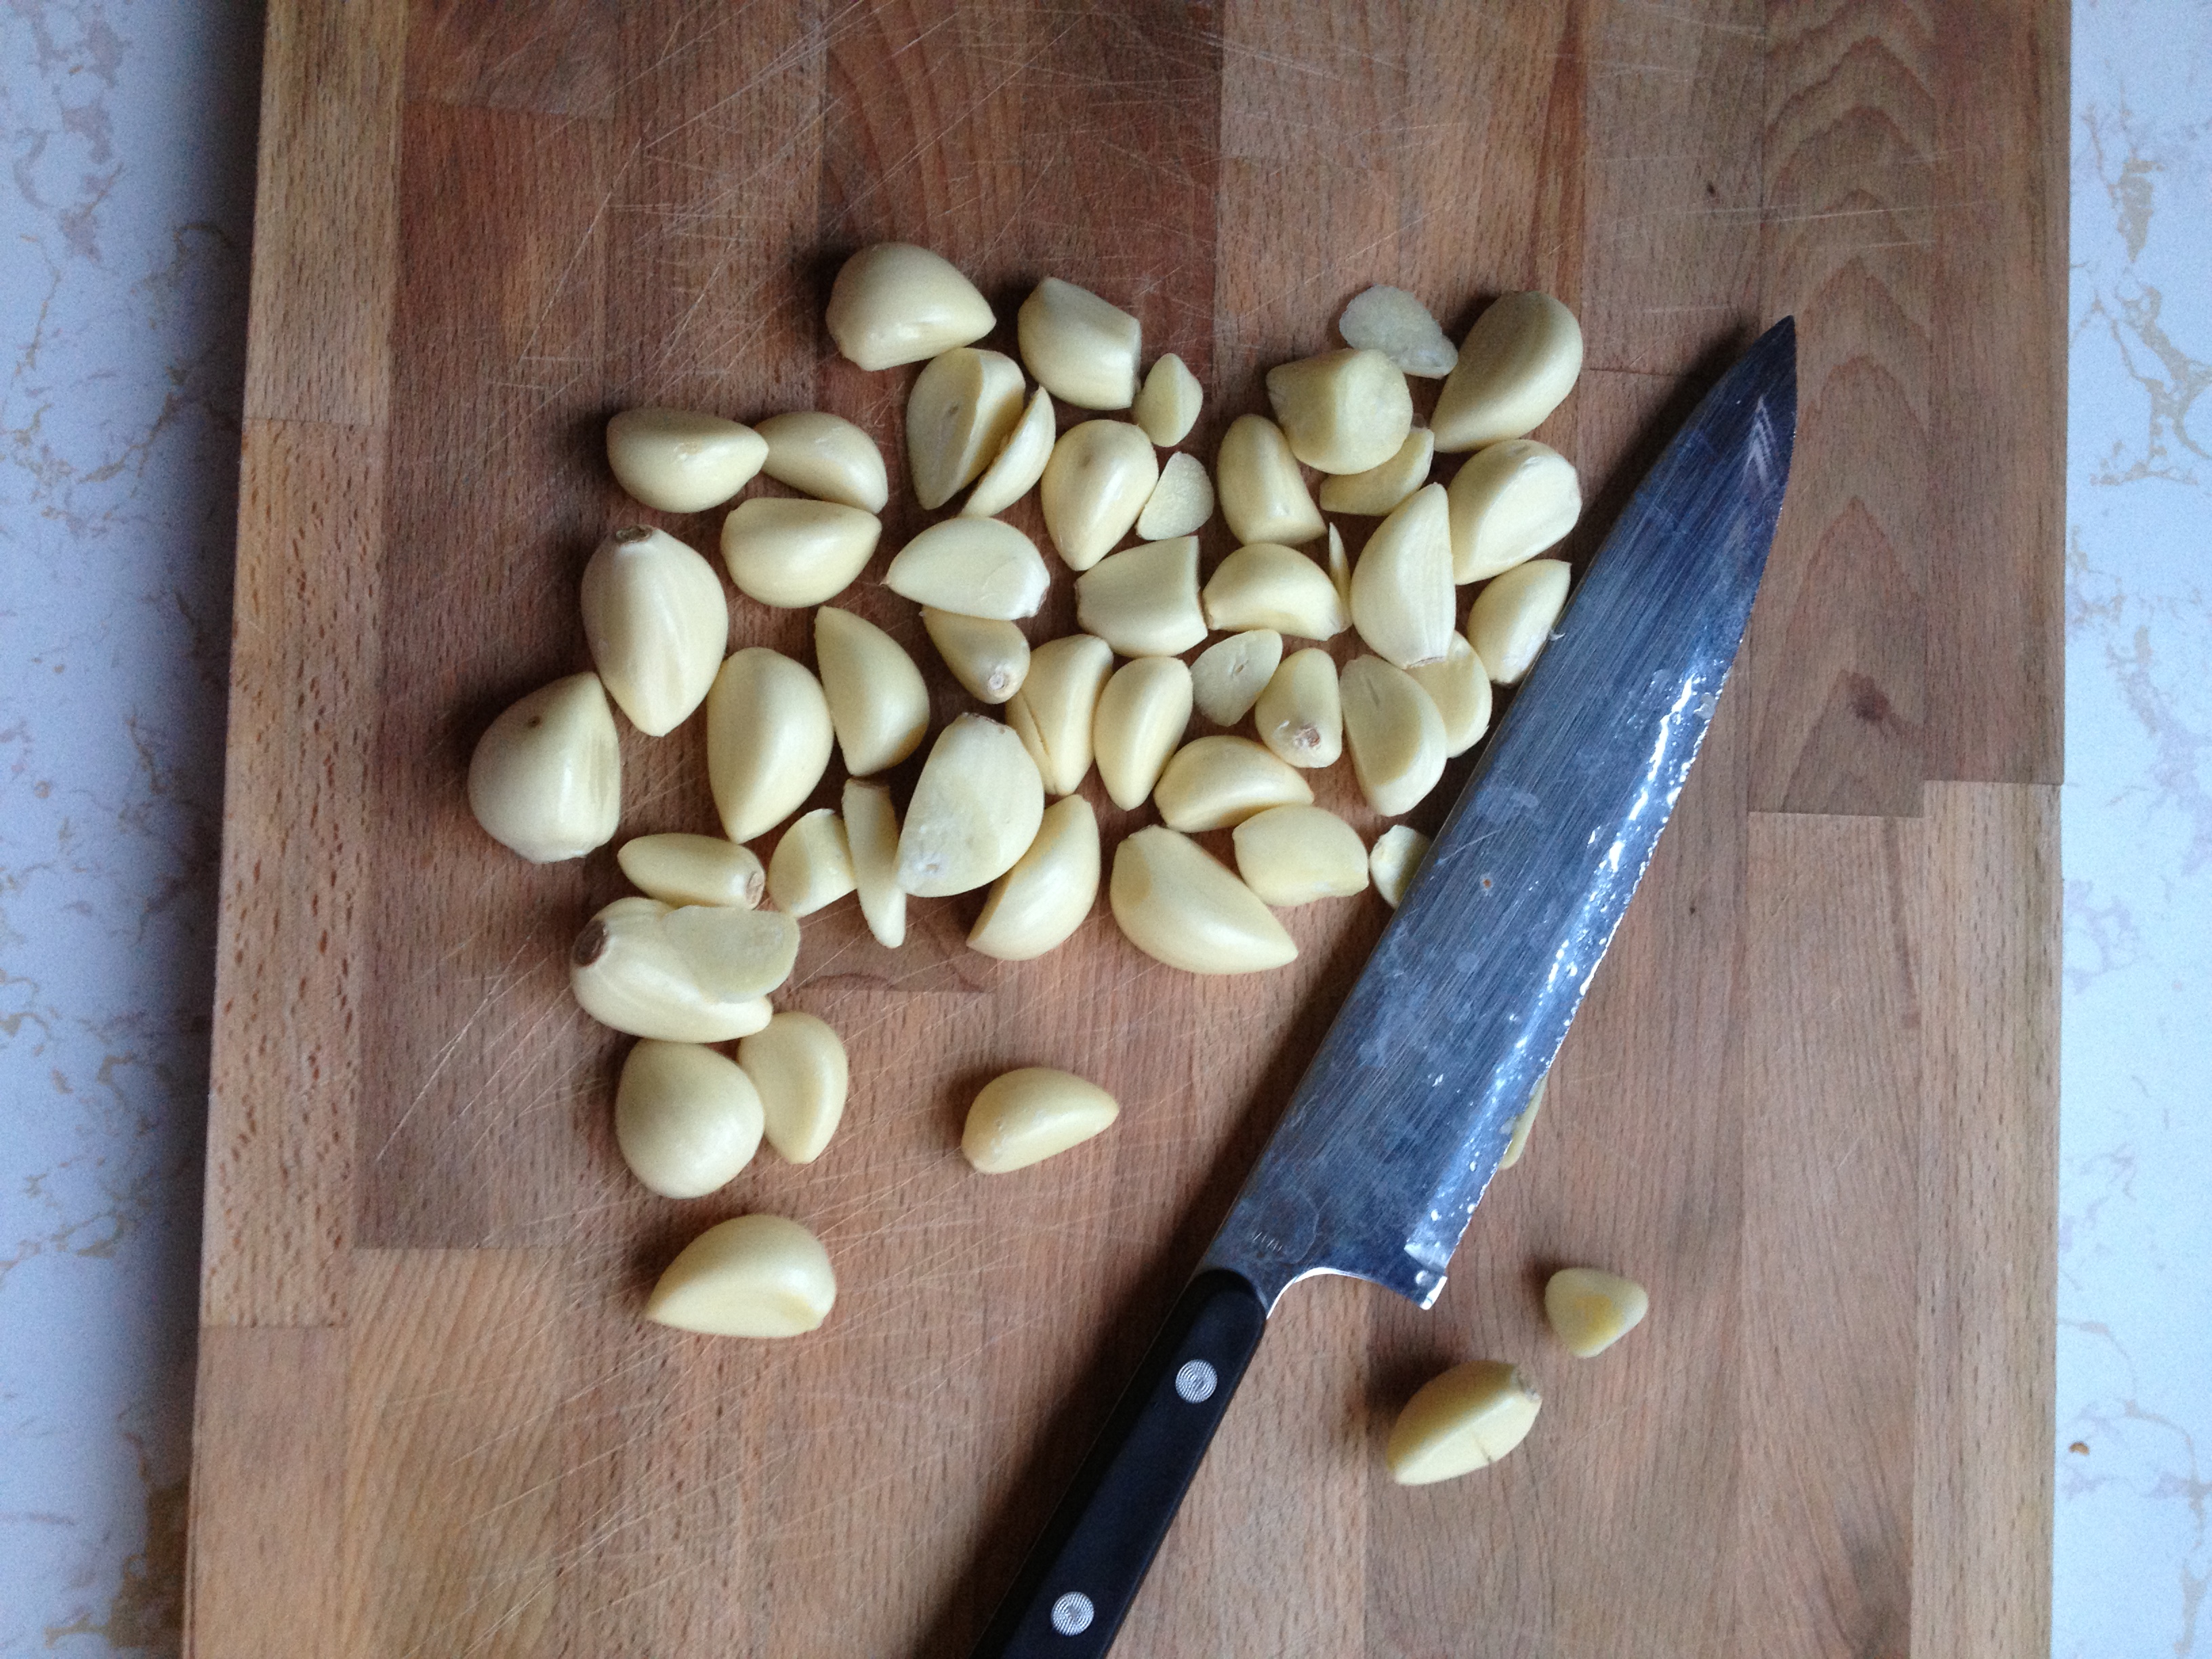
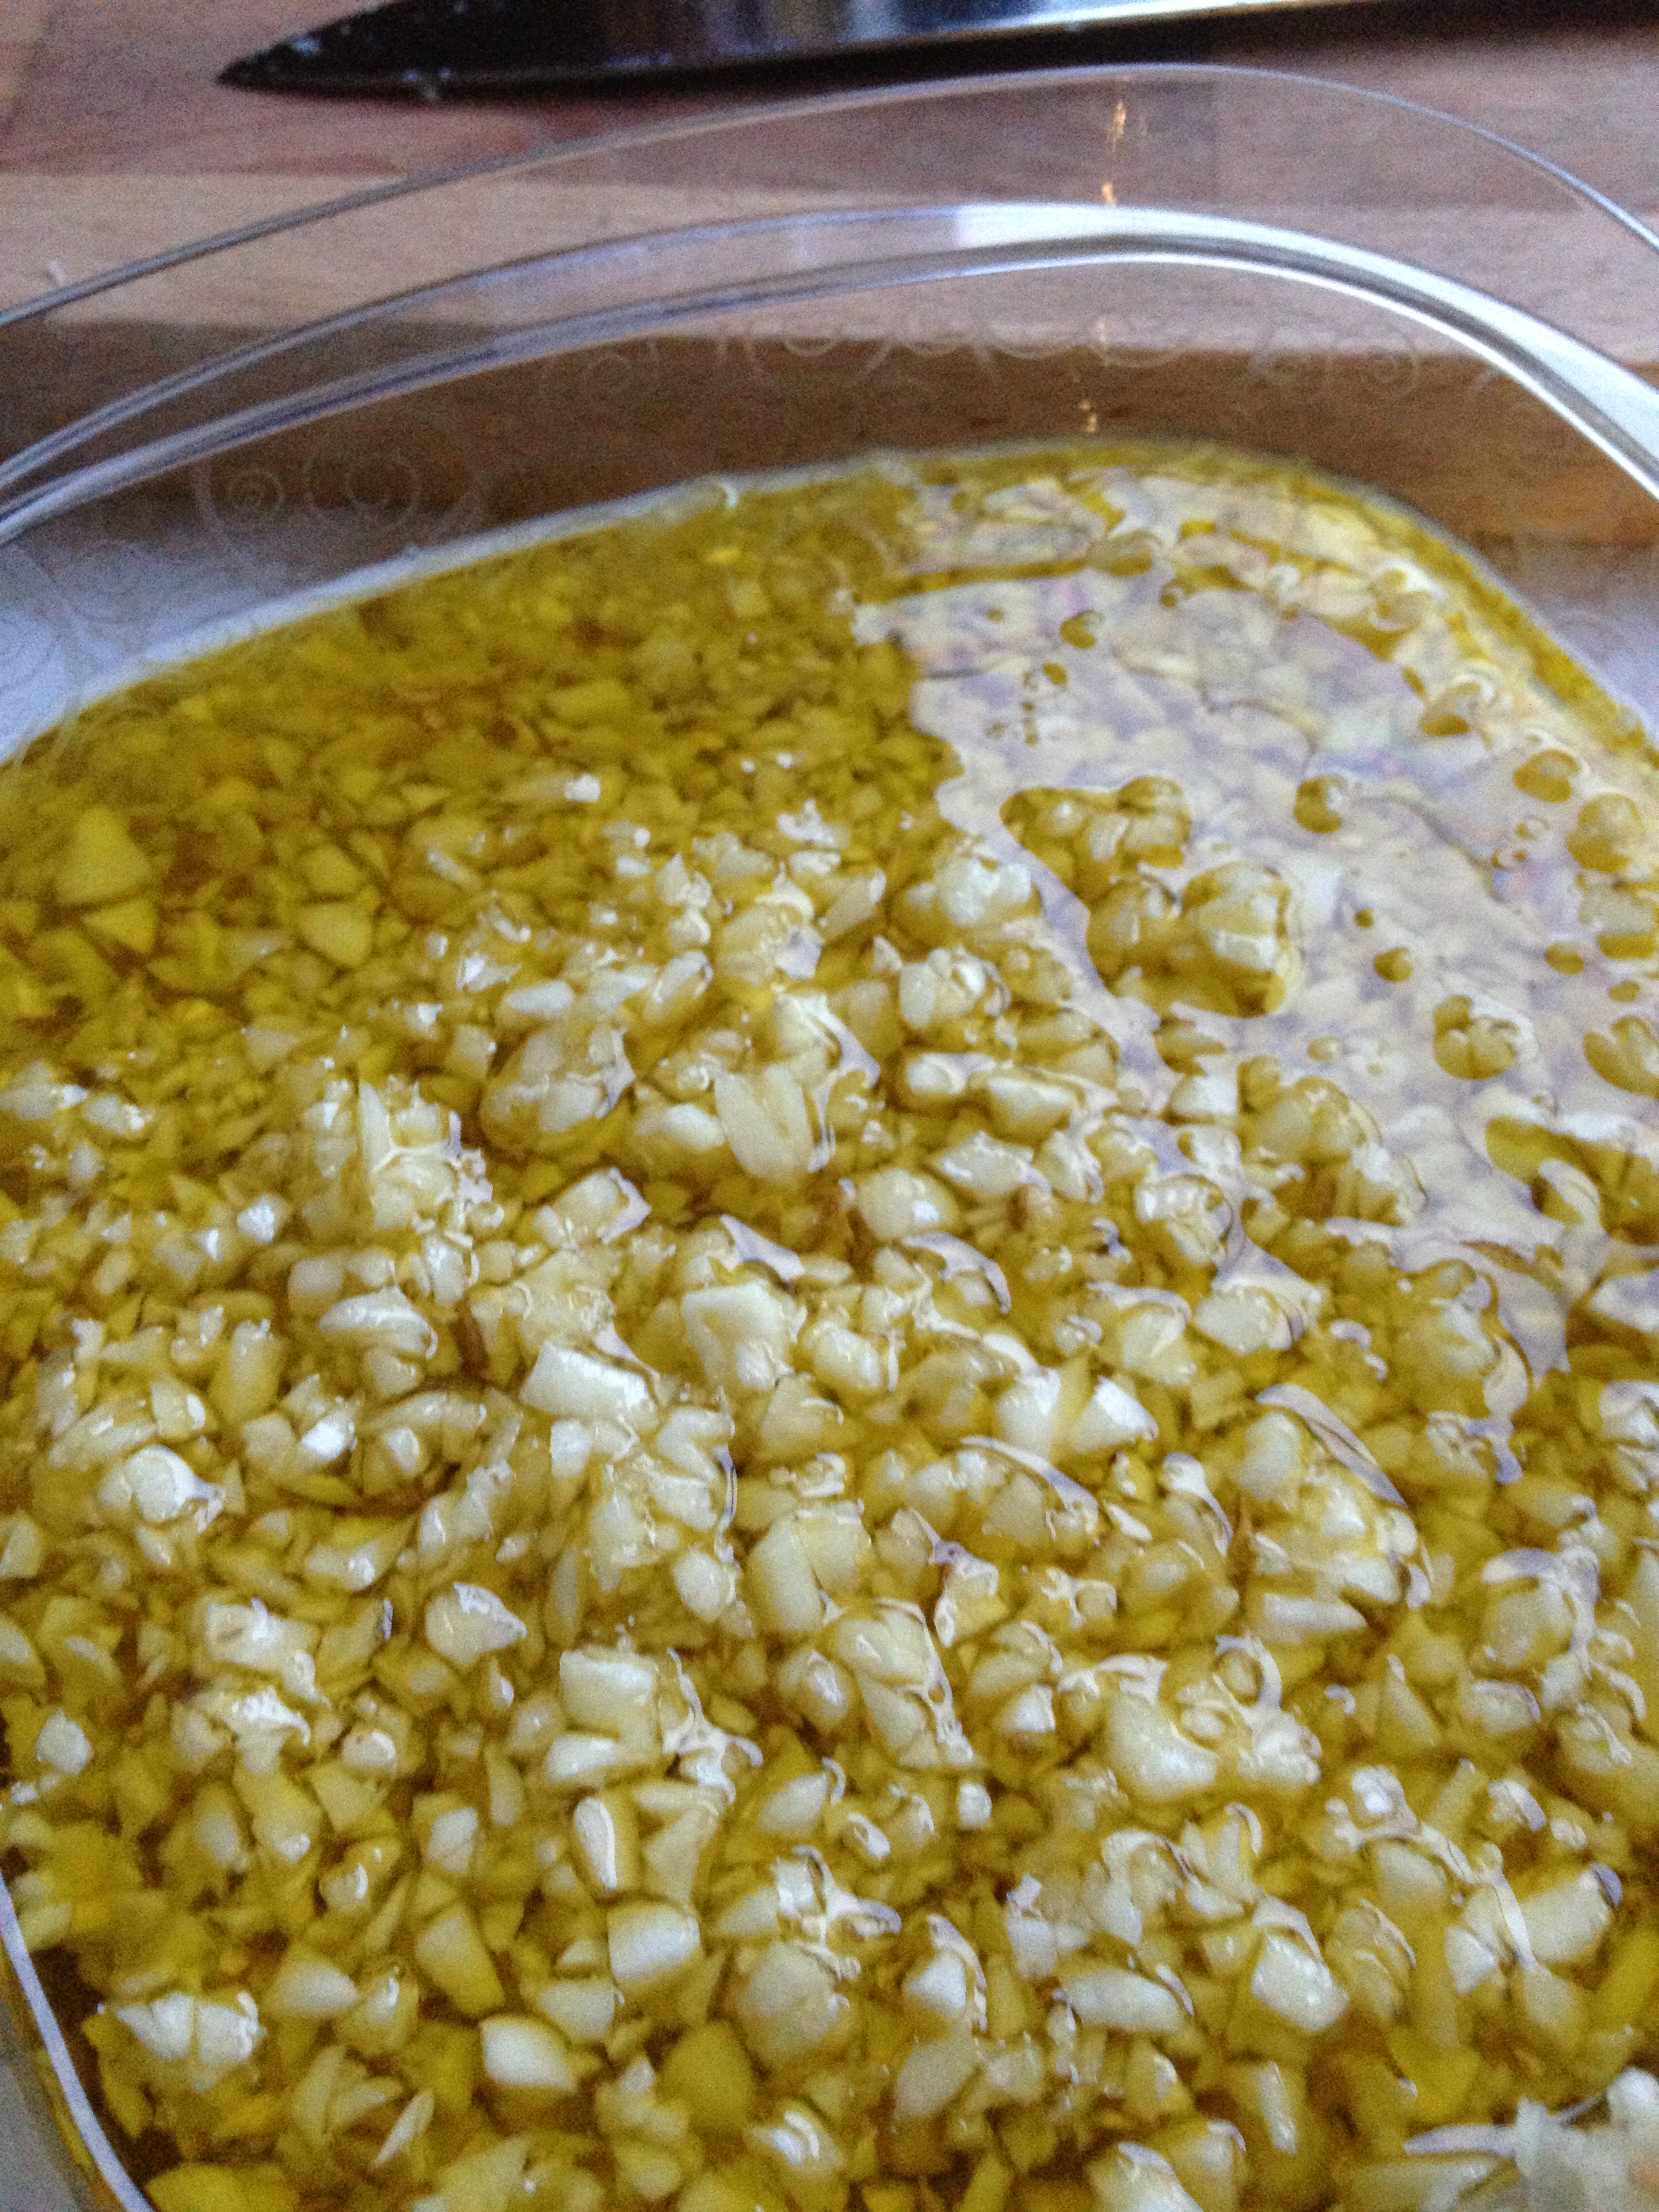
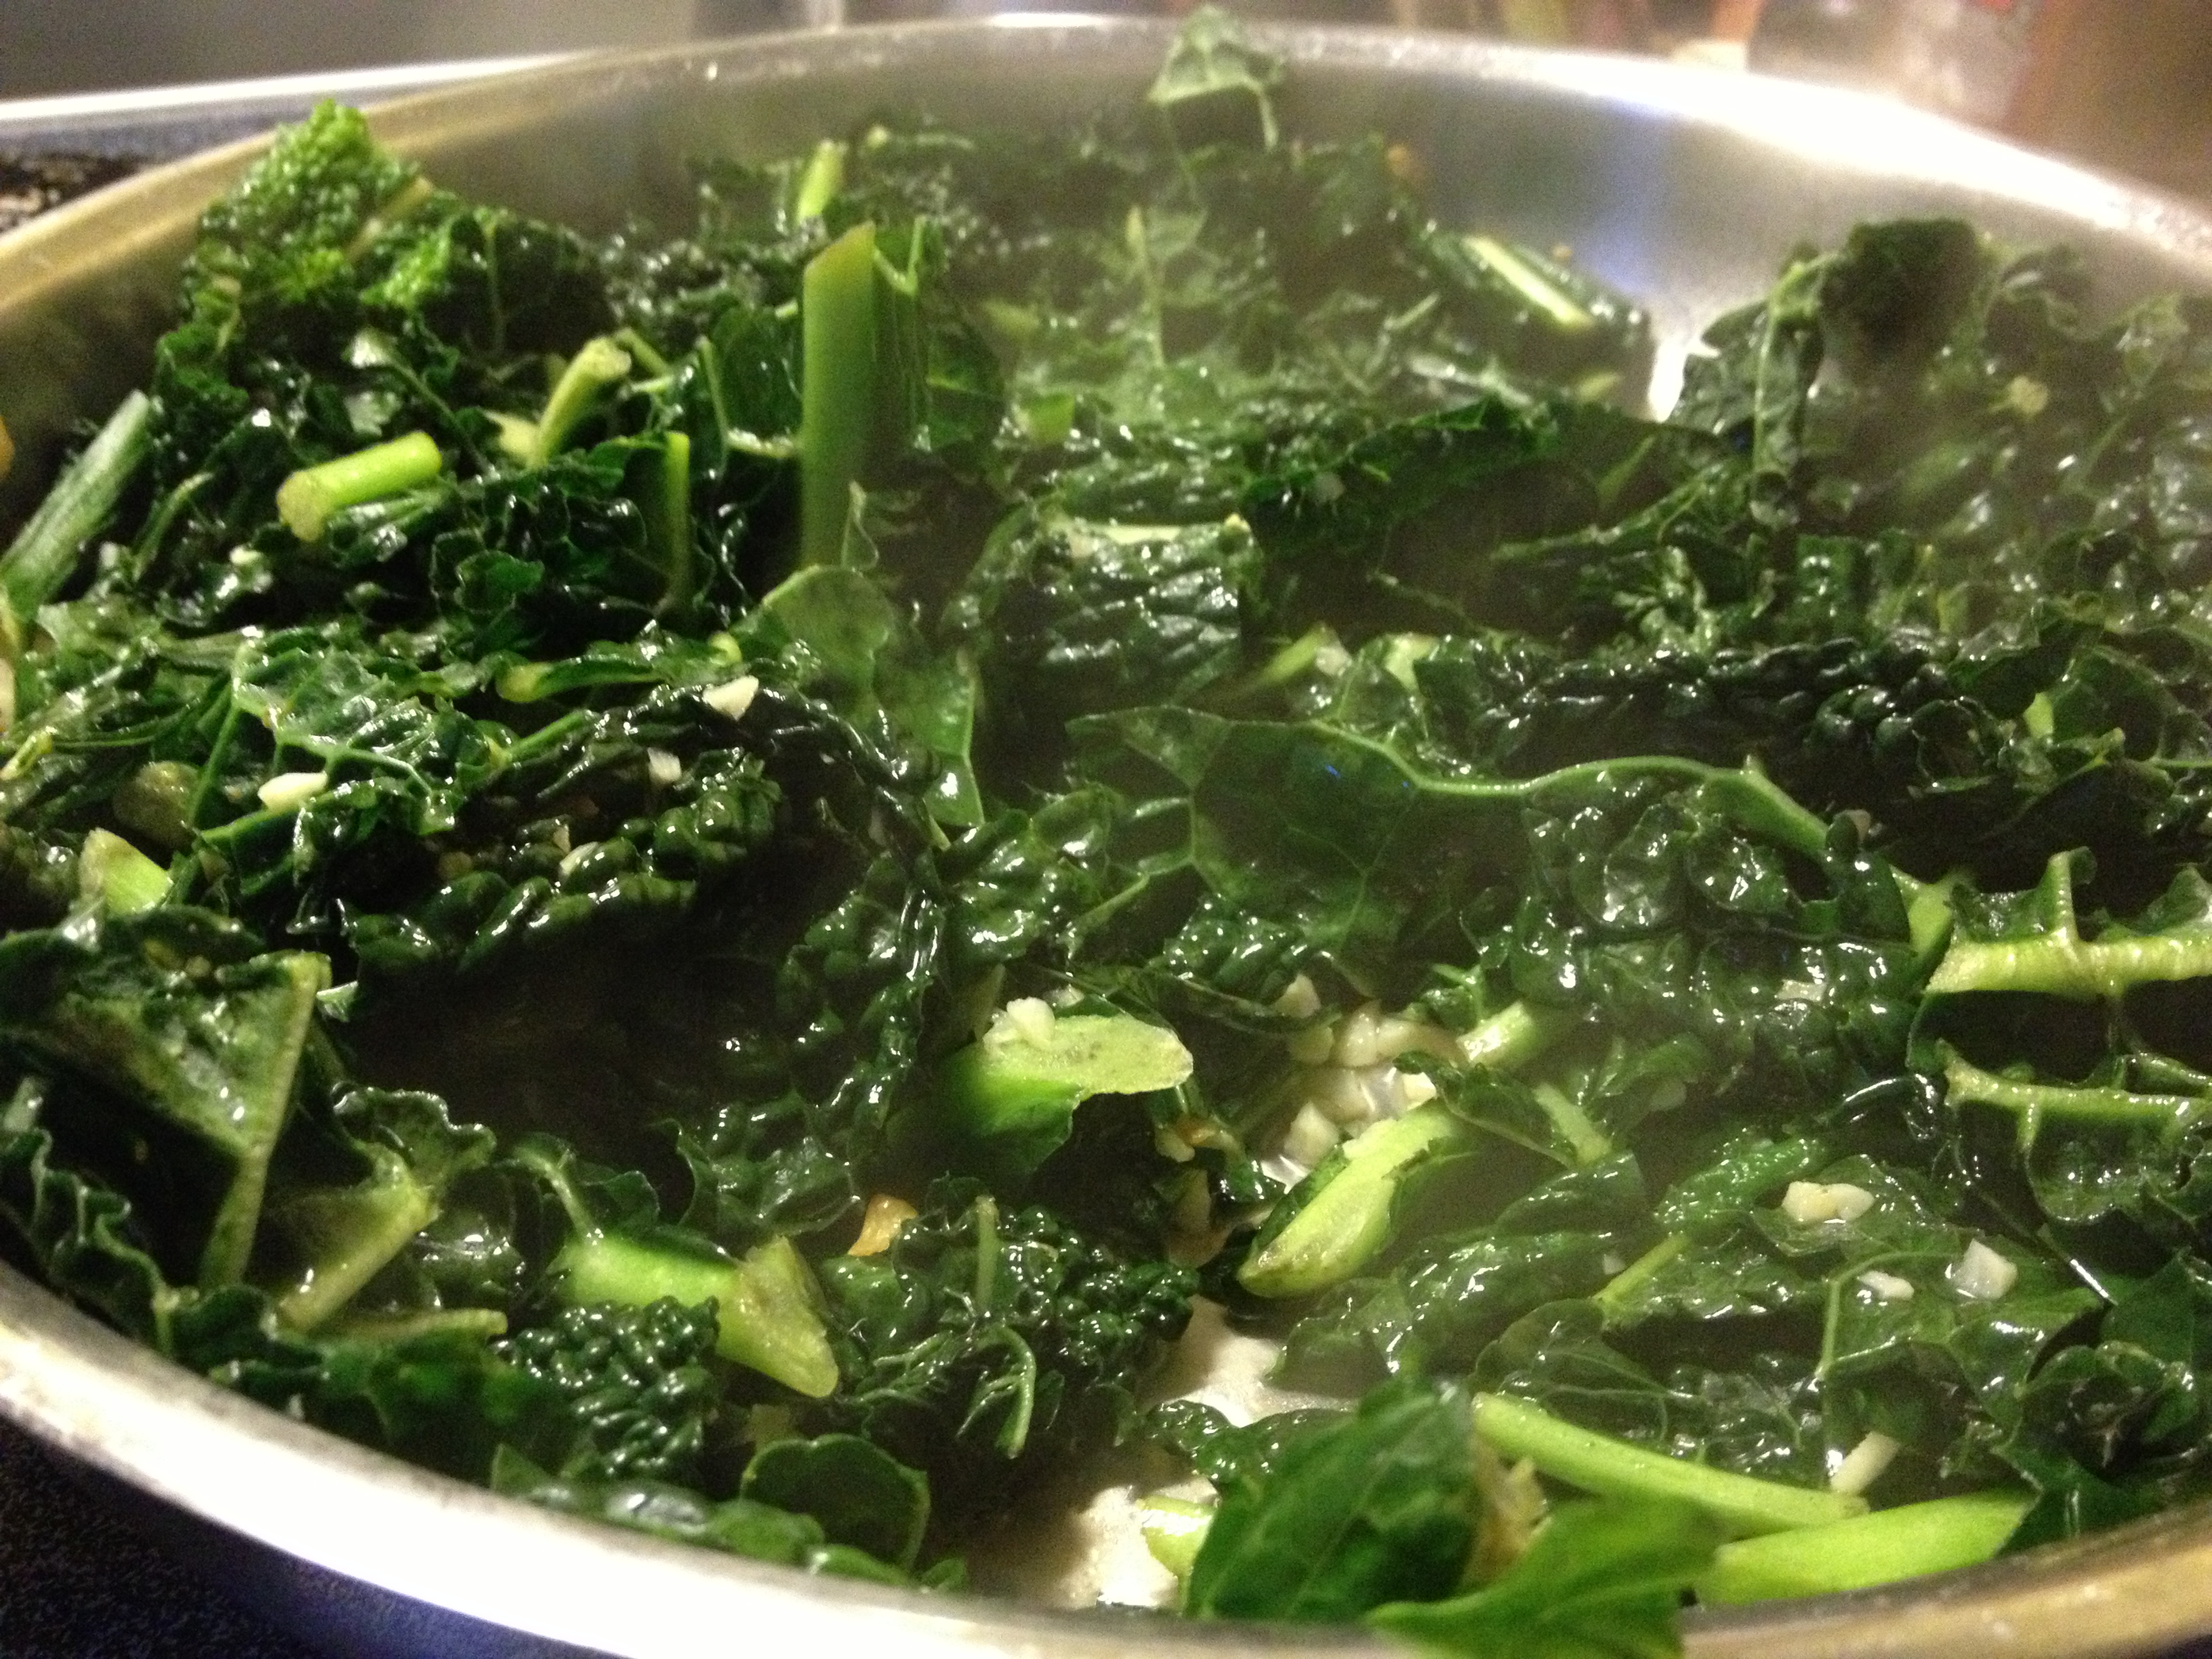
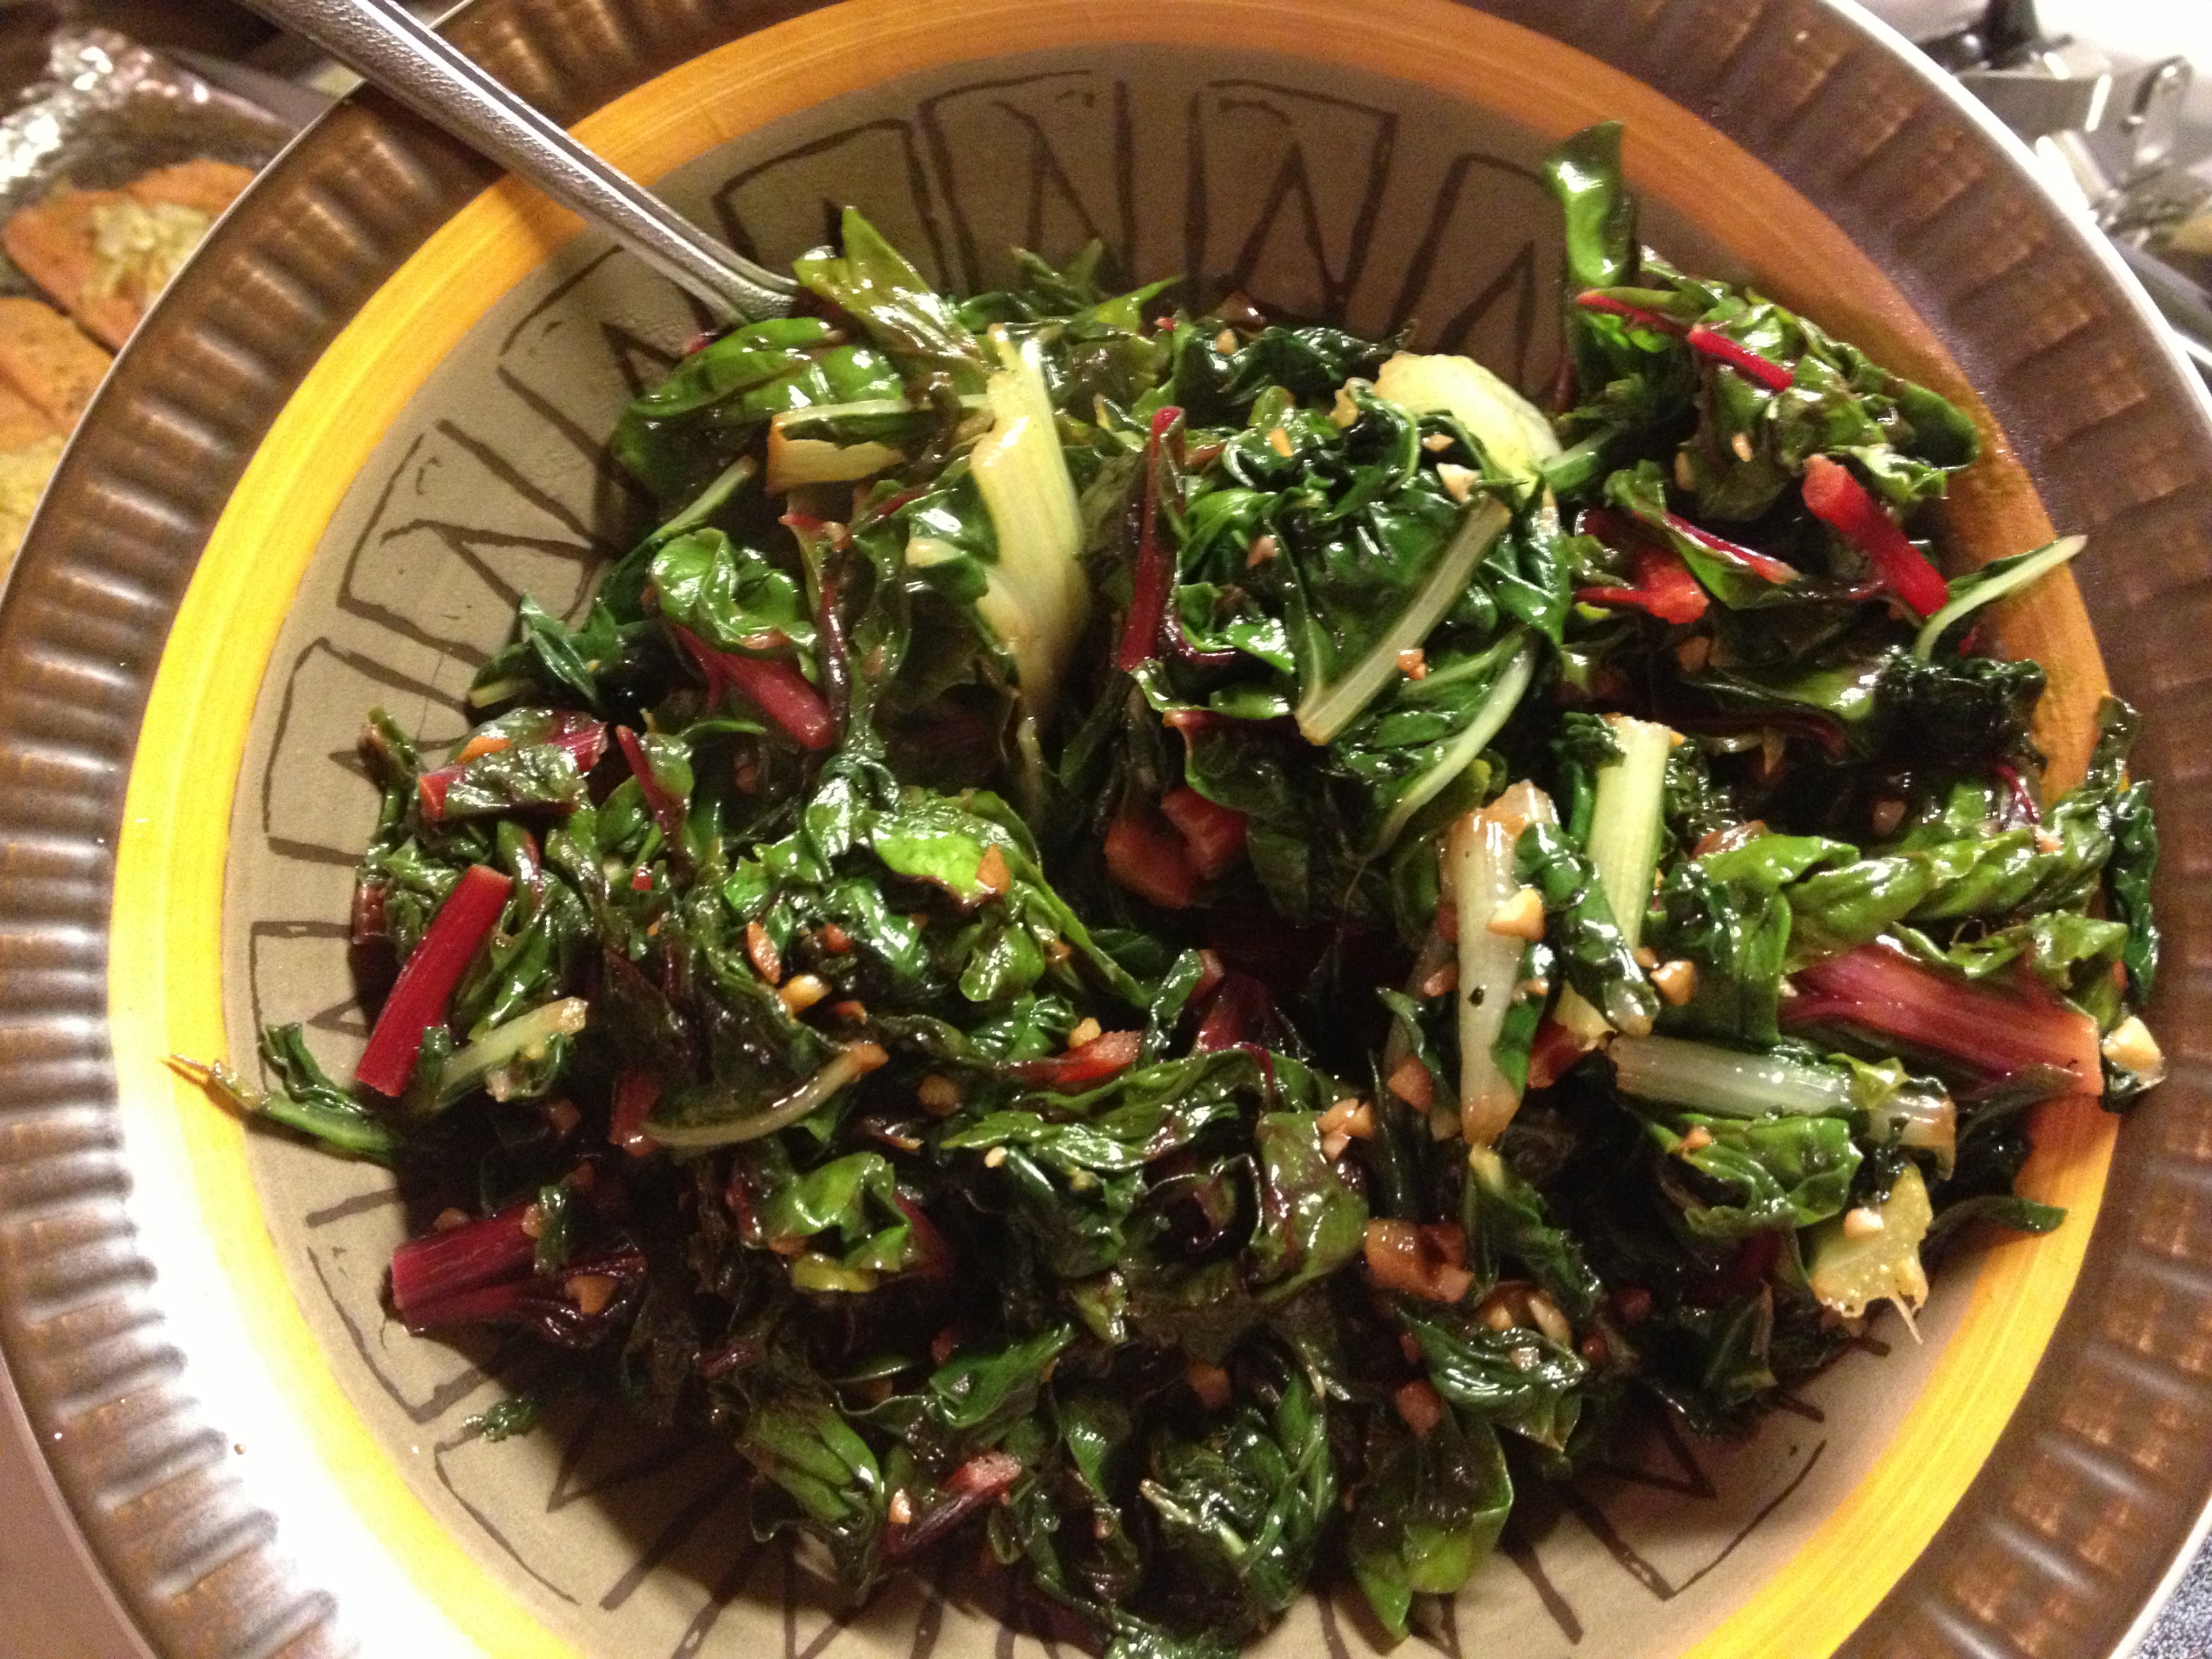
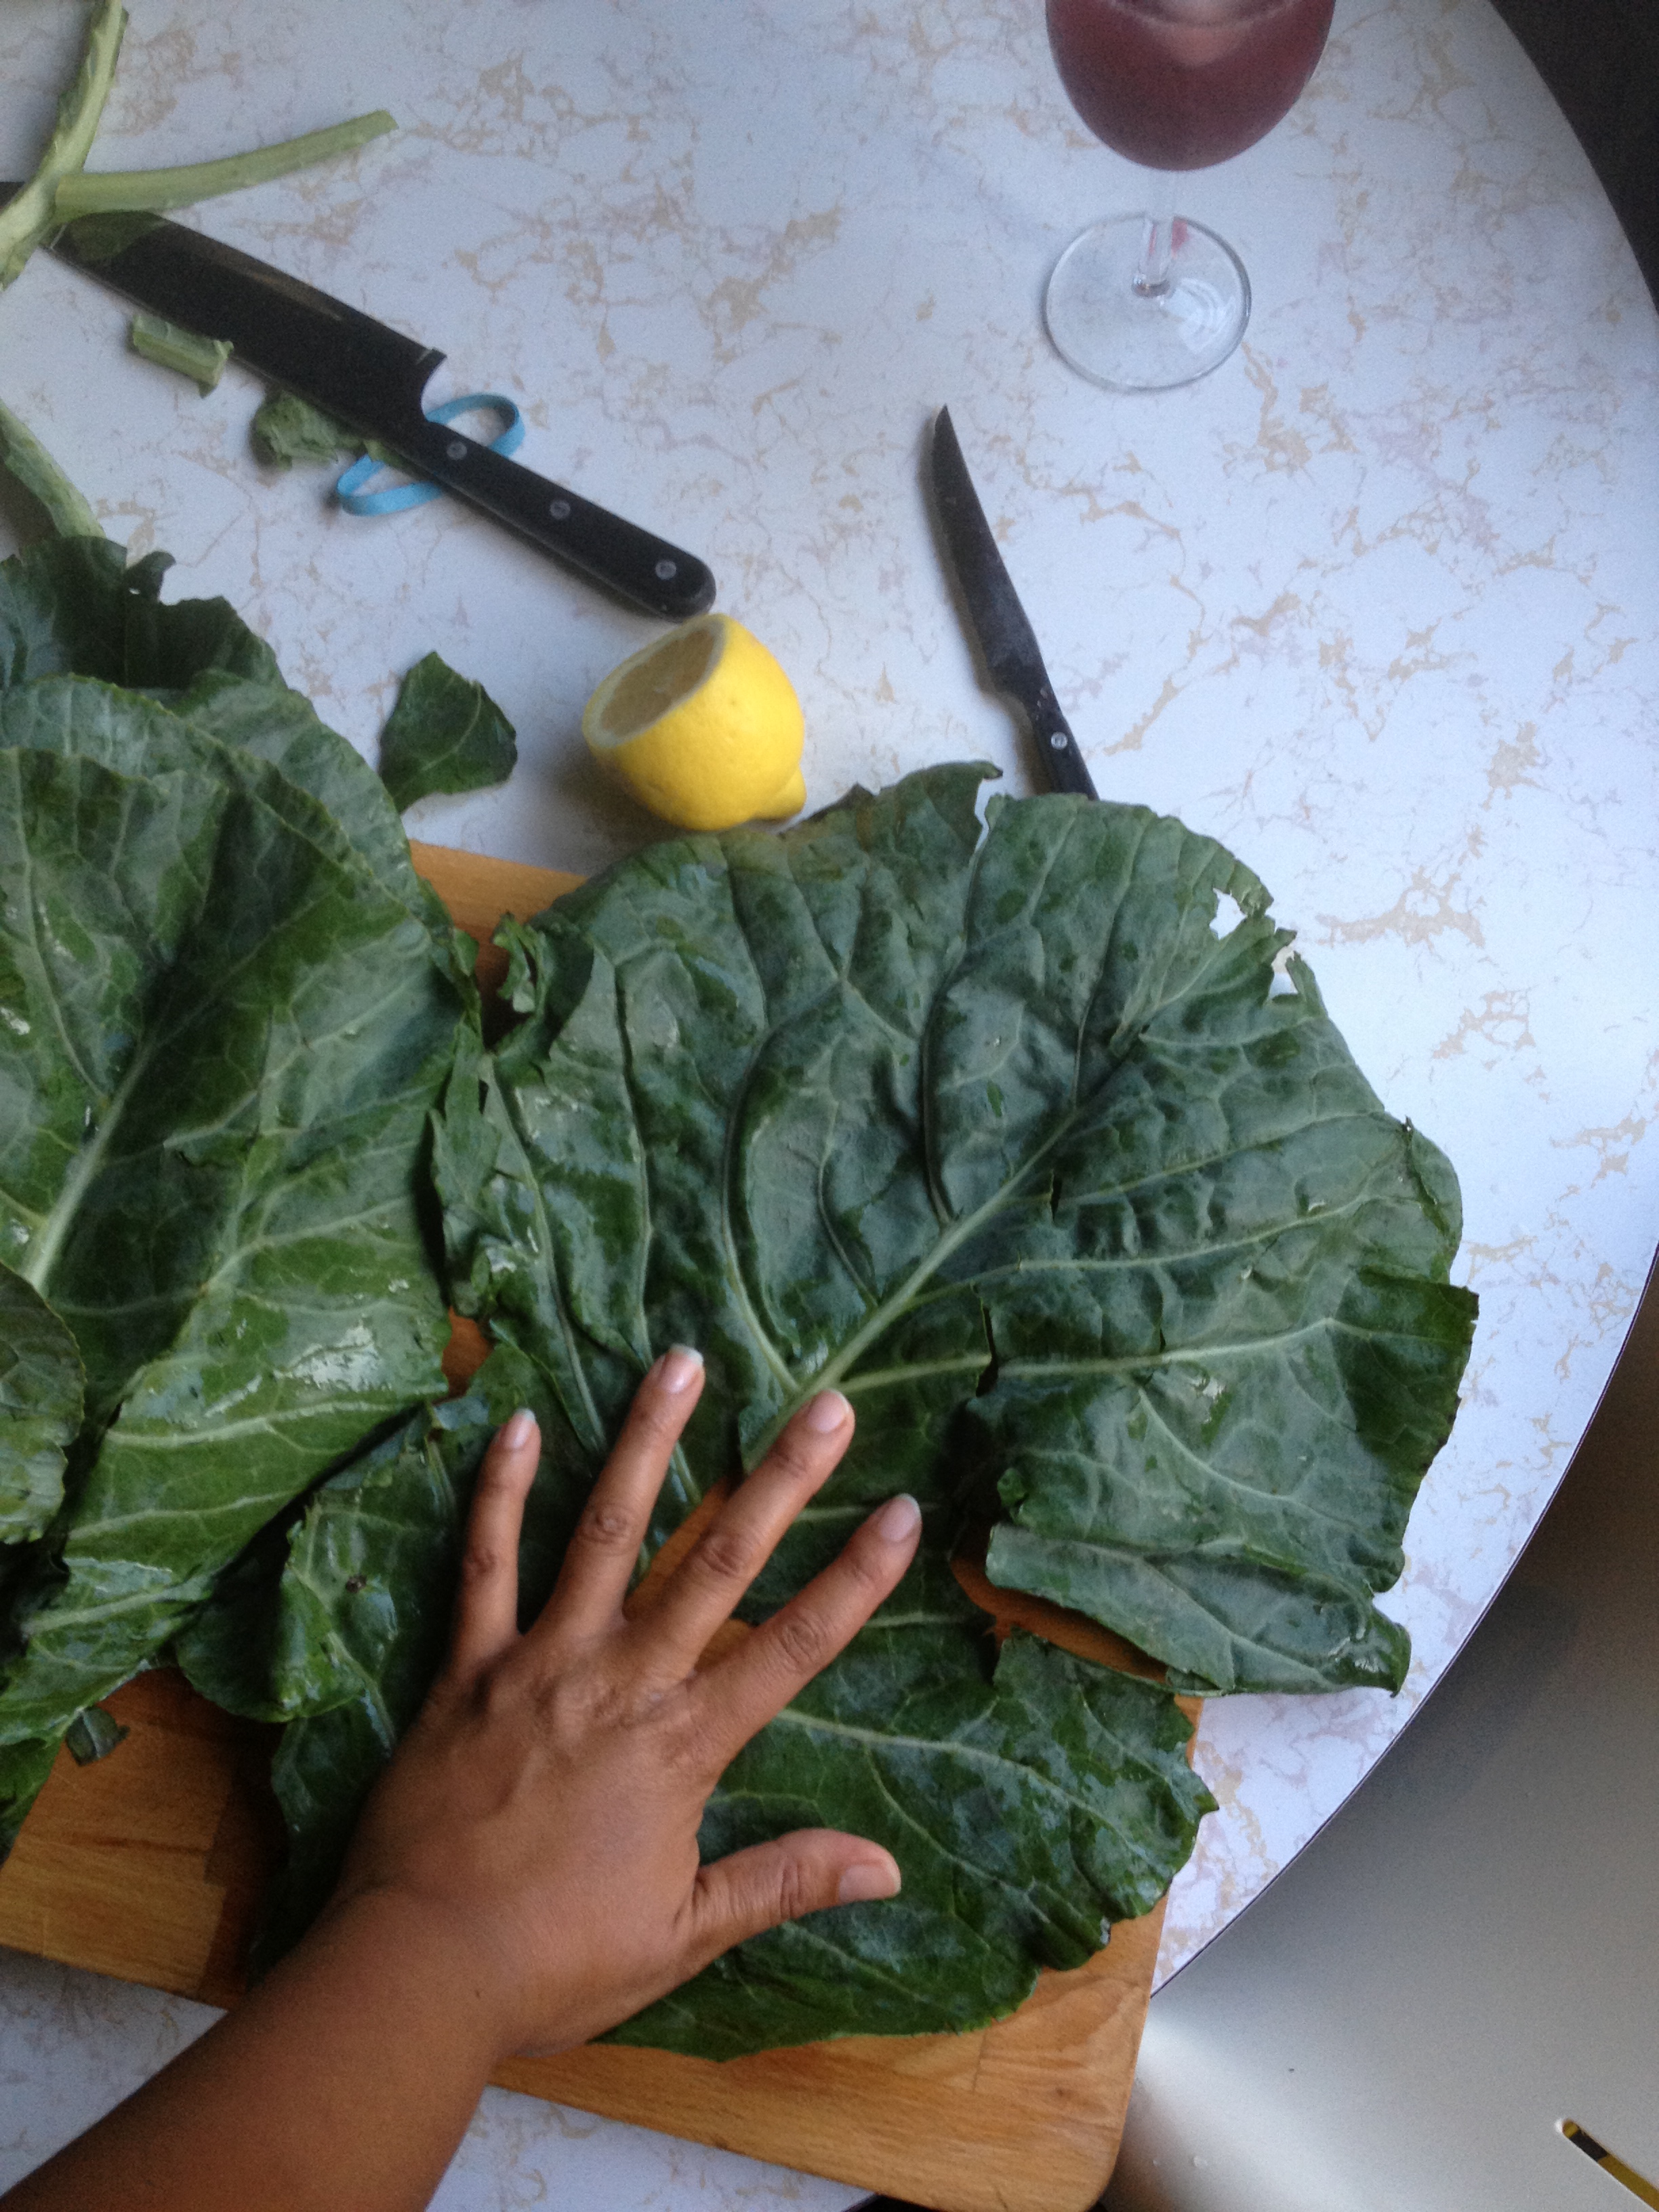
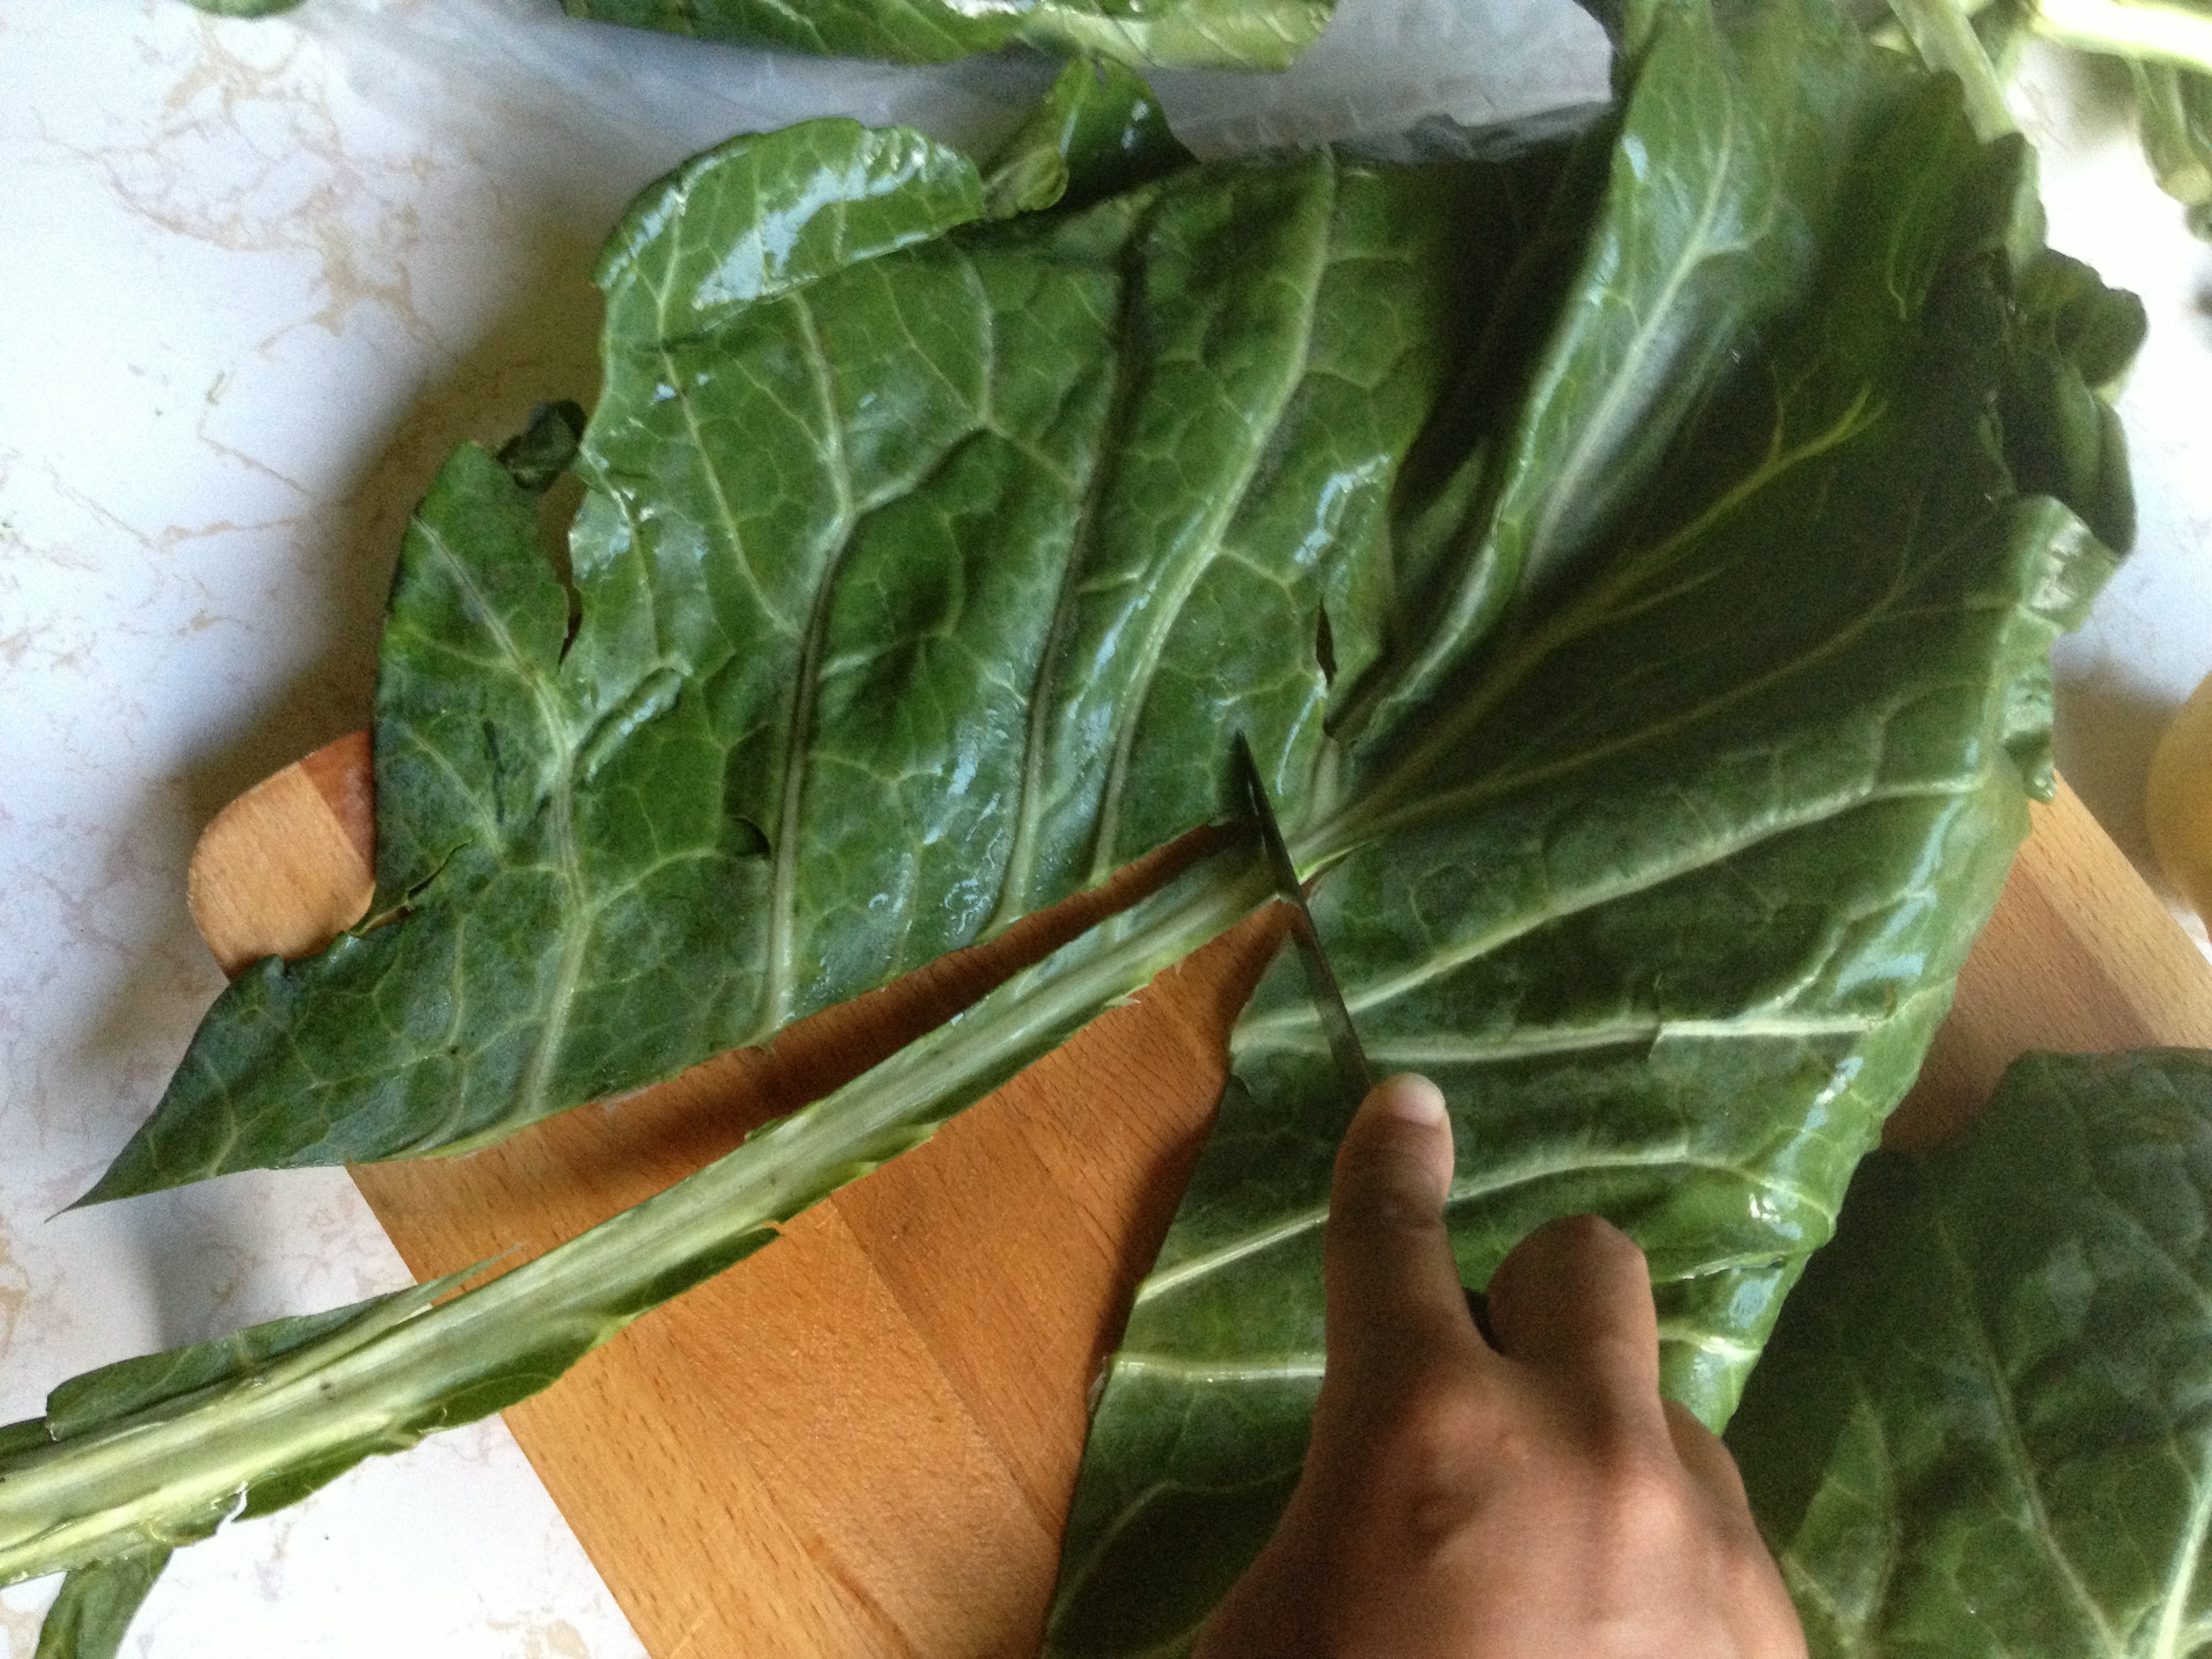
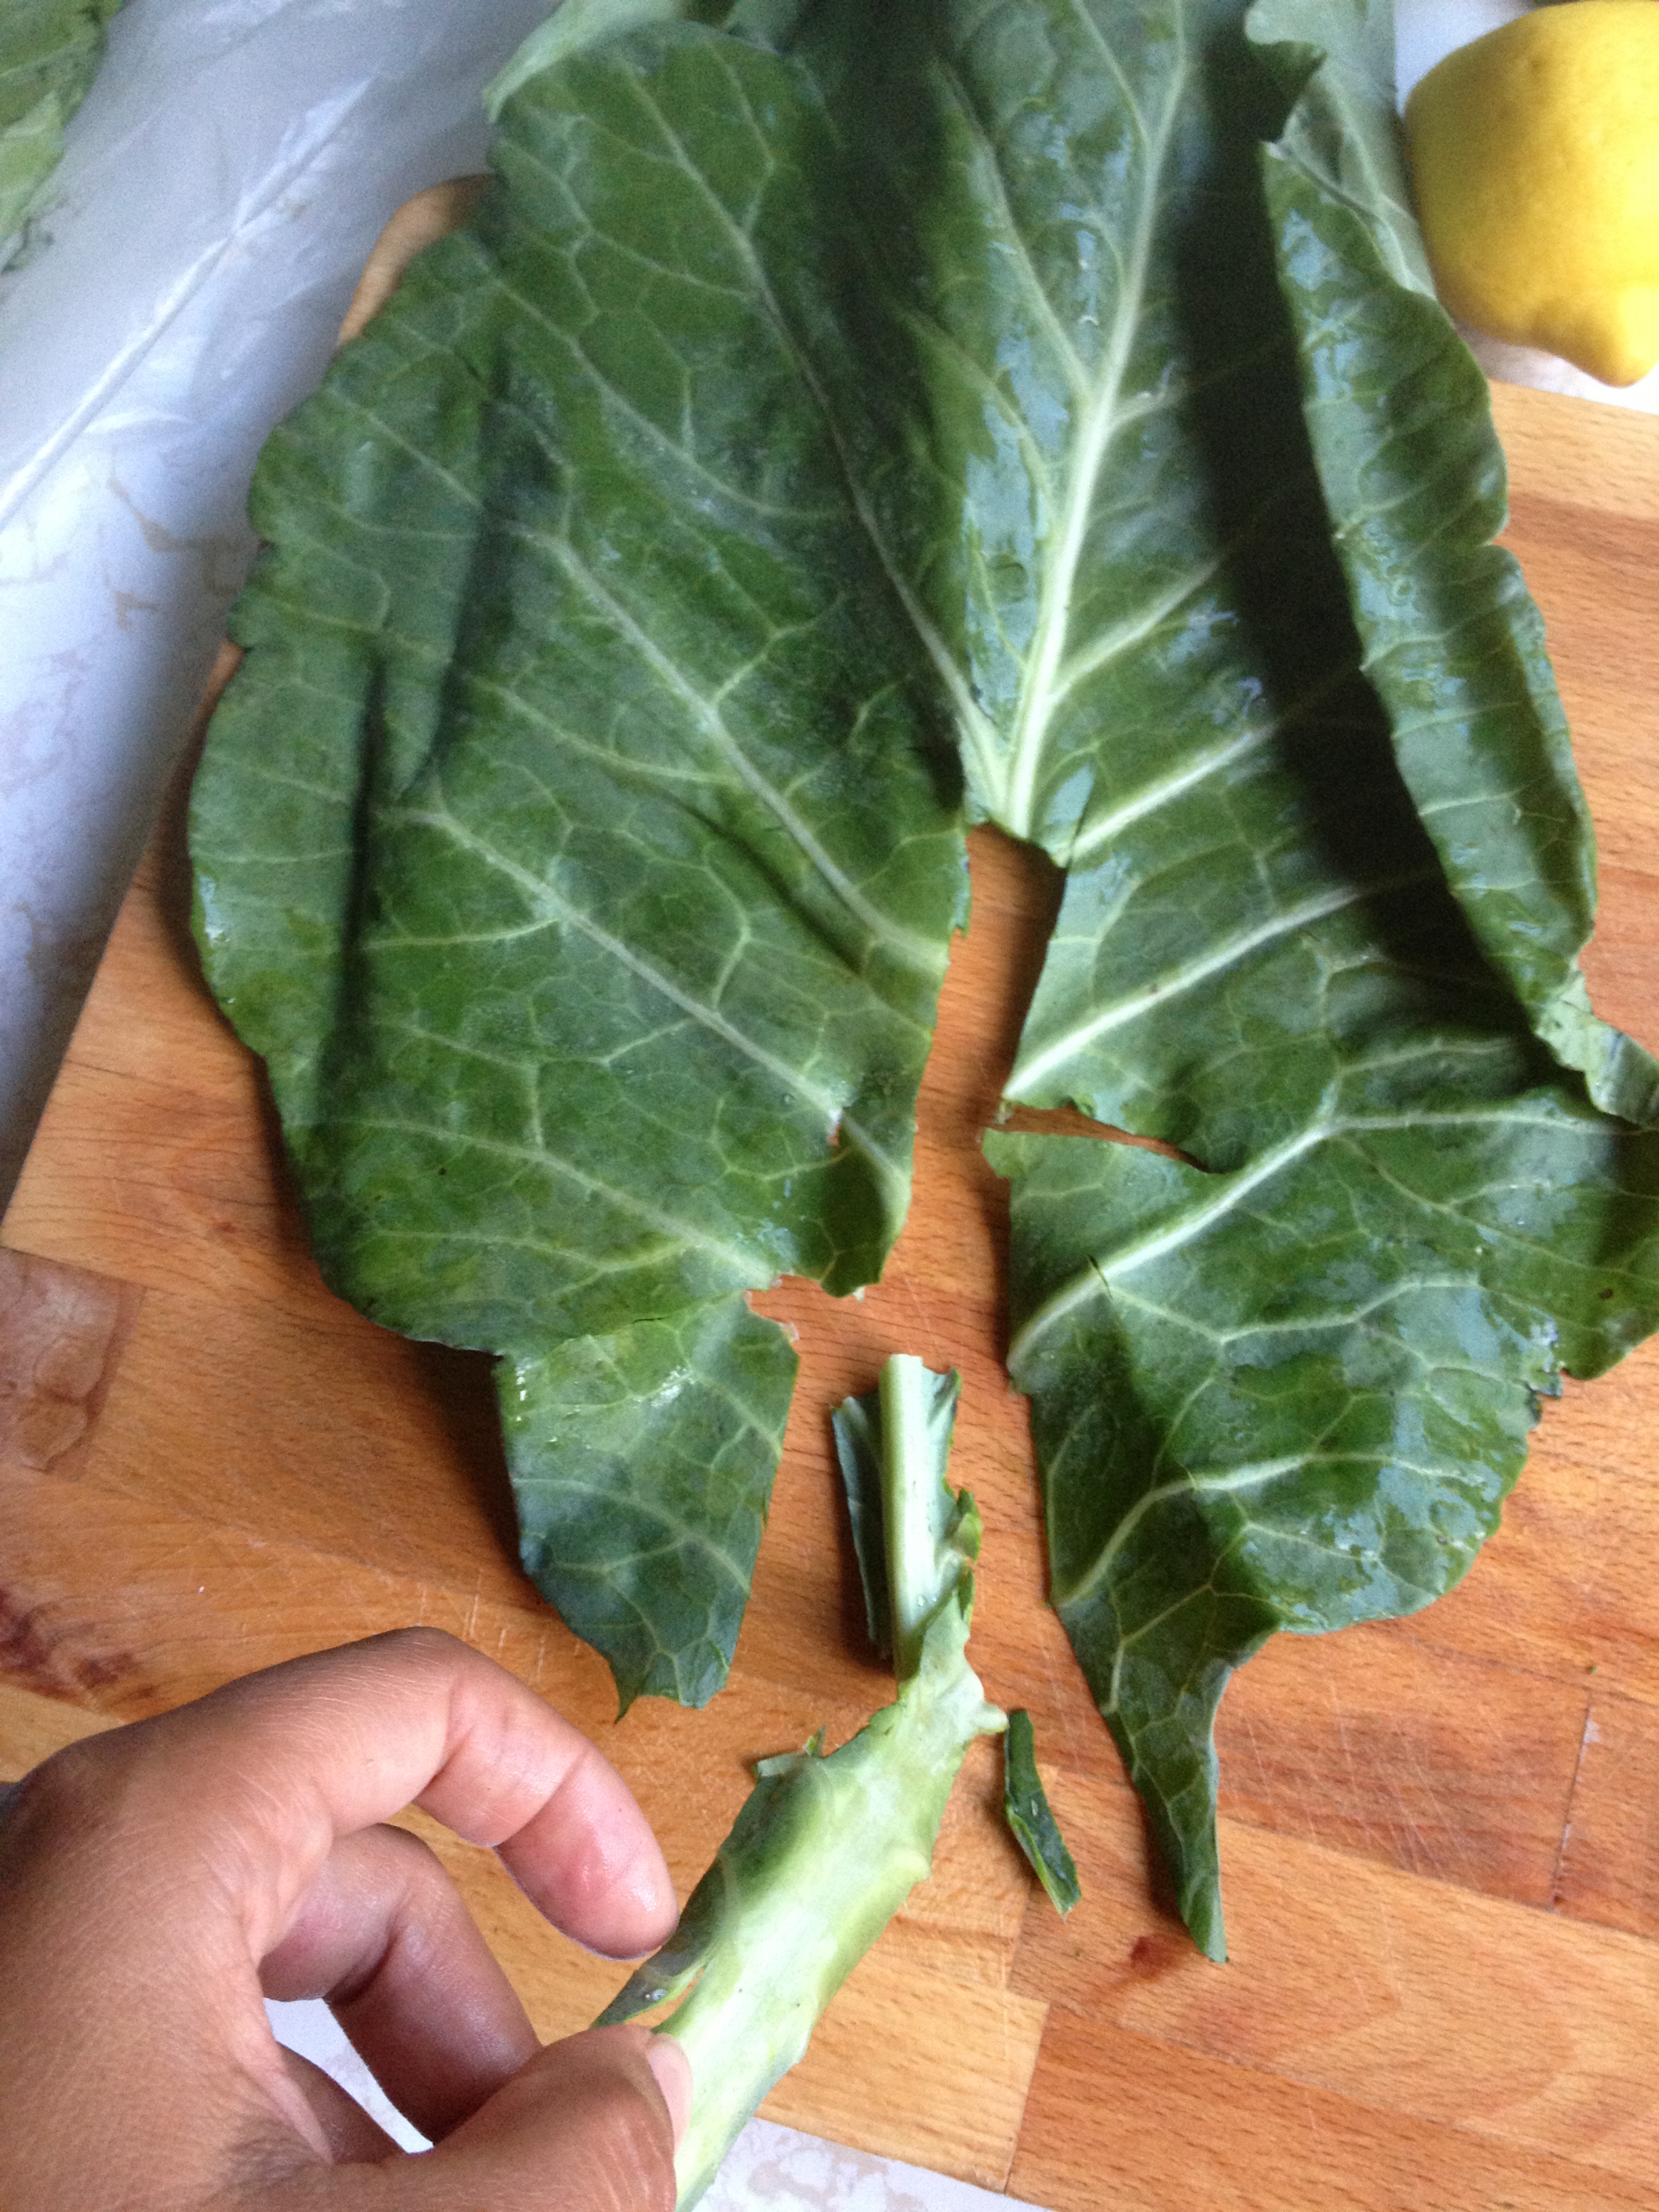
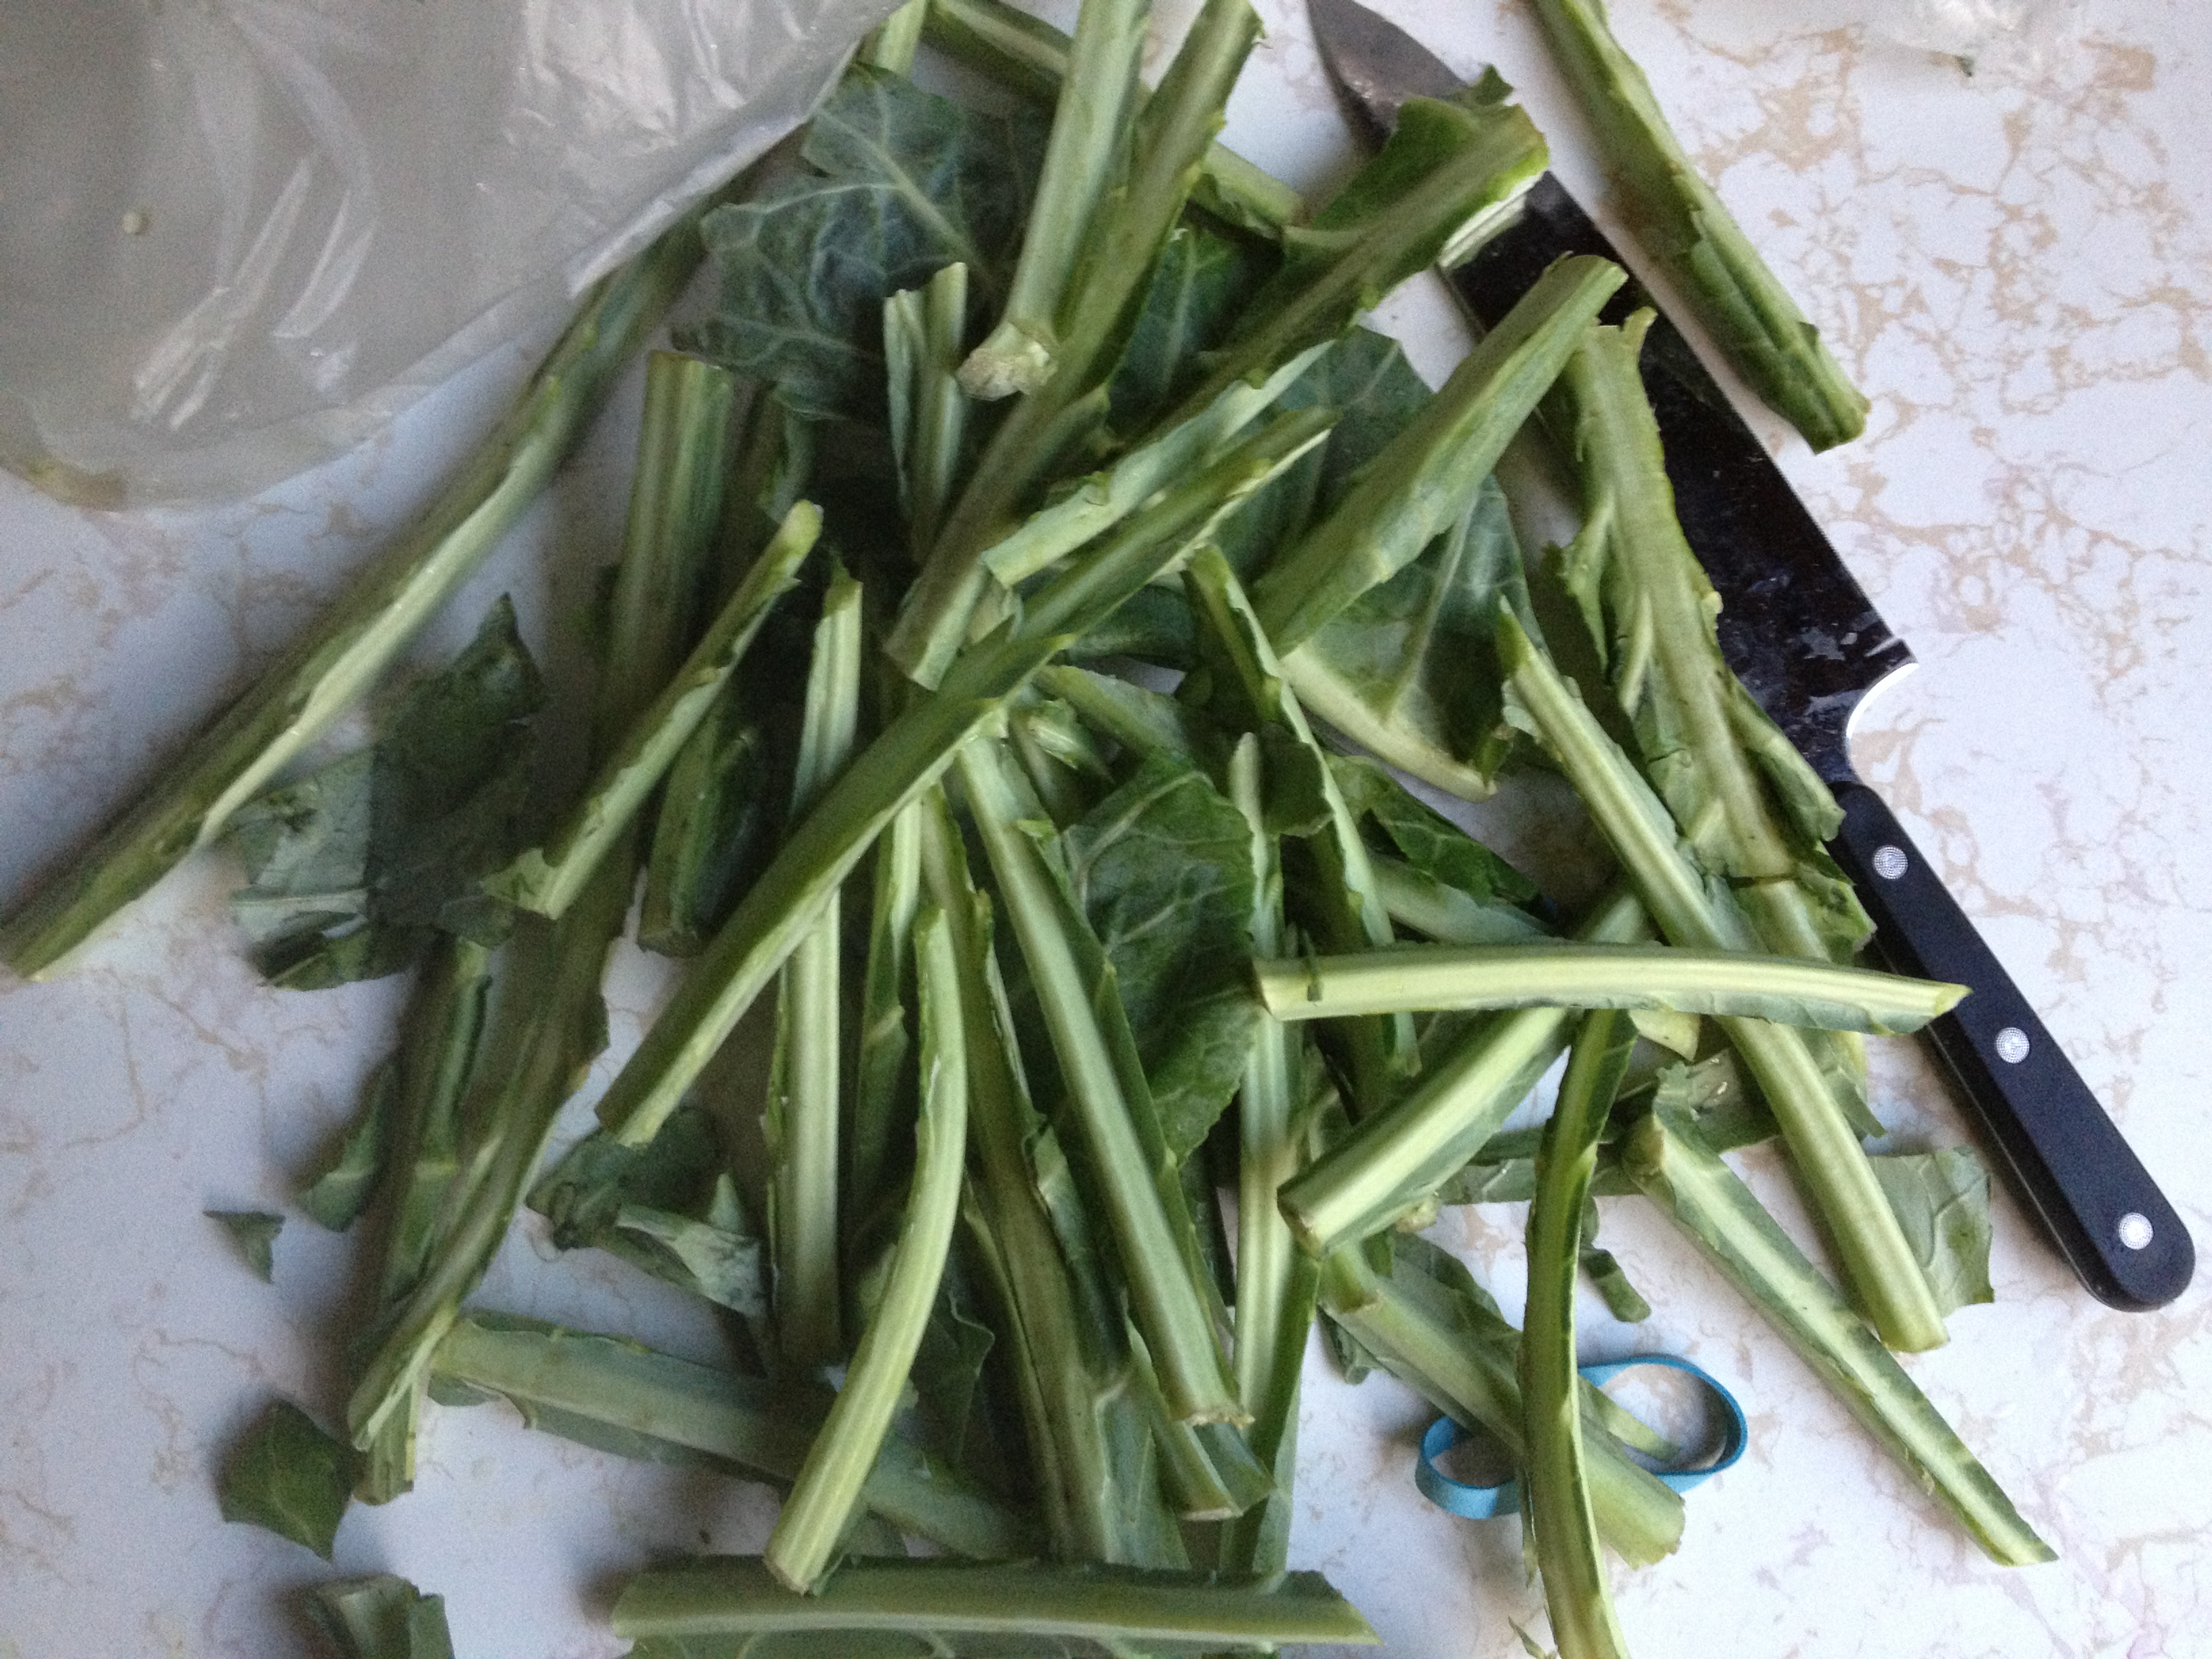
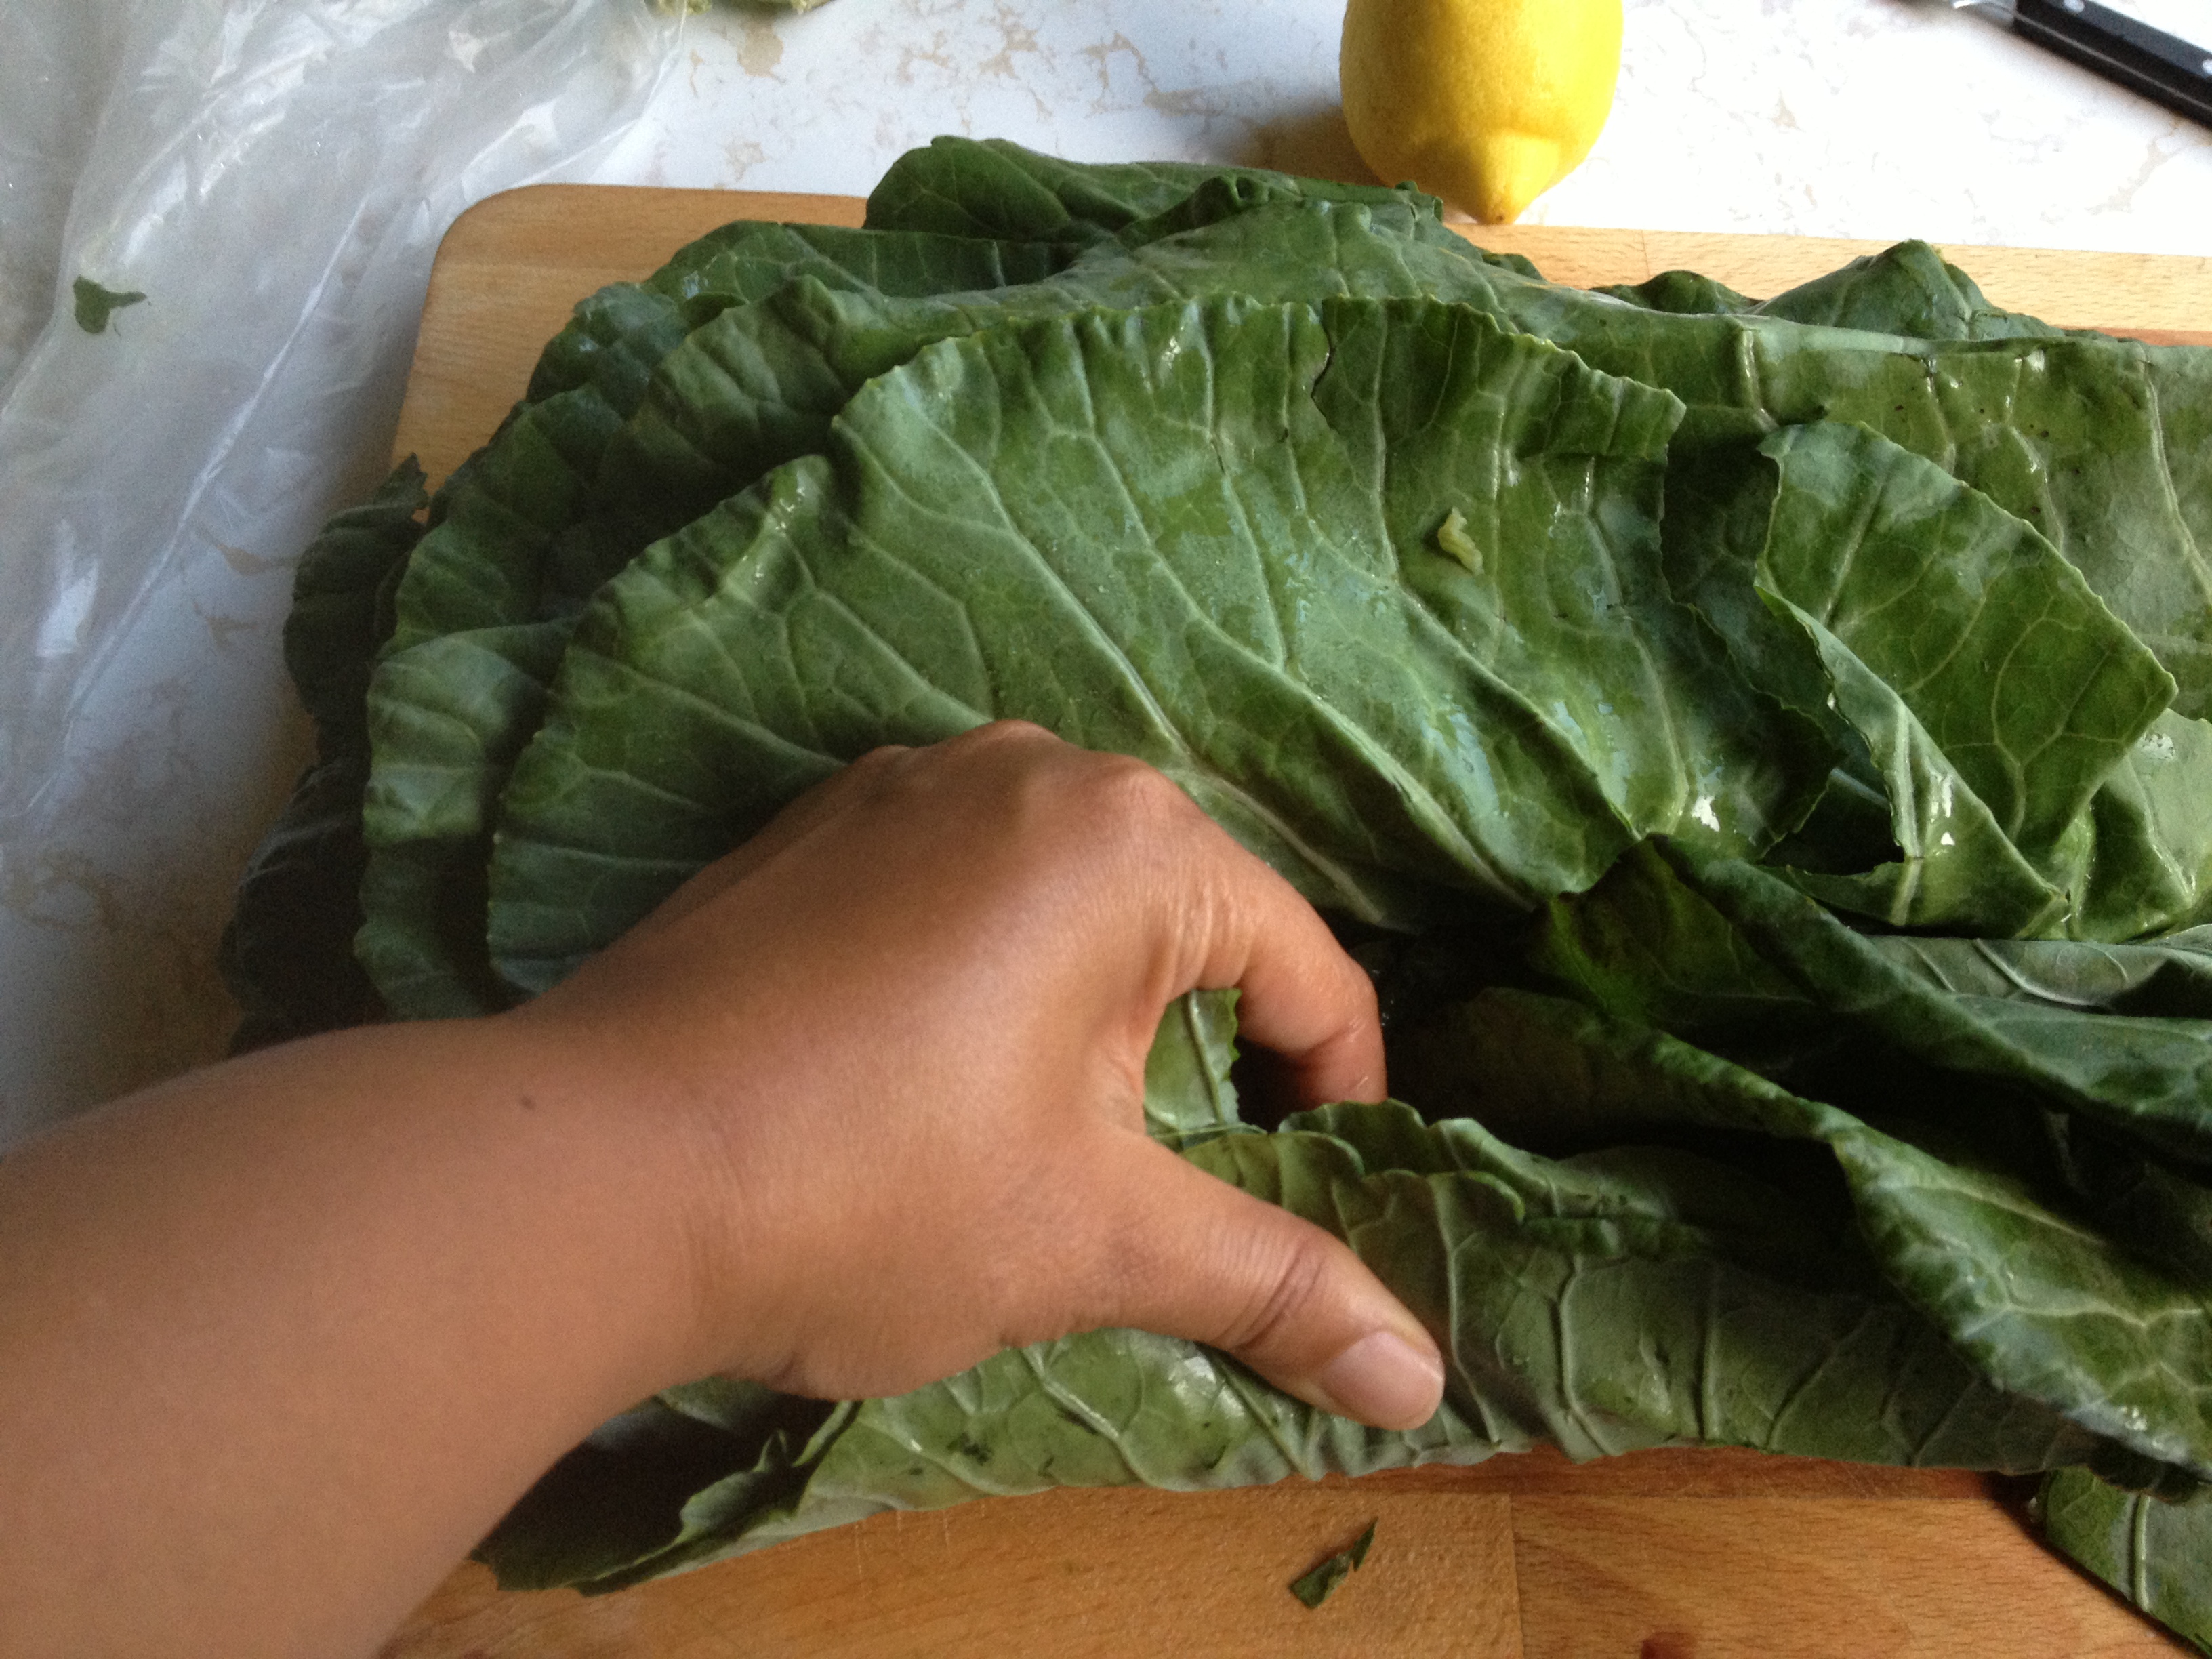
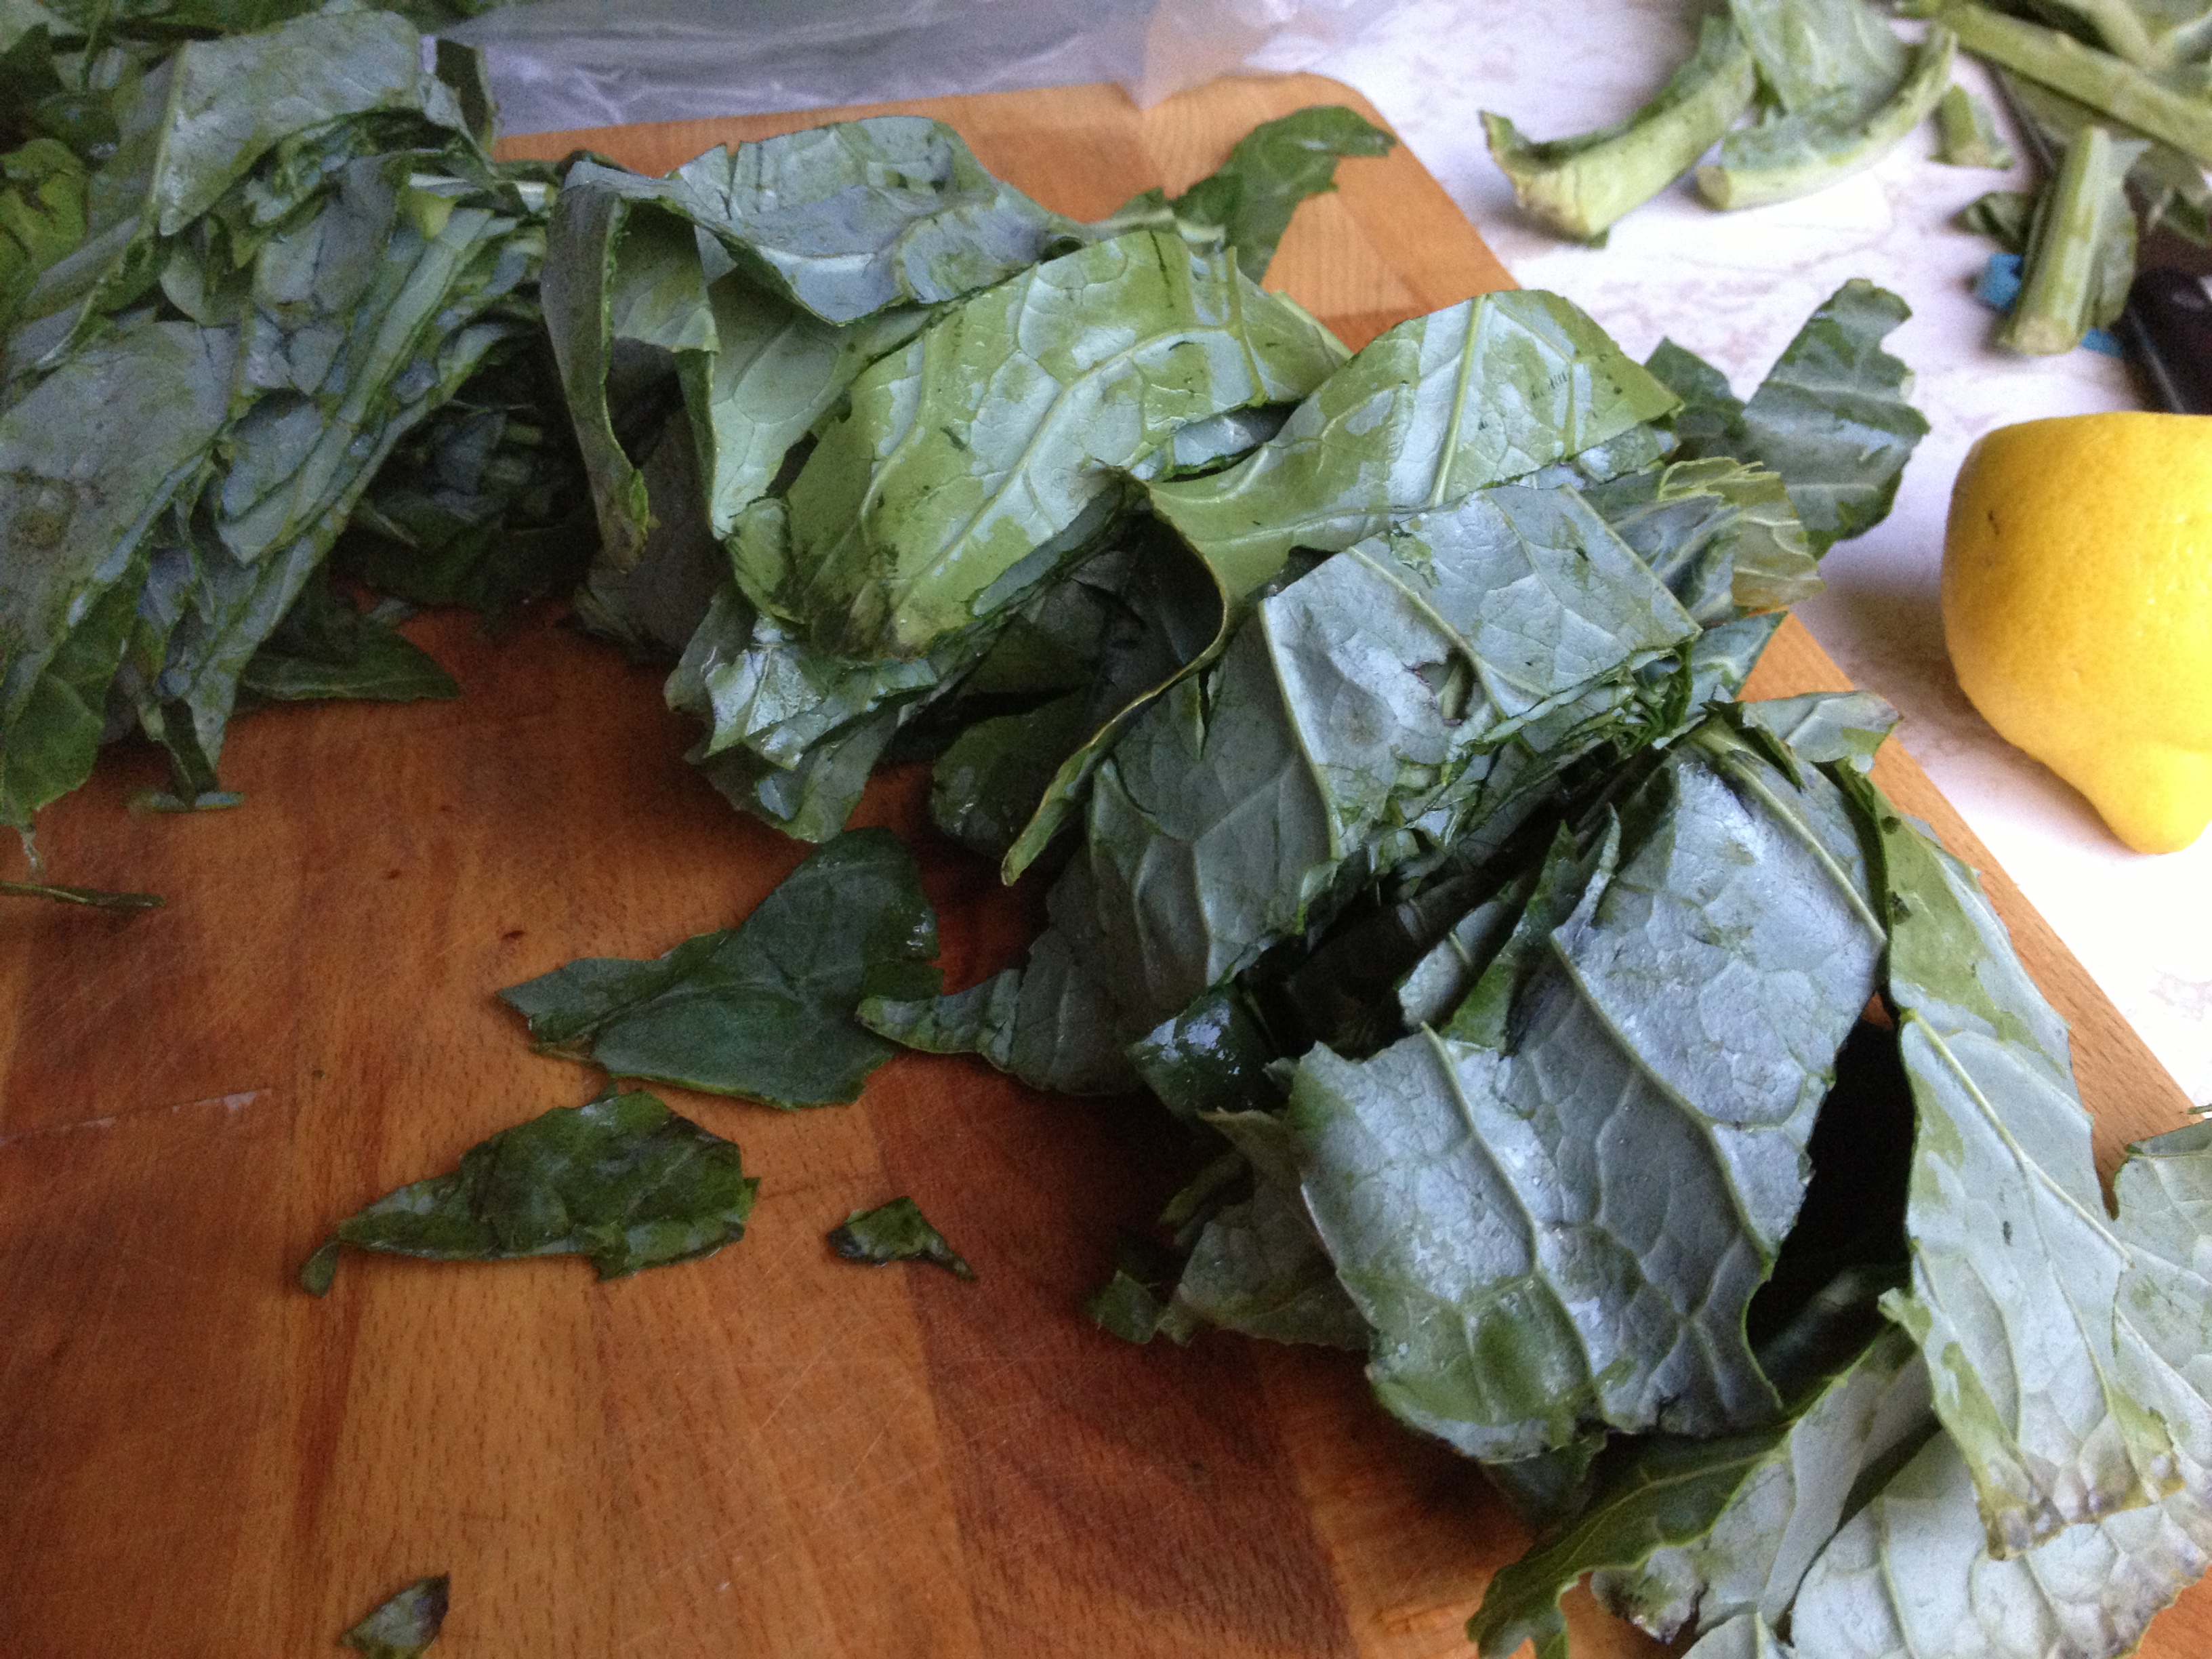
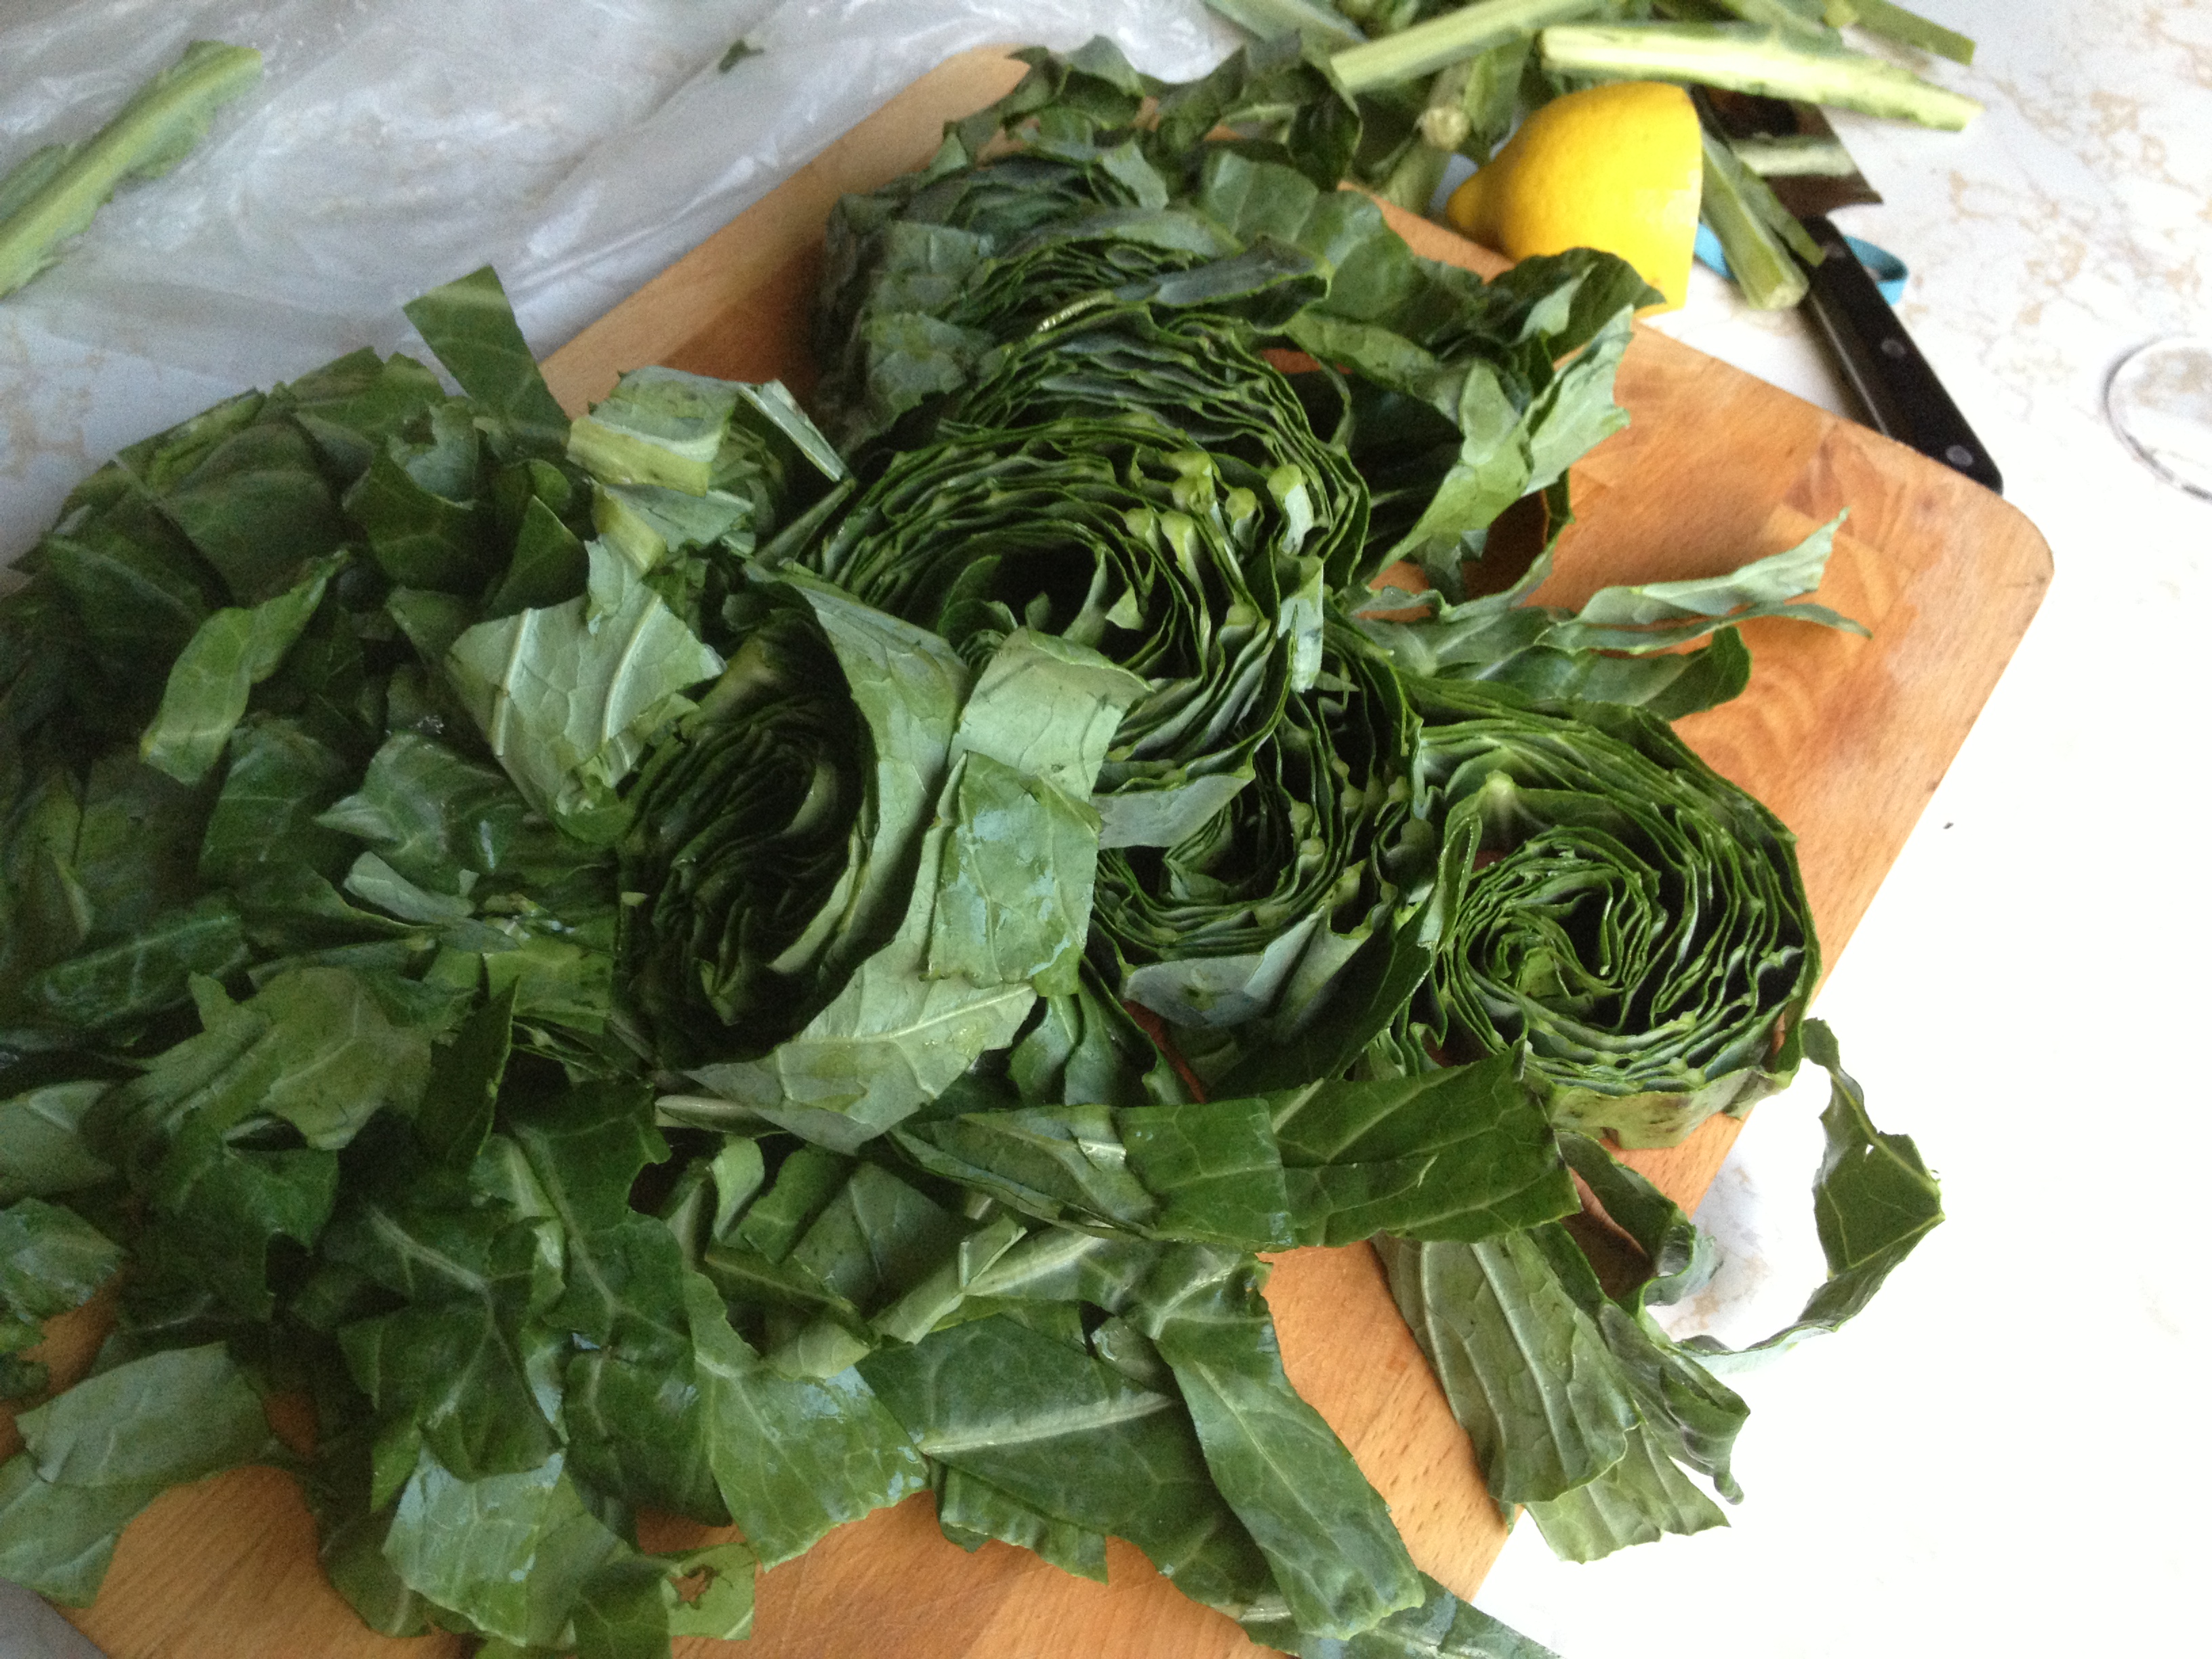
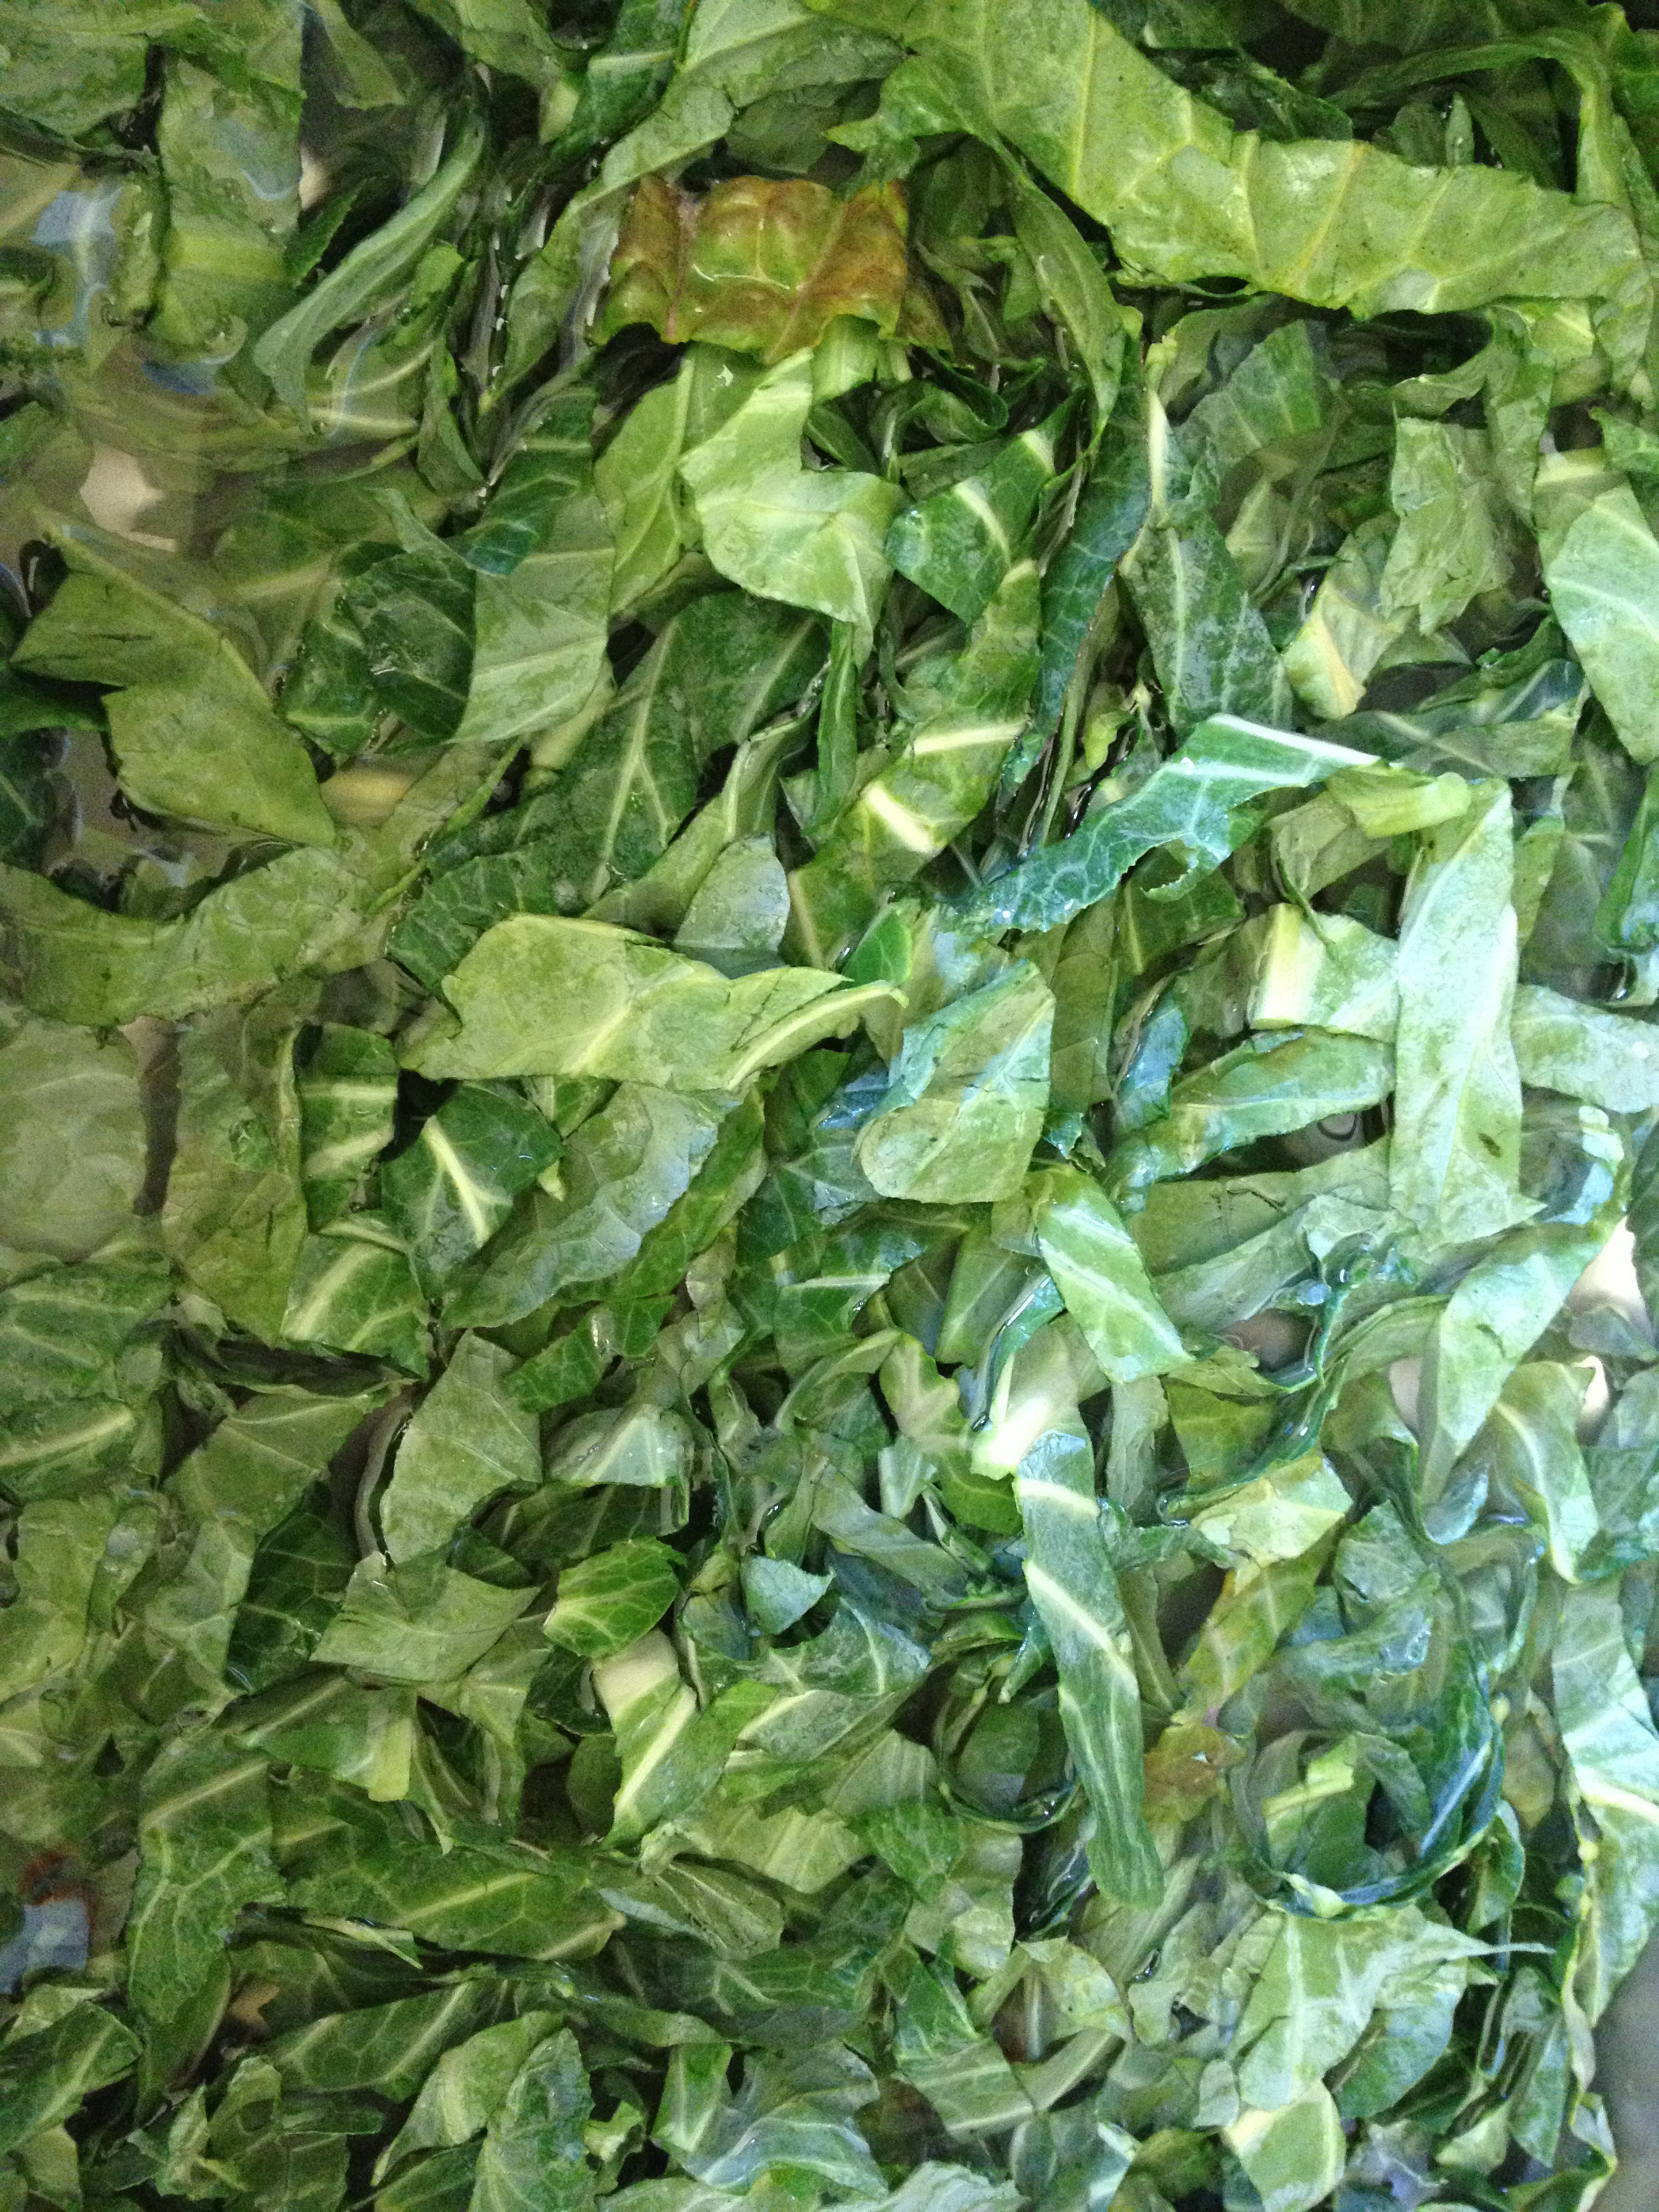
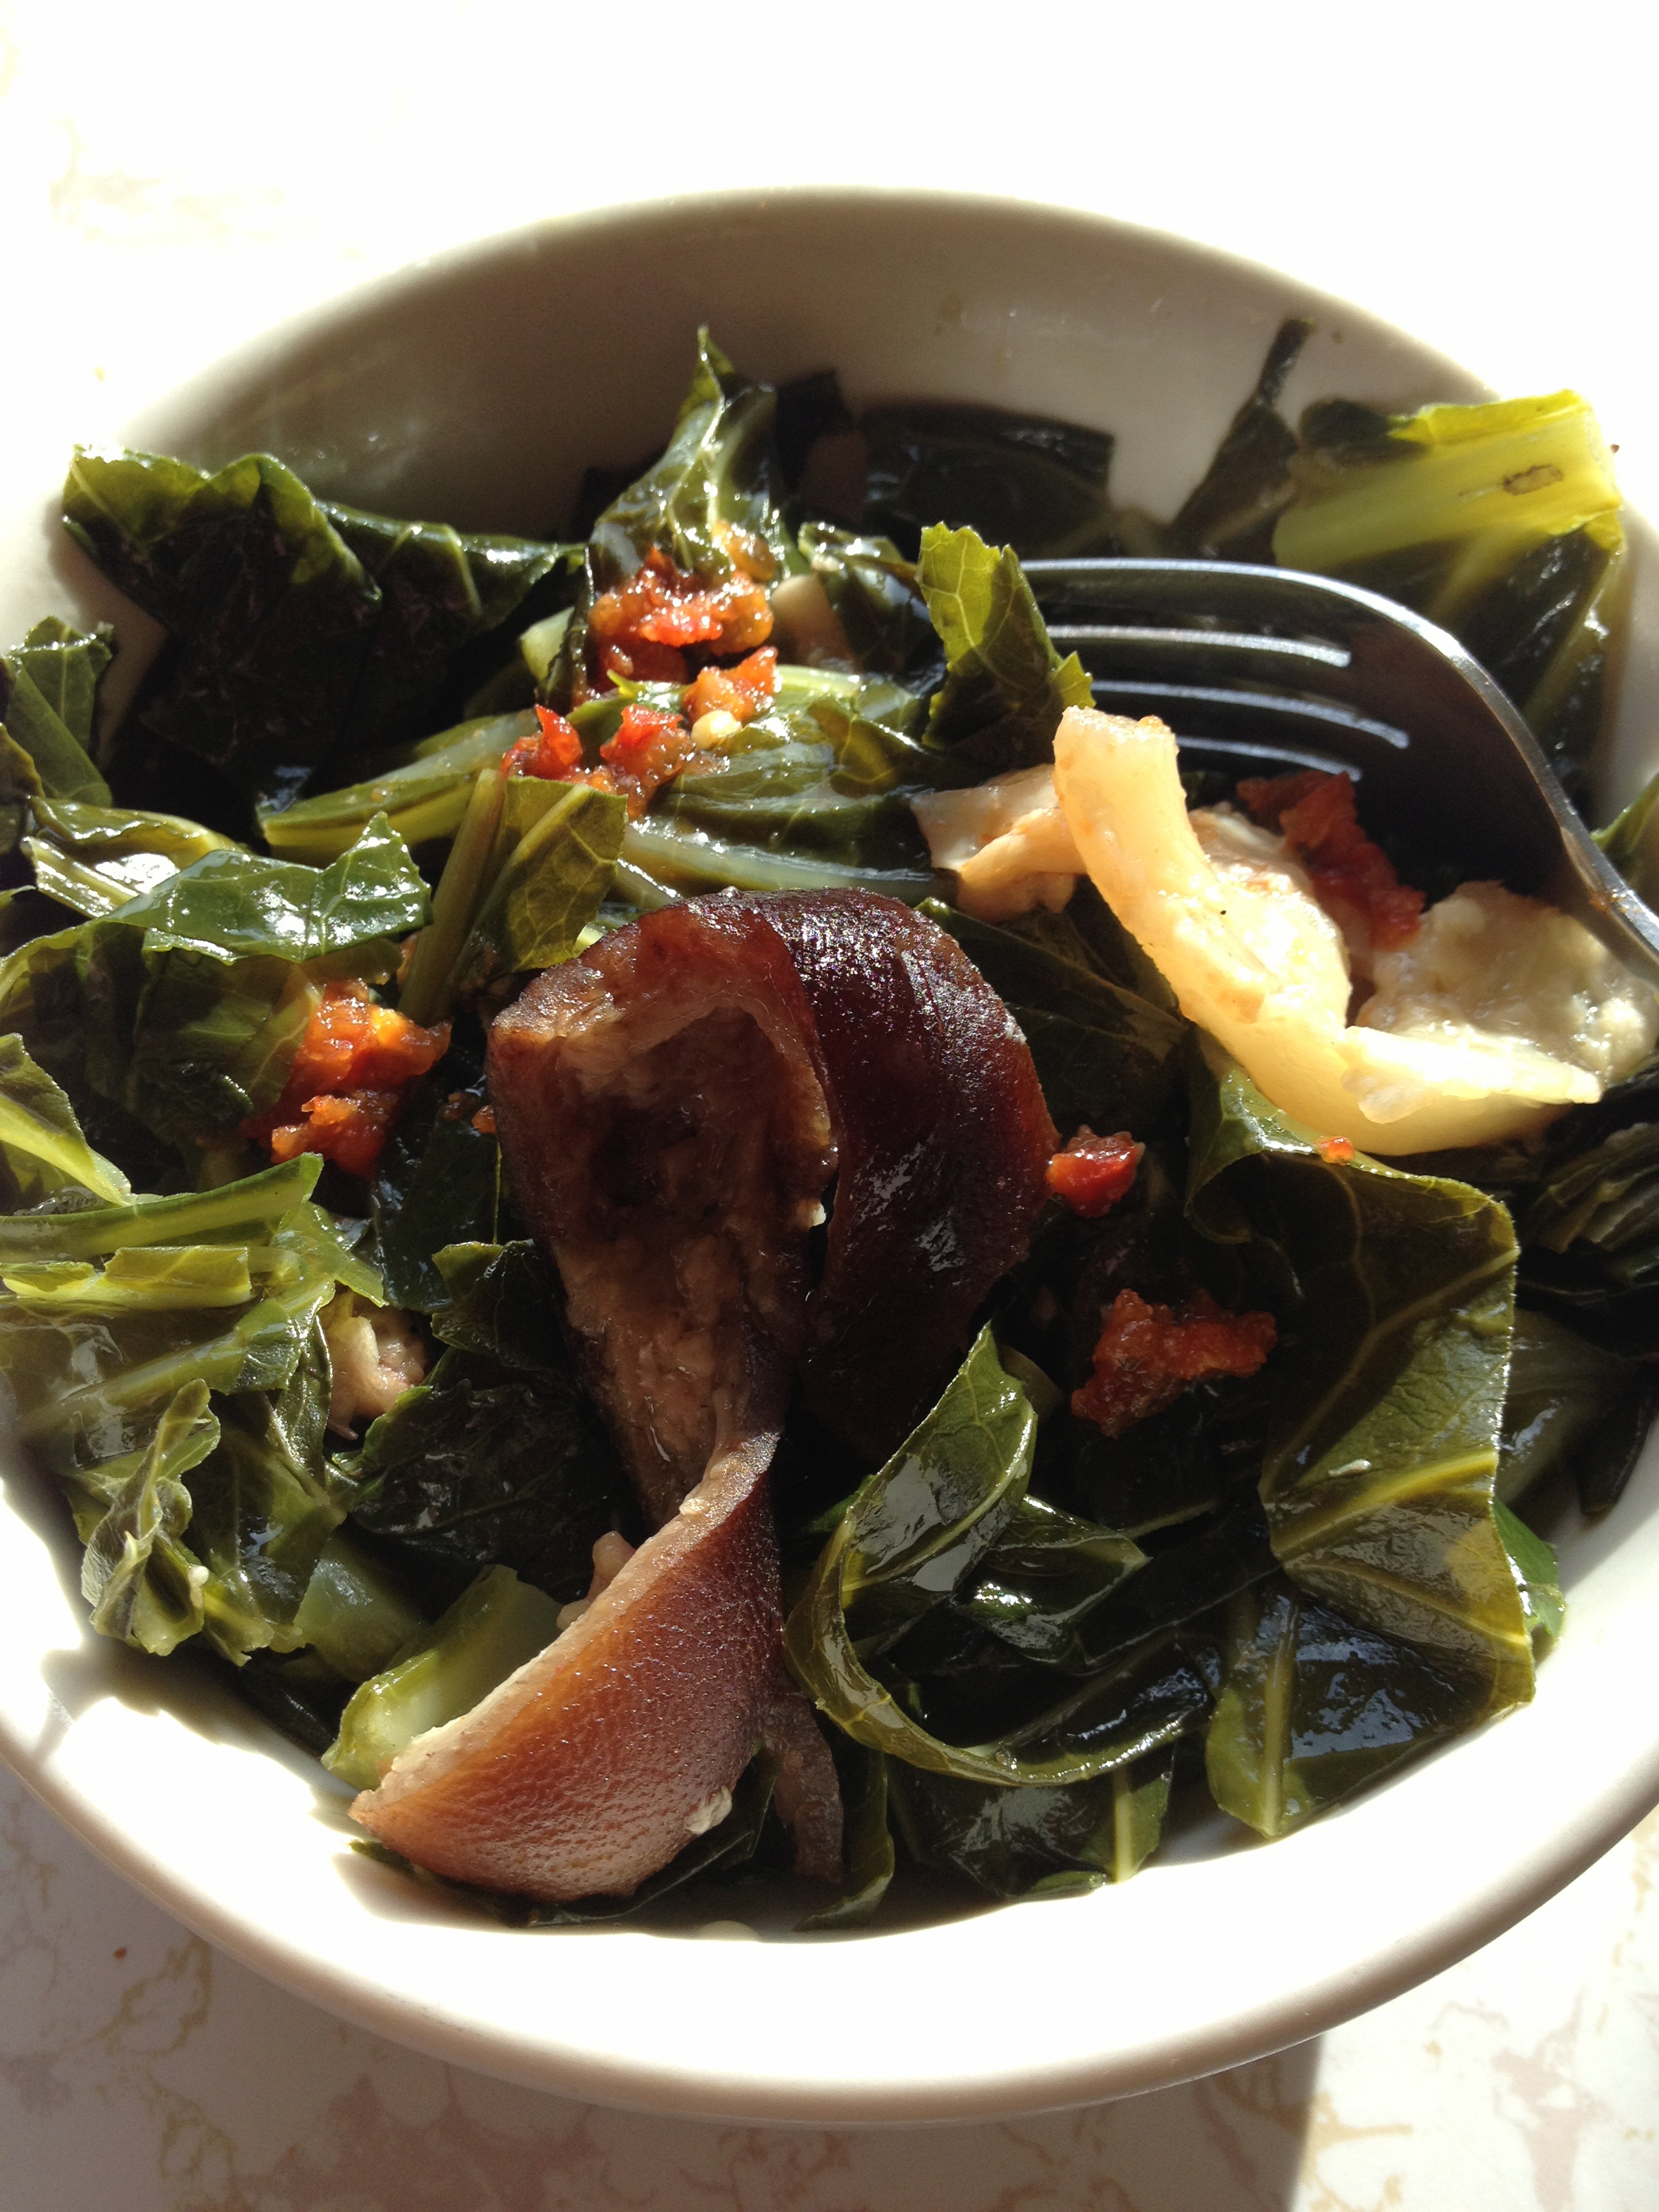
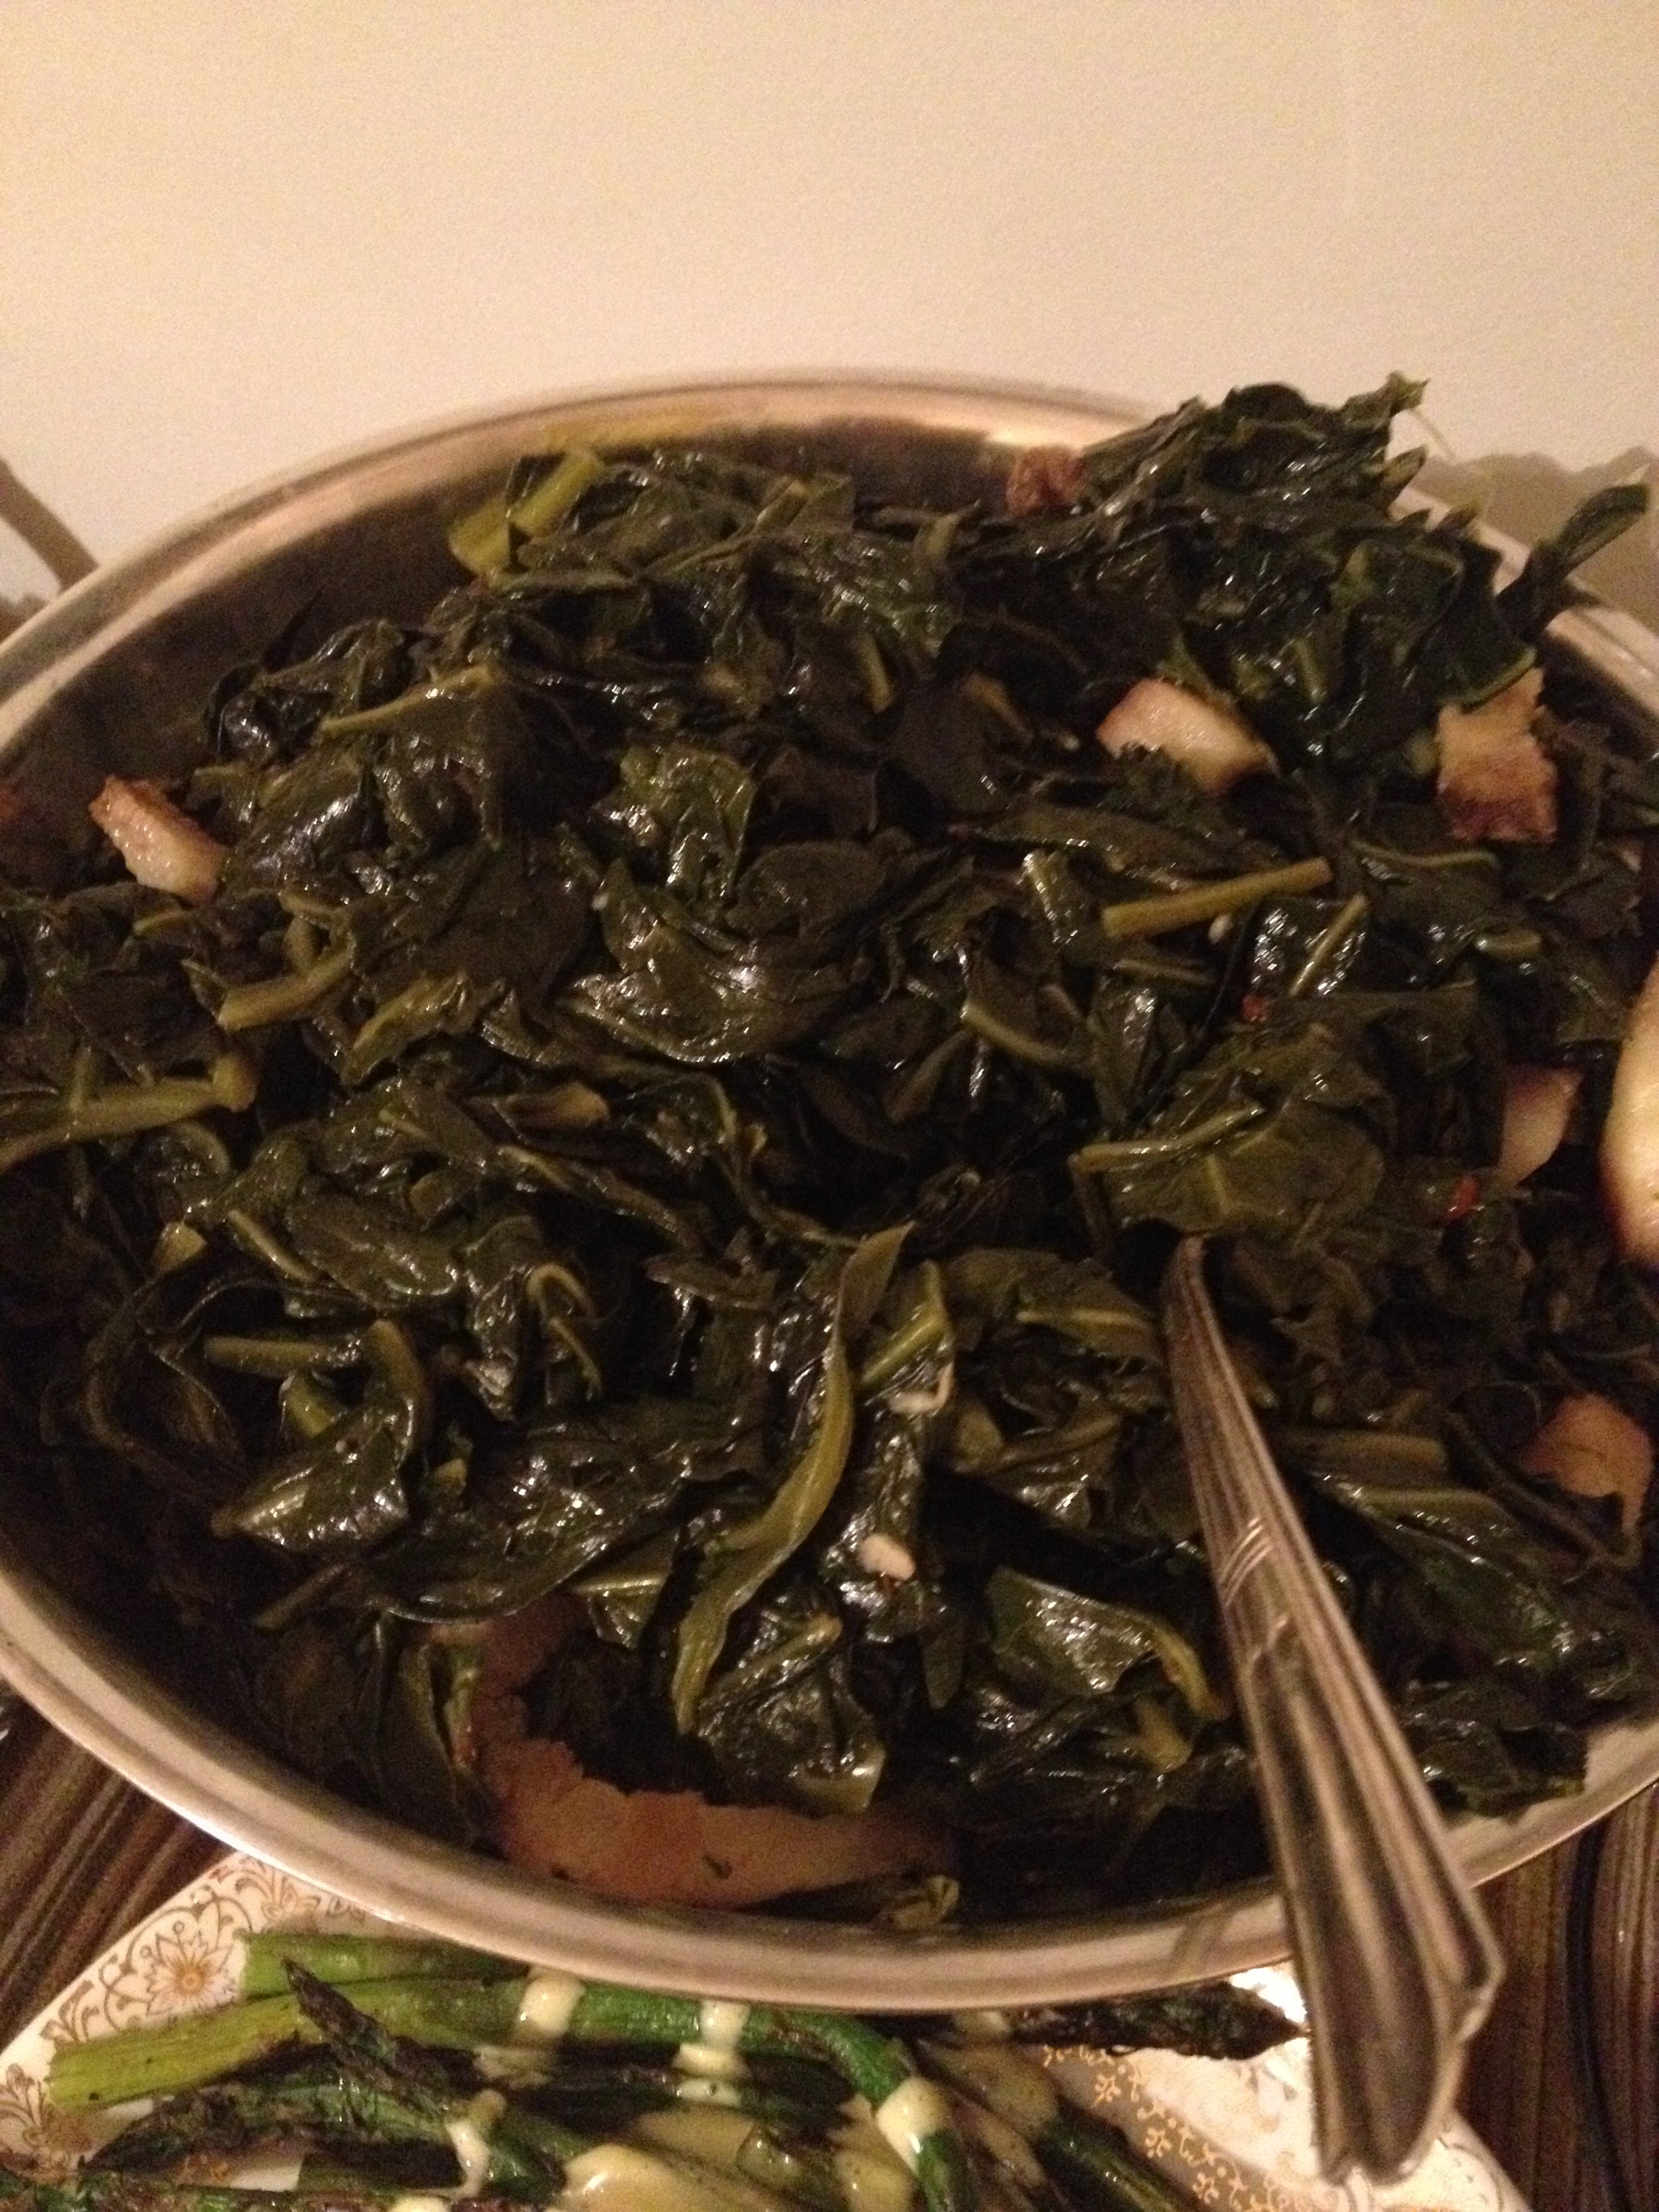
Braised Collard Greens
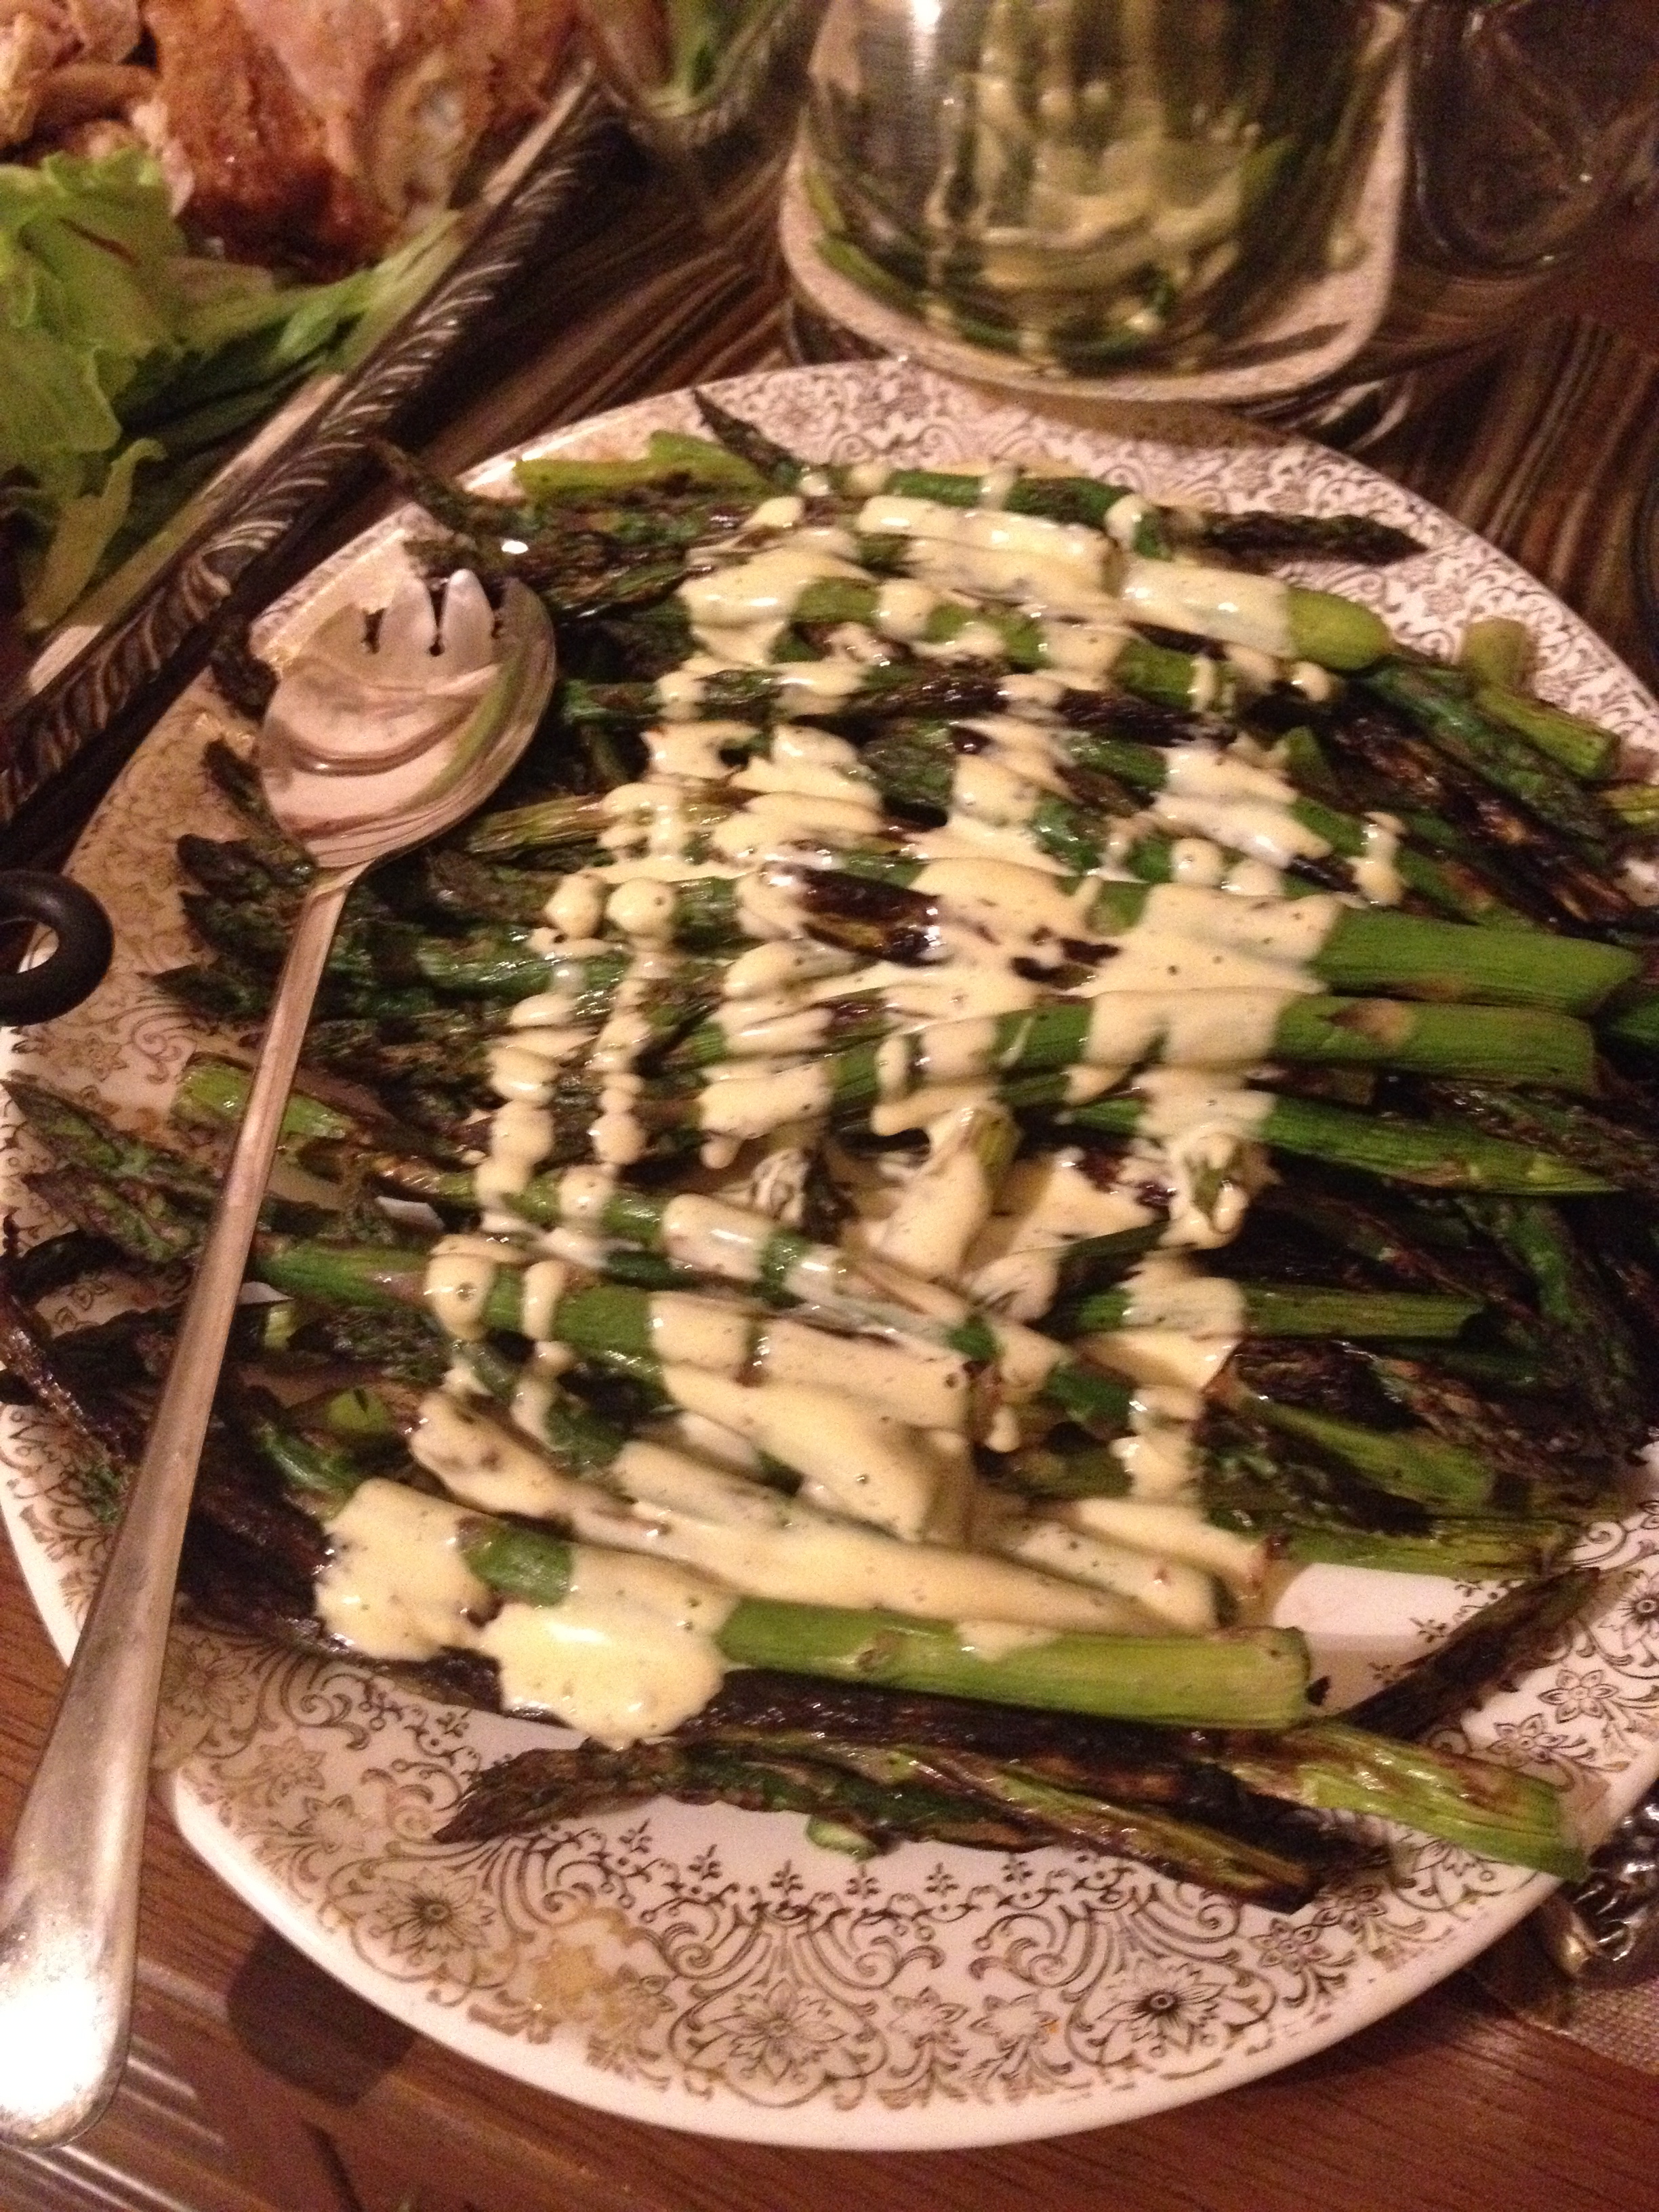
Grilled Asparagus w/Hollandaise Sauce
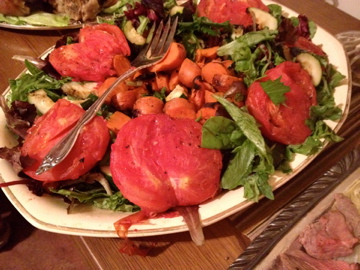
Grilled Zucchini, Carrots, Onions & Tomato Salad
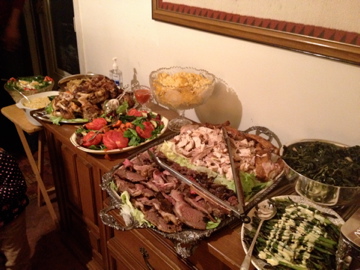
Don’t you wish you’d come over?!
Desserts (all homemade)
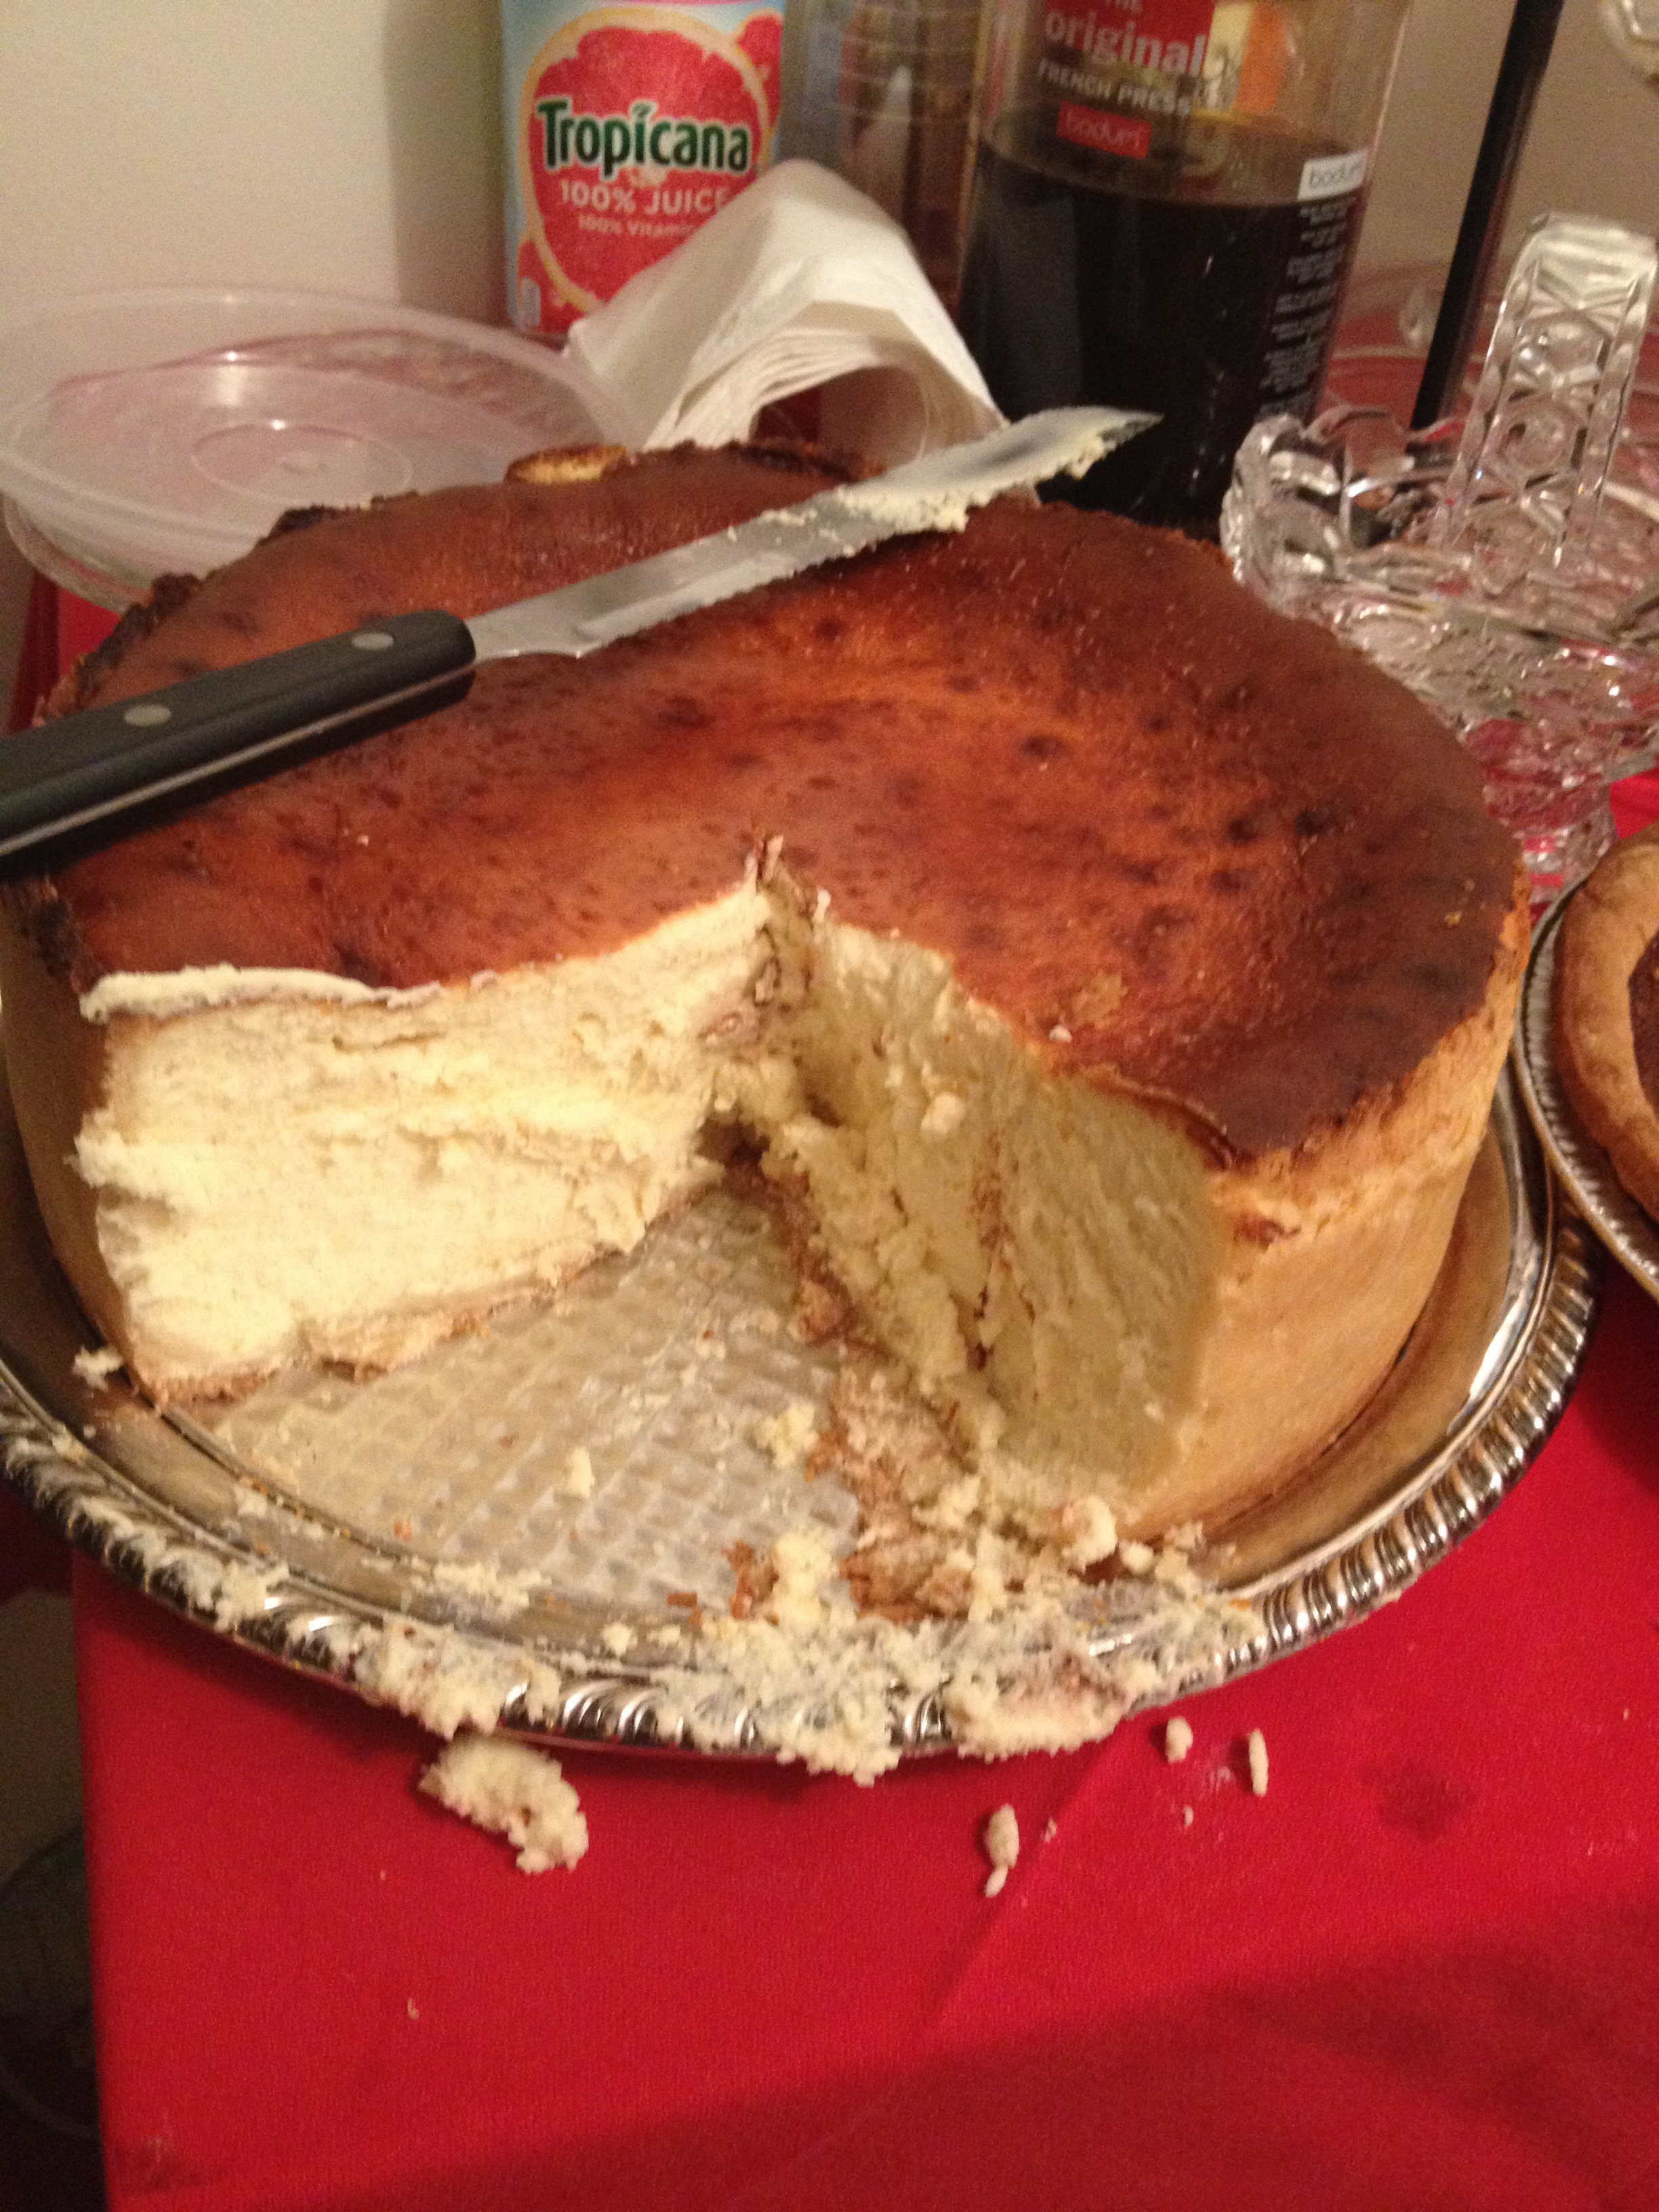
New York Cheesecake
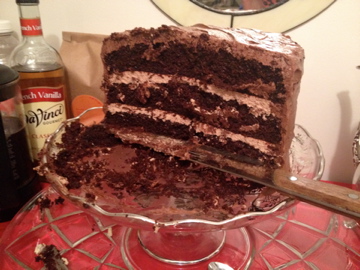
Three Layer Chocolate Kahlùa Cake
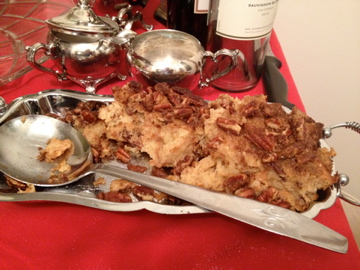
Pecan Bread Pudding
Sweet Potato Pie
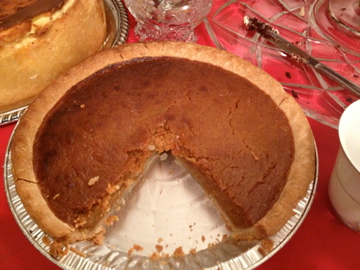
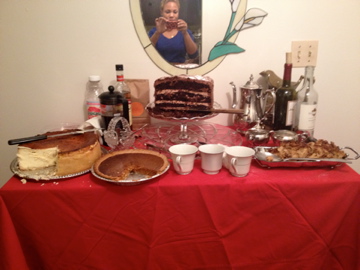
A great ending to a great day!
Oyster Stuffing Recipe
You Will Need:
2 deep dish half Pans
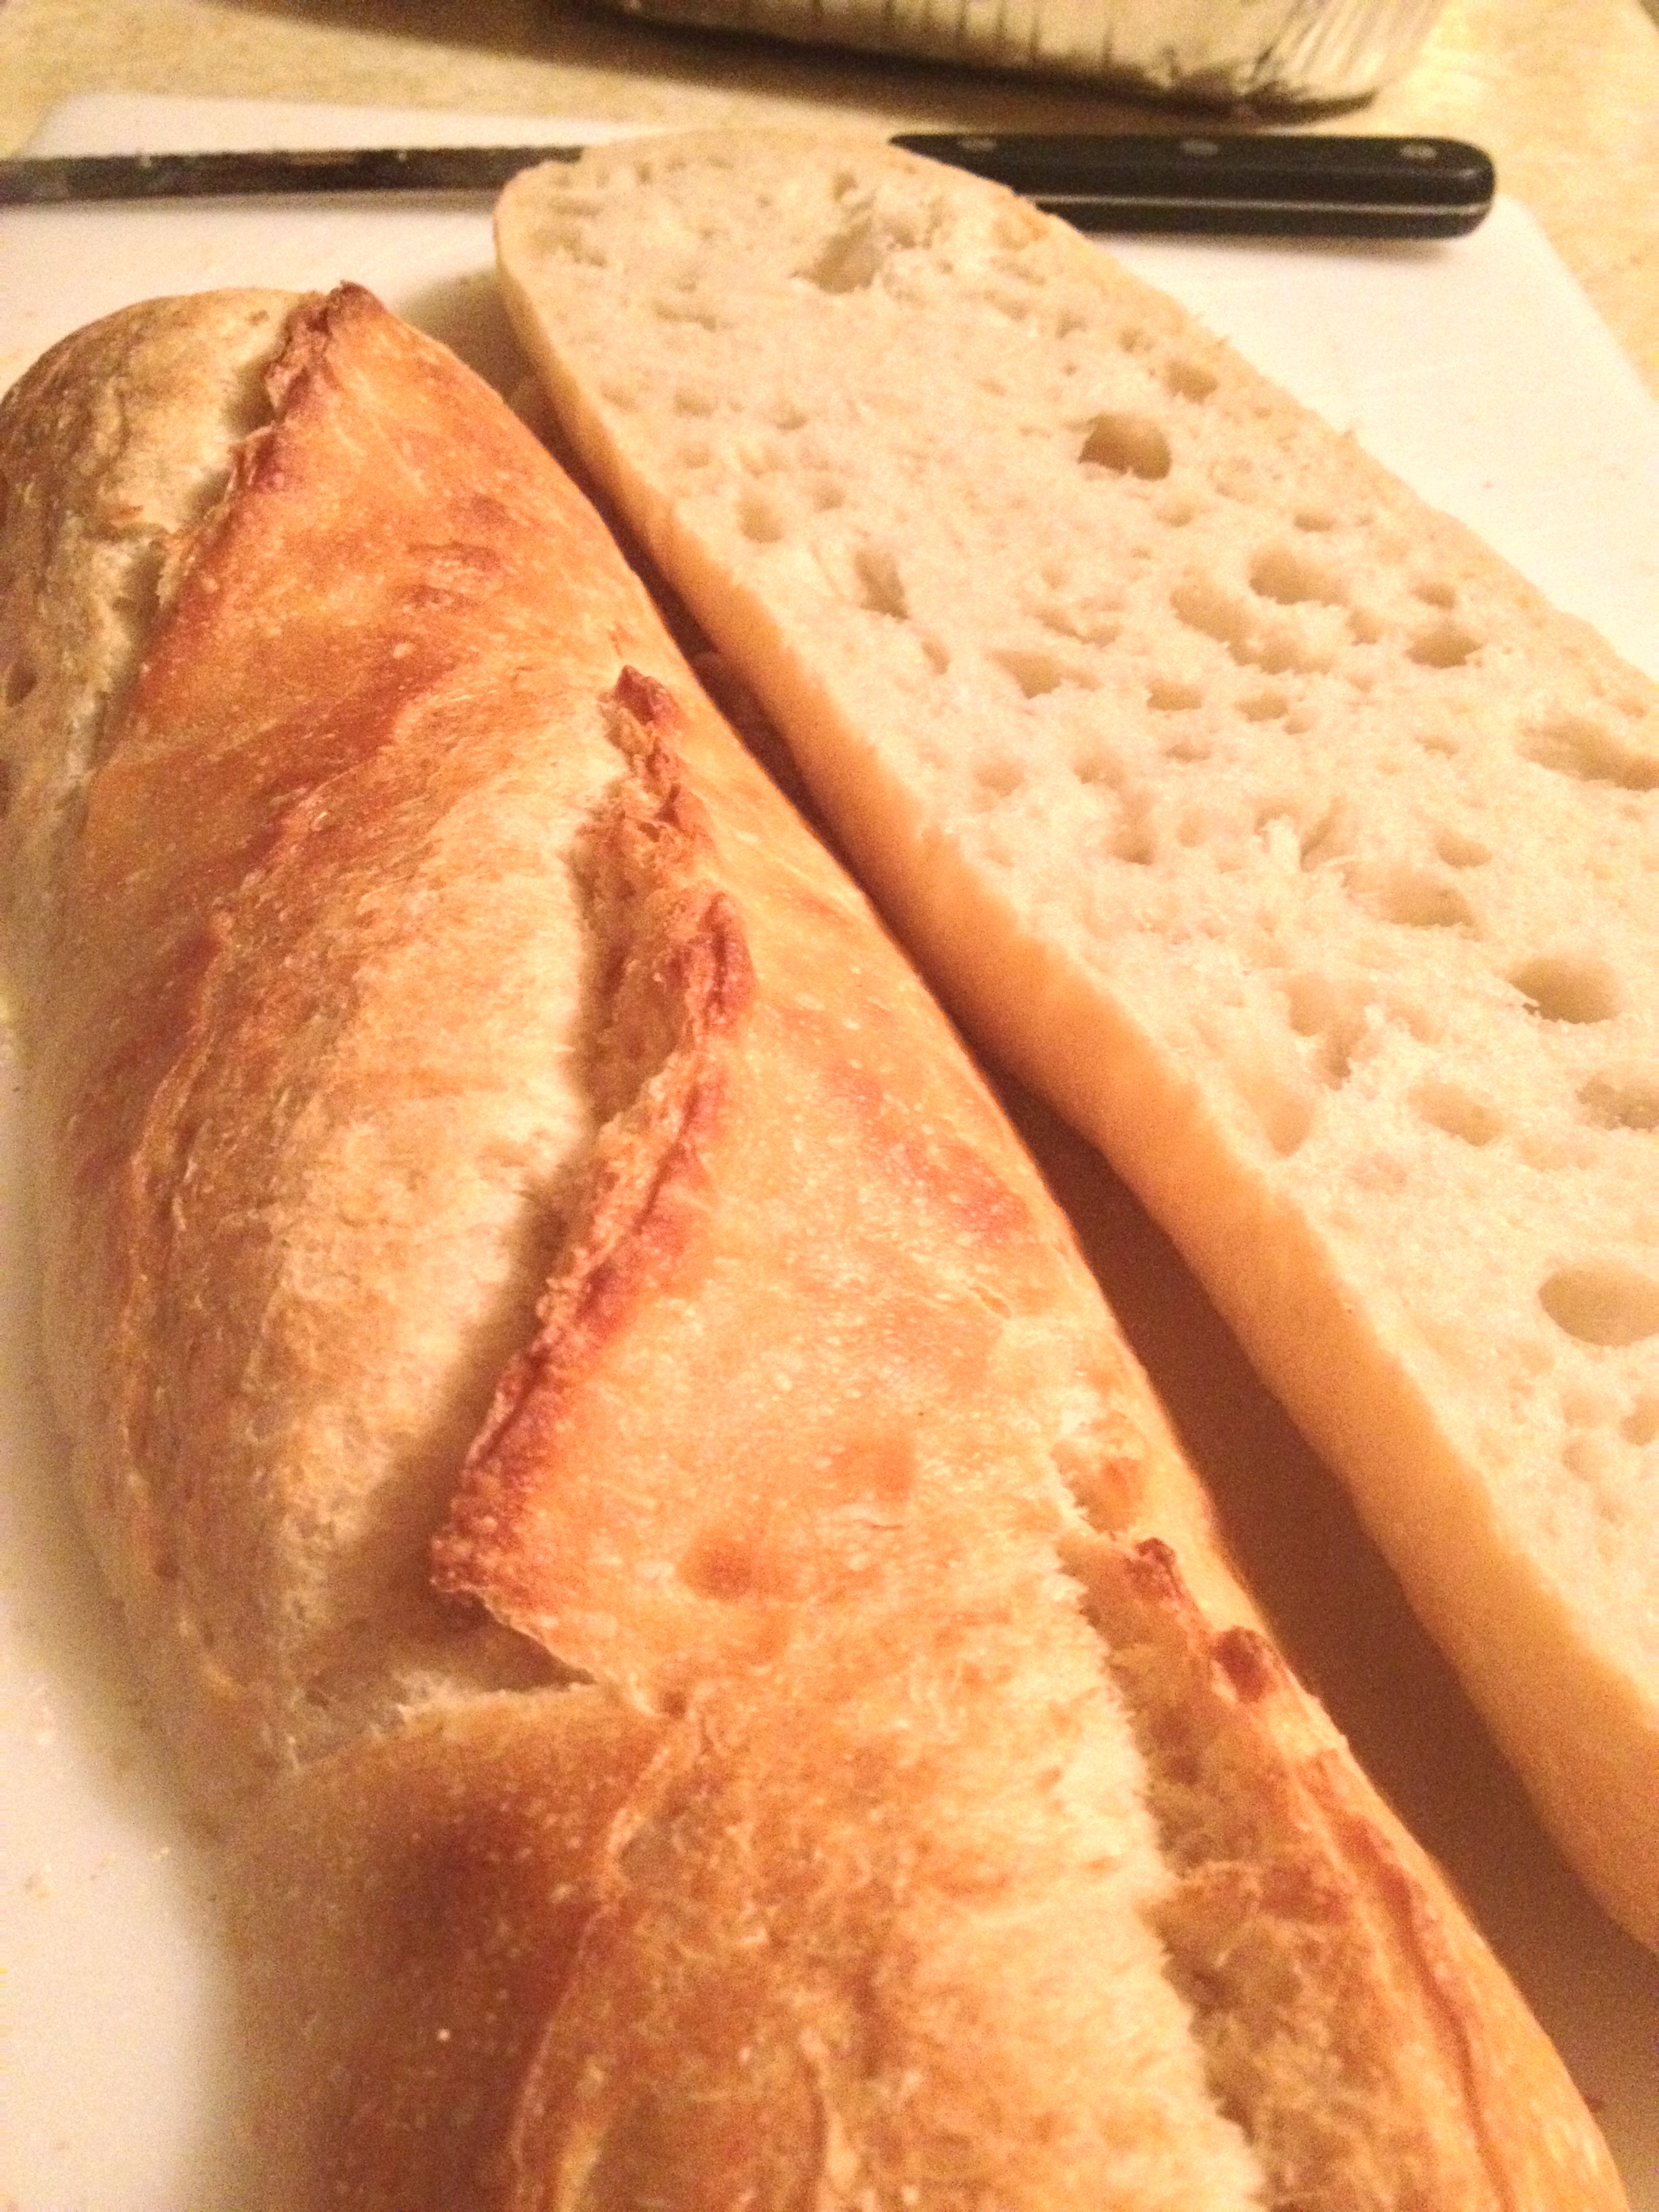
1 loaf crusty French/Italian bread
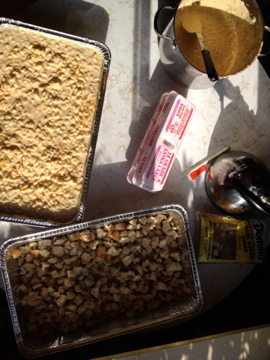
4 boxes cornbread mixed and baked
3 cups chopped celery
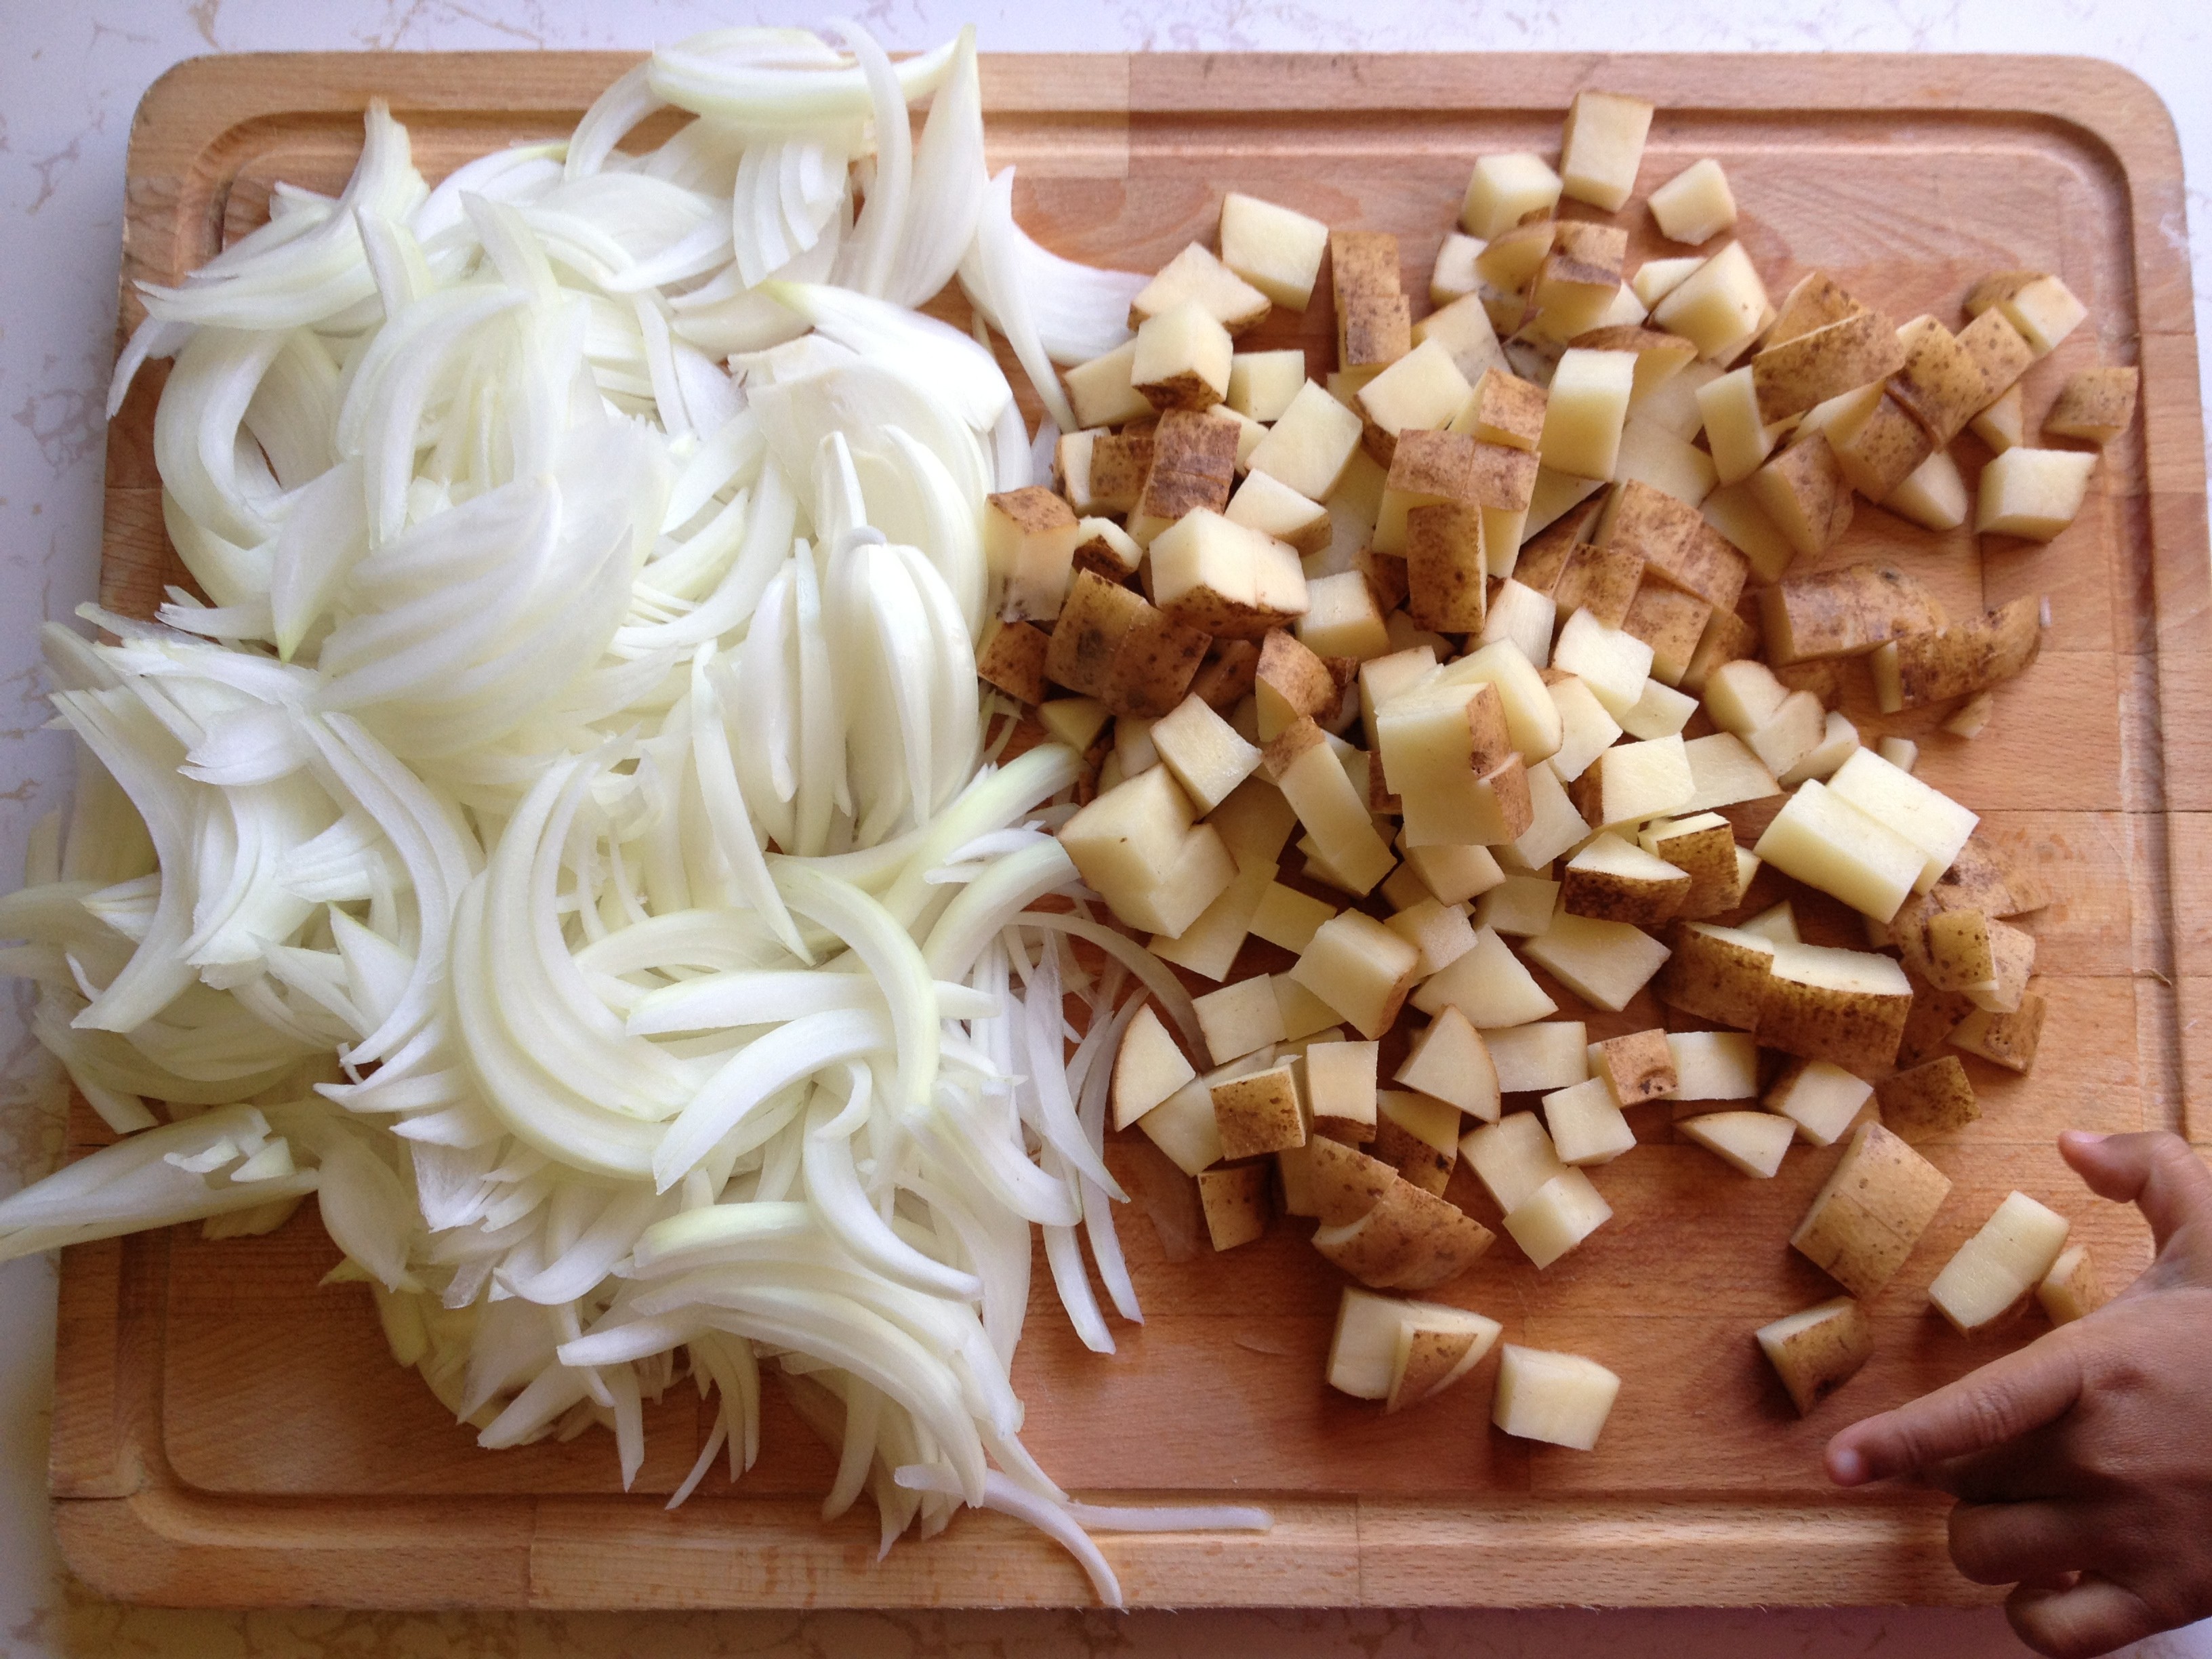
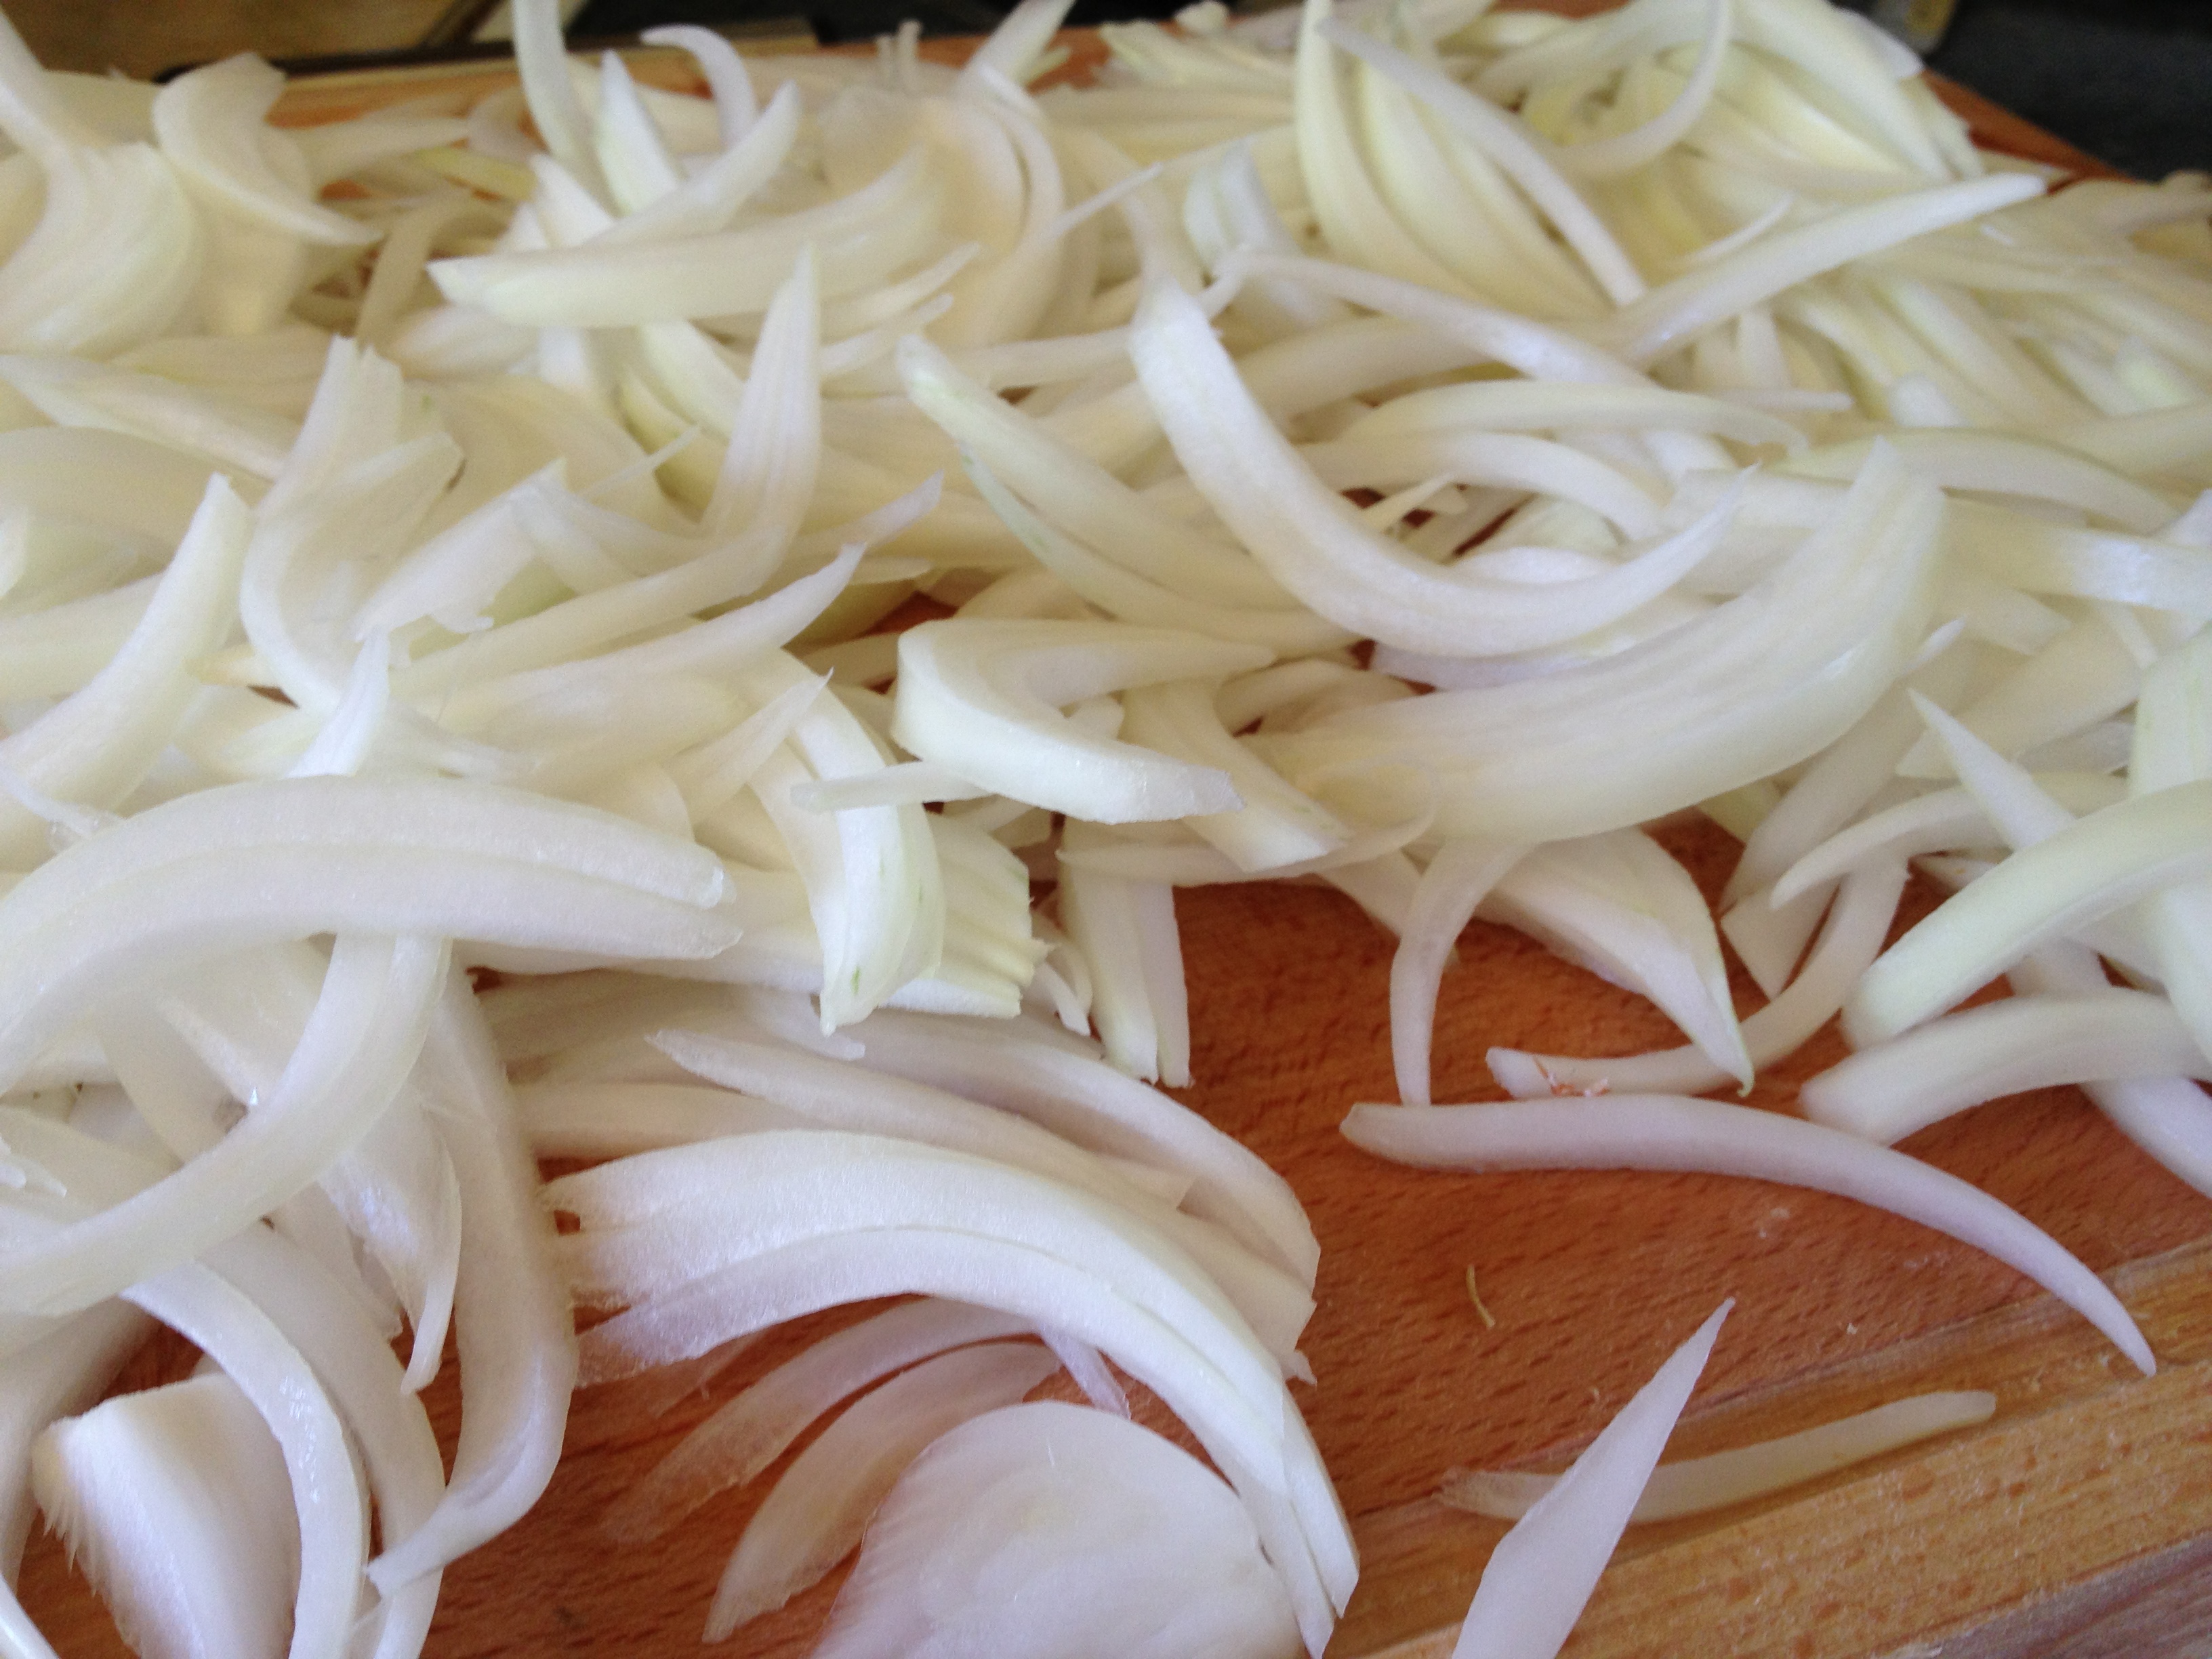
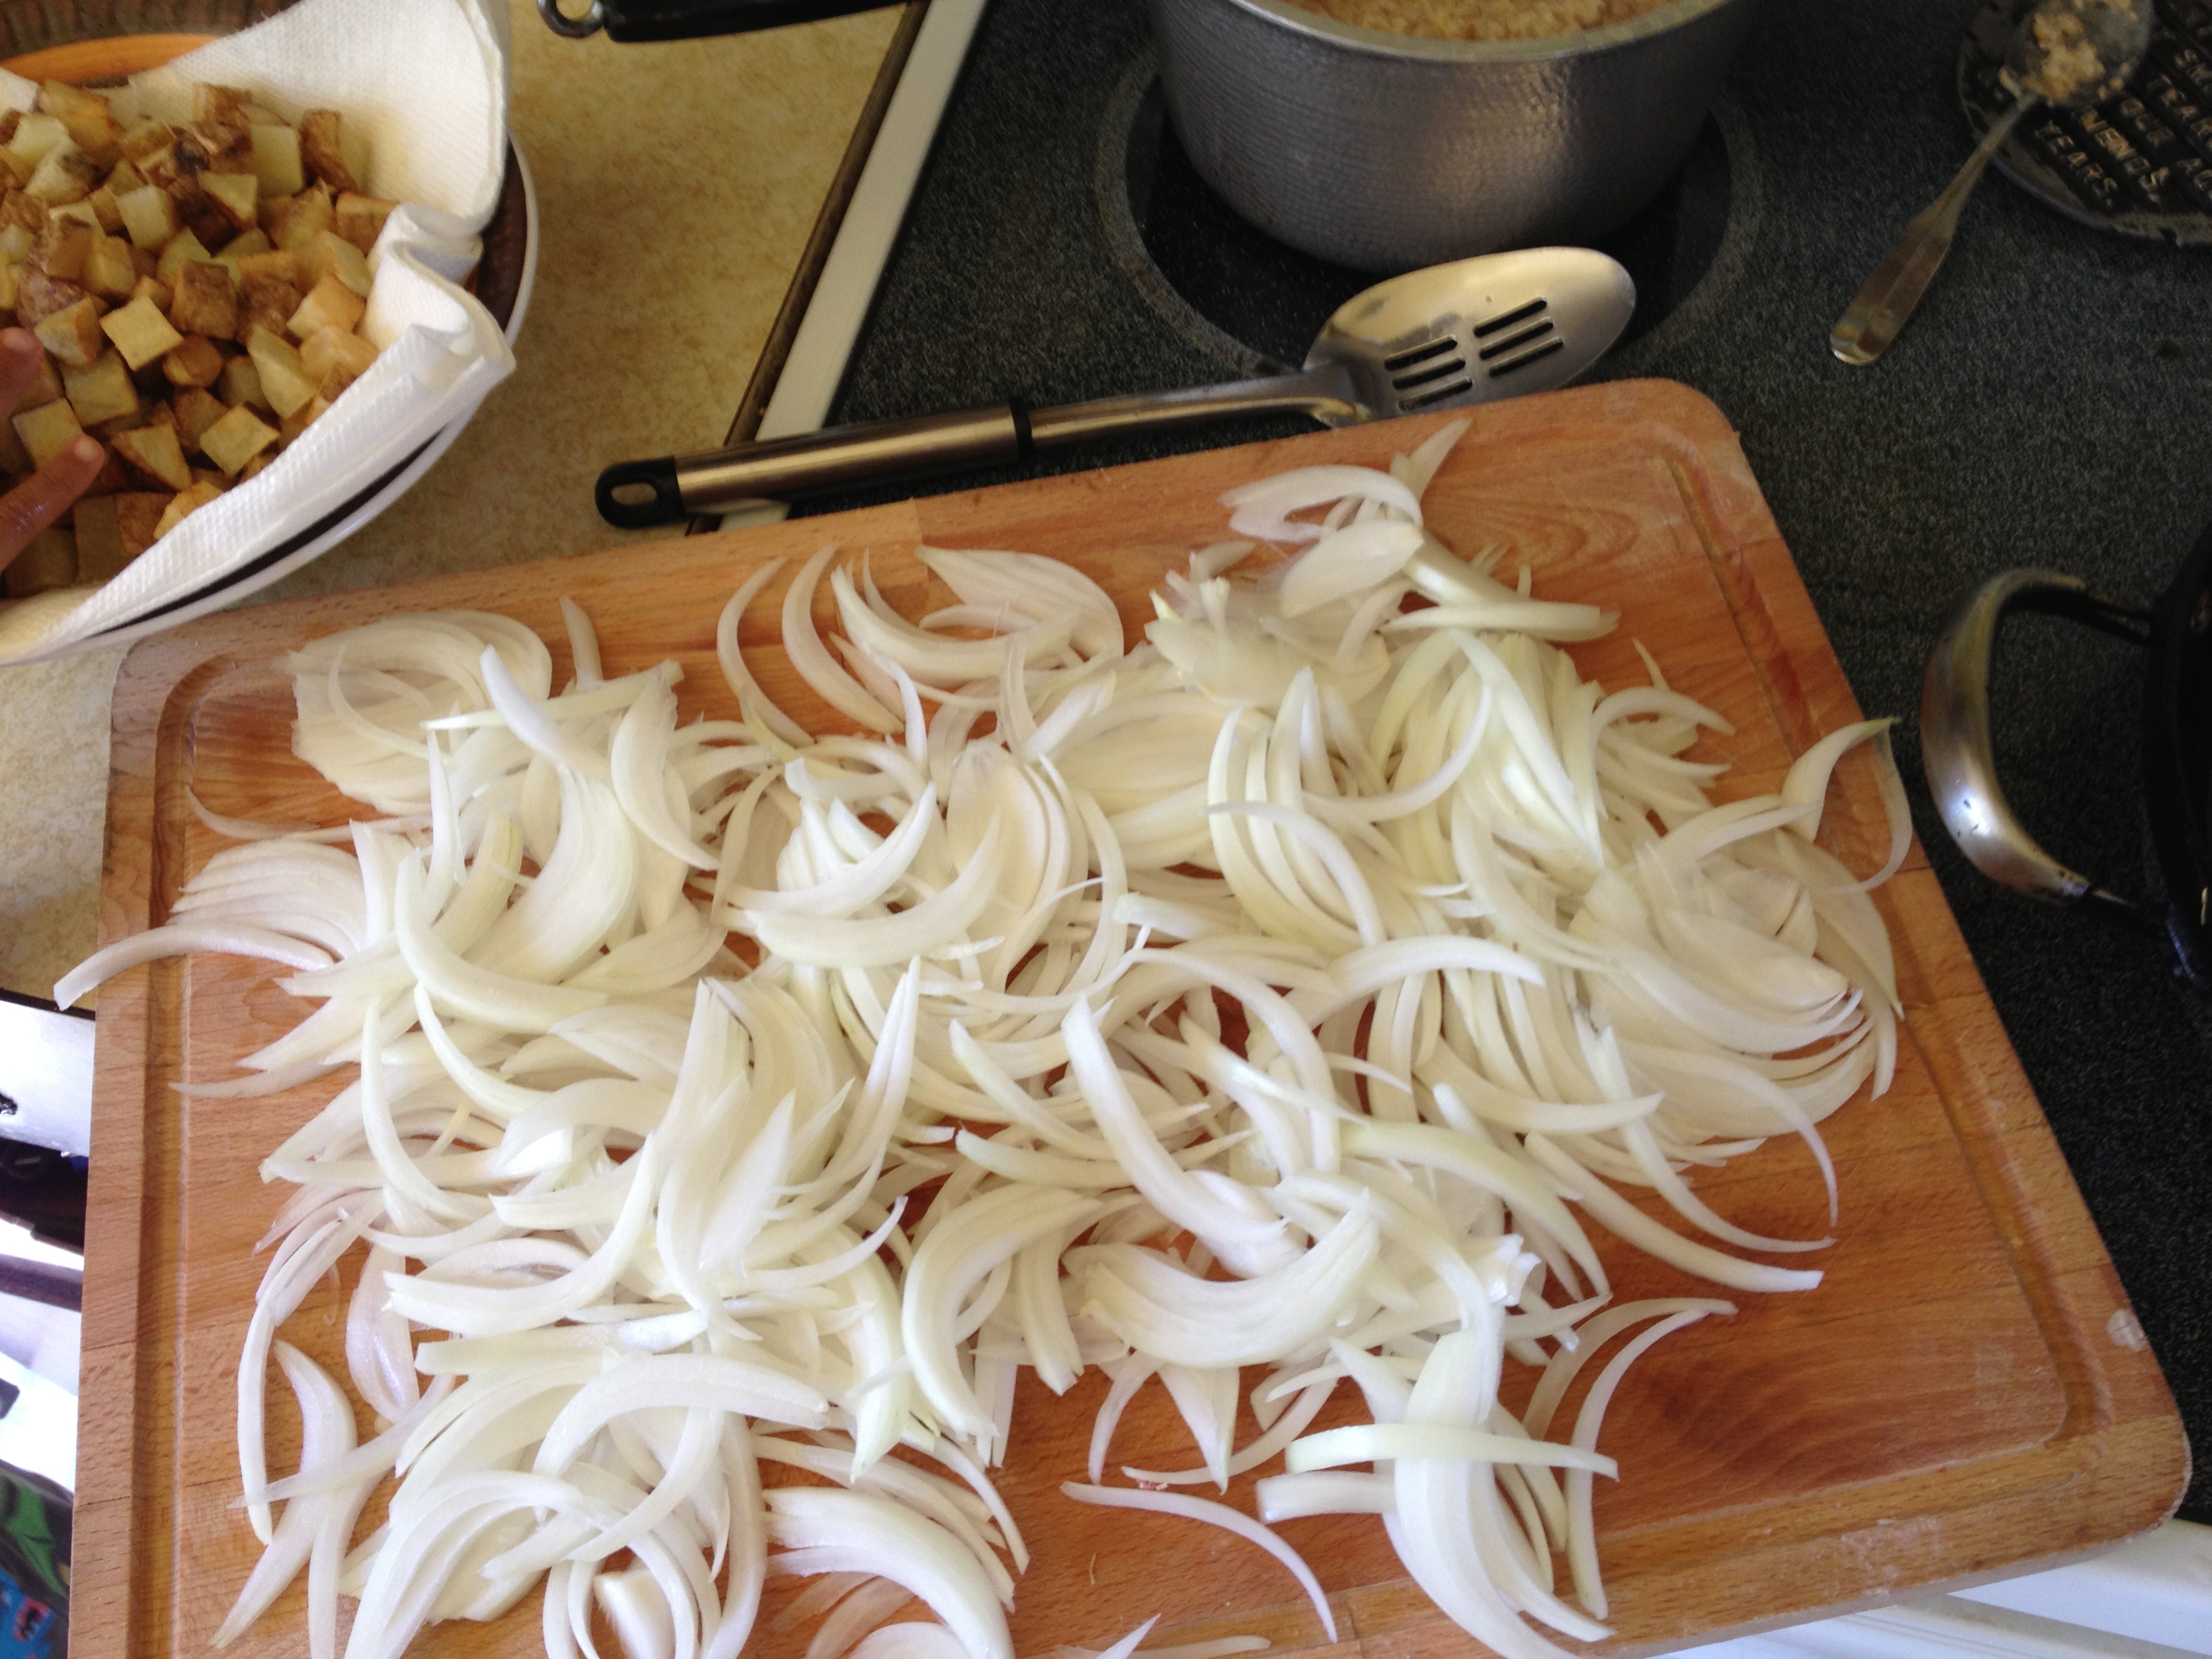
3 cups chopped onions
1.5 lbs. thick cut bacon
4 pints fresh oysters
2 tsp. dried thyme
1 cup dried cranberries
2 cups chicken broth
2 Tbsp. Old Bay seasoning
salt and pepper, to taste
Cut French bread into 1/2″ cubes and set aside (either do this the night before to allow to dry out or put on a baking sheet on low heat in the oven until they just start to brown).

Bake cornbread to package instructions. When cooled, loosely crumble cornbread into large mixing bowl. Add cubed French bread.
Slice bacon into 1/4″ strips and cook over medium high heat in large pan. When bacon is just crispy, remove from pan and add to mixing bowl. Add chopped celery and onions to pan with bacon grease. Allow to cook until translucent. Add two sticks unsalted butter, thyme, cranberries, salt and pepper to taste. Pour vegetable mixture over bread in mixing bowl. Mix until all ingredients are evenly distributed. Pour into two pans. Moisten with chicken broth. Pour two pints of oysters into each pan. Sprinkle with Old Bay seasoning. Gently mix with hands until oysters are dispersed into bread mixture.
Cover with aluminum foil and bake at 350 degrees for about 1.5 hours or until heated through and oysters are cooked. With an oven glove on, pat down stuffing until smooth and even all over. Remove aluminum foil and Bake at 400 until the edges are golden brown and bubbly. Allow to sit for a good 10-15 mins before diving in…ENJOY!